How to applique a cute project with messy applique stitching
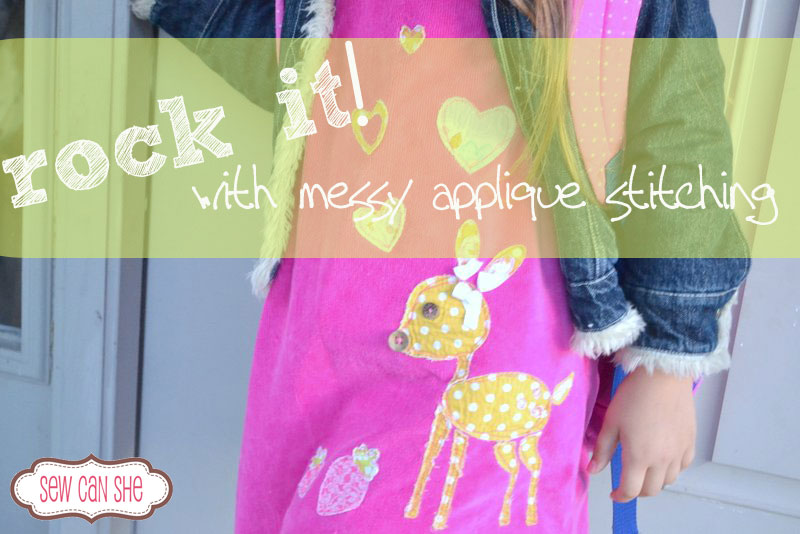
Many of you traditional sewists who do practically perfect satin stitch embroidery around your applique pieces are going to cringe at this. I apologize in advance. Sometimes I like satin-stitch. Sometimes I like to use a neat straight stitch going carefully around the edges. And sometimes I enjoy going a little crazy. More specifically, I put on my free-motion foot and zoom around those edges like there’s no tomorrow. But I’m skipping ahead.
If you’d rather, here’s my tutorial for traditional applique with nice and neat stitches.
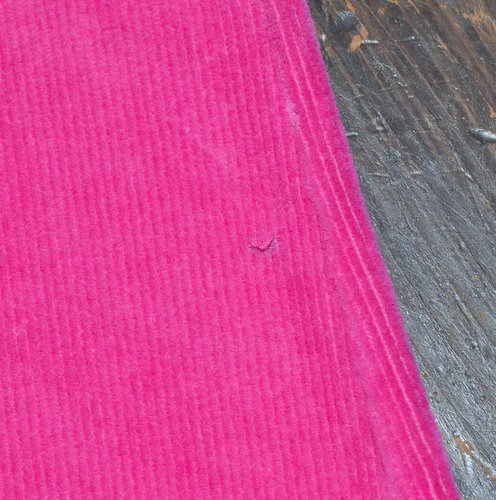
This applique project happened because I messed up. What? Yes, I messed up big time. I was clipping the serger threads on this little tunic that I sewed for my Chloe, and I accidentally cut a hole in the fabric. Right in the front. 🙁
Chloe was very sad to see that.
Lucky for me, I am a wonder-mom (at least that’s what I keep telling my kids), and I can fix my mistakes. Most of the time.
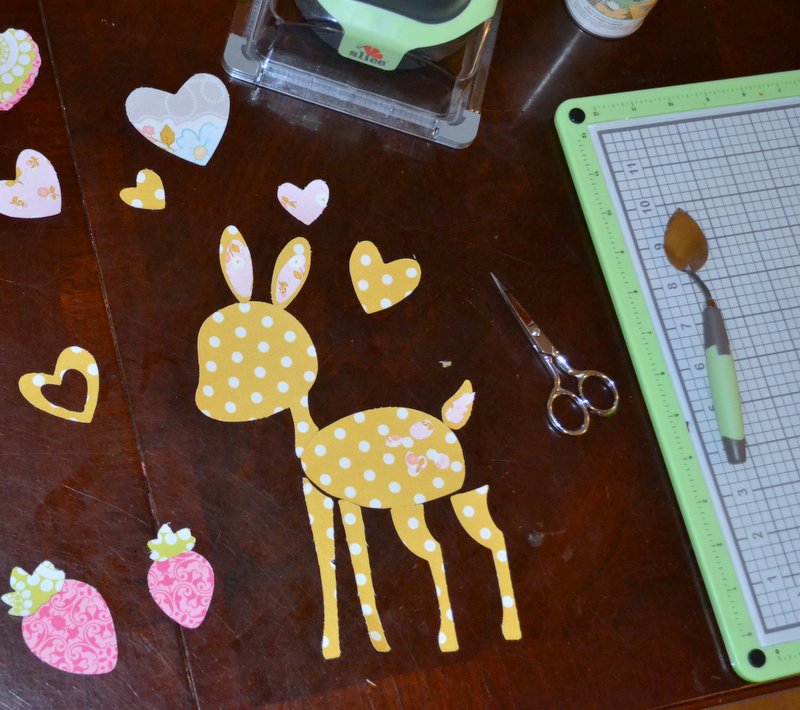
I pulled out my handy-dandy little Slice Cutter and let Chloe browse the design cards for something to cover up the hole. This particular design is on the ‘Critter Jamboree’ card which is absolutely delightful. You need to iron fusible webbing on the back of most fabric in order for it to work with the Slice, which makes it perfect for applique.
UPDATE: the Slice company no longer exists. But you can cut similar applique designs with a Cricut or Silhouette cutter too.
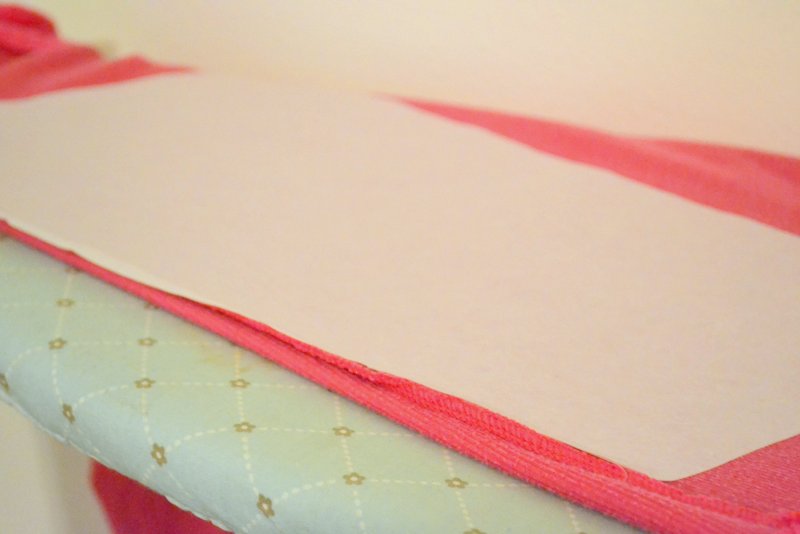
Here’s a couple more tips that I’ve learned for making any applique look better… first, you might need some stabilizer. Especially if you are sewing shapes onto knit (which I am doing here) or onto thin fabric. Since this design is large and spread out, I decided to sew a large piece of tear-away stabilizer to the inside of the tunic.
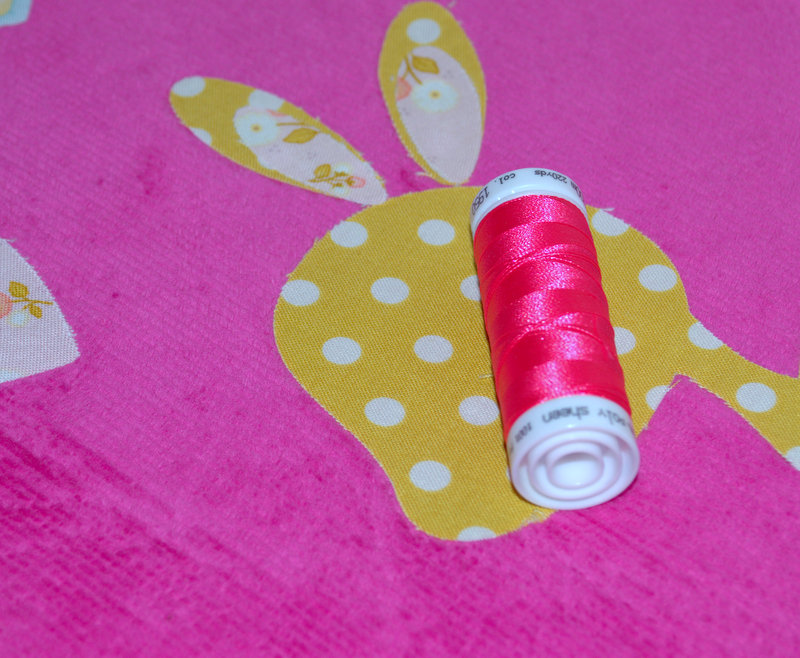
I also love to use fancy thread for my applique. It really makes your stitching pop. This is poly sheen from Mettler. You don’t need to use it in your bobbin if your tension is reliable.
For more tips on the slice cutter and on applique, see my blog posts and .
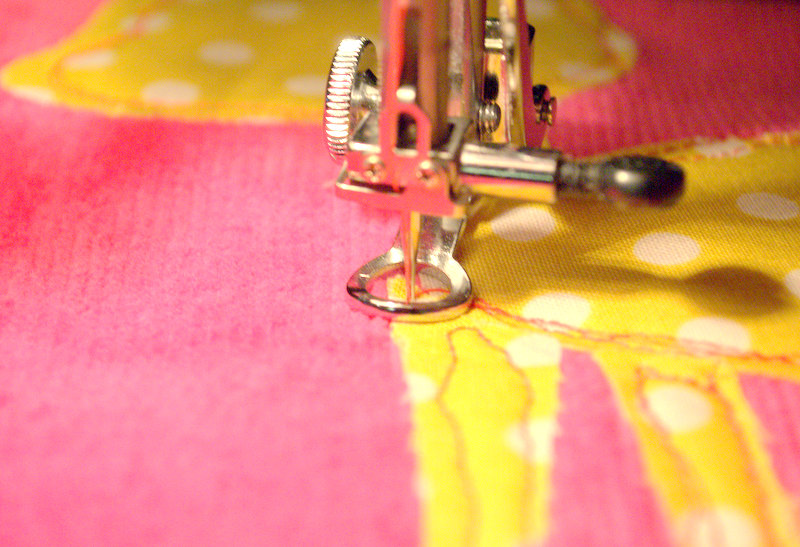
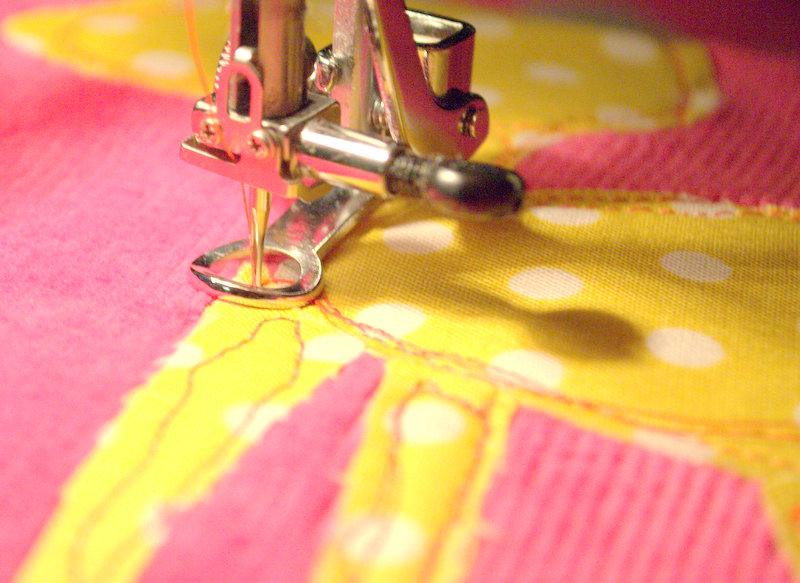
After you’ve arranged and fused your pieces to the item, set up your sewing machine for free-motion stitching (you’ll have to put on that special foot and drop or cover the feed dogs) and rock on! Start by stitching in place a few times to secure the thread and then sew around each piece two or three times. It’s okay if it’s not perfect, actually it’s better if it’s not perfect. When you stitch around the second time, you can make sure that you’ve secured the piece down close to all the edges and corners.
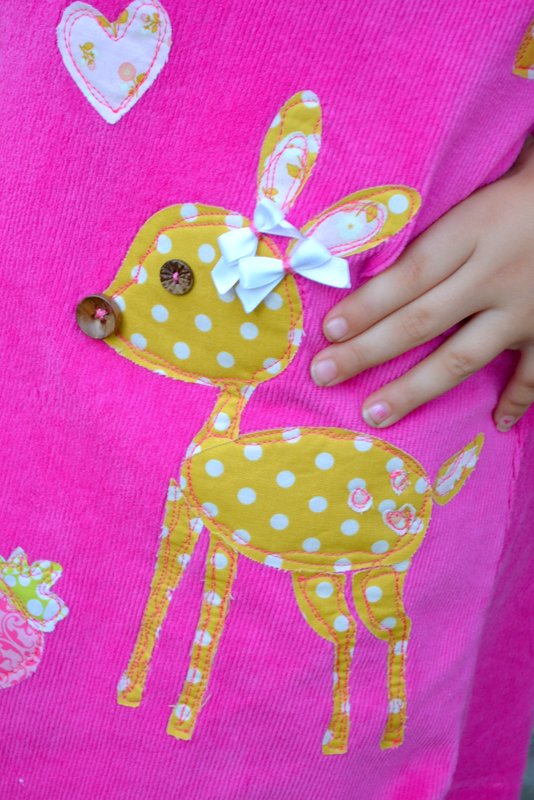
This is the finished tunic before washing. I added little ribbon bows to the ears and a button eye and nose. Details can make all the difference.
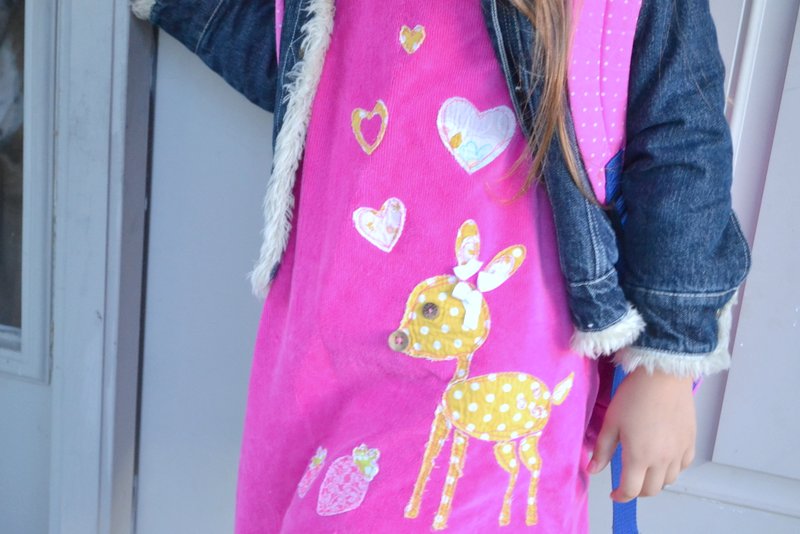
And here it is after several washes. The cotton wrinkled up and frayed around the edges, which is a nice contrast to the soft and un-wrinkled velour rib knit on the tunic. Yup, this applique rocks!
Here’s to a year in which we can fix all of our mistakes!
Disclosure: some of my posts contain affiliate links. If you purchase something through one of those links I may receive a small commission, so thank you for supporting SewCanShe when you shop! All of the opinions are my own and I only suggest products that I actually use. 🙂