Holiday Burlap Gift Bags – fast and easy tutorial
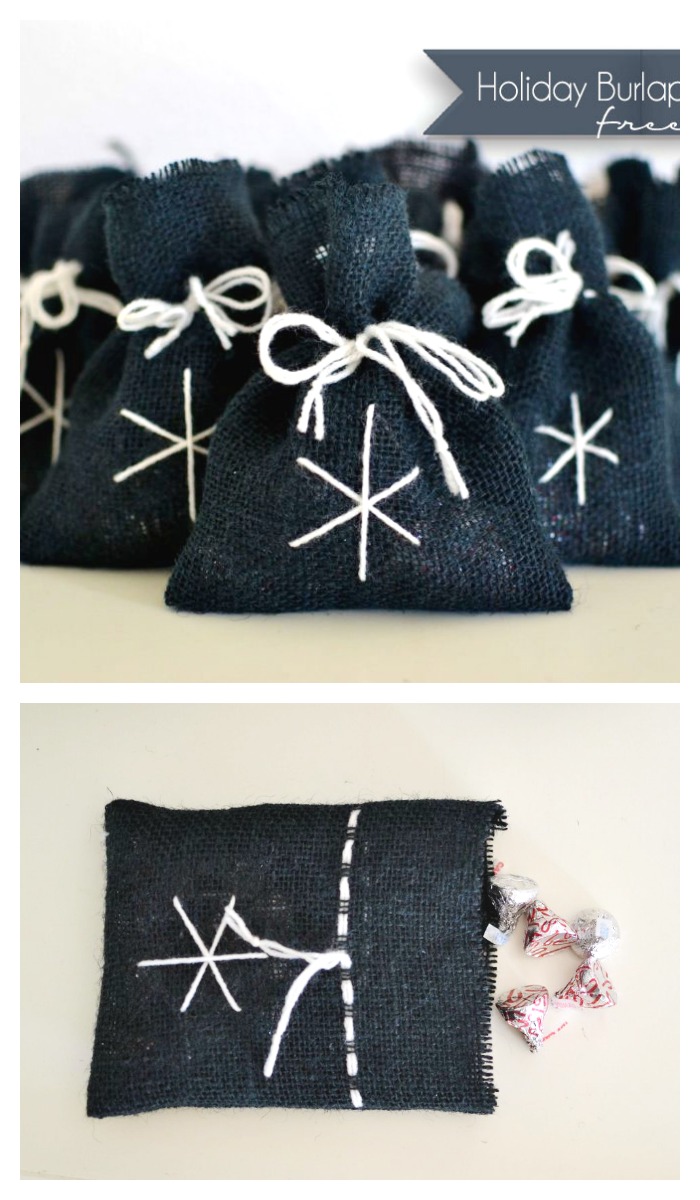
I’m crazy about little gift bags. You can make them up by the dozens, fill with a treat, and always have a handmade gift to pass out for teachers, friends, and forgotten relatives. These are especially easy, quick, and guess what… inexpensive to make!
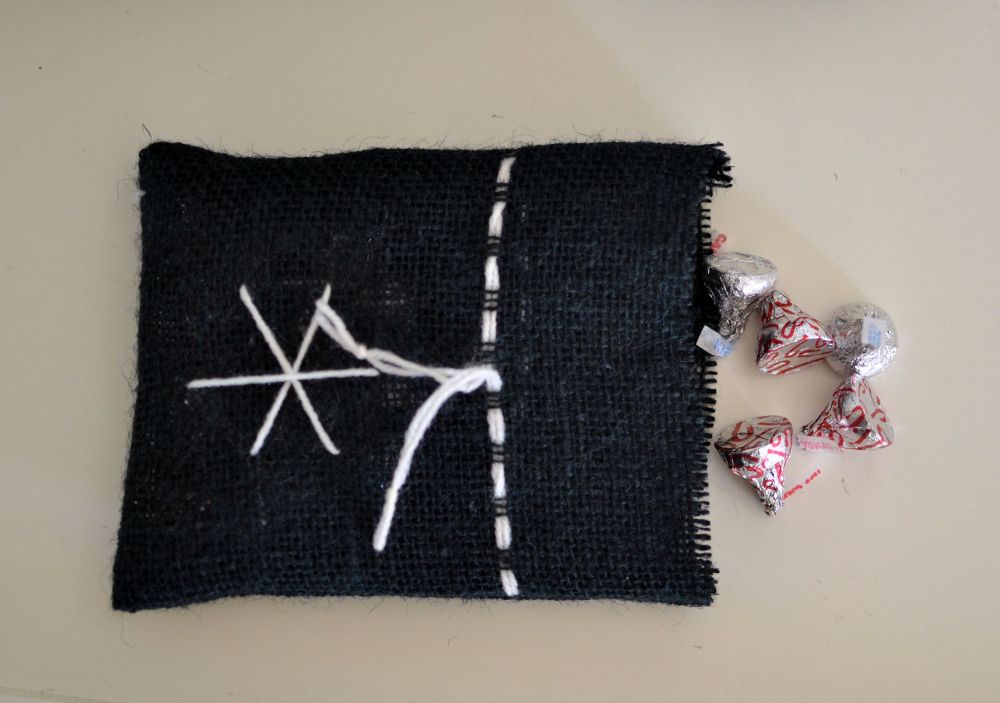
I spent way more on the treats than I did for the bags. Burlap is the secret. It is a super trendy material to use right now, and I found this stuff on sale at Joann’s for 2.79 a yard. I think that sale will continue until Christmas eve, so you can get some too!
All you need to make these Holiday Burlap Gift Bags is:
-
burlap
-
yarn & a plastic yarn needle
-
thread
Short list, huh?
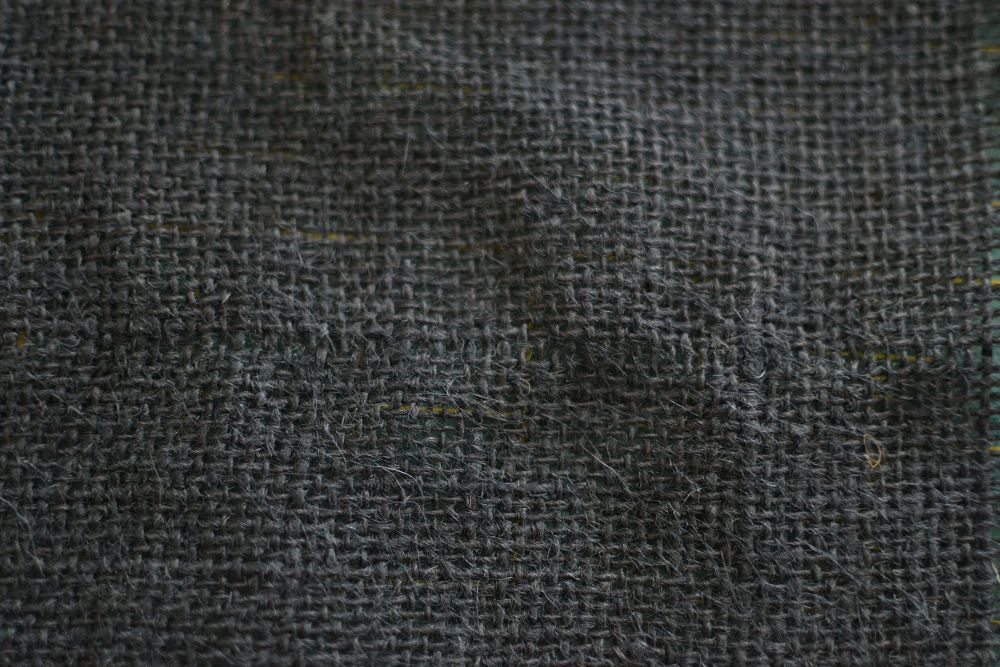
So before I start I want to discuss burlap a little.
First. It smells, there’s no denying that. But I’ve found that washing it doesn’t change the smell very much, it just softens it a little and makes it fray more unless I serge the edges first. So I’ve stopped washing my burlap, I just leave it out on my sewing counter and within a week the smell is almost gone.
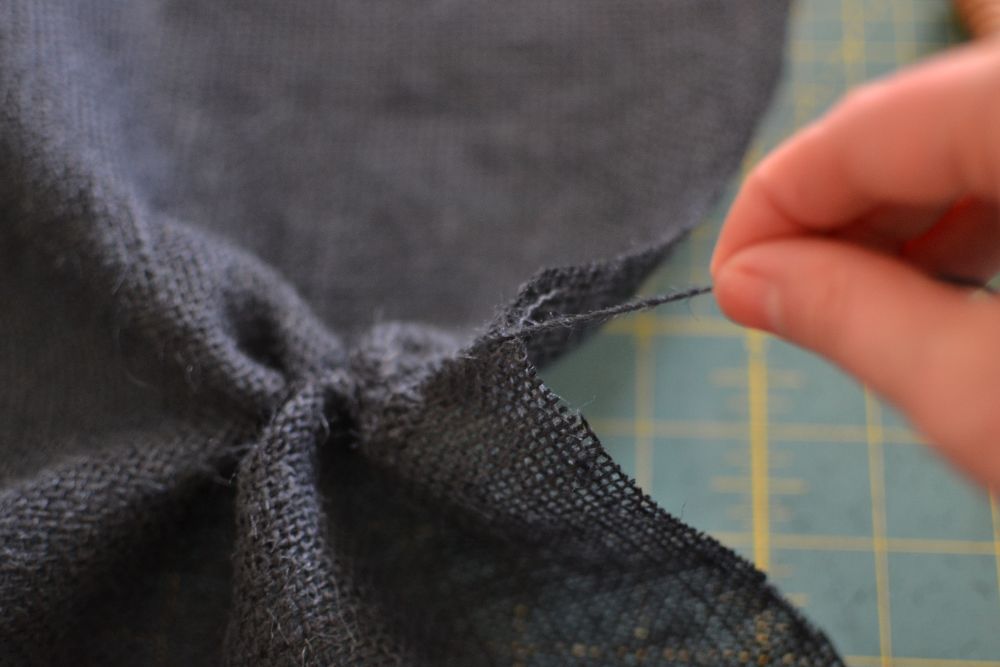
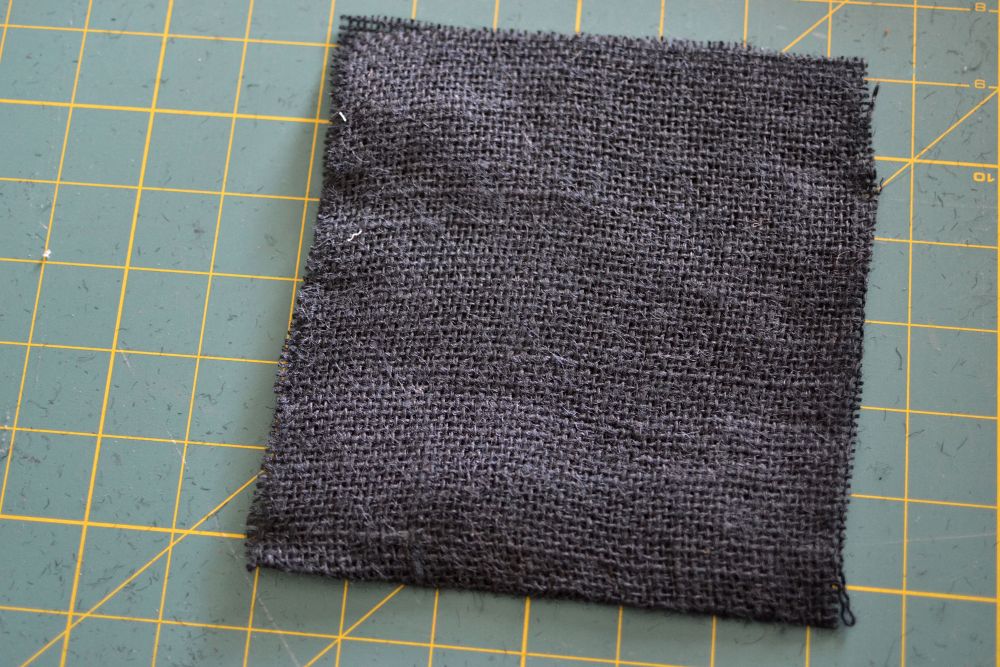
Second, there is a trick to making a straight cut and preventing the fraying. Start in the middle or near one edge, and pick a thread to pull out. If you are working with a yard or less it will pull out fairly easily. Then you’ll see a straight line in the grain where the thread is missing. This is your cutting line. You’ll get an easy and square cut, and prevent a lot of the fraying. Don’t use your best scissors. I grabbed these out of my ‘to sharpen’ pile of scissors and they still worked great.
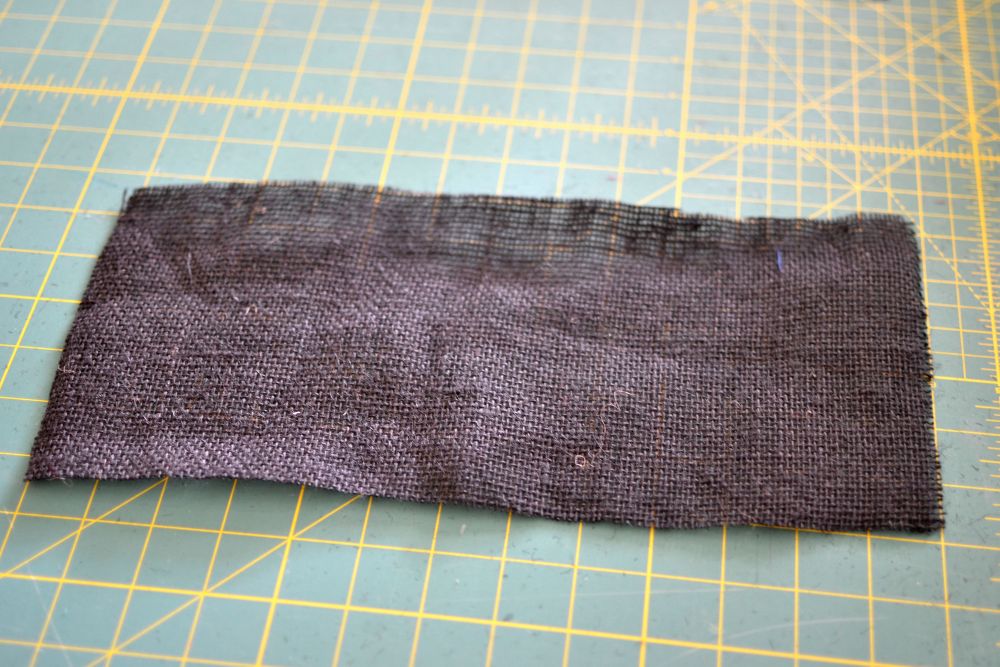
Use the thread-pulling method to cut a 6” x 13” rectangle of burlap for each bag. This is approximate. Some of my bags are larger and some smaller.
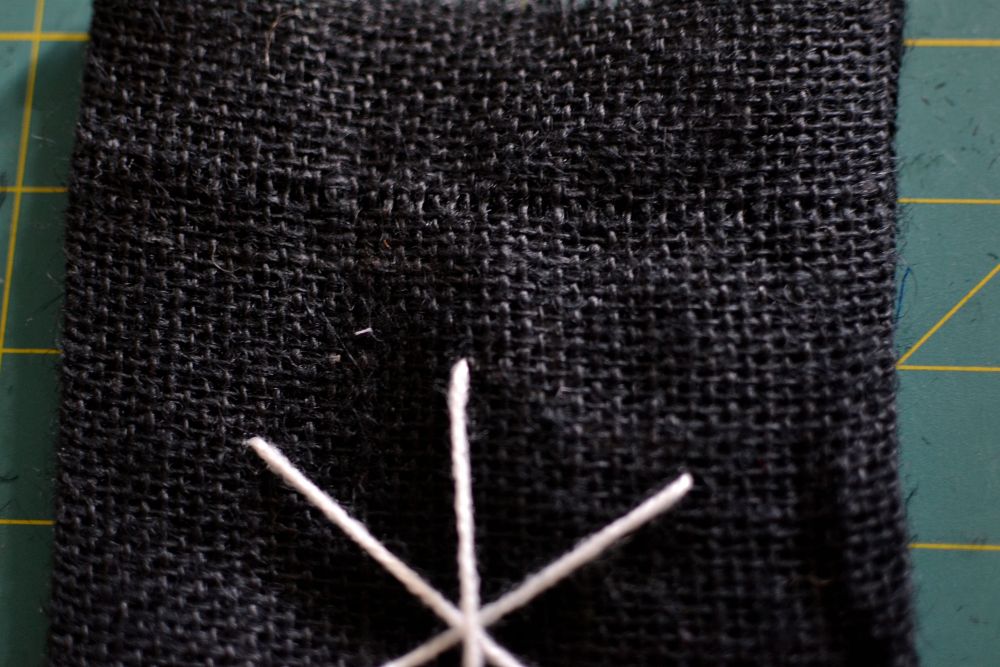
Fold the rectangle in half with the short ends together and use the yarn to embroider a star on the front. Keep in mind that your drawstring will be 2” from the top raw edges.

Here’s the inside of my bag. The ’embroidery’ is so quick, that I usually leave a 4” tail at the start and tie it to my ending tail of yarn, and then trim away the extra. When you’re done with the ’embroidery,’ pin the sides of the bag (right sides together).
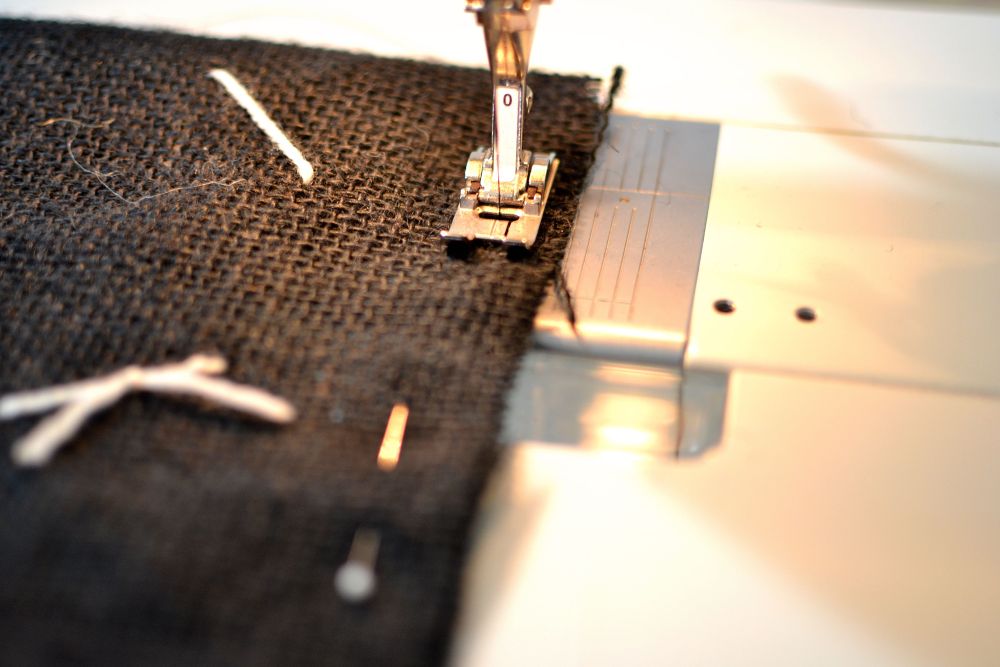
Sew the sides with a 1/2” seam allowance.
Turn the bag right side out. Use your thread pulling technique to remove one thread from the front and the back about 2” from the top.
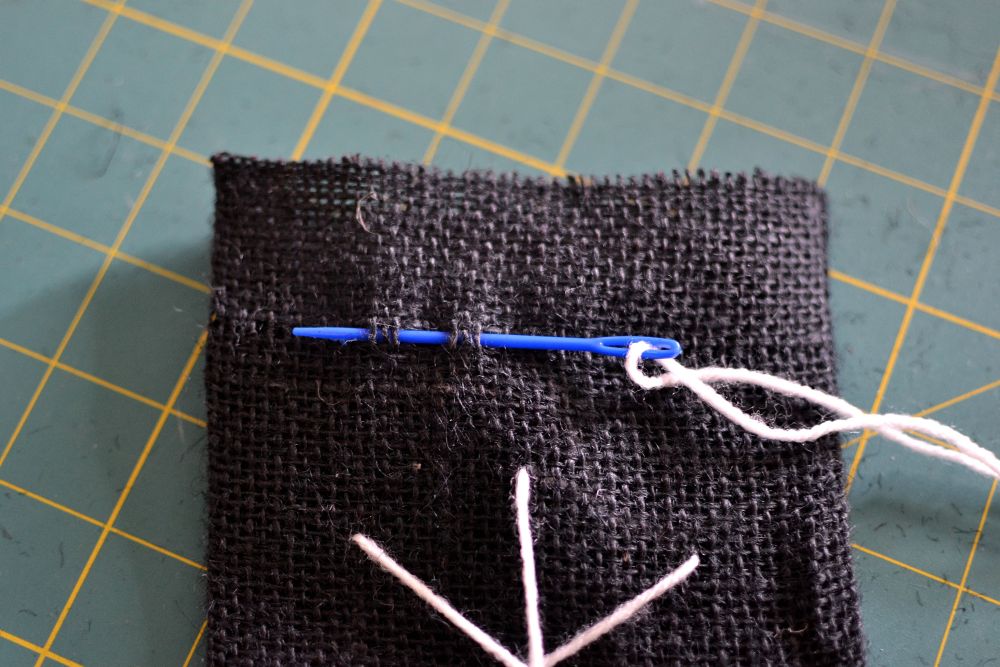
Thread the plastic needle with a double strand of yarn and tie a knot at the end.
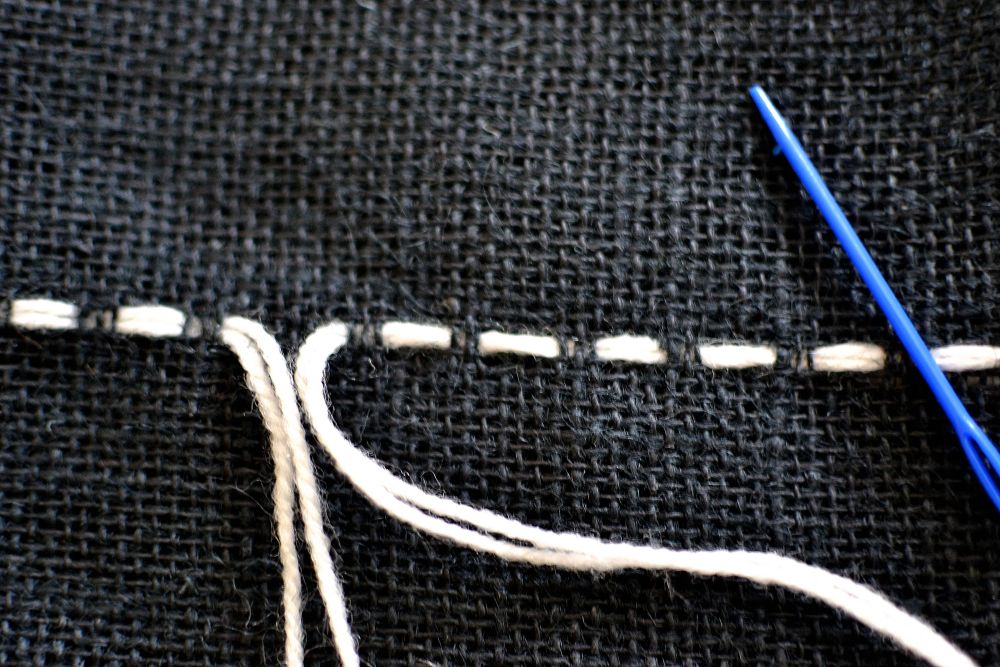
Starting at the middle, use the needle to weave the yarn around the drawstring bag in the place where you removed a thread. I made a ‘three strands up / three strands down’ pattern. When you’re done, leave about 4” free at each end, cut, and tie a knot at the remaining end.
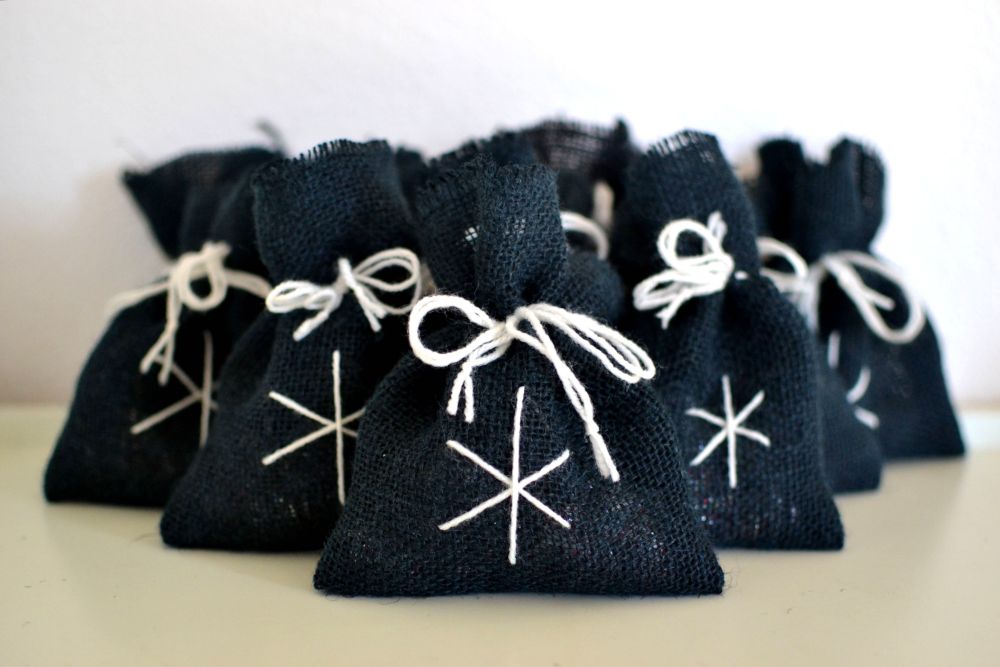
Fill with treats, tie a bow, and make lots more!
Merry Christmas giving!

Disclosure: some of my posts contain affiliate links. If you purchase something through one of those links I may receive a small commission, so thank you for supporting SewCanShe when you shop! All of the opinions are my own and I only suggest products that I actually use. 🙂

