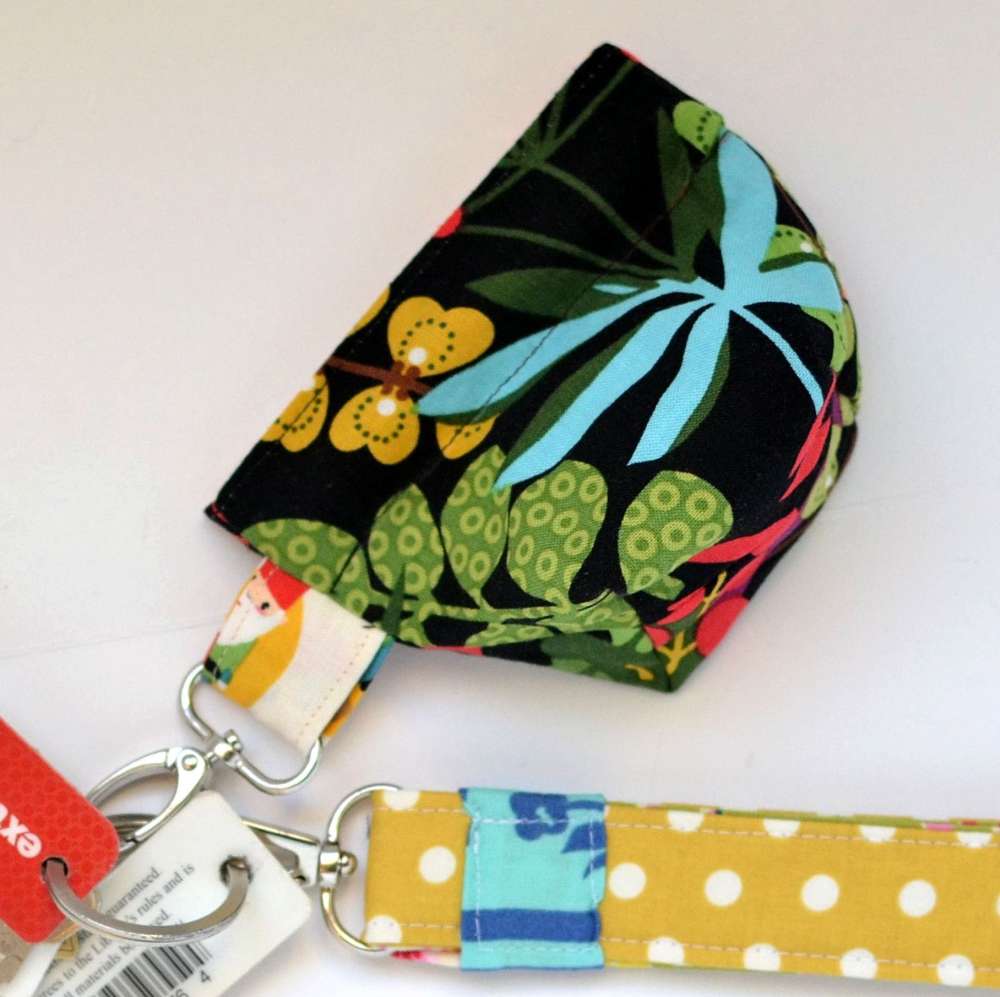
The Pleated Snappy Coin Purse!

I know you already love my free Snappy Coin Pouch tutorial, and I do too. While I was writing the tutorial last month, I played around with the idea of putting a pleat on one side. It’s really easy to do, and it makes a sweet coffee-cup shape. Well, that version didn’t make the first tutorial, but I’m going to show you now. 🙂
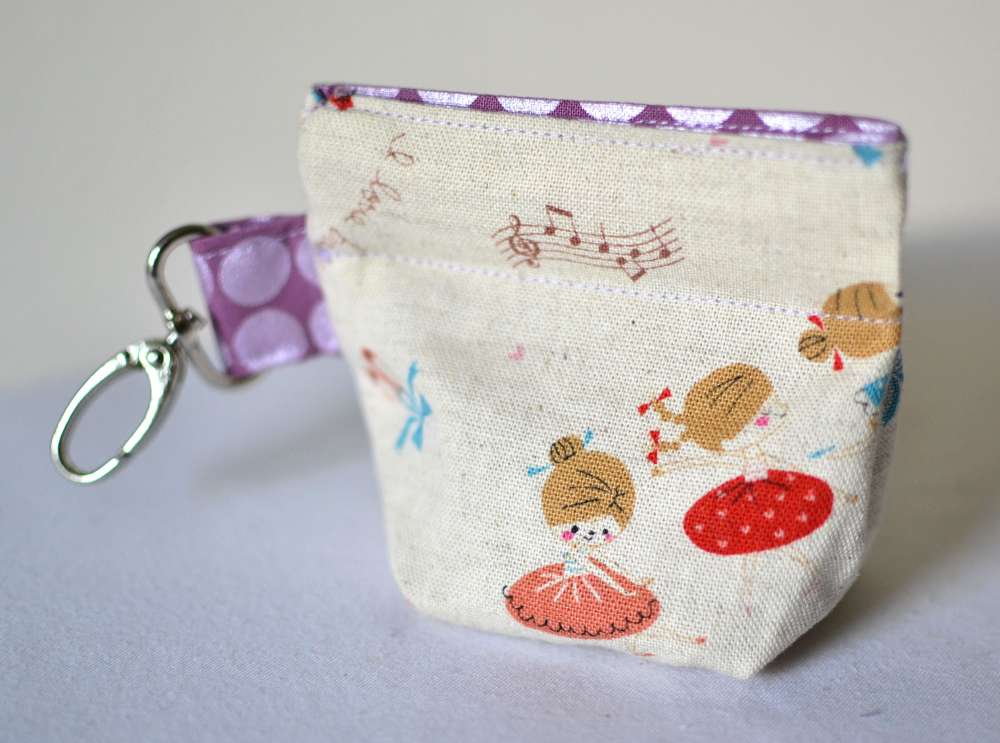
My daughter Chloe specially requested a pleated snappy coin pouch for her 8th birthday, and I couldn’t say no. Especially when I can stitch one of these together in a measly 10 minutes.
All of the materials for this pouch are the same as for the original {Snappy Coin Pouch tutorial here}. In fact, you might as well click the link I just gave you and leave it open in a separate window, because I am not going to repeat every step. I’ll just show you how to add the quick pleat near the very end.

Use the original tutorial and work until you’ve reached this point. Right after you’ve sewn all around the outer and lining layers leaving 1.5″ or so inches open to turn, trim your seam on the opposite side of the opening. You’ll want to trim your seam allowance down to about 1/4″ for about 1″ on either side of the middle seam. This will make less bulk in your pleat.

Now turn your bag and stitch the casing according to the original tutorial. Right before you insert the metal tape measure pieces, mark your pleat. Flatten the pouch (lining side out) and place a pin 1/2″ from the edge opposite the tab and clip (and your openings).
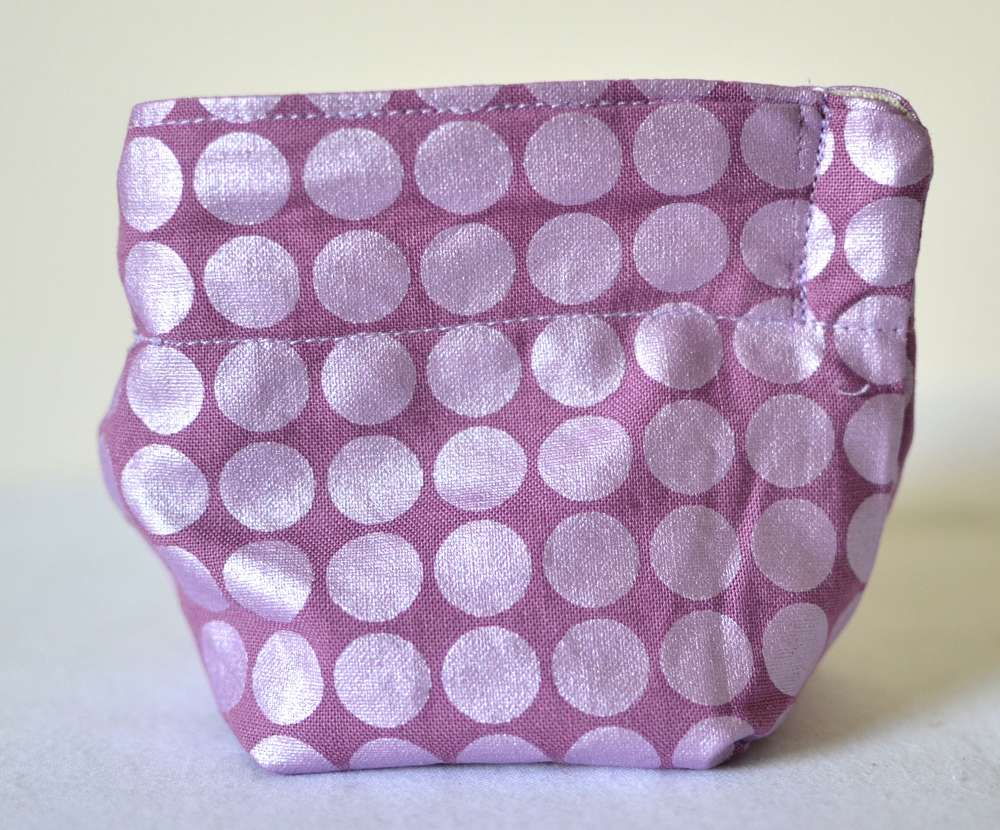
Sew from the top of the pouch (through all layers) down to the second line of stitching. Make sure you backstitch at the start and finish.
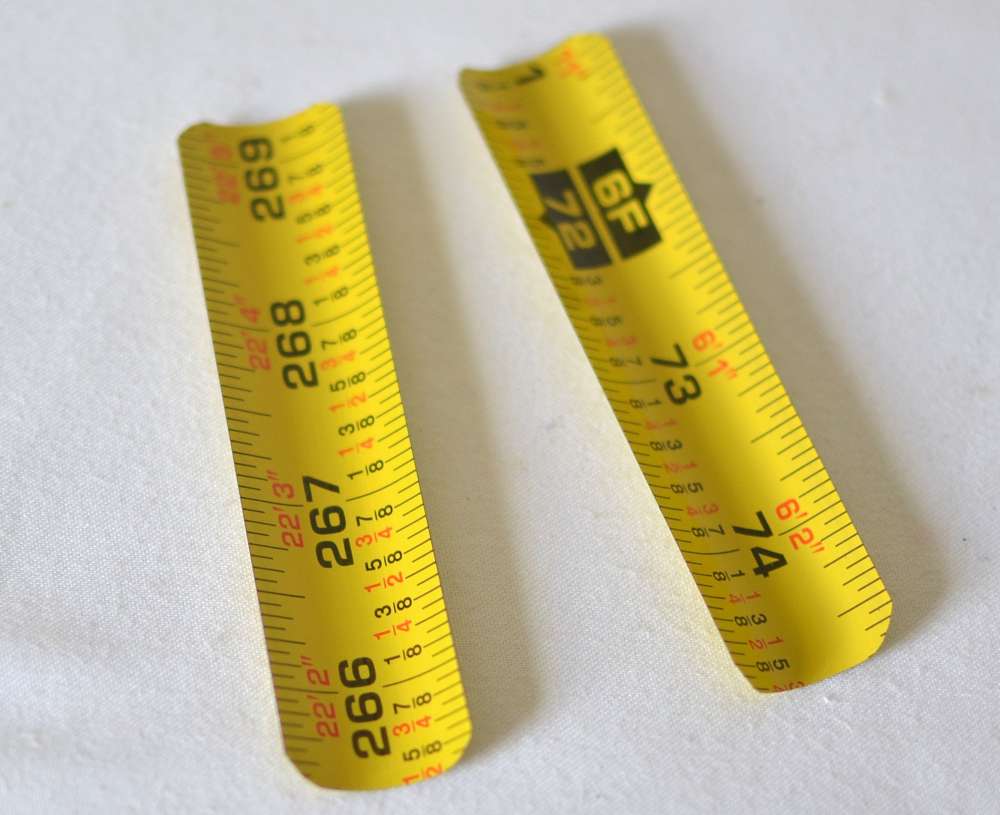
At this point, you will need to trim your tape measure pieces shorter than the original tutorial calls for. I made mine 3.75″ long and rounded the edges. They fit very snugly, but I like them tight. So I hand-stitched the openings and was done. If you find it tricky to make your tape measure pieces fit, cut them down another 1/8″ and try again. If your seam allowances vary from mine even a little bit, then you might need slightly longer or shorter tapes for the ‘perfect fit.’
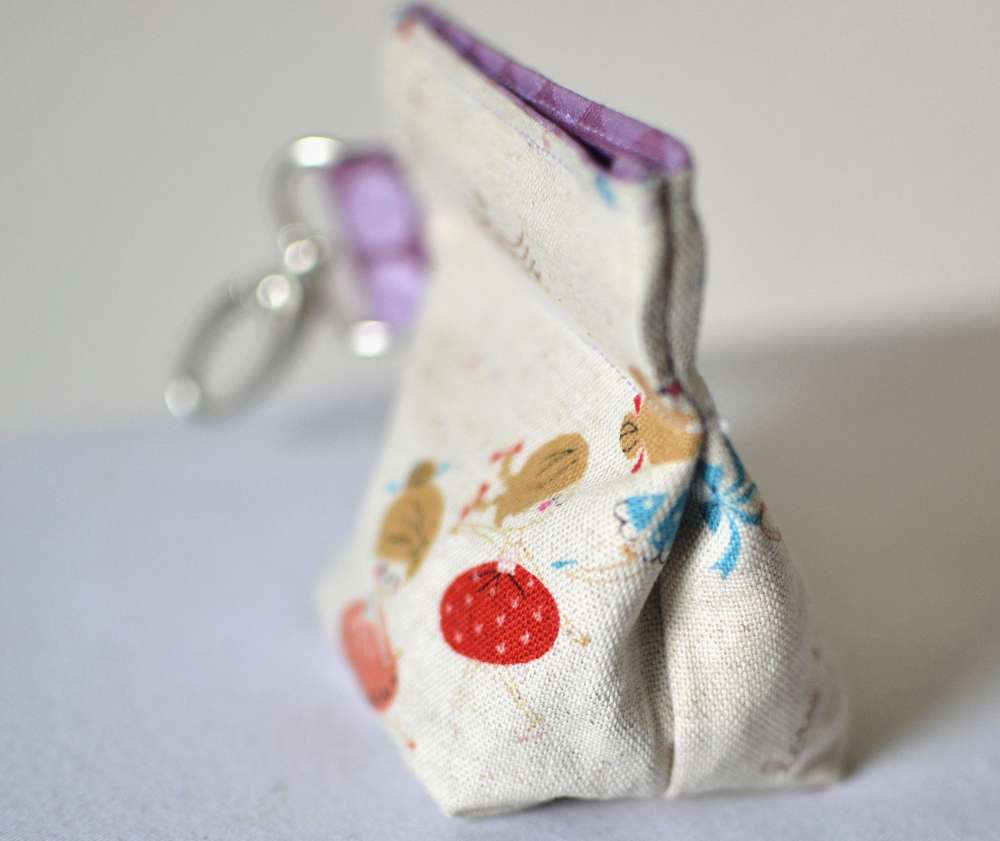
Turn it right side out, and oh so cute!

Can you see the little ‘coffee-cup’ shape?
Now, just to be clear… this is just an ‘addendum’ to the original free tutorial (click the photo to the right).
Happy Sewing!

Disclosure: some of my posts contain affiliate links. If you purchase something through one of those links I may receive a small commission, so thank you for supporting SewCanShe when you shop! All of the opinions are my own and I only suggest products that I actually use. 🙂


