How to Make Ribbon Headbands with Fold-Over Elastic
Learn how to make cute and comfortable headbands using just ribbon and fold over elastic.
Right now I have a little girl who is growing out bangs, and I was shocked at how much they charge for headbands at the drugstore… when those things can be made out of scraps I have in my sewing stash!
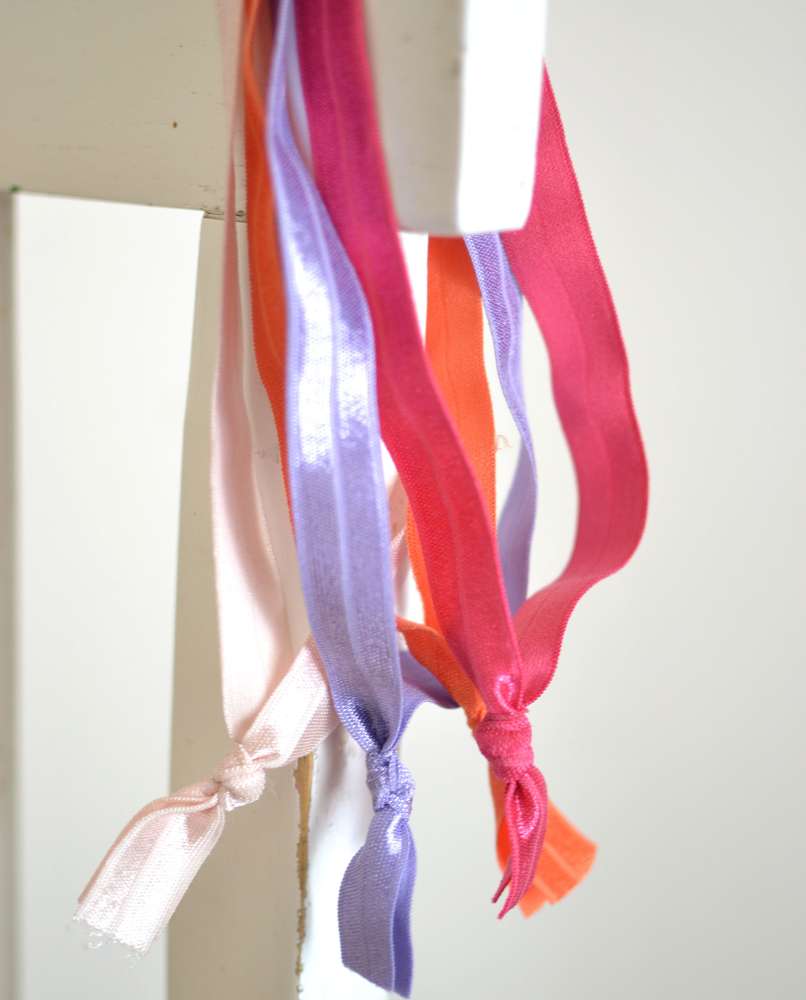
Previously, I showed you how to make sweet and simple FOE (fold over elastic) headbands and matching pony tail holders. It’s really just a matter of knowing how long to cut your pieces. My 7 year old now loves to make them.
Today I’m going to show you how to make these beautiful little headbands using FOE and gorgeous designer ribbon from Renaissance Ribbons.
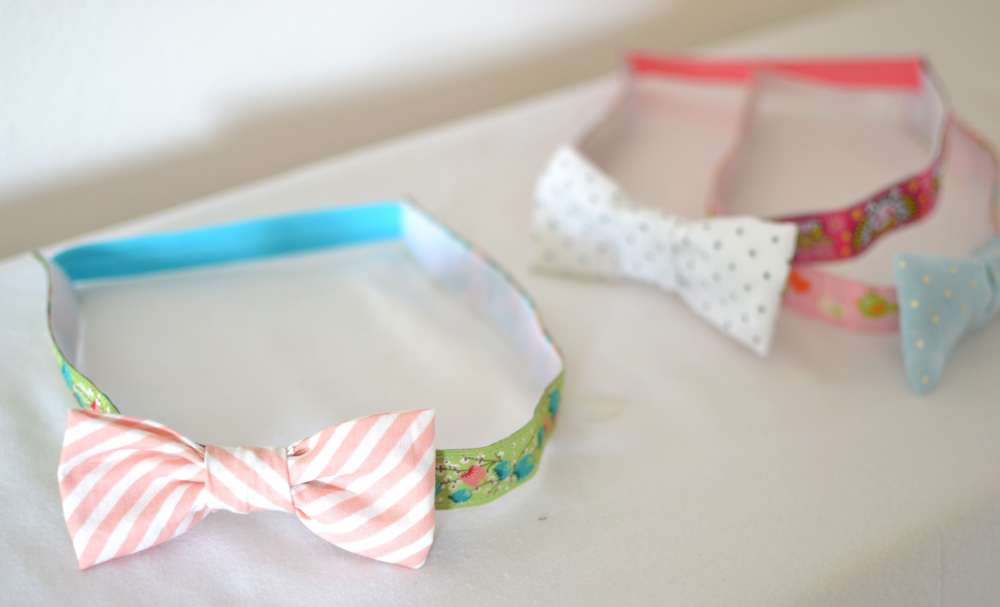
And for the final part in my headbands series… check out these darling super-non slip headbands with bows!
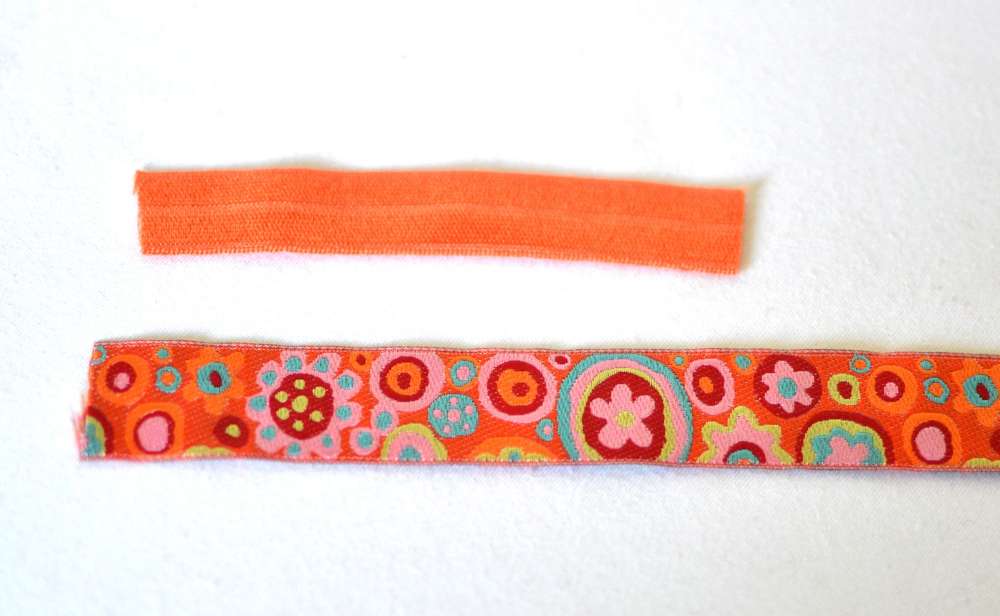
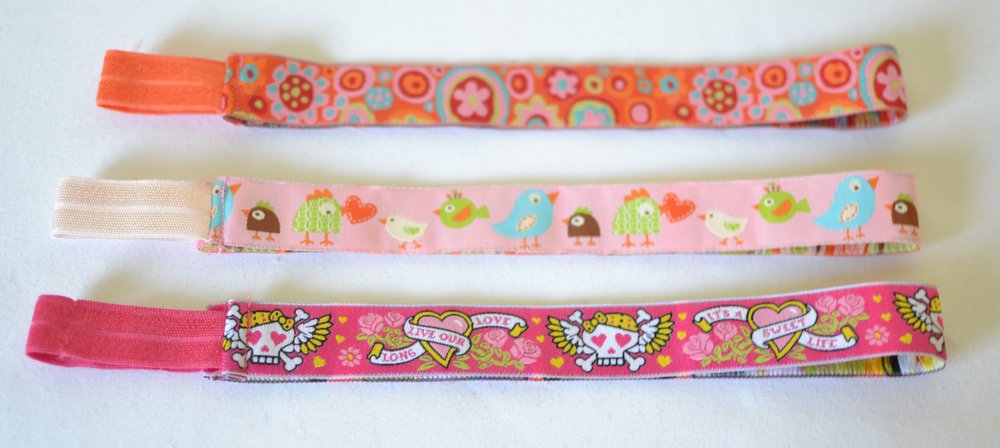
So, I am using 5/8″ FOE {fold over elastic available at The Fabric Fairy} and 7/8″ designer ribbon from {Renaissance Ribbons}. This particular ribbon is Orange Paperweight from Kaffe Fassett. My Cadie picked this ribbon out and insisted it was hers.
For these simple headbands, you will need:
17″ of ribbon
4-6″ of foe (4″ – toddler, 5″ – child, 6″ – adult)
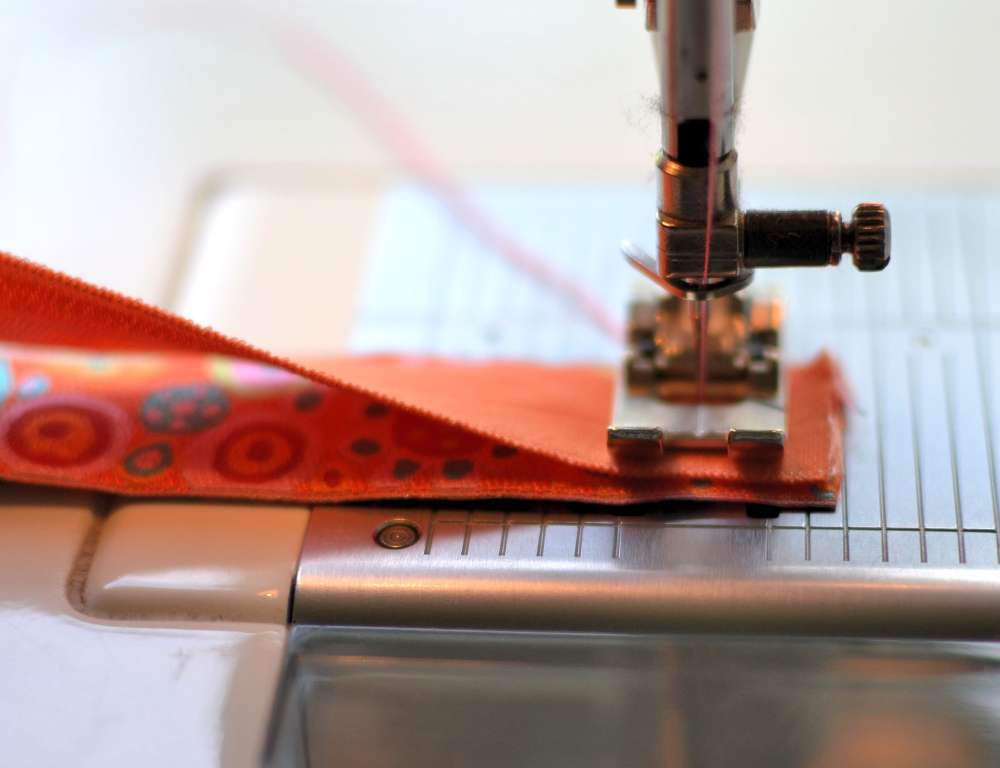
Start by sewing the FOE and ribbon right sides together, with a 1/2″ seam allowance.
You don’t have to do this, but I like to roll the raw edge of my seam allowance under next to the wrong side of the ribbon and then stitch across again. It makes a nice neat seam.

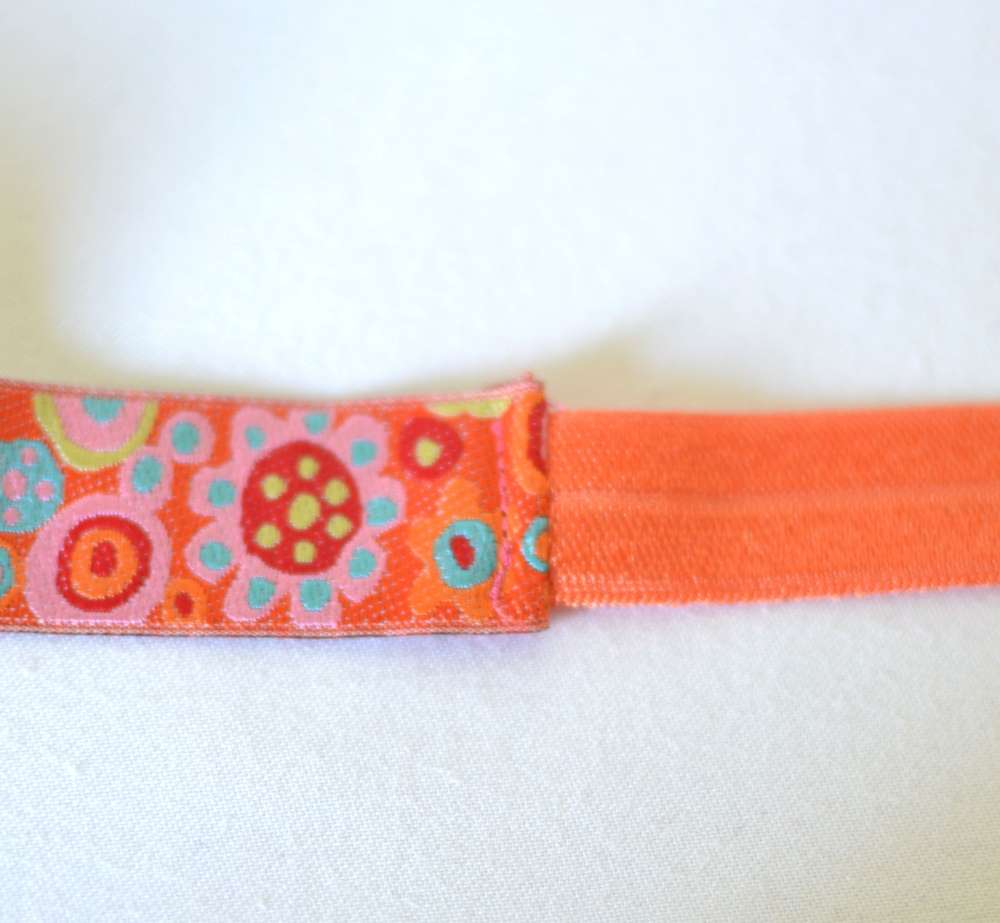

Repeat those two steps on the other side of the FOE. Make sure your headband isn’t twisted… you can see here how it lays flat.
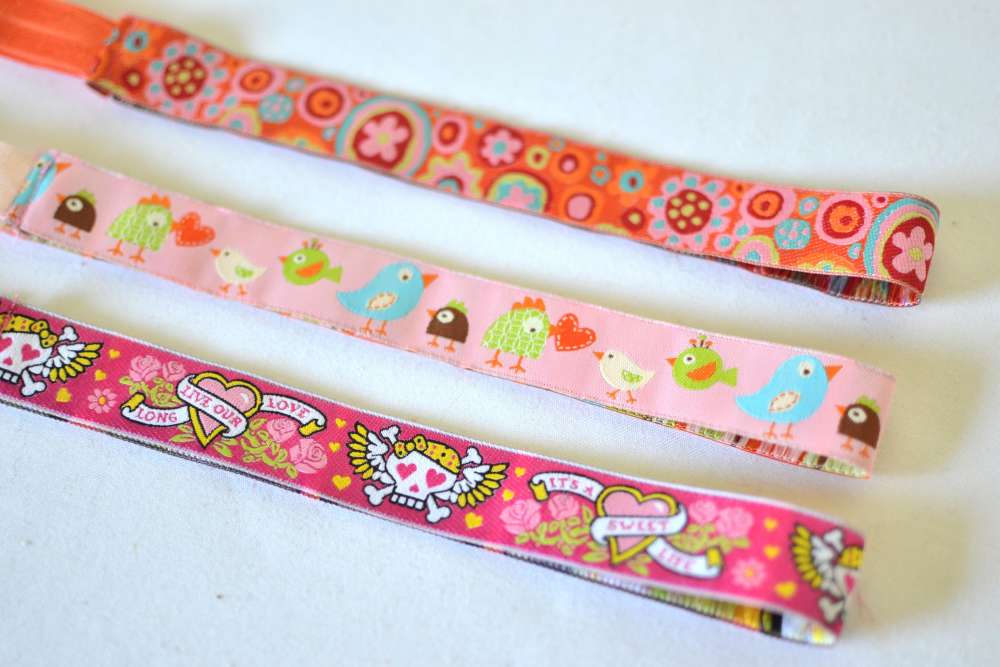
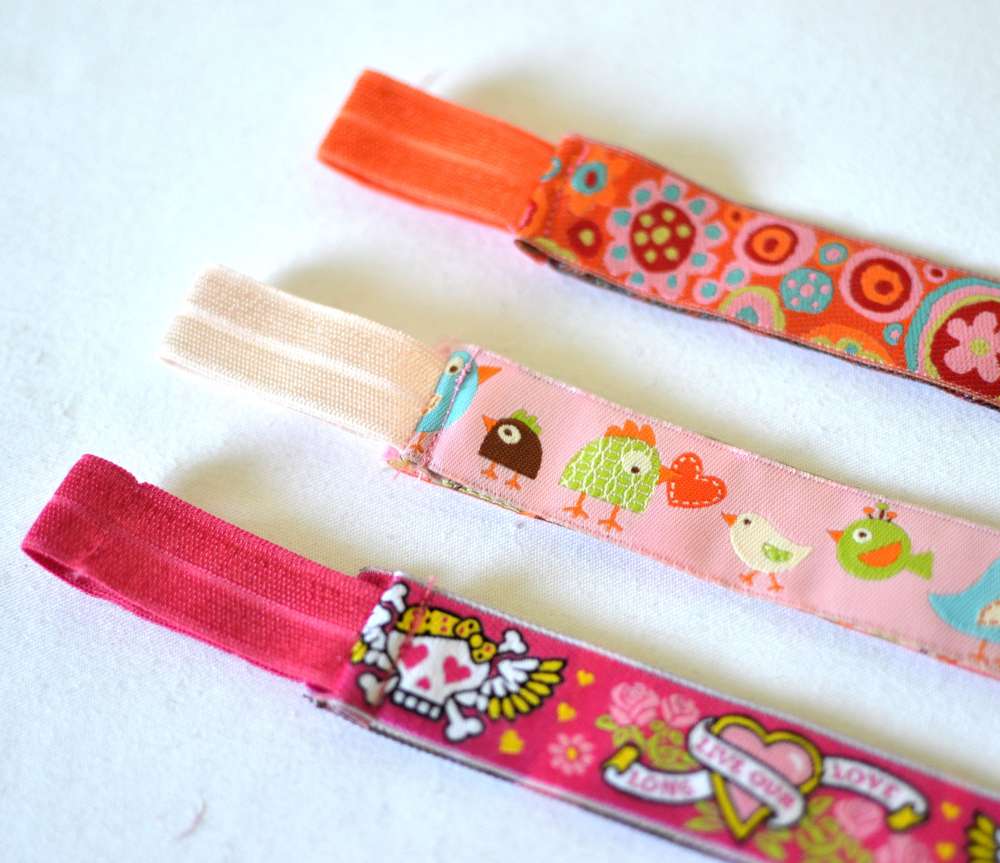
And that’s it! These are really quick to make so have fun with lots of different ribbon and FOE. They also look really cute on little heads. 🙂
Disclosure: some of my posts contain affiliate links. If you purchase something through one of those links I may receive a small commission, so thank you for supporting SewCanShe when you shop! All of the opinions are my own and I only suggest products that I actually use. 🙂