5 Tips for Sewing Great Softies – from Abby Glassenberg

Last year Abby Glassenberg and I made friends online and decided it would be fun to guest post on each other’s blogs. So last month I was over there at While She Naps sharing a little bit about how to make your blog valuable to readers, and now here she is here giving us tips for making great softies. In case you are not already a fan of Abby’s you will be soon! She is the designer of some of the cutest softie patterns I’ve ever seen, plus she’s the author of several books.
So take it away Abby…
Designing and sewing softies is my passion! A special stuffed animal is so precious to a child, and opens up a whole world of play and imagination. Making a doll or softie is creative and fun, and older children can get involved, too, sewing and embellishing their own toys.
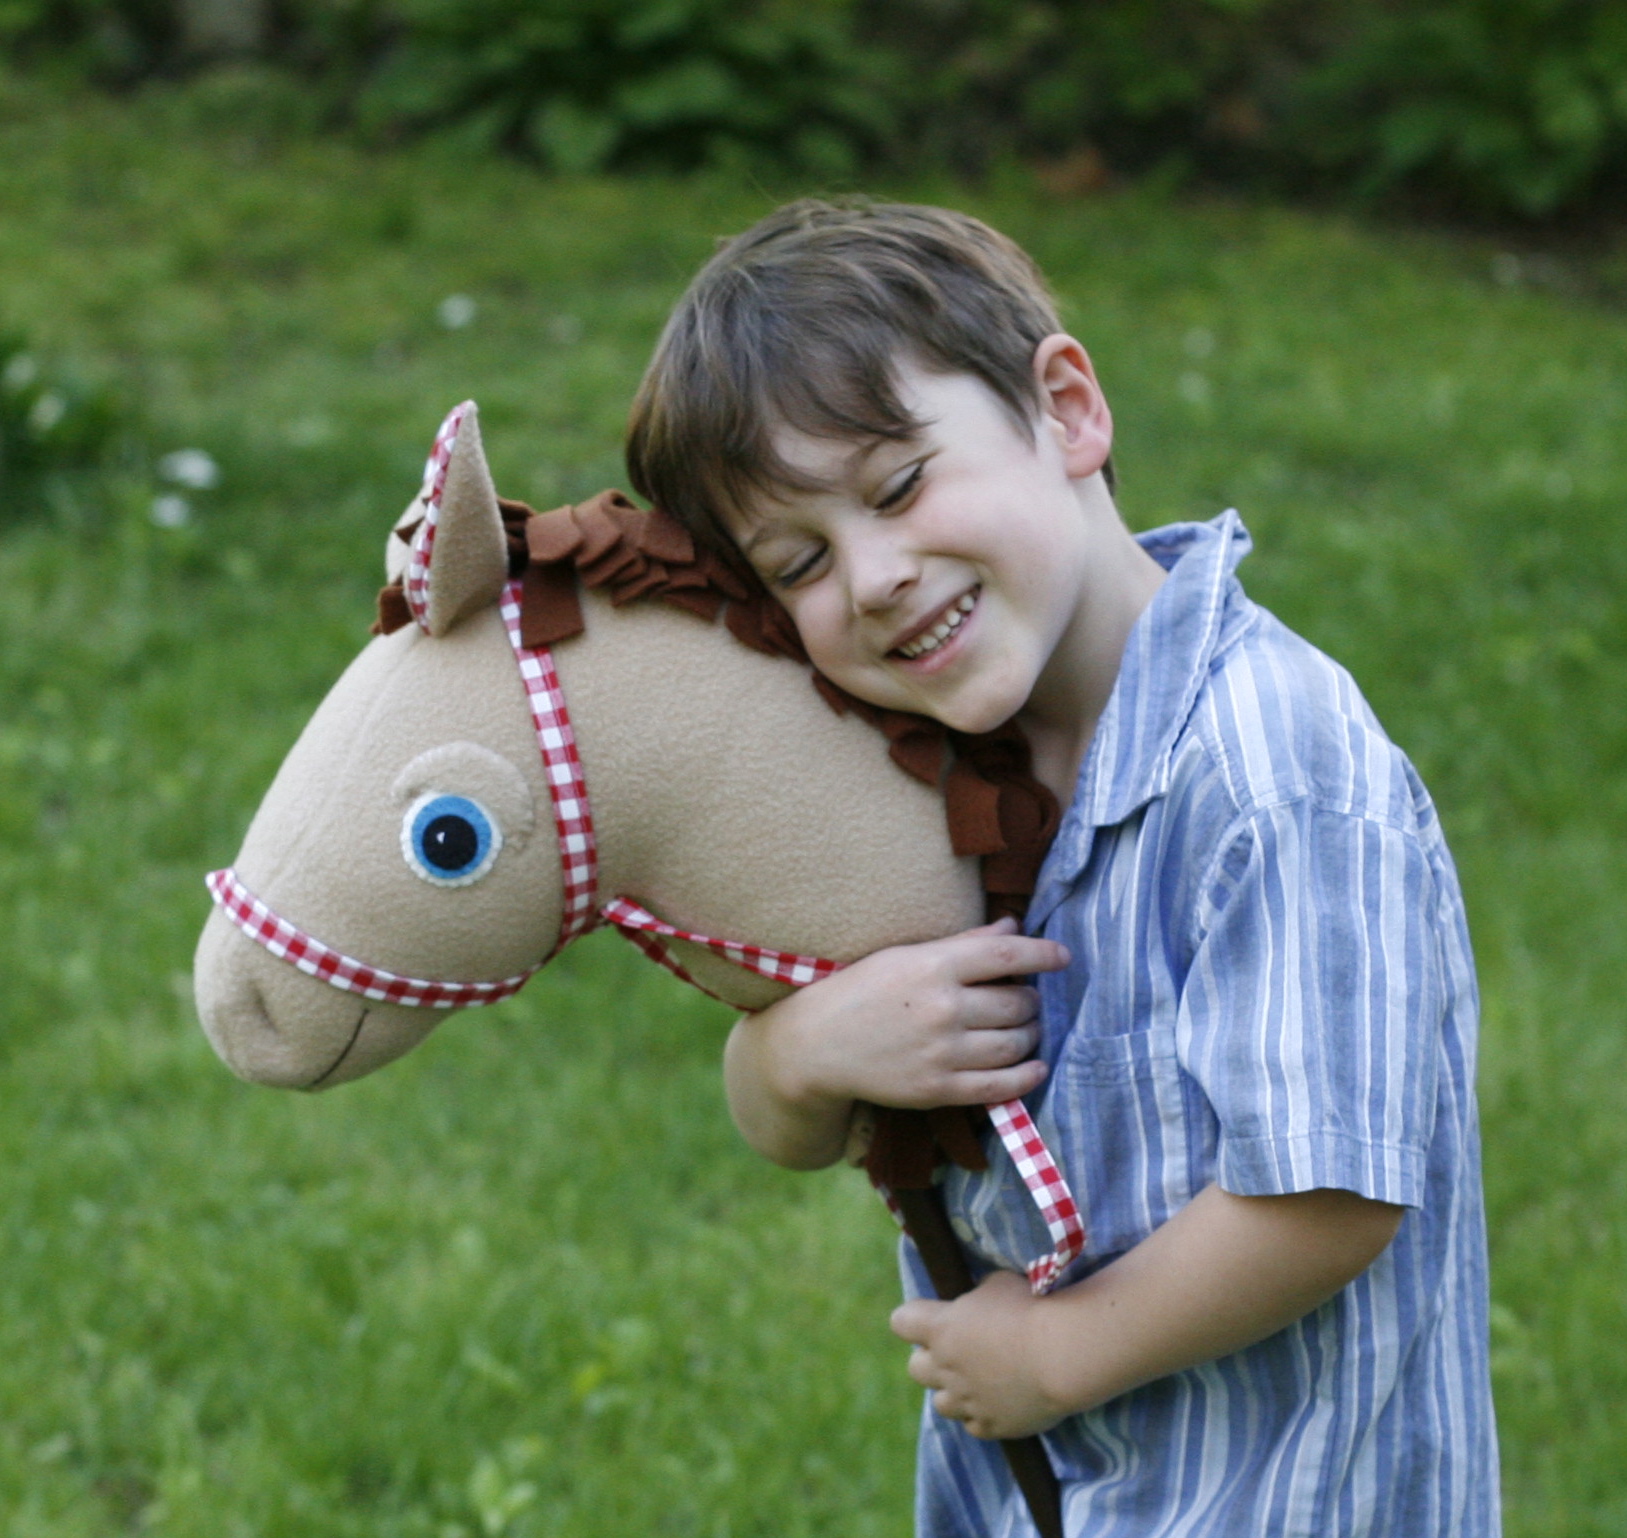
I design sewing patterns for dolls and toys and that means I sew softies every day! Over time I’ve developed a few tricks that help make the process easier and more successful. Here are five of my favorite softie-making tips. I hope you’ll incorporate them into your own sewing and make a lovable, huggable toy for a special child in your life:
1. Don’t be afraid to use interesting and unusual fabrics. One of the things I love most about sewing softies is the creativity involved. Making a toy isn’t like traditional sewing. The sky is truly the limit when it comes to which materials you choose to incorporate. Don’t be afraid to use bits of velvet, pompoms, leather, ric-rac, and faux fur, among other bits and bobs from your stash. Textures and bright colors make toys more interesting and engaging for children. It important to check that you’ve sewn everything securely, of course, especially if you’re hand-sewing trim. But don’t be afraid to try new materials on your next softie!
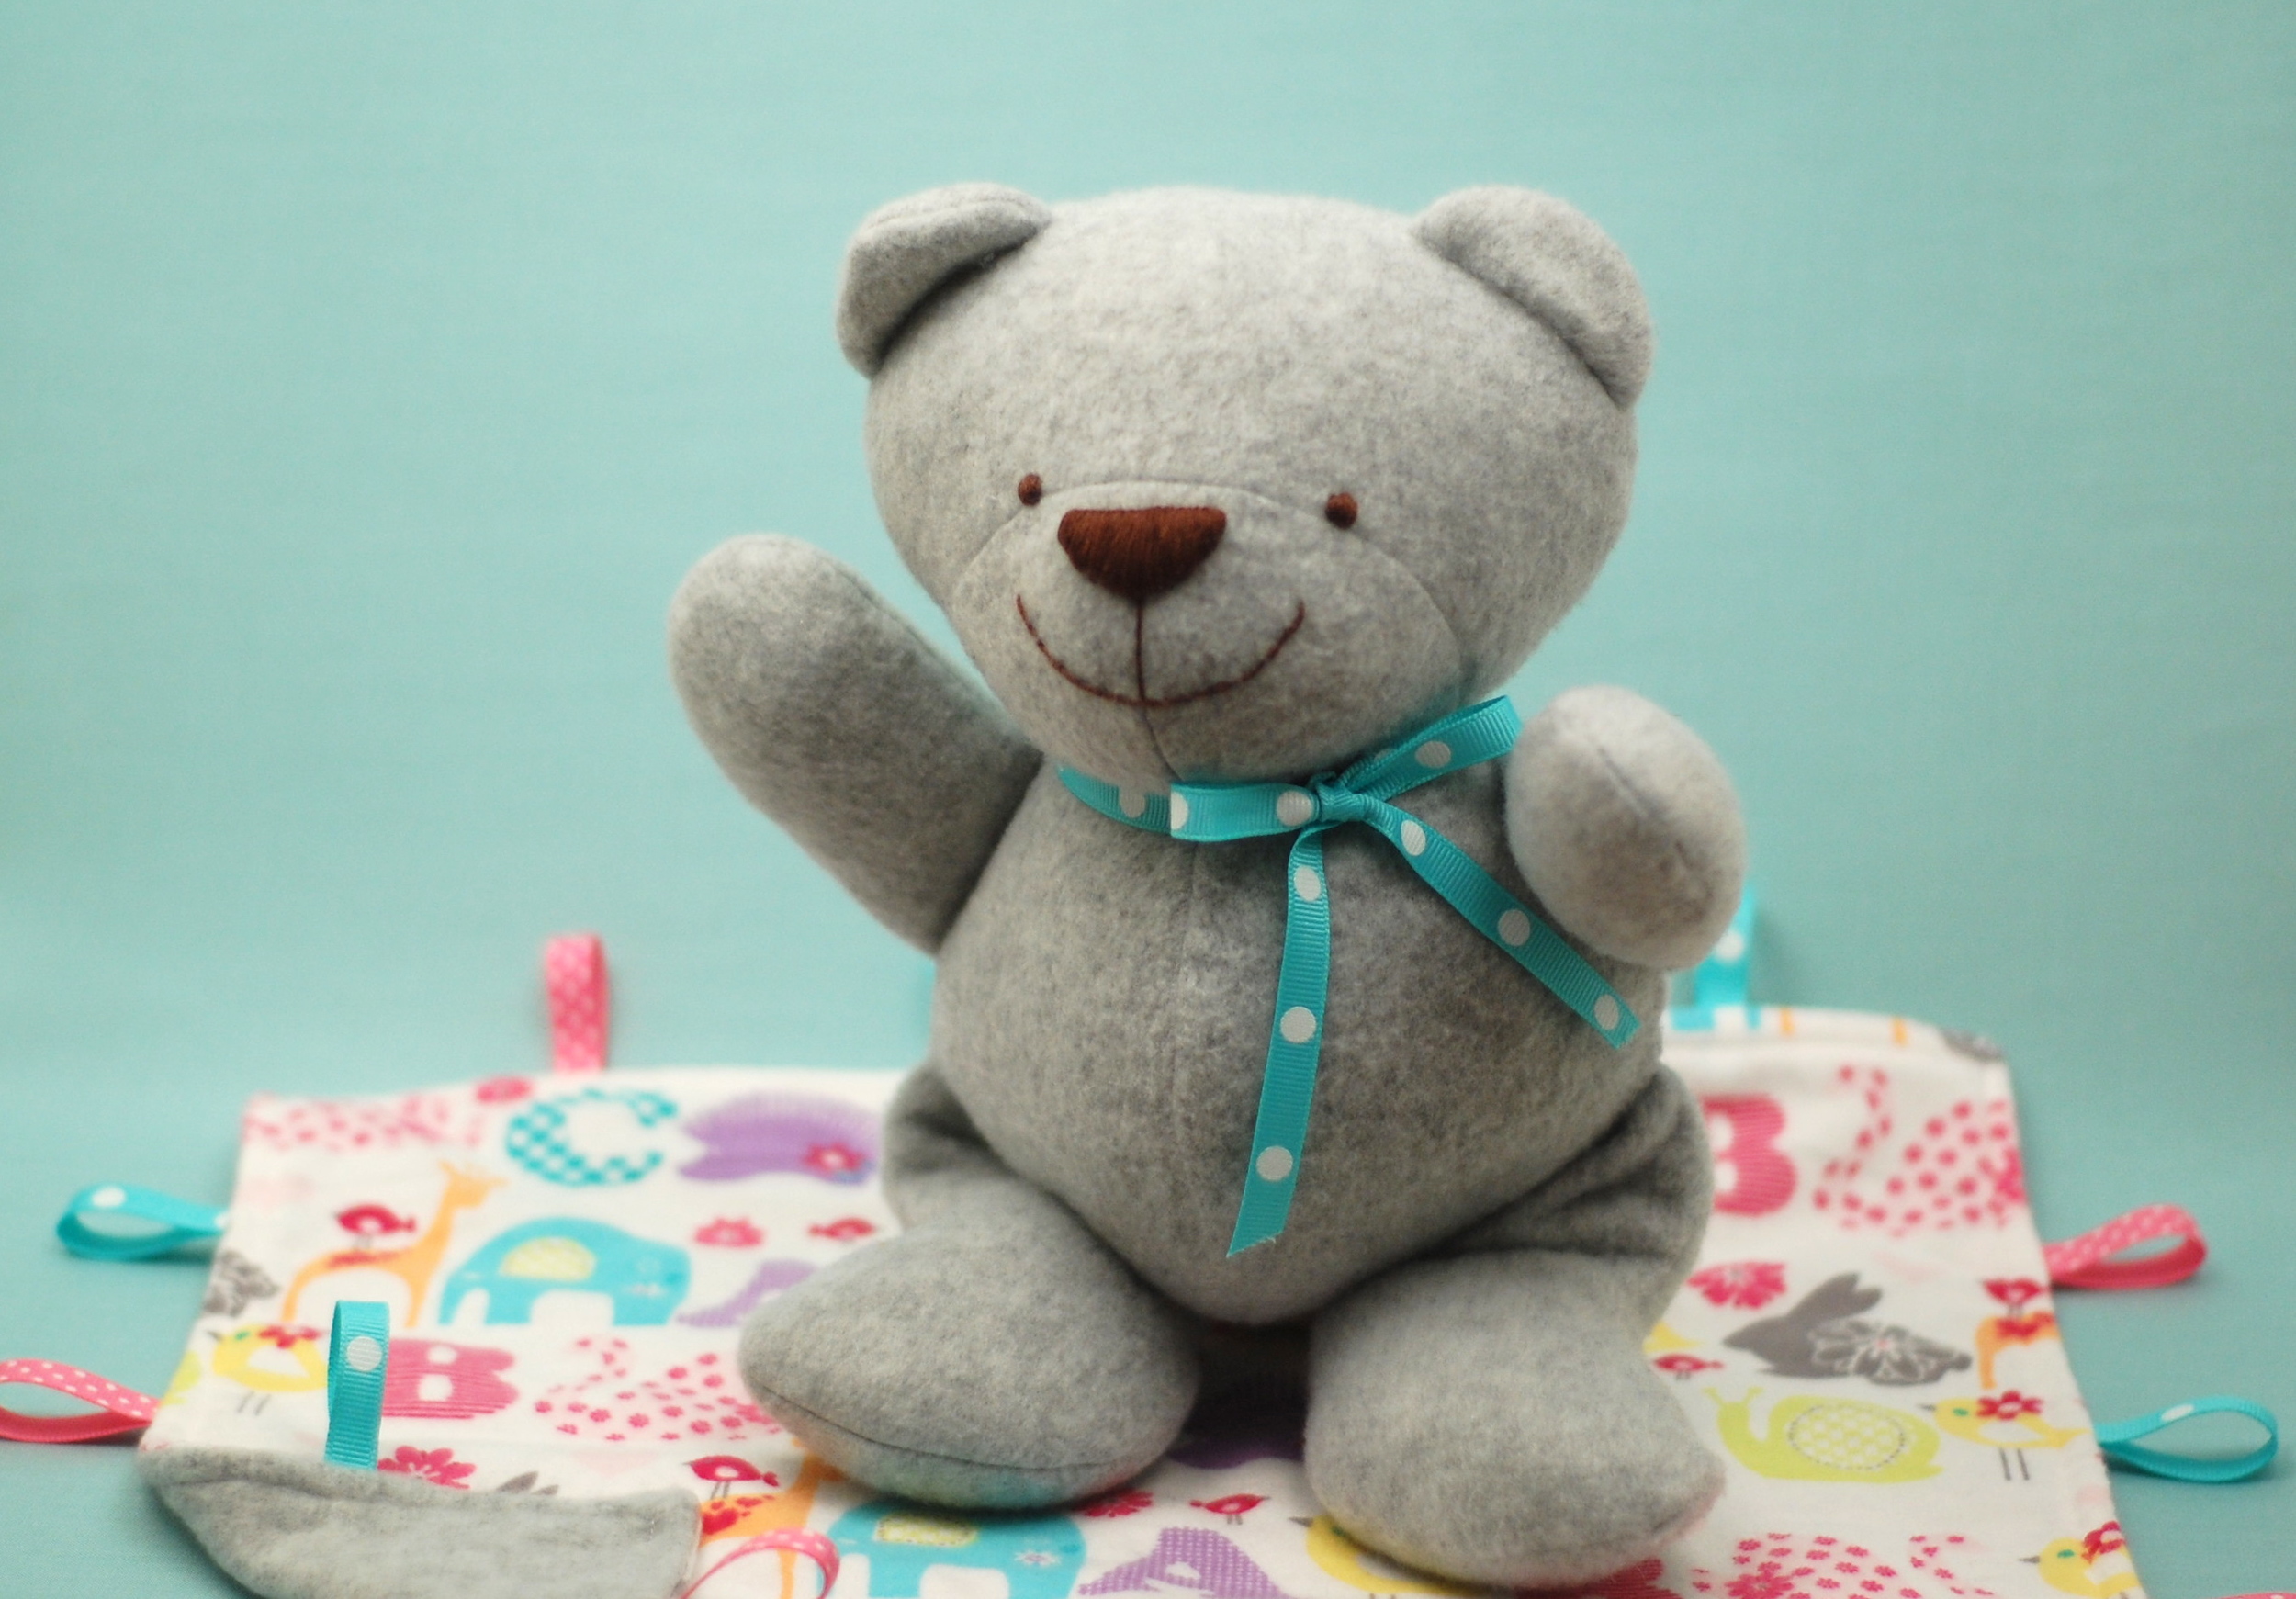
2. Pay attention to grain. Softies are a great first project to tackle when you’re just beginning to learn to sew. There aren’t very many rules to follow, and if you make a mistake, softies are very forgiving. Your toy might look quirky, but it will still be charming. Paying attention to your fabric’s grain line is one rule that even new softie makers should follow. Most fabrics have a warp (the fibers that run up and down) and a weft (the fibers that run side to side). Fabrics tend to be the strongest along the warp threads, and have the most stretch along the weft. Because softies are stuffed, they can easily stretch out of shape and become distorted if you don’t pay attention to the grain direction when cutting. Typically the straight grain (warp threads) should run up and down on each piece, with the stretch running side to side.
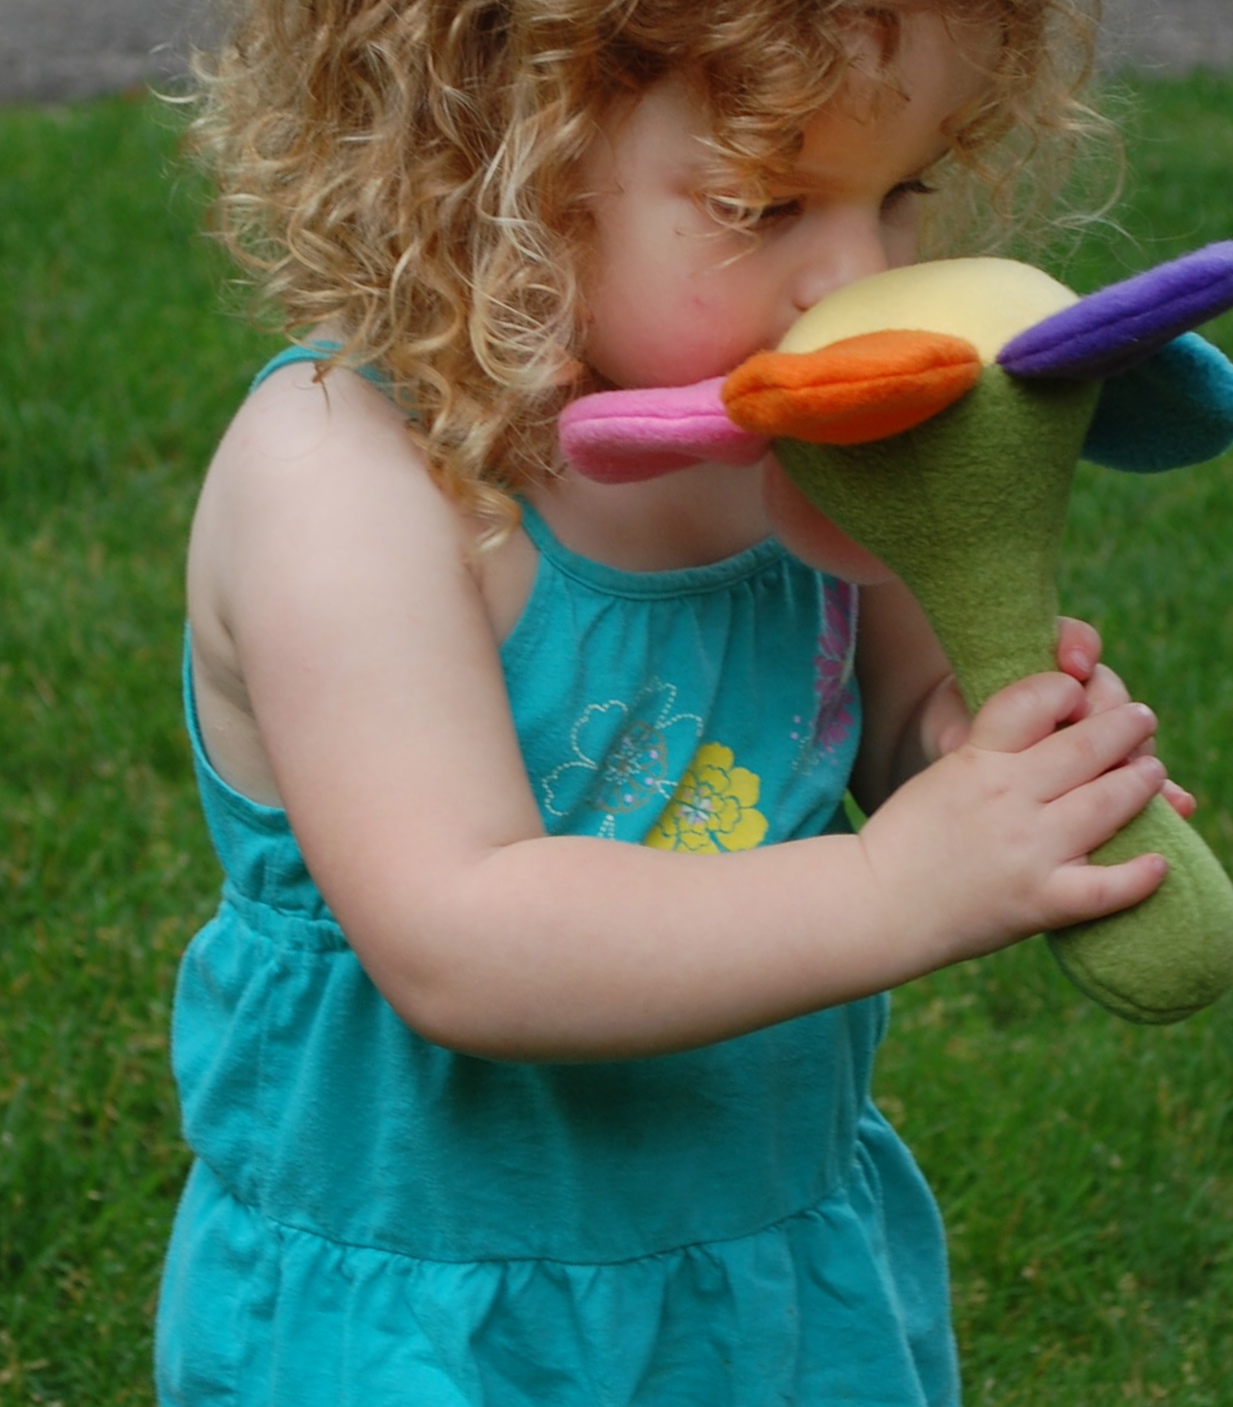
3. Use lots of pins. Softies are made up of many small, curved pattern pieces. It’s important to sew those curves accurately to achieve the right shaping. The trick to accurate sewing is pins. I think of pins as tiny fingers that hold your fabric layers in place when your own fingers won’t fit or are busy guiding the fabric under the machine needle. I place a pin every 1/8 inch while sewing a softie. All of this pinning takes time, but it’s worth it. And since softies are often made from soft, plush fabrics that can slide and bunch up easily, pinning is an even more crucial step to achieve accurate seams. Using as short stitch length will help you sew the curves accurately.
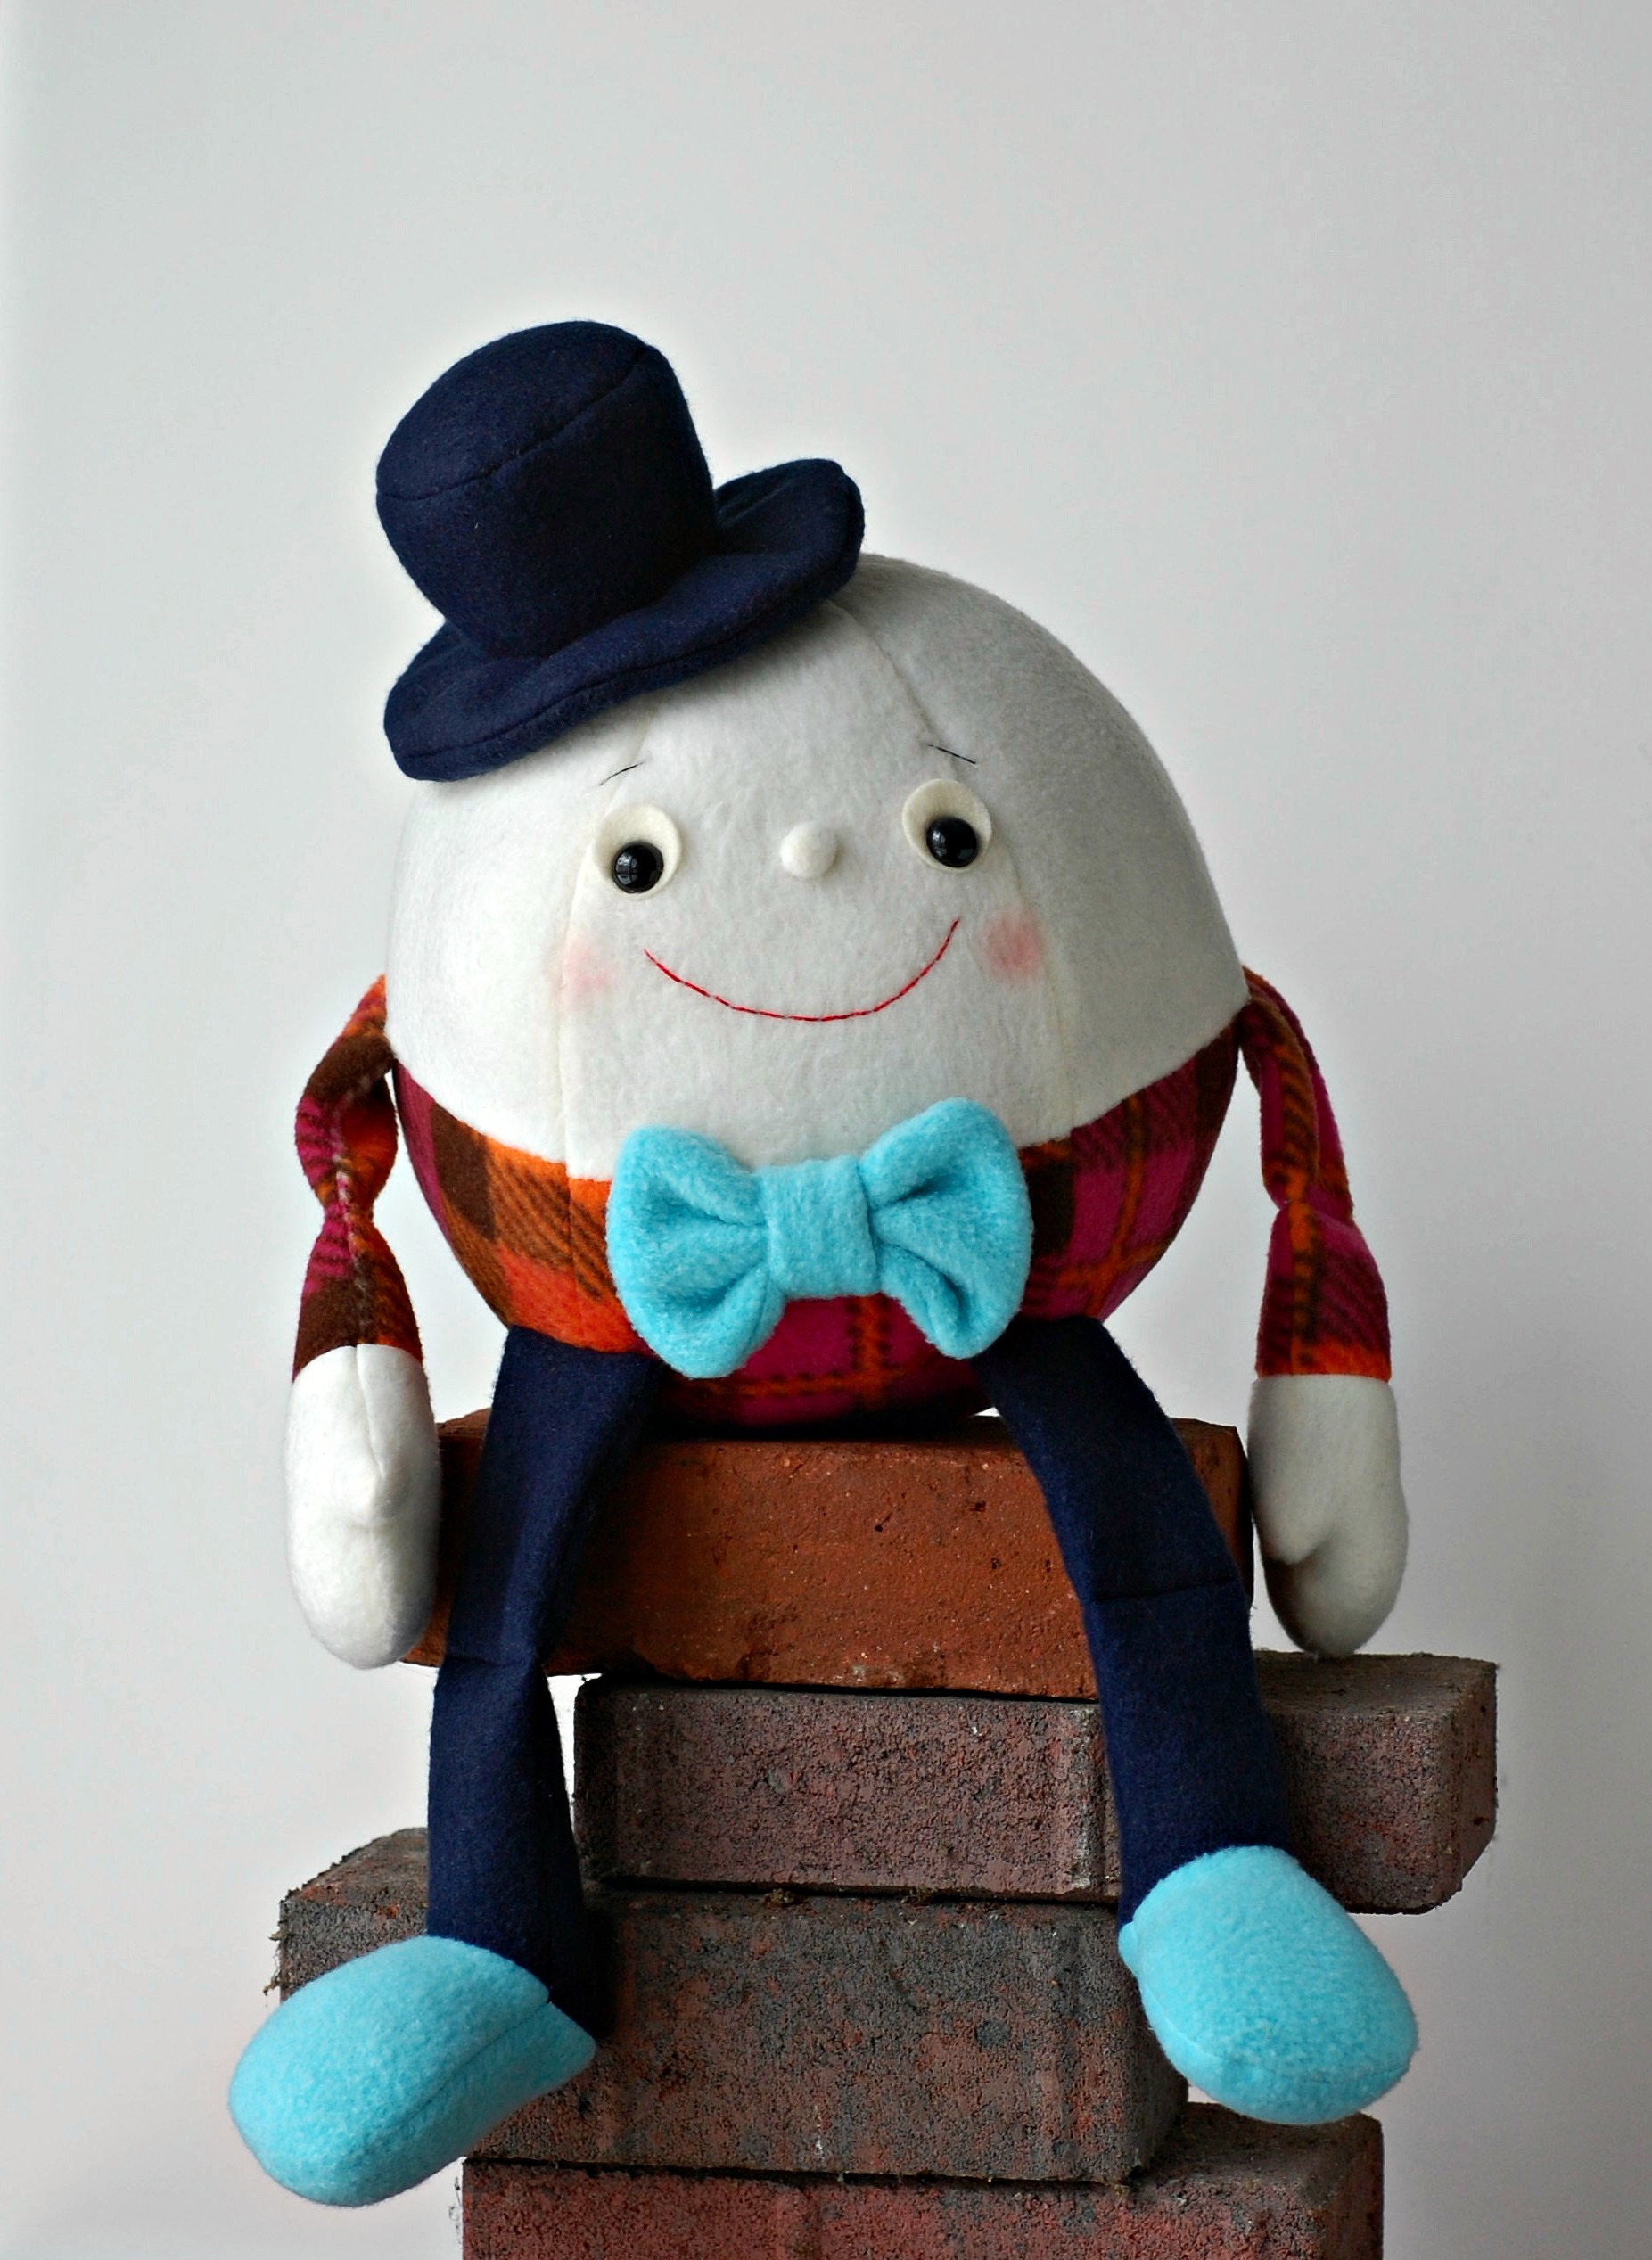
4. Stuff firmly. Softies are three-dimensional objects filled with stuffing. There are lots of stuffing options on the market, but whichever you choose I recommend that you stuff your toys firmly. Stuffing settles and shifts over time. By really packing the stuffing tightly into your toy you’ll avoid a floppy neck or hollow legs that can result when a toy gets played with heavily or washed frequently. My favorite stuffing tool is hemostats. Also known as surgical forceps, this tool is perfect for grasping bits of stuffing and pushing it all the way into the extremities of your softie. I sell hemostats in my shop if you’d like to try a pair {click here}.

5. Focus on the face. The first thing we see when we look at a softie is the face, especially the eyes. Even if you’re sewing is a little bit wonky don’t worry! With a cute face almost any toy will be cute! You can do a little research when you’re designing the facial features for your softie by looking at softies that appeal to you on Pinterest or Google Images. Do you want the eyes close together, or spread out? Should they be up high on the face or level with the nose? Would sleepy closed eyes be cute or open eyes? Does this face need a nose and if so should it be a triangle or an oval or some other shape? Audition some faces by drawing them on paper, cutting them out, and pinning them to the softie. You can also use two pins to play with eye placement, moving them around on the softie’s head until you arrive at a good position. Take your time and really focus on the face so that your softie is as adorable as you’d imagined.
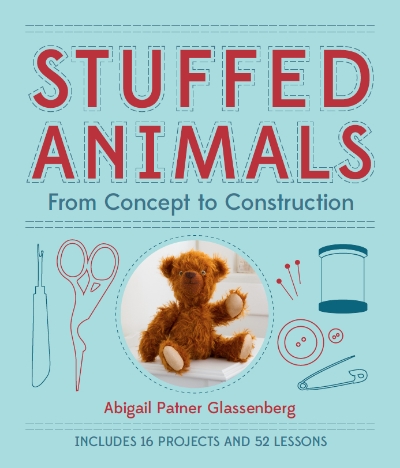
If you’d like to learn to design your own stuffed animals, check out my book Stuffed Animals: From Concept to Construction. It’s got 16 projects and 52 lessons that will teach you how! And visit me on my blog, While She Naps, for more softie making tips and creative business advice.
Disclosure: some of my posts contain affiliate links. If you purchase something through one of those links I may receive a small commission, so thank you for supporting SewCanShe when you shop! All of the opinions are my own and I only suggest products that I actually use. 🙂

