How to Sew the Cheater’s elastic waistband
So, you may or may not have seen my absurdly silly church talent show video where I demonstrate my talent of ‘speed sewing.’ In the video I make a pair of pajama pants for an unsuspecting volunteer in less than 4 minutes. Anyone who takes pride in their sewing will cringe at my blatant disregard for proper hemming, seam finishing, and elastic waistband techniques.
But hey, I made them in 3 minutes and 20 seconds!
And that is probably why I have gotten lots of comments from people who want to know how I made that waistband so fast. In this post I am going to show you but WARNING! This process is not to be attempted by the picky. I doubt it has ever been taught in a paid sewing class. And I wouldn’t use it on something ‘nice.’ But P.J. pants? Perfect!
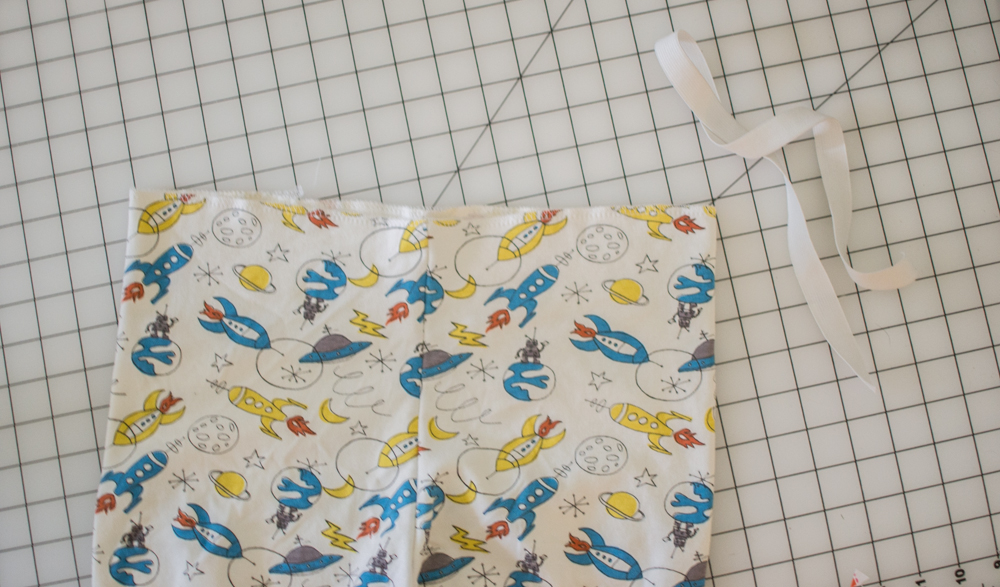
Start with your p.j. pants (or other item) ready for the elastic casing. Here I have finished the top raw edge of the pants with my serger. It wasn’t really necessary because knit fabrics don’t fray, but I love using it when I can (this is the soft and cosy Circa 52 organic knit from Birch Fabrics).
Anyway, the top edge of those pants is going to show, so finish it if you would like.
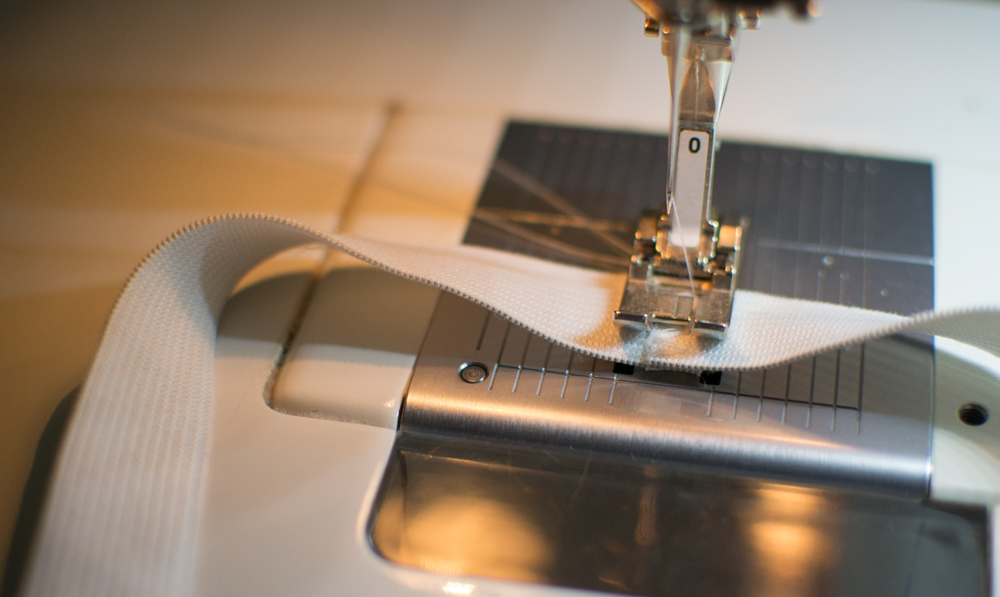
Sew the elastic into a loop… make sure it’s not twisted.
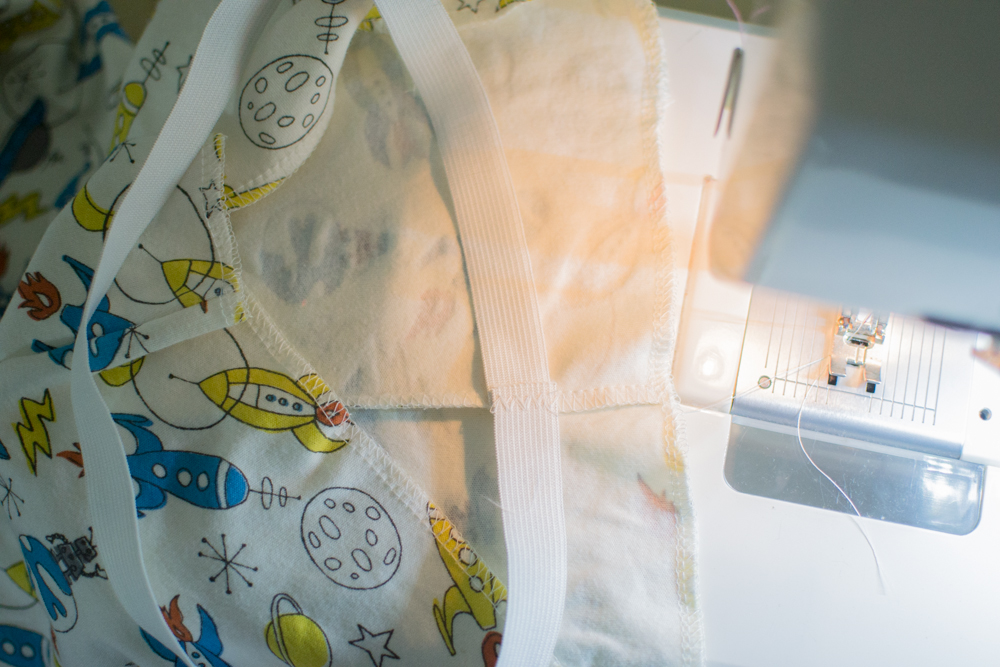
Lay the elastic against the inside back of the pants, with the seam in the elastic against the back seam on the pants, about 1 1/2” below the top edge.
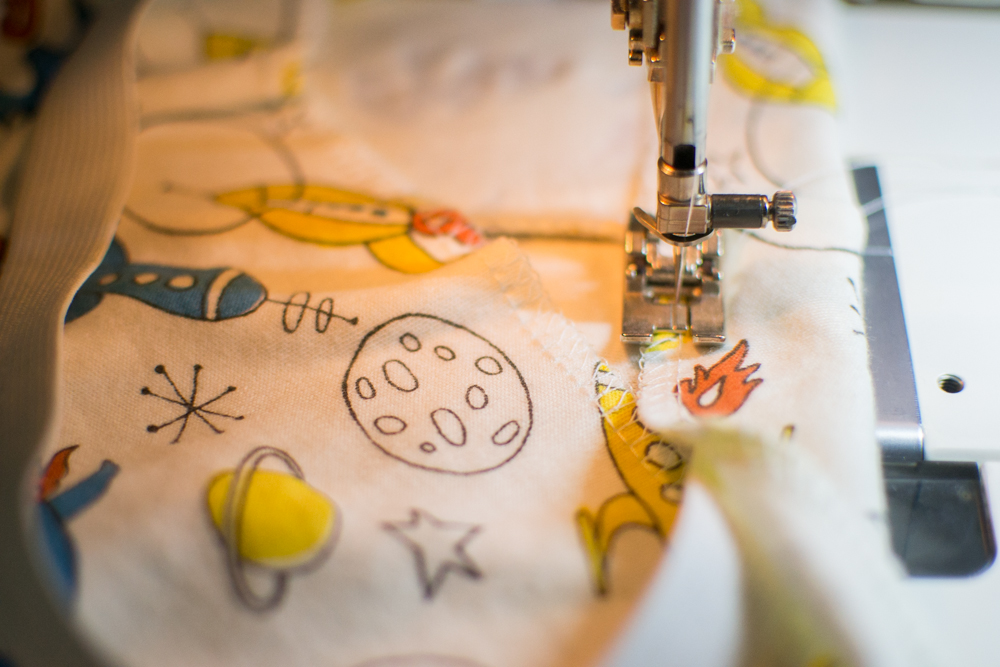
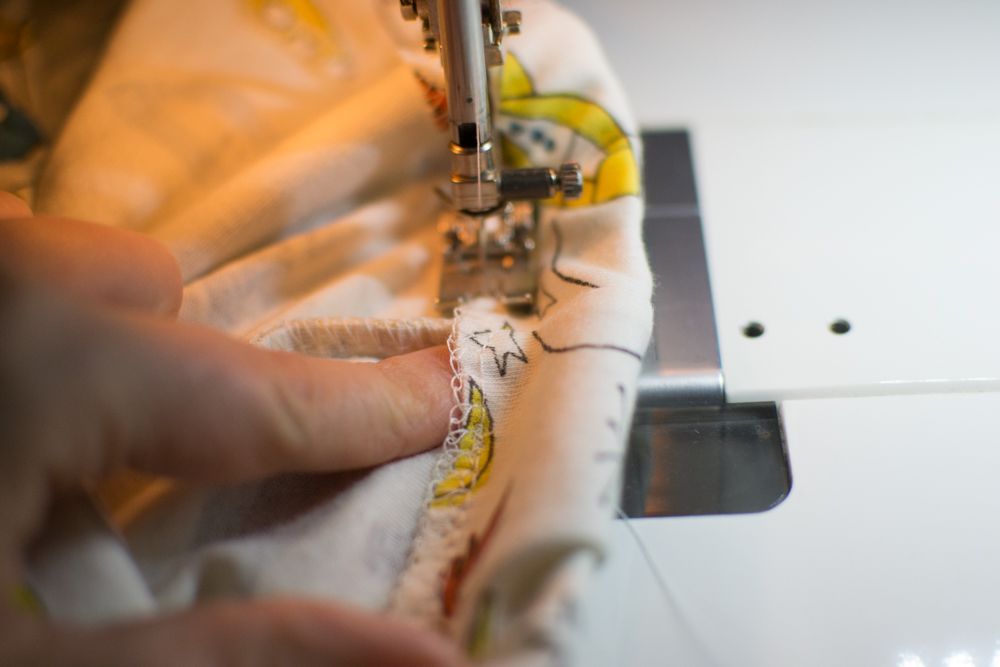
Fold the top edge of the pants down over the elastic, and start sewing about an inch past the back seam. Backstitch and then continue around the pants.
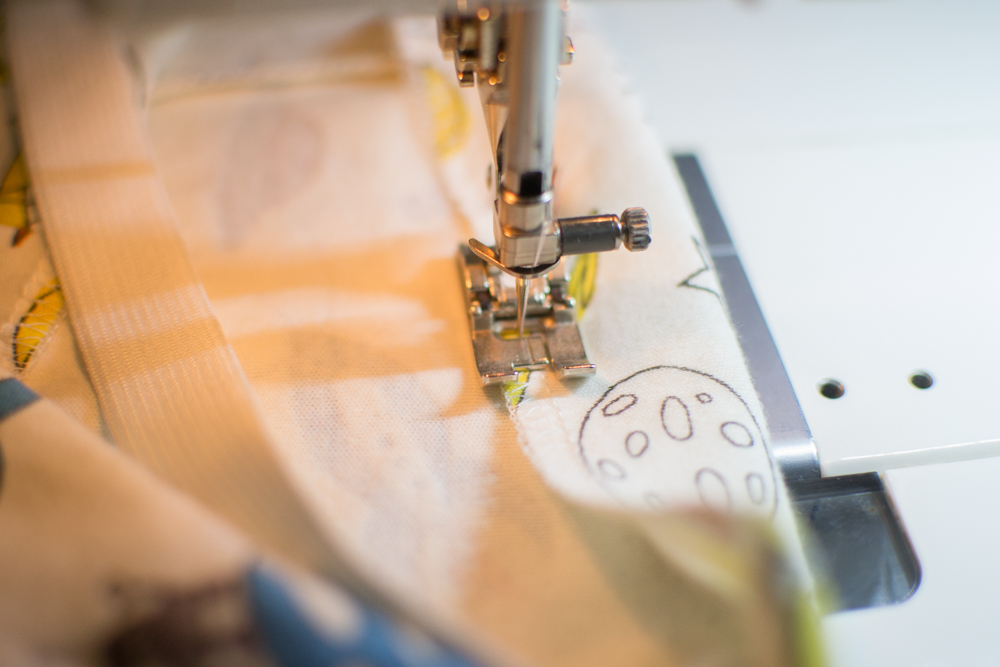
Fold the top edge of the pants down over the elastic as you go. Try to keep the casing the same width all the way around.
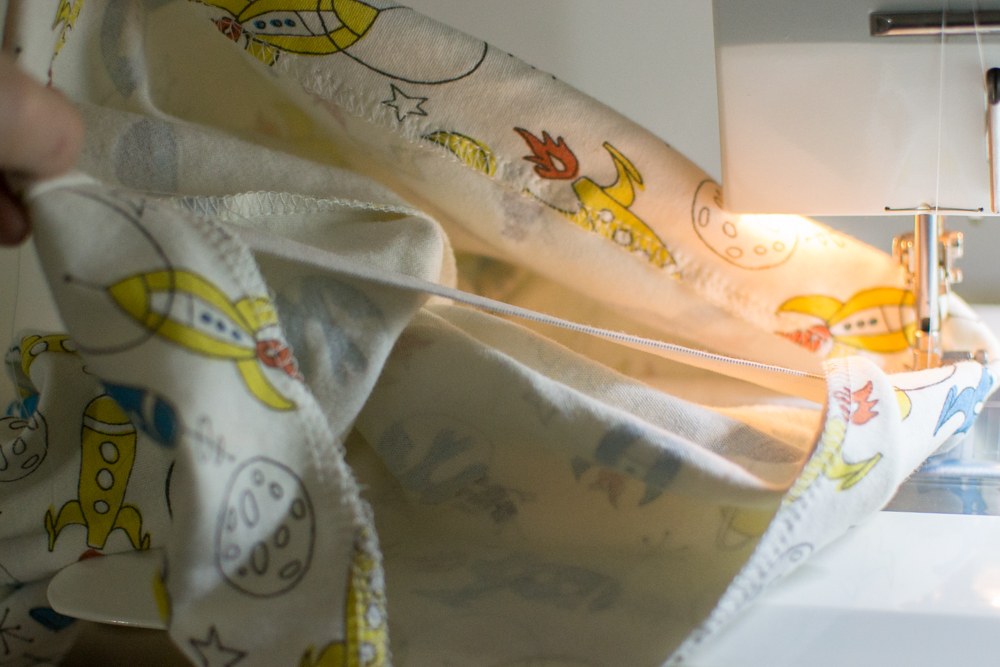
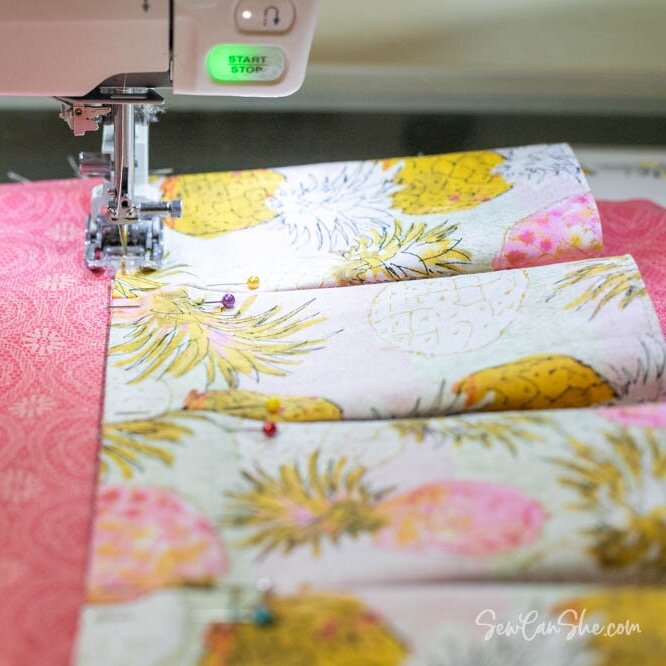
When you get about half way around, you’ll probably notice that you have a lot less elastic than pants. That’s usually how it works.
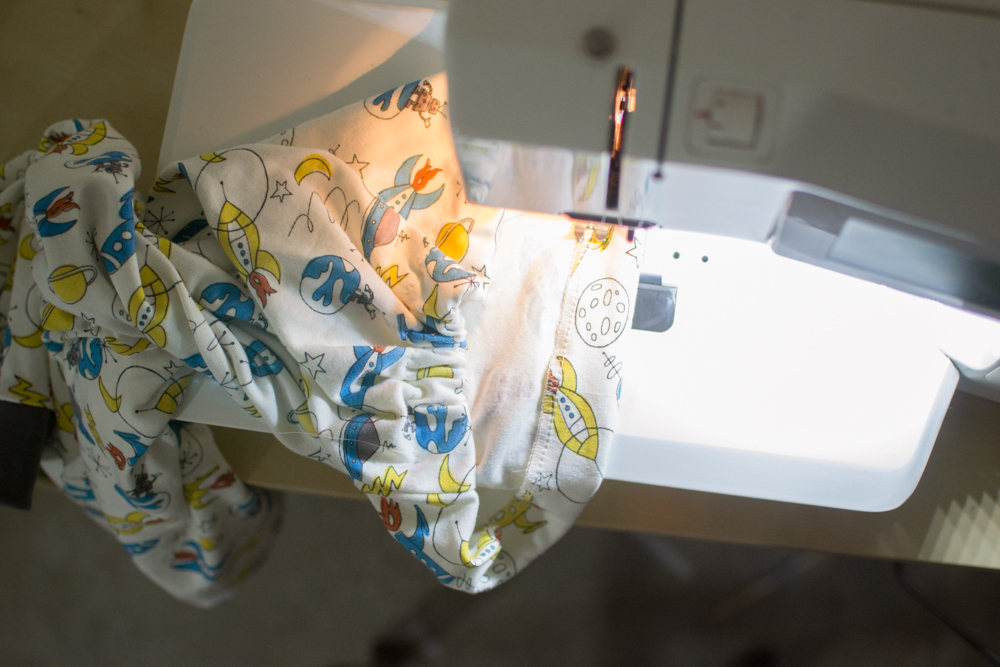
So bunch up the casing on the sewn part of the pants, allowing you to have enough free elastic to finish sewing the casing.
When you reach the back of the pants again, you may want to stop and insert a piece of ribbon or something else to act as a tag. Handmade pants can be so confusing to kids, lol!
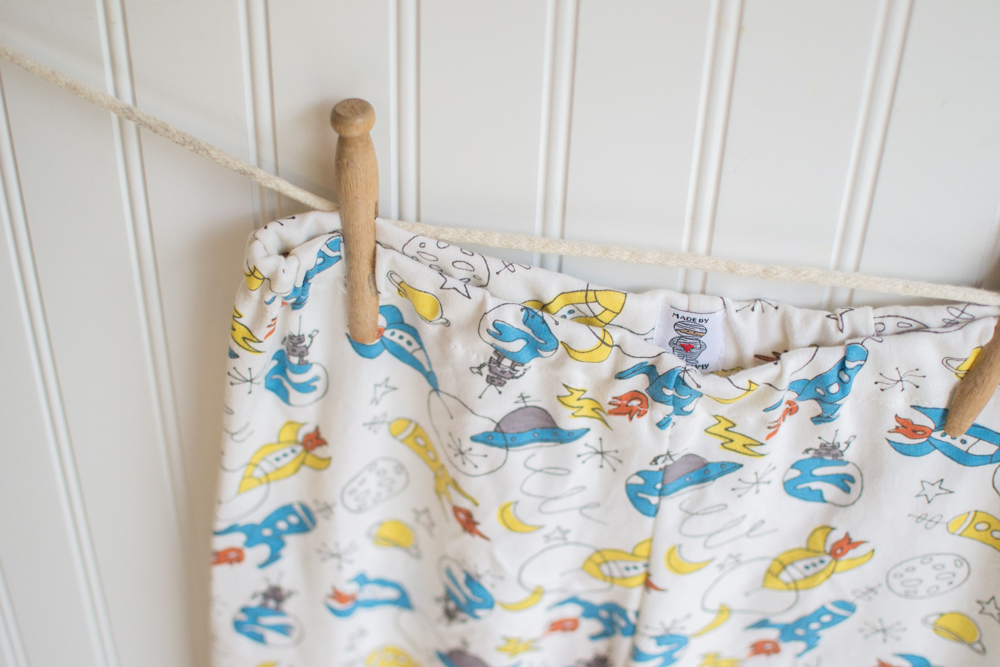
I stitched a cute little tag on top of the casing.
And that’s it. This is not a proper elastic casing by any means, but it’s fast and it works.
By the way, These pants were made from my free P.J. Bottoms and Shorts Pattern.
Happy Sewing!


Disclosure: some of my posts contain affiliate links. If you purchase something through one of those links I may receive a small commission, so thank you for supporting SewCanShe when you shop! All of the opinions are my own and I only suggest products that I actually use. 🙂