Easy Quilt Block Tutorial: The 9 Patch Block

You can sew the one of the oldest, sweetest quilt blocks around with my easy photo tutorial. The 9 Patch Block is a beloved favorite of quilters everywhere.
In this tutorial I’ll show you how to make quick work of a whole bunch of nine patch blocks. I stitched up 16 in just a couple hours.

Choose up to 9 different fabrics and cut 9 strips the width of the fabric. My strips are 2 1/2” tall, so my block will be 6′ square finished.
If you want to make a 12’’ quilt block, sew together three 4 1/2’’ strips.
Arrange the strips into 3 sets of 3 strips each.
Hint: place the low value (light colored) strips next to high value (dark colored) strips whenever possible to create more contrast.

Set your stitch length to 1 1/2 to 2 so the stitches will be small.

Sew the strip sets together. Press all of the seams in the same direction.


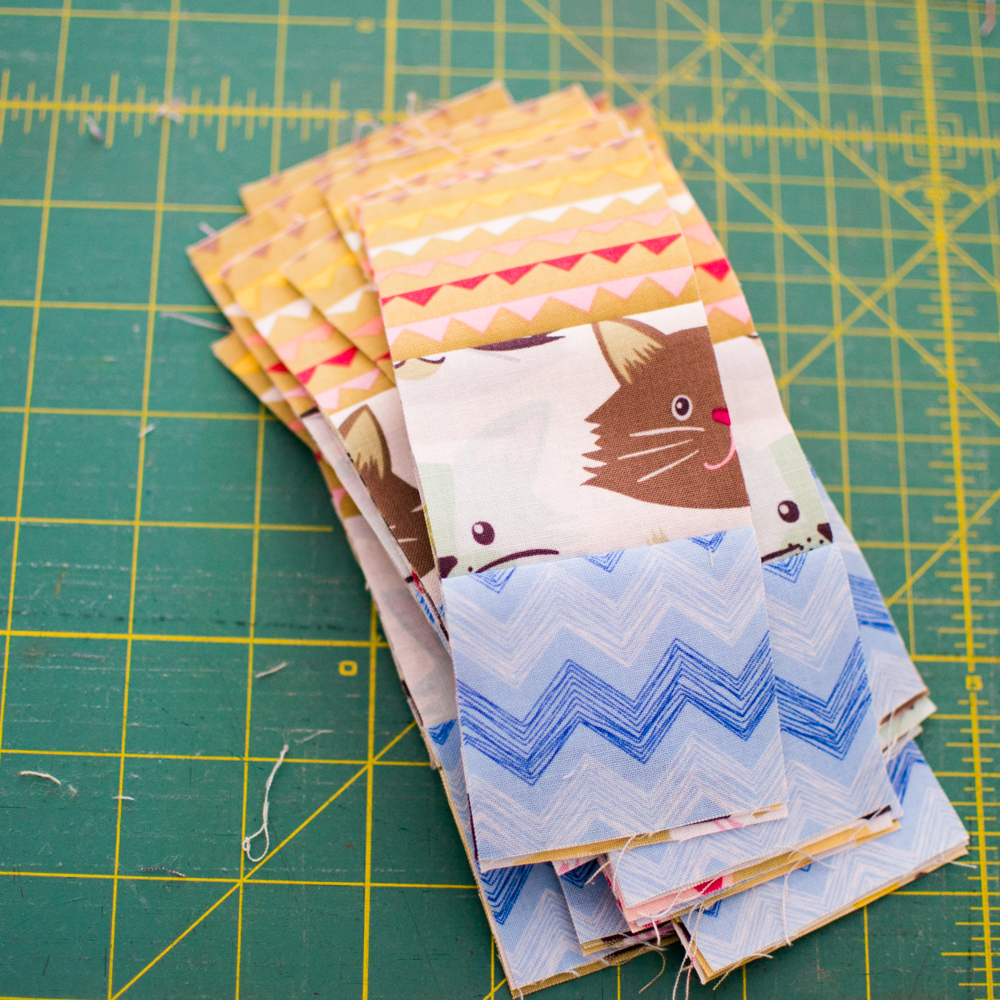
Stack the three strip sets as neatly as possible and cut off the selvages on one end.
Then sub-cut strips that are as wide as the original strips were tall. Which means mine are 2 1/2” wide. Cut as many as you can. If you are working with 2 1/2” strips like me, you’ll be able to get 16. Which means you will make 16 blocks.

Sew each set of 3 sub-cut strips into a block.
Since you pressed all of the seams in one direction, you’ll be able to nest the seams instead of pinning and sew the blocks together quickly and accurately.

Here are the 16 little blocks I made in just a couple hours – and I was stopping to take pictures!

In thirty more minutes I had them sewn into a little tied blanket.
Happy sewing!

Featured


Disclosure: some of my posts contain affiliate links. If you purchase something through one of those links I may receive a small commission, so thank you for supporting SewCanShe when you shop! All of the opinions are my own and I only suggest products that I actually use. 🙂