How to Sew a Glittering Cosmetic Pouch {free tutorial}

There’s a fun new product that you may have seen at the craft store… iCraft Deco Foils. I saw them at Michaels near the paper crafting section, but guess what? They are amazing on fabric too!
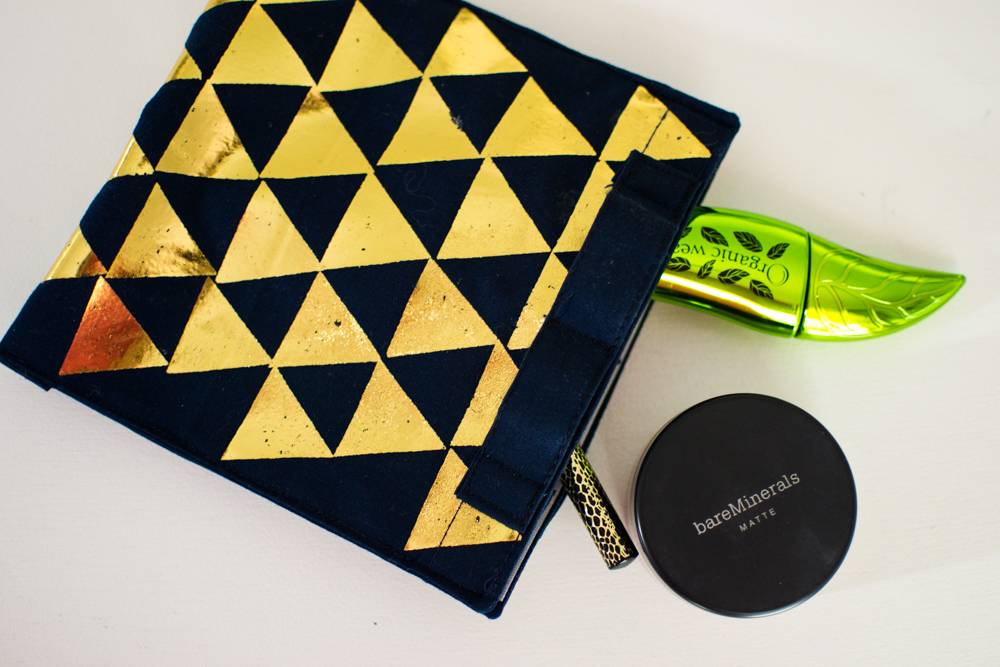
This 6” square cosmetic pouch is simple, but looks gorgeous thanks to the Deco Foils, don’t you think? Plus, it closes with hook and loop tape (velcro) instead of a zipper. I love zippers, don’t get me wrong, but sometimes it’s fun to do something different.
Here’s what you’ll need to make my Glittering Cosmetic Pouch:
-
a solid fat quarter of navy blue fabric
-
5 3/4” of hook and loop tape
-
1 sheet of iCraft Decofoil Hot Melt Adhesive
-
1 1/2 iCraft Decofoil Transfer Sheets in Gold
-
a SuperStick fabric glue stick (or other glue stick)

Cut the Hot Melt Adhesive sheet (not the gold foil) into 1” equilateral triangles.


To do that, first draw lines 1” apart on the non-bumpy side of the sheet.
Then turn the ruler 60 degrees (see if your ruler has a 60 degree line) and draw a line.
Fill up the sheet with lines 1” away from each other and the 60 degree line.
Lastly, turn the sheet again and draw parallel lines 1” apart from eachother that turn the little diamonds into triangles.

Use paper scissors to cut out the triangles.
From the fat quarter of navy blue fabric, cut:
-
2 rectangles 6 1/2” x 14 1/2”
-
2 rectangles 3” x 5 1/2”


Place hot melt triangles on one of the 6 1/2” x 14 1/2” fabric rectangles as shown above, bumpy side down. To hold the triangles in place until I could fuse them, I use my SuperStick glue stitk to add just a dab to the bumpy side and stick it in place.
Place the first row of triangles 3/8” from the top edge.

Fill the rectangle with hot melt triangles, and then trim away any extra fabric from the bottom so that the last row of triangles is also 3/8” from the edge. You may not need to do this, it is just to make the pattern look nice.


Move to your ironing board and place one of the included silicone pressing sheets over the fabric. Using the medium heat setting, press each section for 30 seconds.

Remove all of the paper triangles. Here you can see my ‘dabs’ of glue stick under the hot melt adhesive, but it won’t show later.


Place the gold transfer sheet over the fused hot melt, gold side up. Again cover with the silicone pressing sheet and press each section for 30 seconds. Make sure the entire piece gets pressed for 30 seconds or longer.
One gold transfer sheet won’t cover all of the triangles, so you’ll have to repeat this step with part of a second sheet later.

Now comes the fun part! Carefully lift up the foil sheet and see your gold triangles.
Cut a small piece of gold transfer foil to cover the remaining hot melt triangles on the fabric and repeat so they are all pretty and gold.
Time for sewing! Trim the remaining 14 1/2” x 6 1/2” navy rectangle to the same size as the first (remember you may have trimmed away a little bit to make the pattern look nice).
Then place the two rectangles right sides together (with the foils on the inside) and stitch all the way around with a 1/4” seam allowance. Leave about 4” open at one end for turning.

Turn the rectangle right side out and press flat with the foil side down.

On the non-foil side, sew the hook and loop tape pieces to either end – the soft side on one end and the scratchy side on the other end.


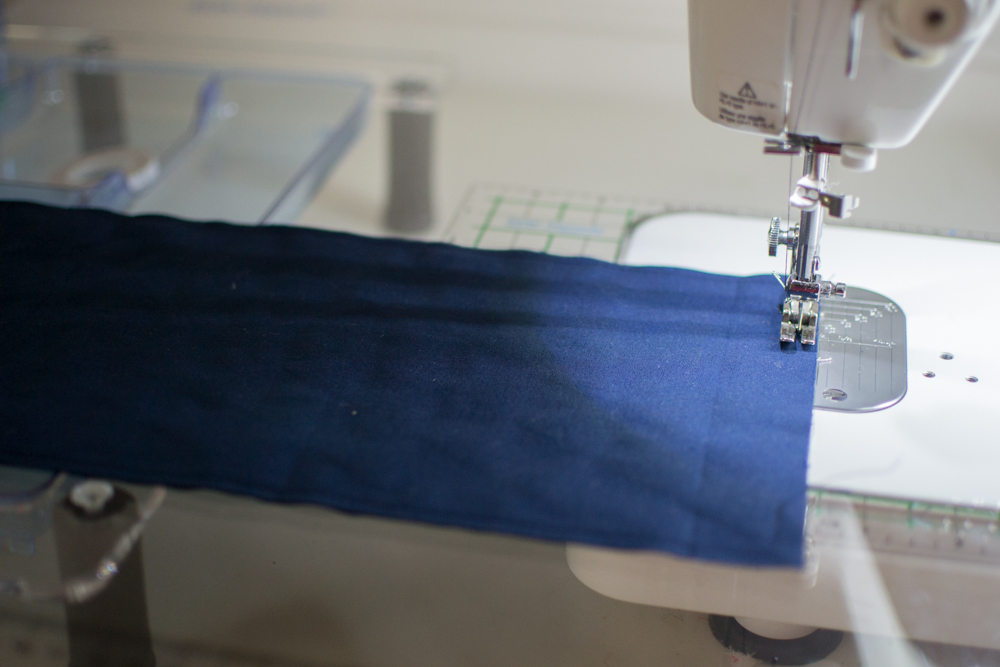
The 3 1/2” x 5” rectangles are the handles. Press in half lengthwise. Open and press the long edges to the center, fold in half again and press. Sew close to both long edges. Fold each end under 1/2” and press.
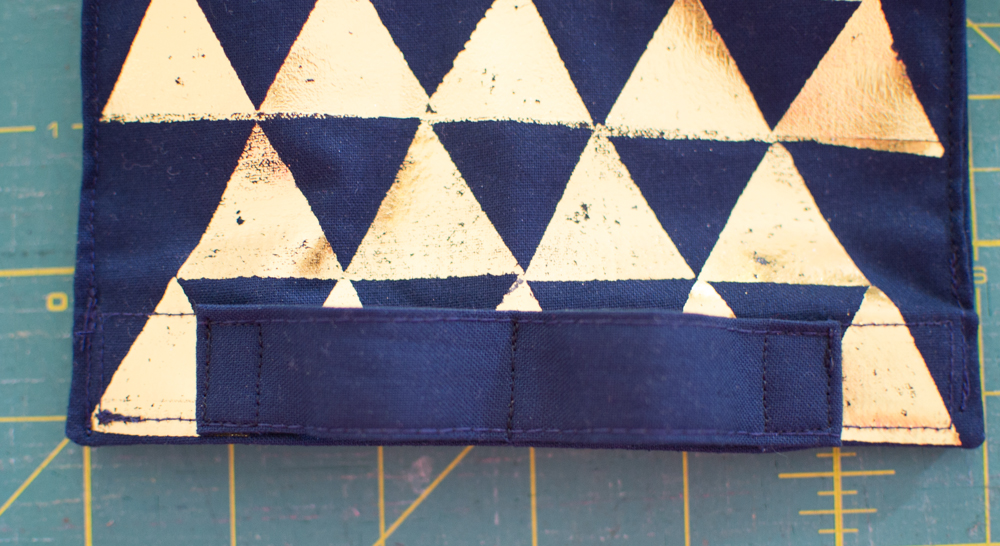
Sew one handle on each end of the pouch with the folded under ends placed 1” from the corner. Sew small rectangles on each side of the handle to secure and hide the raw edges. The handle will ‘pop up’. Press it down in the center, and sew a line to create two finger holds.

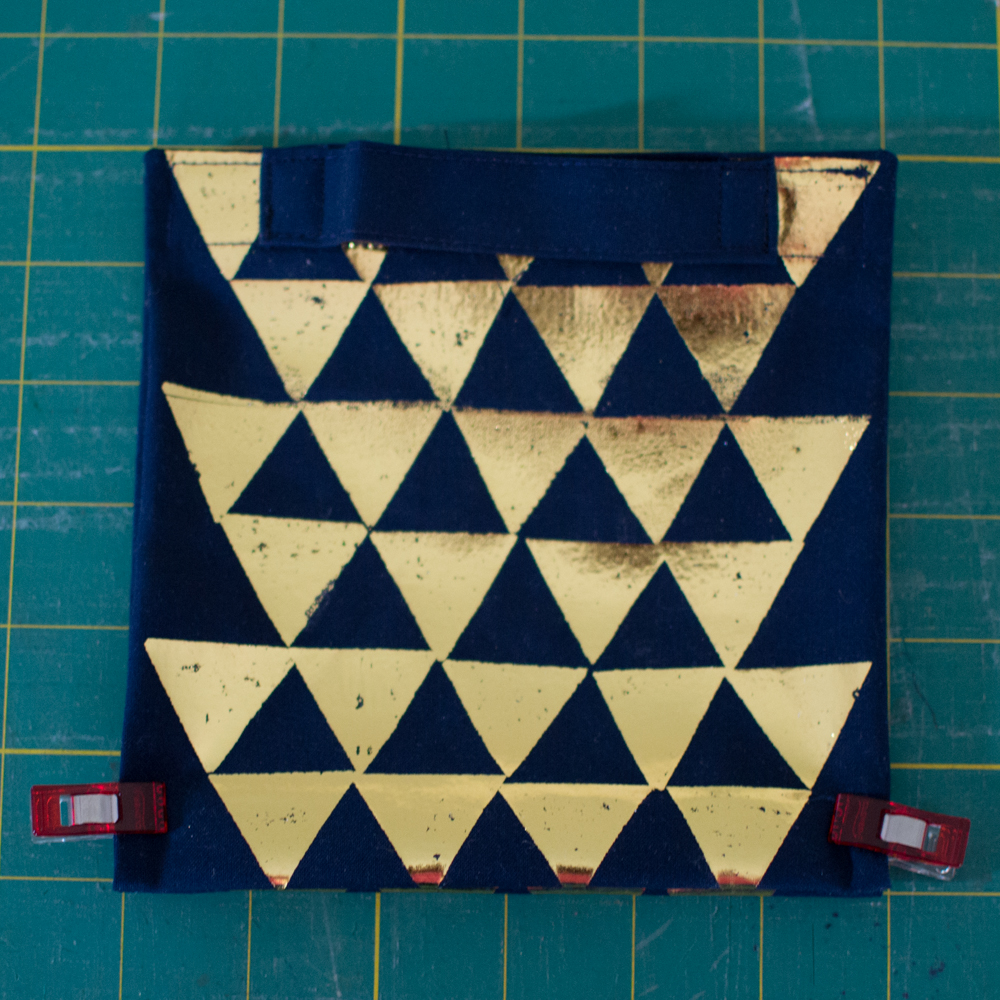
Fold the pouch in half and stick the velcro together. Make a little pleat at the bottom by folding the bottom edge to the inside. Measure the sides of the pouch and adjust the pleat so that each side is 6” tall. Secure the bottom with clips or pins. The top is stuck with the velcro, so you don’t need clips.

Sew the sides of the pouch from the bottom to the top. And you are done!

Fill with your favorite essentials and store them in style.
xo,

Disclosure: some of my posts contain affiliate links. If you purchase something through one of those links I may receive a small commission, so thank you for supporting SewCanShe when you shop! All of the opinions are my own and I only suggest products that I actually use. 🙂