DIY Tulle and Ribbon Wrap-Around Skirt

This year my daughter asked me to make her a Cinderella Costume for Halloween. I must admit that it made me think of this funny sewing meme I saw in my Instagram feed…

Except that I wasn’t even willing to spend $50, lol. But then she showed me a long ribbon and tulle skirt that she found at the store. Suddenly, I knew a close-enough costume could be made.

Our Cinderella costume consists of the Tulle and Ribbon Skirt (easy sewing tutorial below), a light blue leotard (I sewed it up using an old Stretch & Sew Pattern that I found at the thrift store – and embellished it with trim around the neckline), tights, gloves (borrowed from Grandma) and a sparkly tiara.

This is a wrap-around skirt that ties in the back (or front, or side – wherever) so you can easily modify it to fit any size. This particular skirt would fit older girls, teens, and women. And the best part is you only need two things – tulle and satin blanket binding! Oh, and thread. I used 10 yards of tulle to make it really full and fluffy. With a coupon you can often find tulle for $2 a yard, so why not? Using a coupon for the satin blanket binding as well, this skirt cost less than $15!
In black or red it would make a cute witch. Or use it to make a costume for any Disney princess. There are so many possibilities. Let’s sew a tulle skirt!
DIY Tulle and Ribbon Wrap-Around Skirt Sewing Tutorial
You will need:
- 10 yards of tulle, 50” wide or wider
- 1 package of 2” wide satin blanket binding
Having a serger makes this project super fast and easy, but if you don’t have a serger you can gather the tulle other ways. No worries.

Cutting and Folding:
1. Cut the tulle into two 5-yard pieces.
2. Unfold and re-fold each piece so that the top layer is about 1/2 as wide as the bottom layer as shown in the diagram above. Place pins along the fold about every 10” to hold it in place.
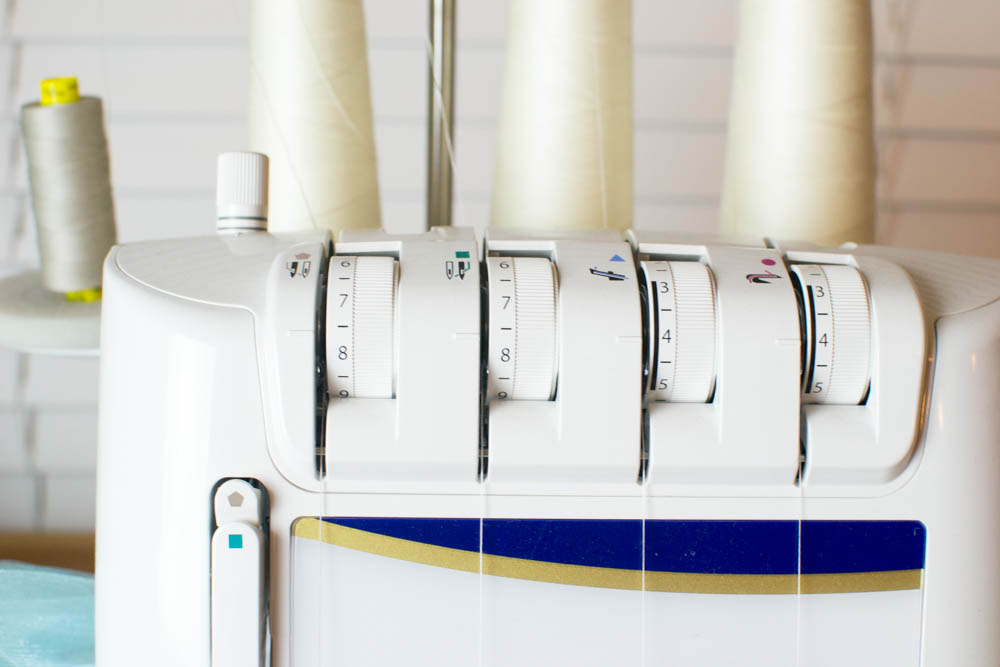
Gather the Tulle:
The next step is to gather the tulle along the folded edge. If you don’t have a serger, I suggest zig zagging over a long piece of string (or dental floss). Be careful not to sew over it, just zig zag over it along the whole edge, then pull on the string or dental floss to gather each 5 yard piece until it is about 50″-55”.
I gathered my tulle by turning the needle thread tensions on my serger way up (to 7 1/2). I left the looper thread tensions at normal.
This caused my left needle thread to keep breaking so I switched that out to heavy duty thread and it solved the problem.

After that 5 yards became 53” of perfectly gathered tulle!
Gather the other 5 yard piece of tulle in the same way.

Attach the Tulle to the Blanket Binding
1. Cut a piece of satin blanket binding 140” long. Fold it in half to find the center (70” from each short end). Place a pin at the center.
2. Fold each piece of gathered tulle in half to find the center. Mark the center of each piece with a pin. Stack the two pieces of tulle, one on top of the other with the gathered edges at the top.
3. Open the blanket binding and insert the top edges of the tulle inside it. Match the center of the blanket binding piece with the centers of the tulle. Fold the blanket binding over the entire top edge of the tulle layers and pin it closed. Use plenty of pins.

4. Sew the edges of the binding together, starting at one of the short ends. Sew across the short edge, then down the long edge, and up the other short edge.
Note: Sewing through all of these layers was a bit messy. I wished I had switched to my walking foot to help them feed more evenly. But I pushed through.

And done! If you make a costume using this tutorial, I’d love to hear what it was! Come join our SewCanShe Sewcialites Facebook Group to share what you’ve been working on!
Happy sewing!

Featured

16 Fabulous Sewing Ideas for Fall – free sewing patterns and tutorials
How to Sew a Closet Organizer with lots of pockets – Free Sewing Pattern
How to Sew a Closet Organizer with lots of pockets – Part 2
DIY Woven Basket – with optional handles! {free tutorial}
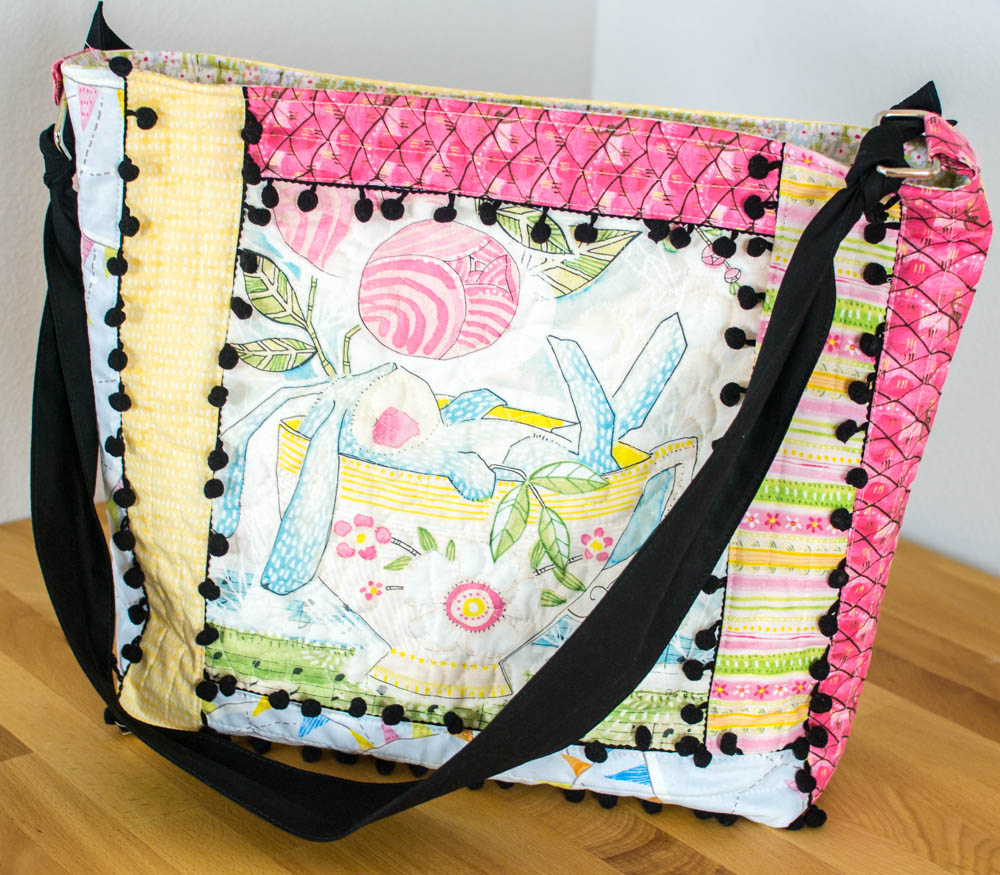
Quilt As You Go (QAYG) Tote with Pom Poms – easy sewing tutorial
Monthly Mini Quilt for January 2018 – Flora!

Easy Peasy Lunchbag – Free Sewing Tutorial
25+ Beautiful Table Runners for Your Table – All Free
How to Sew an Easy Patchwork Quilt using 2 1/2” Fabric Squares – Postage Stamp Quilt!
Disclosure: some of my posts contain affiliate links. If you purchase something through one of those links I may receive a small commission, so thank you for supporting SewCanShe when you shop! All of the opinions are my own and I only suggest products that I actually use. 🙂
