My Home Office to Sewing Studio Remodel is Finished!

My sewing room makeover is done! Well, done enough to show you, at least. I still have to organize the closets and fix up the bathroom a bit, but that will happen eventually.
I have written blog posts about certain things in the room, and I’ll share links to them in case you want more details. 🙂

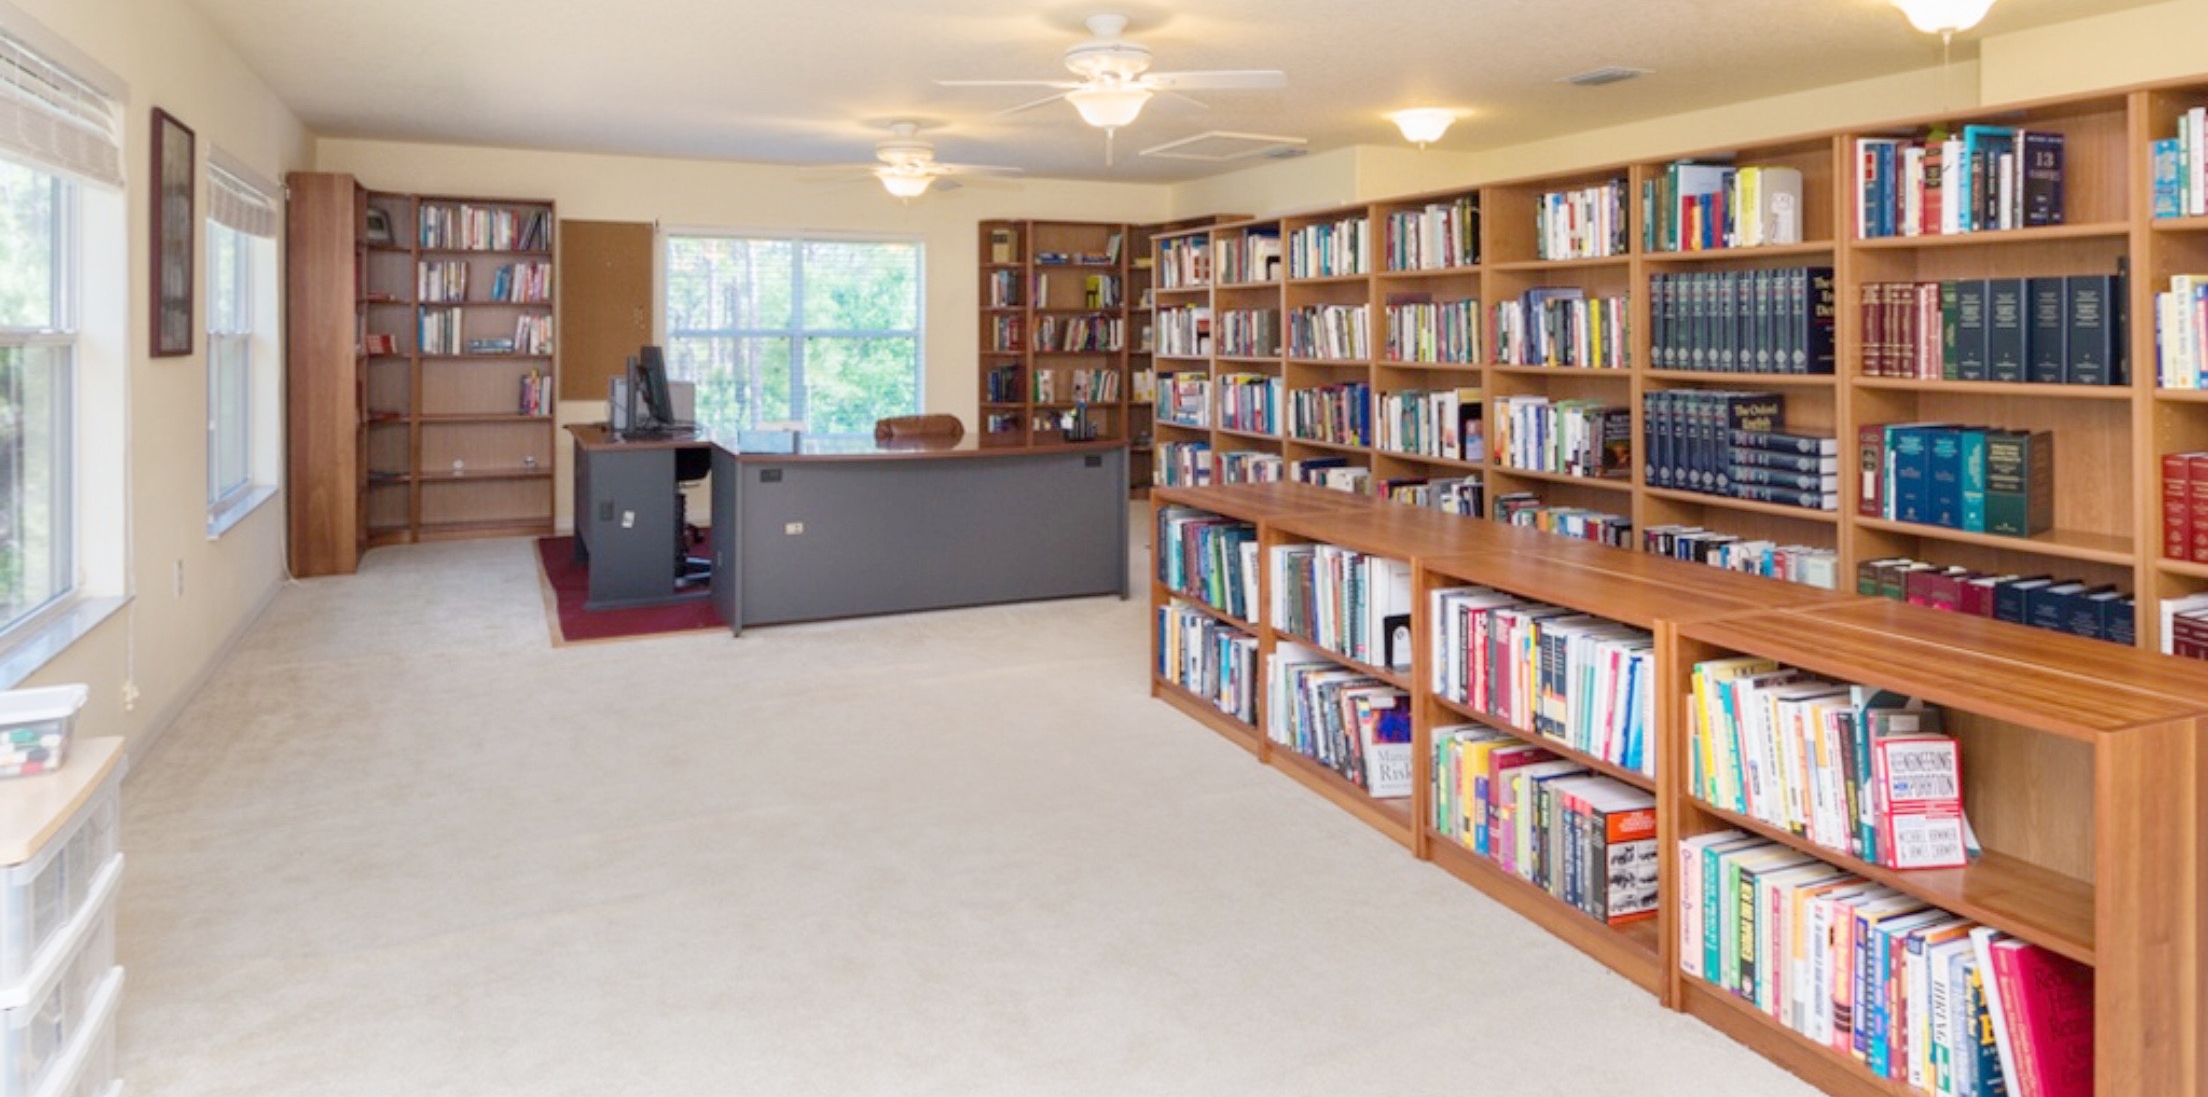
As many of you already know, we moved into this house about 4 months ago. This is what the upstairs of the house looked like when we first saw it. I immediately knew it would make a perfect sewing studio.

Probably the second day after we moved in, I tested paint colors, lol! That yellow was so awful. I wrote a post about painting my sewing studio walls here.
We pulled up the carpet in the first week too. Since it looked so nice, we had some carpet guys re-install it in our other house before we sold it. It looked almost new and saved us tons of money.

Light blue-gray paint really brightened things up. Once the floor arrived, it had to acclimate in the room for 10 days. Those 10 days seemed to last forever!


The finished floor was more beautiful than I had imagined. And I couldn’t wait to move my sewing machines up here.

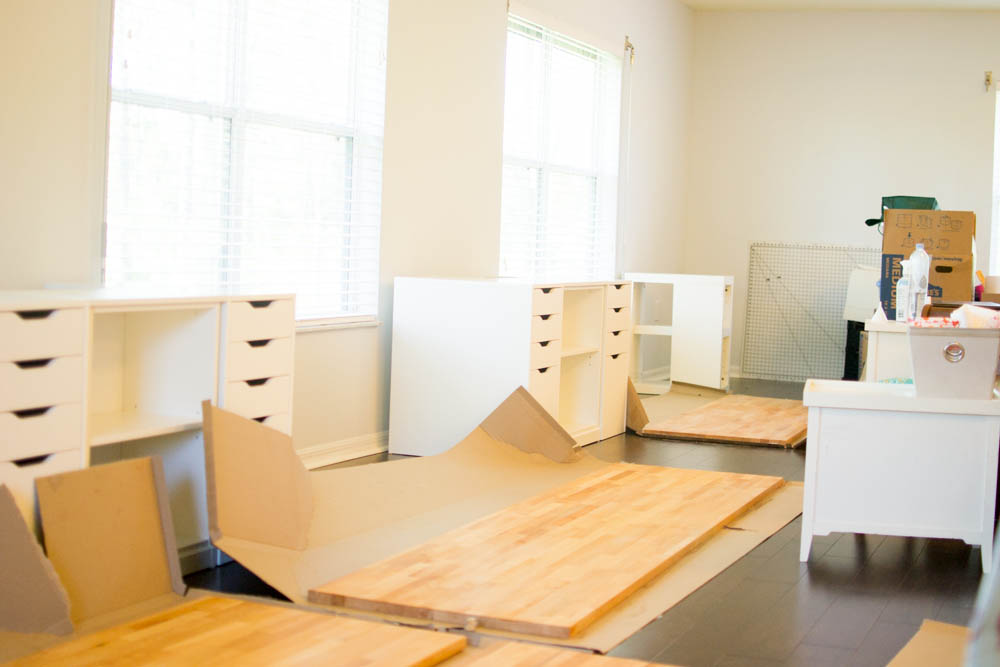
But everything was a big mess for a while.

I needed sewing room furniture to put things on! Searching Pinterest gave me the inspiration for this desk. That’s when I started this Pinterest board with Sewing Room Makeover ideas.

All of this came from Ikea. Read more about my 36 1/2 foot sewing desk ever here.

Then came unpacking and fabric folding, folding, …

And more folding. I paid my kids to do some of it for me, lol.

So here’s my finished studio, mostly organized. Mostly organized is about as good as it gets. Who wants to clean up all the time?

And I even have a place to sleep if I’m too tired to go downstairs at night! Okay, not really. This futon is for guests to sleep on. Any takers?
You can also see the hanging rack that I use for finished and unfinished quilts and other projects.

And finally, here’s to KEEPING IT REAL! This is all the stuff I pushed around the room so I could take pictures for you. It ended up in my ‘sleeping corner’ when I was done. Now I have to put it all away before my sister comes to visit for Thanksgiving.
Thanks for following along with my sewing room makeover these past few months. Any questions? Leave them below. I’ll try to answer them all and if I need to write more about any part of the room I will!
xoxo,

Disclosure: some of my posts contain affiliate links. If you purchase something through one of those links I may receive a small commission, so thank you for supporting SewCanShe when you shop! All of the opinions are my own and I only suggest products that I actually use. 🙂
