How to Make Your Own Photo Pillows! {free sewing tutorial}

Sometimes I get things right. I mean I really do, and I sew something totally amazing. That’s what happened with these pillows.
It all started when I saw some adorable picture pillows with dogs in the store one day, I said to myself, ‘I can do that – with pictures of our own dog even!’

But it didn’t stop with the dog. I decided to make picture pillows of all my kids too!
The fabric for these pillows was custom printed by the folks at My Fabric Designs. I have ordered from them twice now and both times been thrilled with the quality of their fabrics. Scroll down to see exactly how I uploaded my favorite photos for printing on fabric.

And I put cute plaid flannel on the back of the pillows too so if I need a break from staring at those smiling faces, I can turn them around.

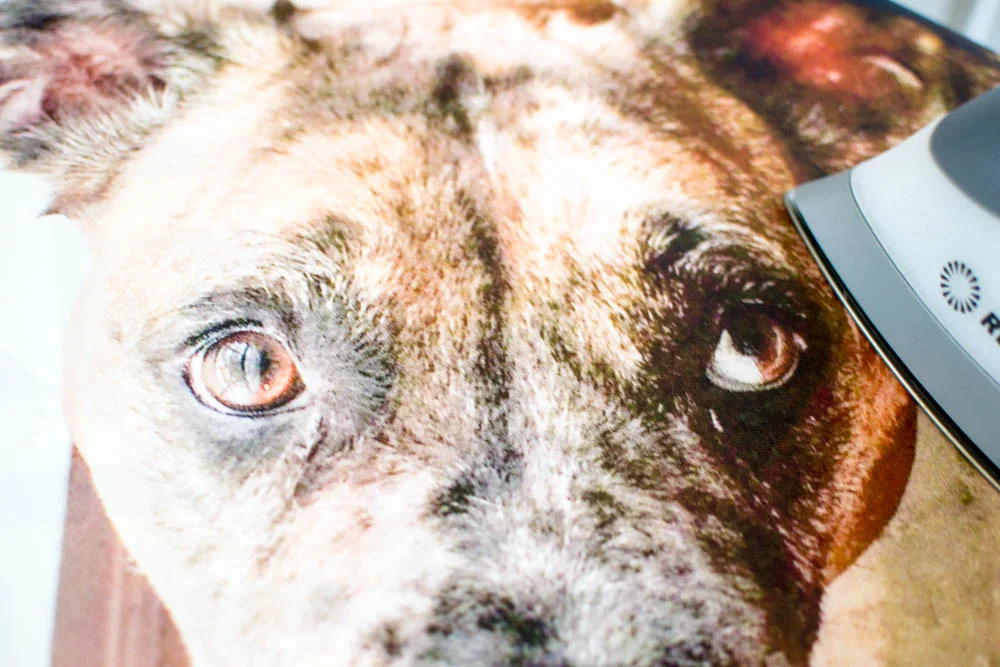
For this project I picked the Heavy Cotton Twill (the My Fabric Designs website has 26 fabric choices) and I love how soft and lovely it is. It is thick (a home decor weight) with a sheen – much like sateen. It’s perfect for these pillows, but it would also be great for tote bags or upholstery. And I was thrilled by the quality of the printing. My photos all looked perfect – amazing detail!
You will also need fabric for the back of the pillows and some pillow forms. Since I was sewing a lot of photo pillows, I realized it would be cheaper to get pillow forms online than at the store. I ordered 14” square cotton/poly pillows from PillowFlex.com and they came really fast, before the fabric even!
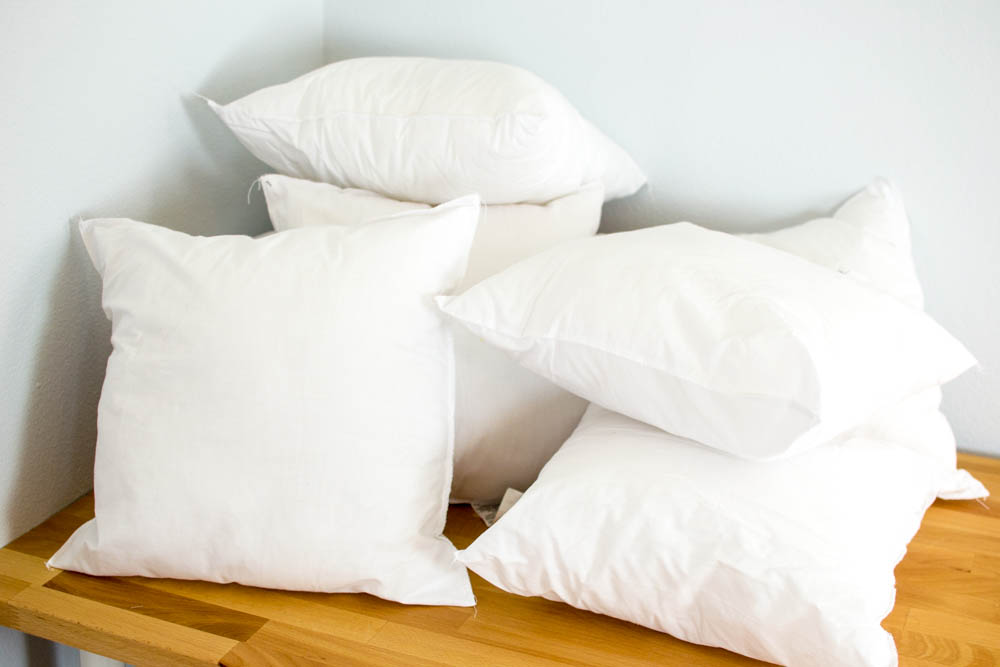
The pillow forms from Pillow Flex arrived all squished in a box, but immediately fluffed up when I opened it and wouldn’t go back in!
And you can see that I added pom poms to my pillows. I love pom poms! But of course they are optional.
So let’s get to the tutorial!
DIY Photo Pillow Tutorial
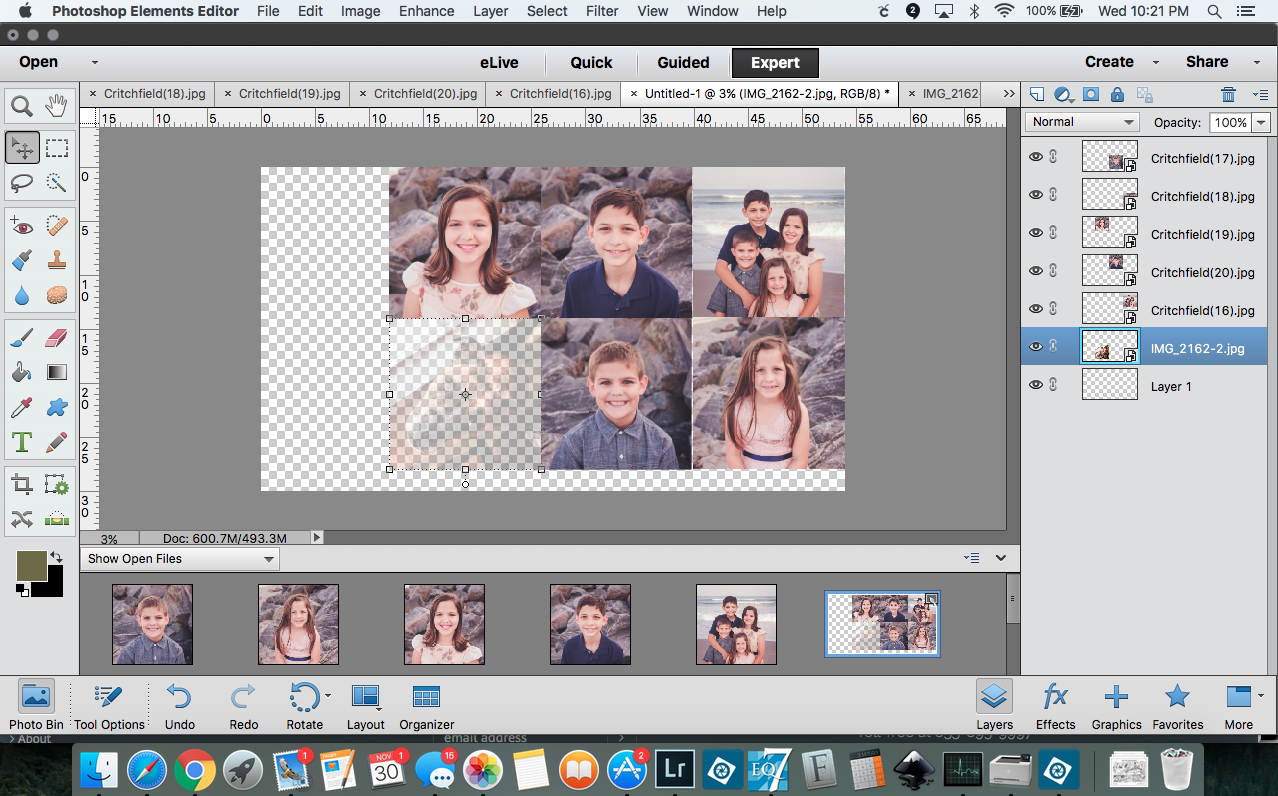
Start by making a high-quality collage of your photos. I used Photoshop Elements 13 to make my collage, but you could also make a free collage using picmonkey.com.
Or you could just upload one photo and tile it all over your fabric if that’s what you want.

The Heavy Cotton Twill fabric I used has a 58” wide printable area so I made my photo collage about 36” tall by 58” wide so I didn’t waste any printable space.
You’ll want the image resolution to be at least 150 dpi (dots per inch). I set mine at 300 dpi.

Then when I uploaded the collage on the My Fabric Designs website, I set the dpi as 300 so everything would be the size that I planned.
Once you get your fabric…
Cutting & Preparation:
1. Trim your photo fabric and cut fabric pieces for the back of the pillow – both the same size as the pillow form. After sewing with 1/2” seam allowances, the pillow cover will be 1” smaller than the form, but that’s okay. It will make it look nice and plump!
2. I pressed my photo fabric with a hot iron to make sure the ink was set, but that’s probably not necessary. My Fabric Designs doesn’t ask you to.
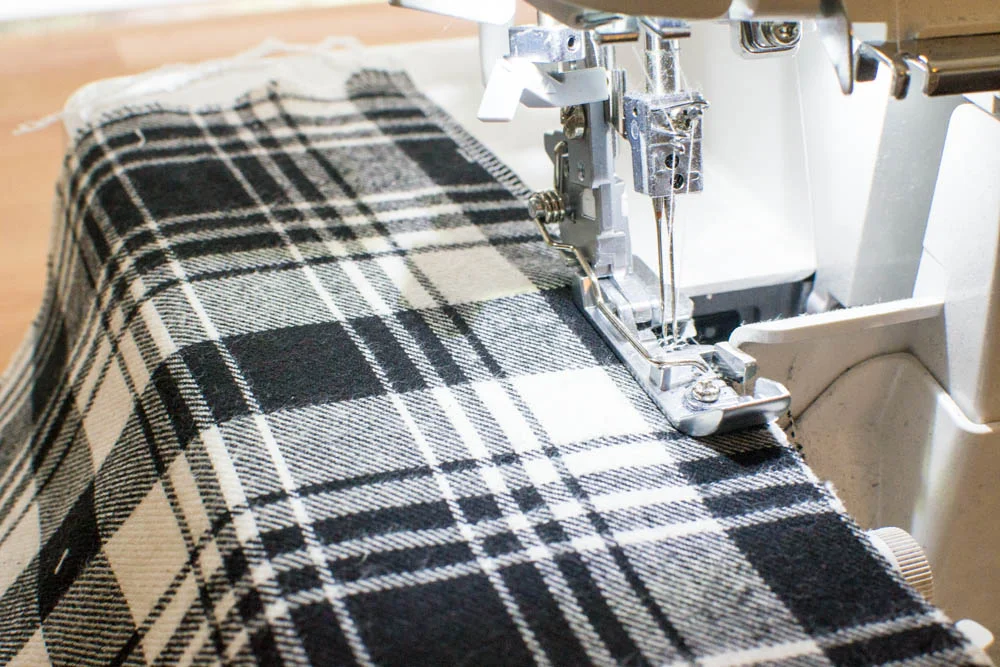
3. Finish the edges, if desired. The 14” squares that I cut for my pillow backs started to fray quite a bit, so I serged all the edges. Then I serged the pillow fronts, too, just because I love using my Juki serger. Not because they frayed very much. 🙂
Sewing:
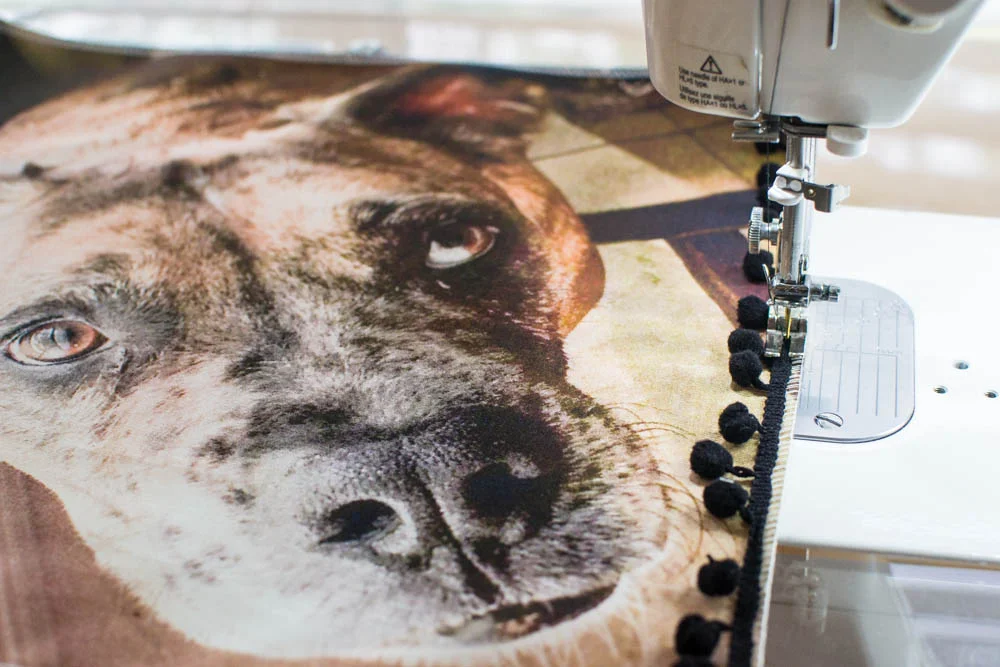
1. Add pom pom trim or piping to the pillow front pieces, if desired. I didn’t want the edge of my pom pom trim to show, so I machine basted the trim just about 1/8” from the edge of the fabric. Then when I sewed the pillow pieces together, it would be within the seam allowance with only the pom poms showing.
2. Pin the pillow front and back pieces right sides together. If you attached piping or pom pom trim in the last step, a zipper foot will make sewing the pieces together much easier because you can sew close to the trim or pom poms.
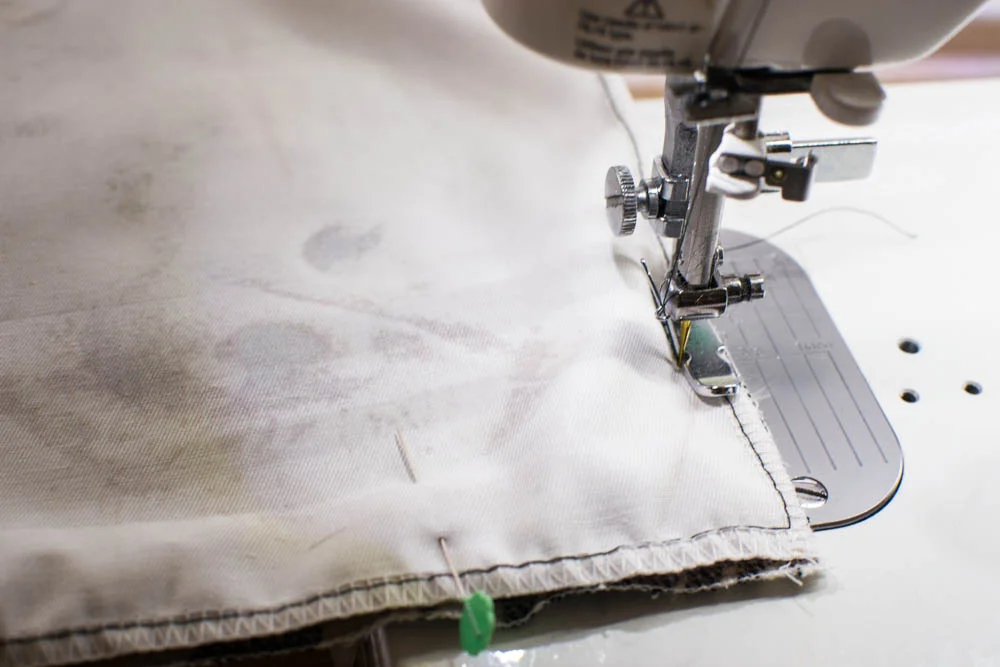
3. Start sewing 2-3” from one corner and sew around the pillow, stopping 2-3” after sewing around the last corner. Make sure you backstitch at the start and end.
4. Clip the corners. Careful not to cut the stitching! But if you do, you can sew around the corners again to fix it.
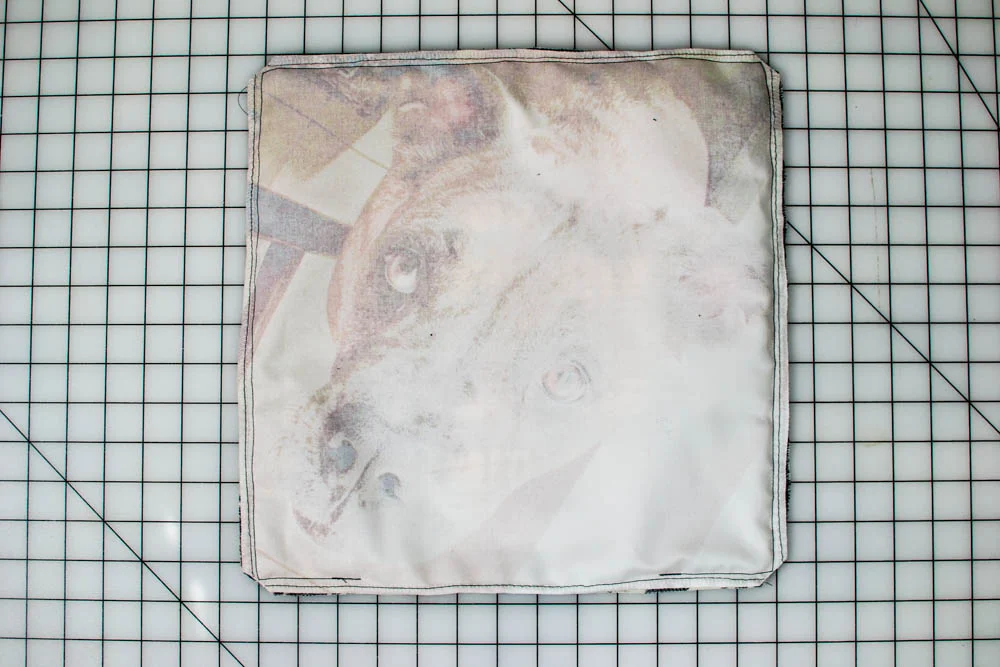
5. Turn the pillow cover right side out, pushing out the corners to make nice points. Then insert the pillow form.
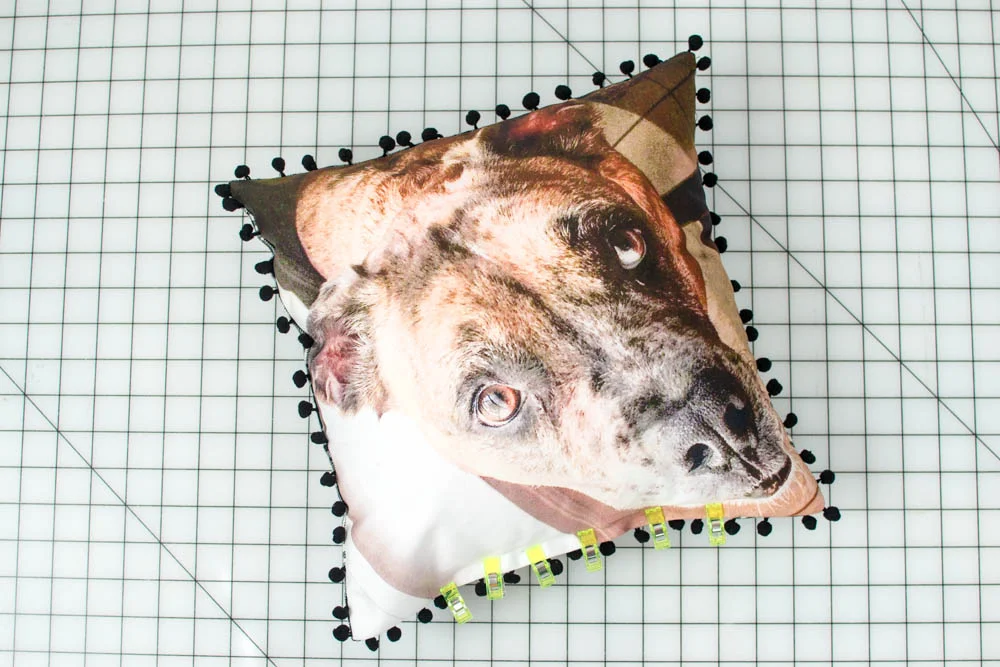
6. Turn the edges to the inside at the opening and pin or clip it closed. I used clips for this step so I wouldn’t jab myself with the pins! Hand sew the opening closed.

Of course, you can make these pillows using any fabric and any trim you like. If you do, please show us in a Show Off Saturday post!

Disclosure: some of my posts contain affiliate links. If you purchase something through one of those links I may receive a small commission, so thank you for supporting SewCanShe when you shop! All of the opinions are my own and I only suggest products that I actually use. 🙂