How to Glue Baste a Quilt – free tutorial from Itty Bitty Handmade!

Hi everyone!  I’m Hetal from Itty Bitty Handmade.  We’re really excited to share the unique basting method that’s used in our kits.  Basting your quilt is the process of temporarily adhering your layers together so that it’s easy to sew your quilt layers together.   This step is incredibly important to avoid puckering and fabric shifting when you go to sew the quilt.  The method that we’ll show today literally works so well that you won’t even need a special walking foot for your sewing machine.

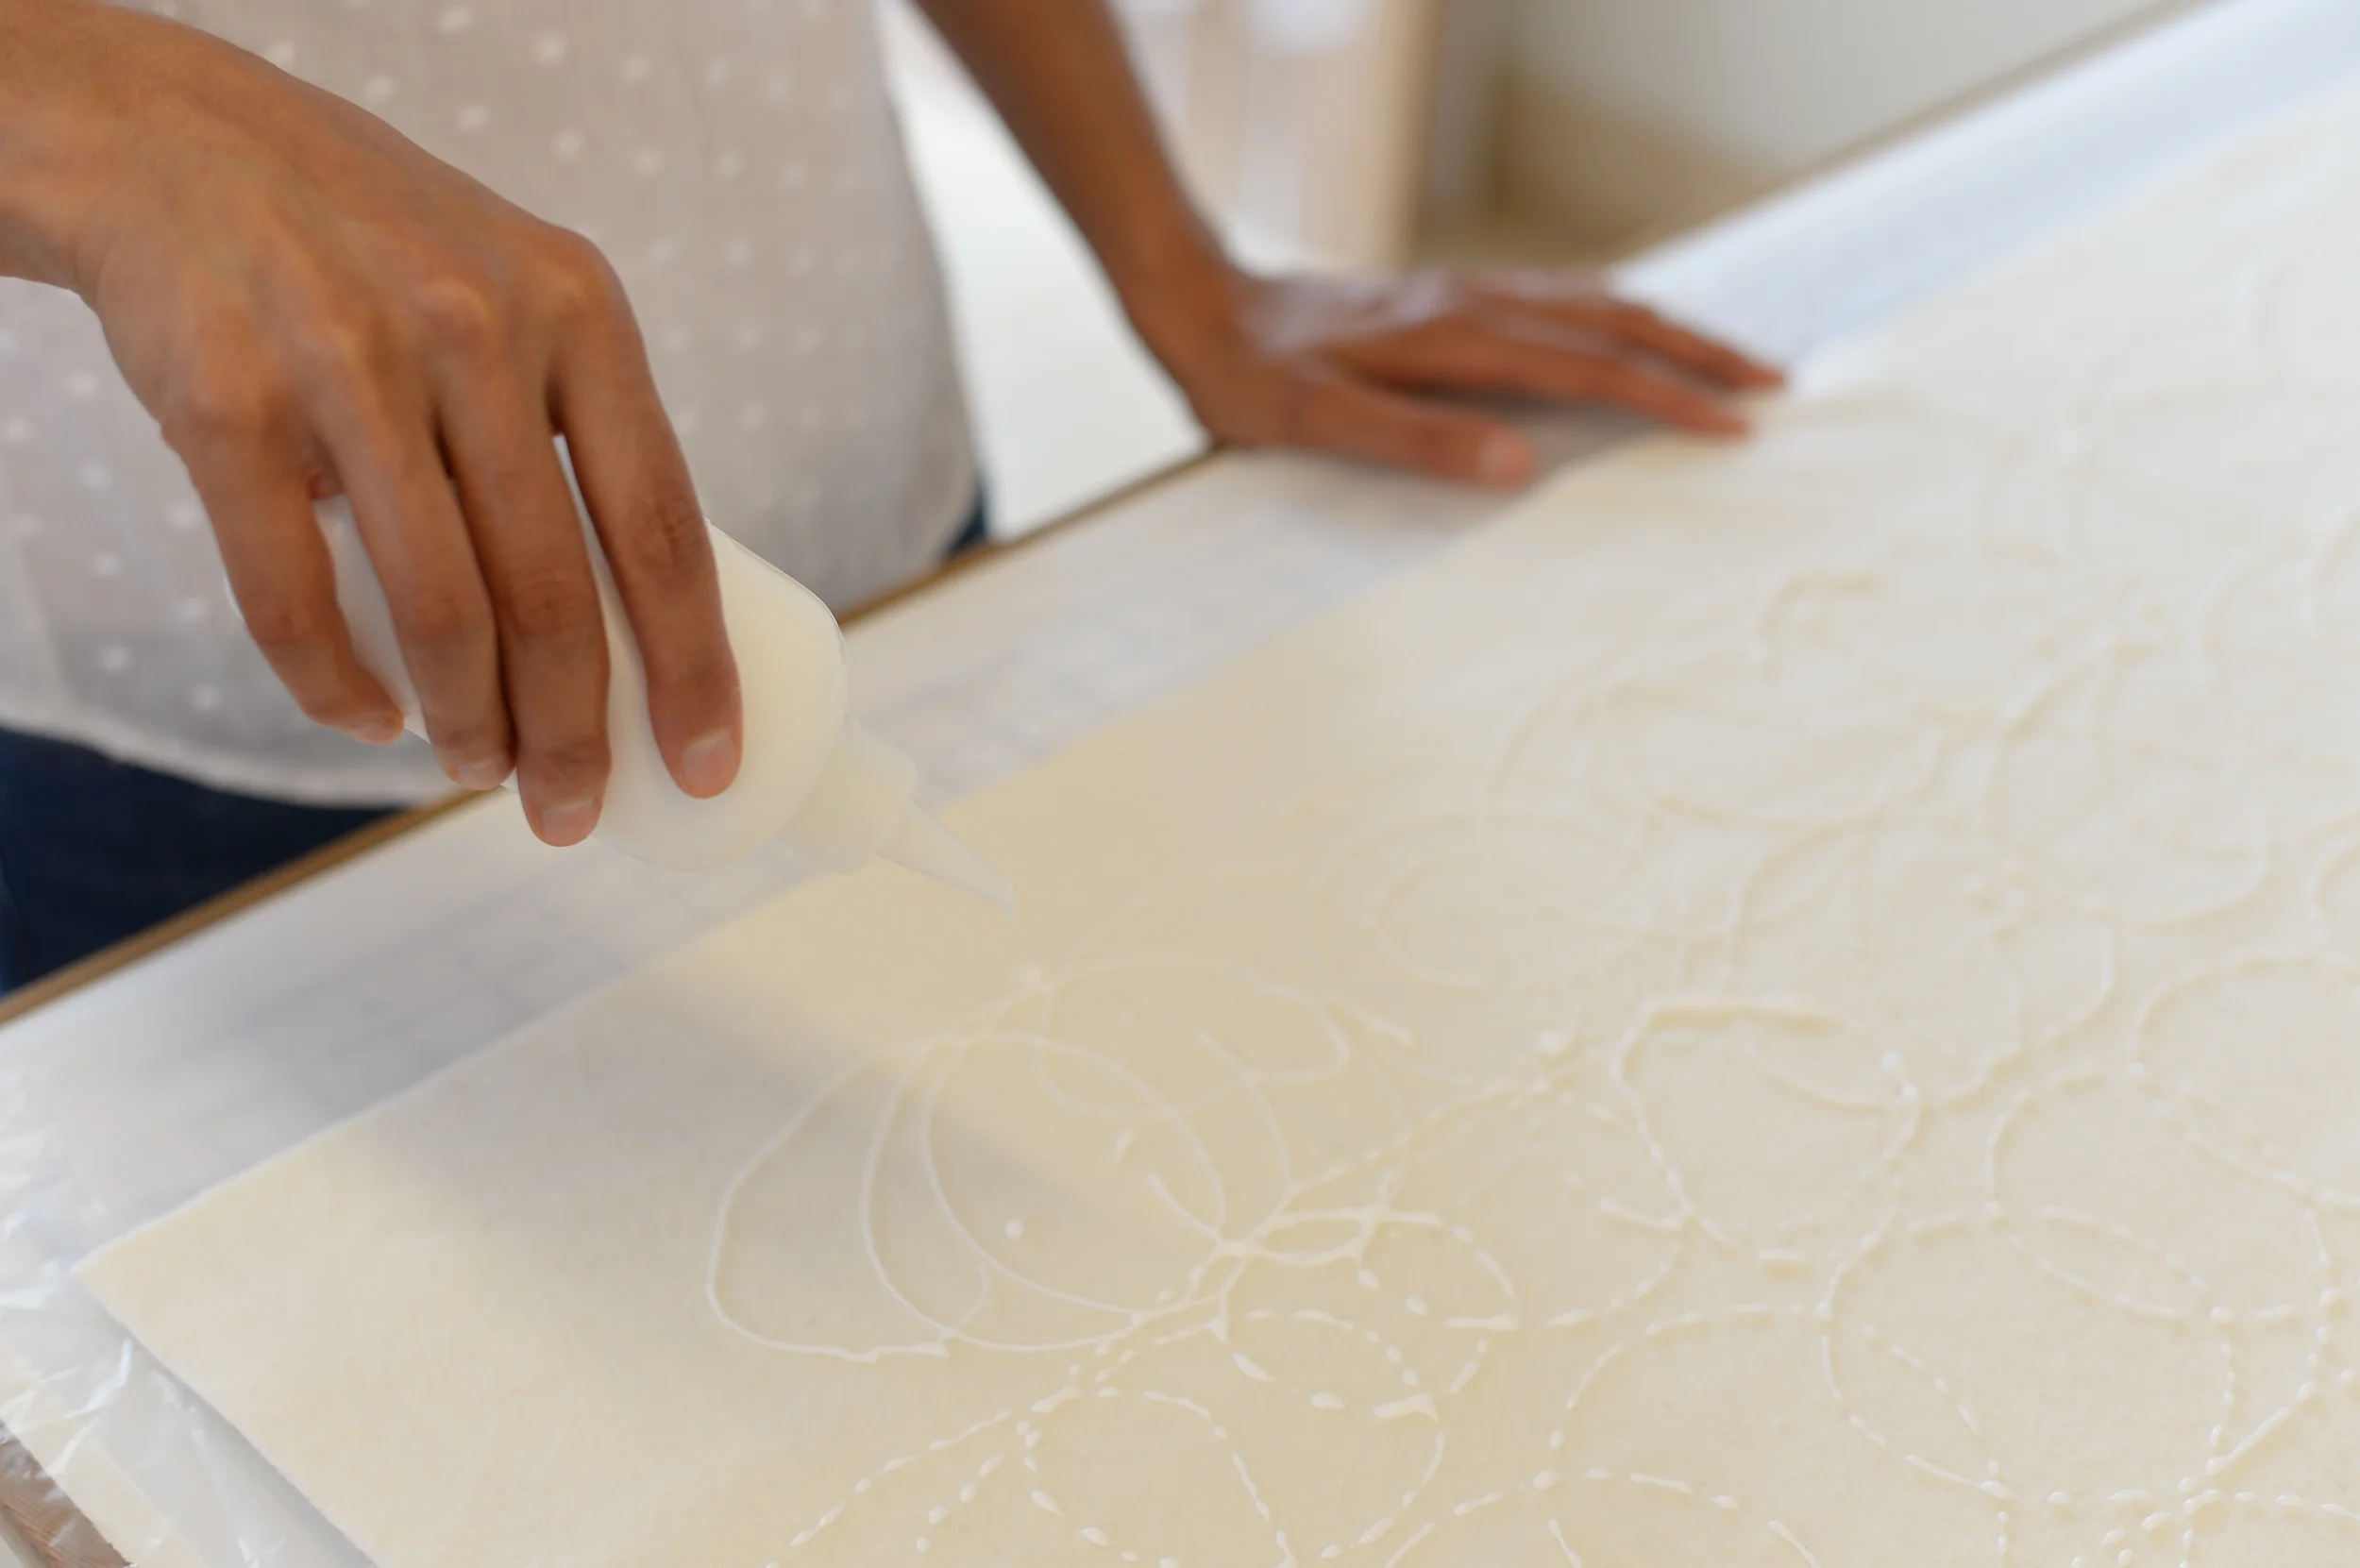
Let’s dive right in!  The core of our process uses a non-toxic white washable craft glue to baste the quilt (make sure that the glue you pick is washable, like this one).  While we could drizzle this onto our batting, simply drizzing the glue would leave small areas unadhered.   To really prevent any puckering or shifting issues, it’s critical that literally every inch of the quilt stuck together.  To get this complete adhesion, we’re going to both drizzle the glue and then use a foam brush to evenly spread the glue.  


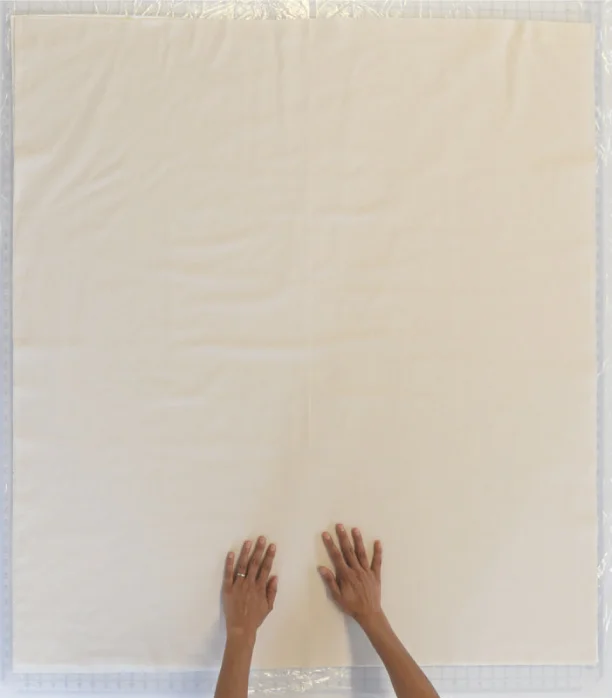
Here’s the process in detail.  You’ll start by laying your batting flat on a large work area.  You can use the floor, but be sure to protect any areas you worried about with a plastic sheet underneath.  Next, you’ll align your quilt backer on top of the batting.  


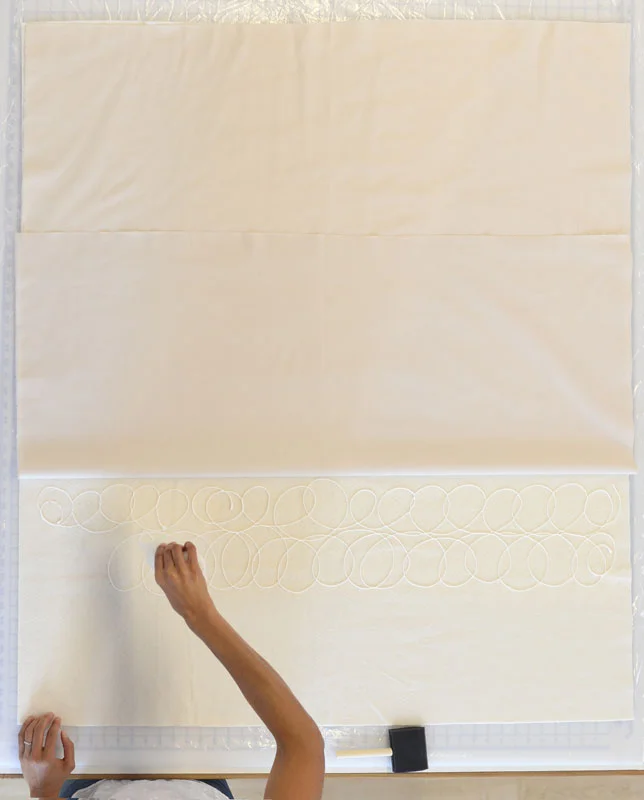
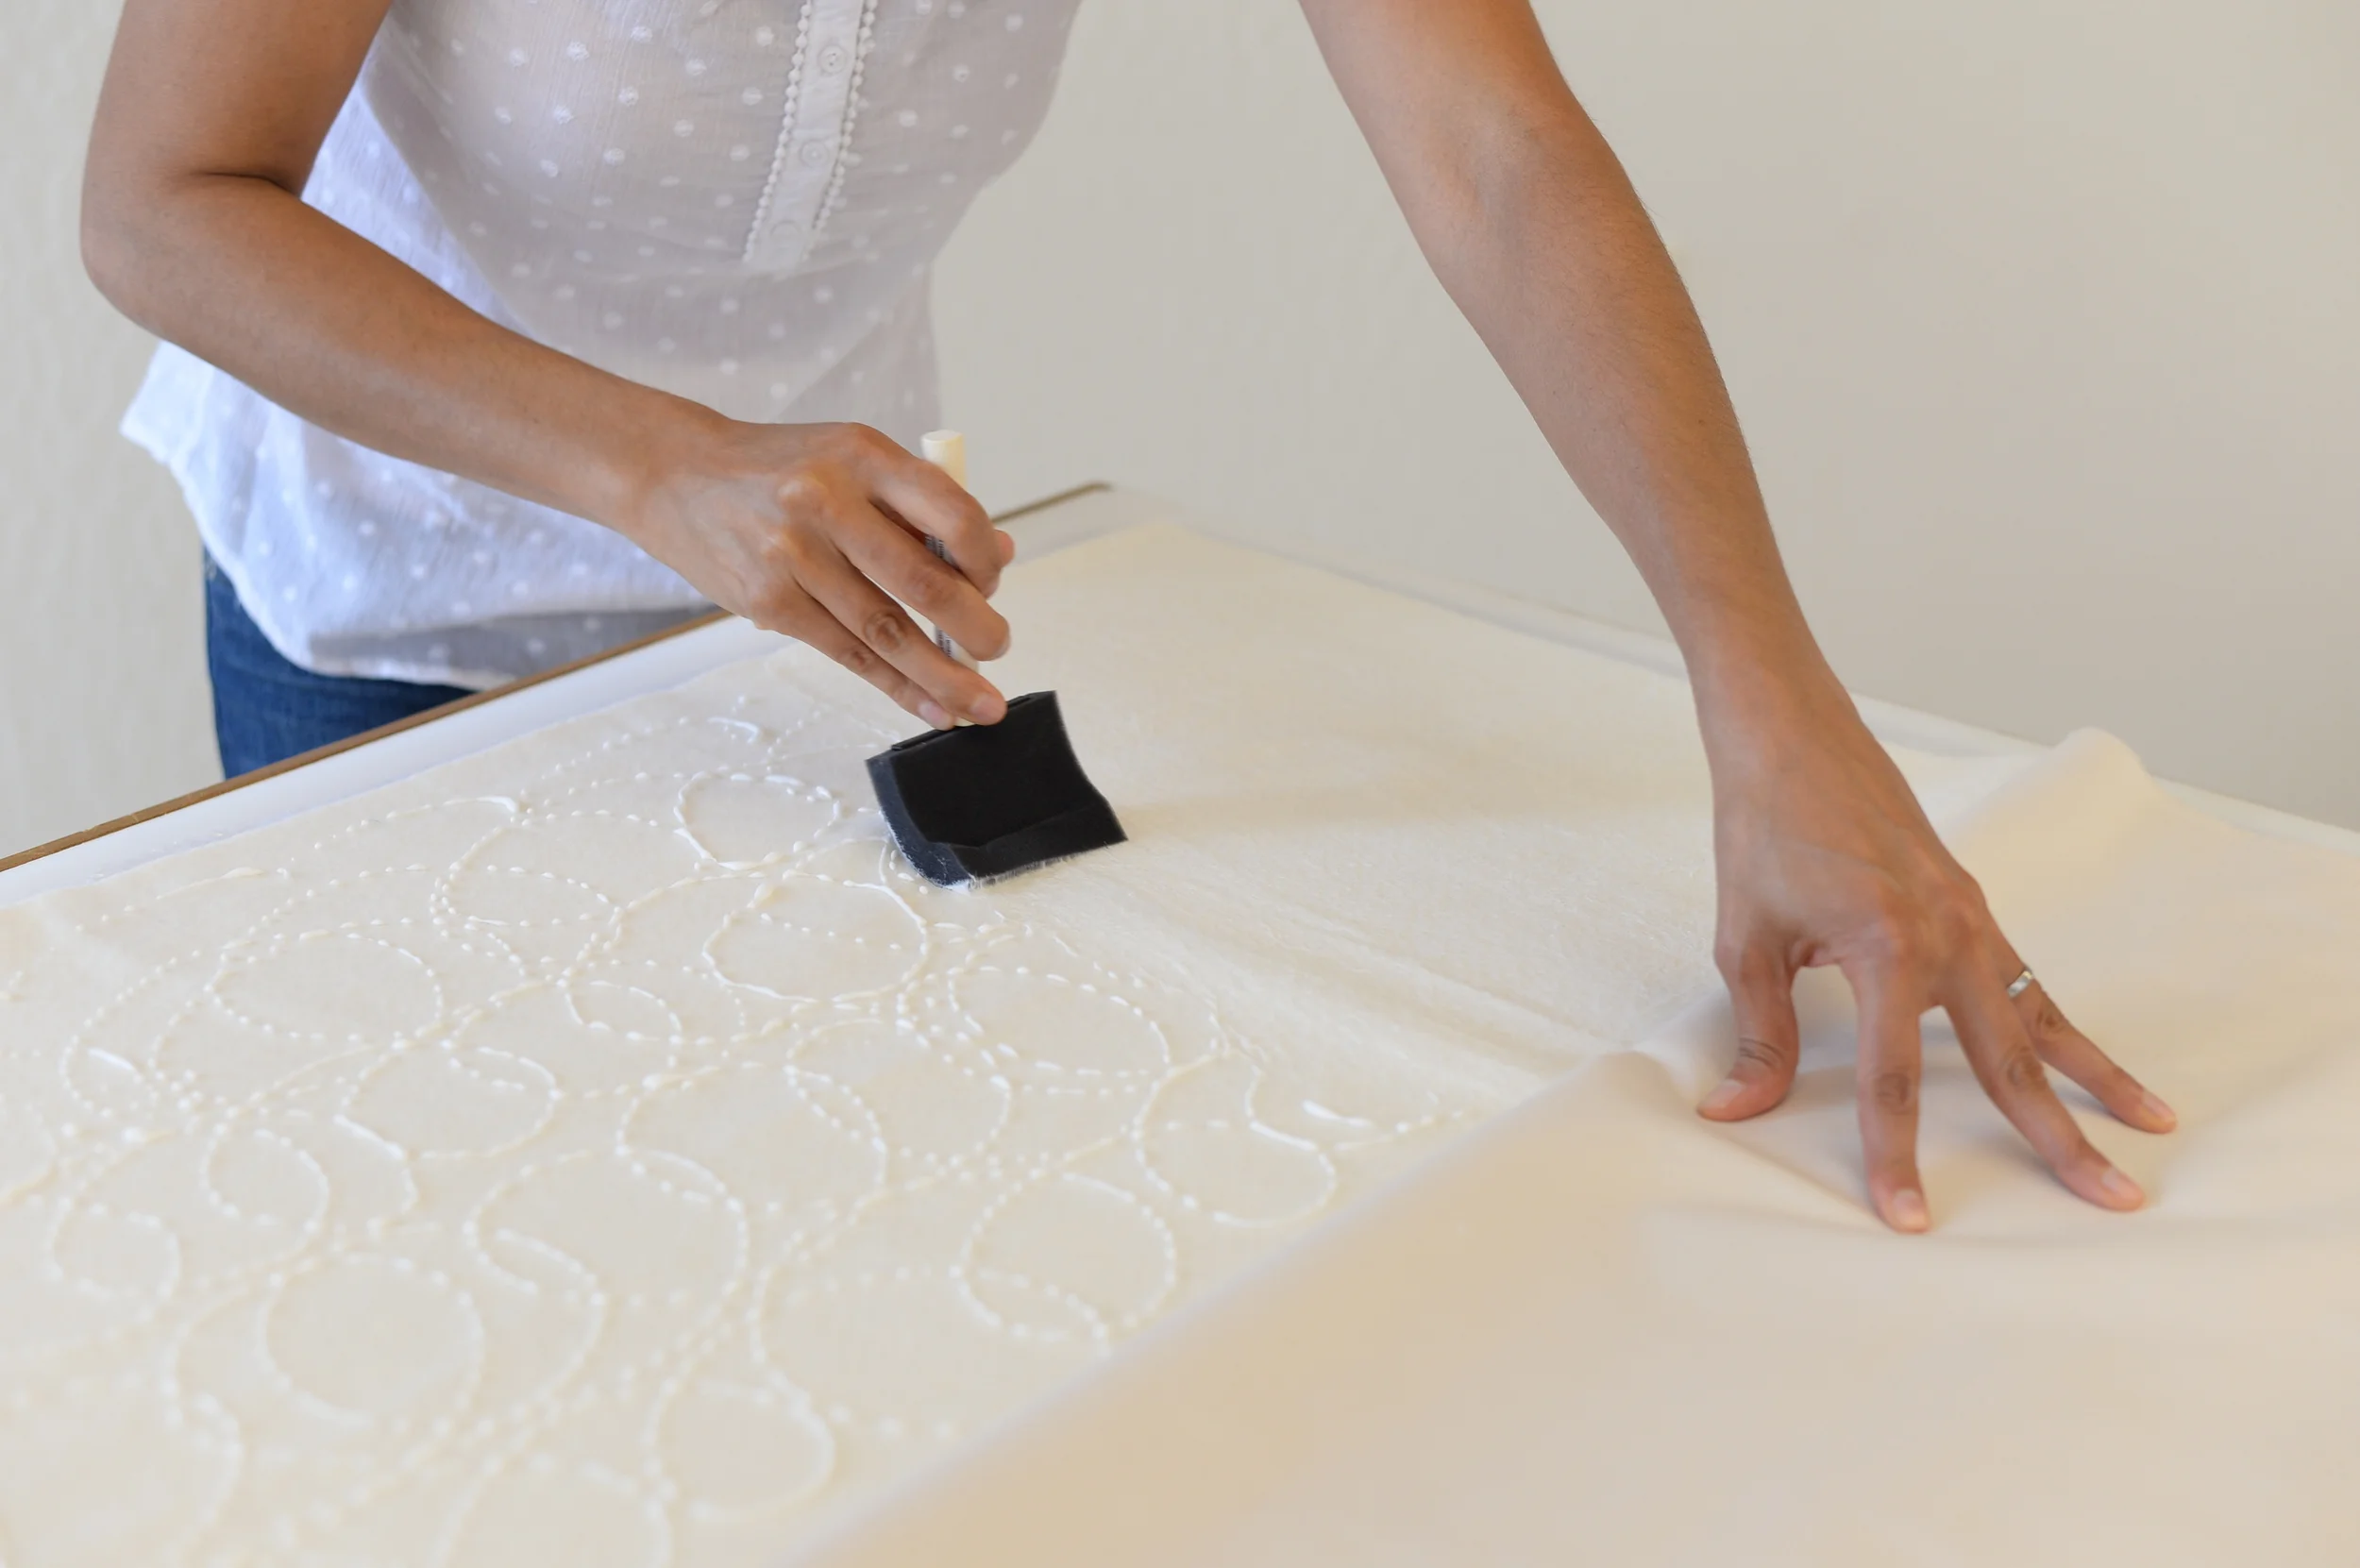
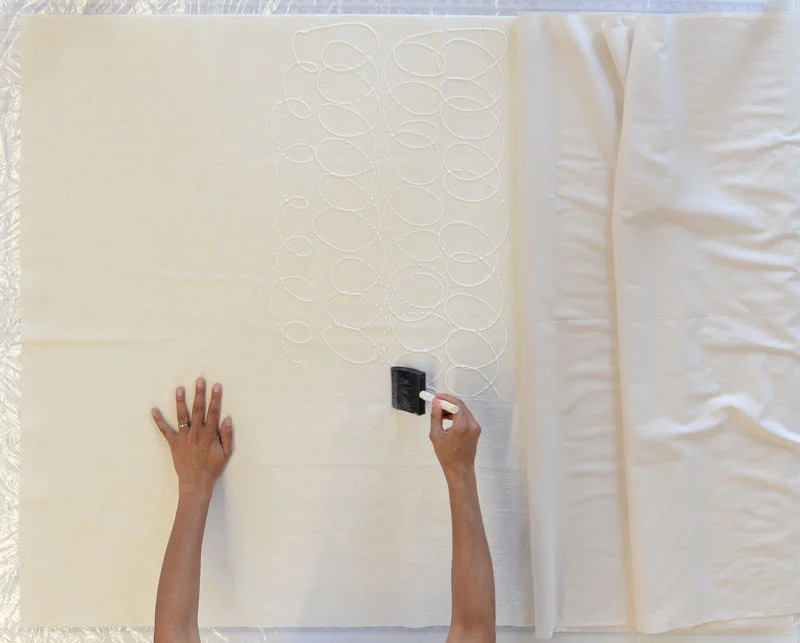
To make the glue process manageable, you’ll work on 1/3 portions of the quilt at a time.  Start by lifting the backer to expose the bottom 1/3 of the batting.  Now, using a swirl pattern drizzle your washable glue onto to the exposed batting going over the entire exposed area. 


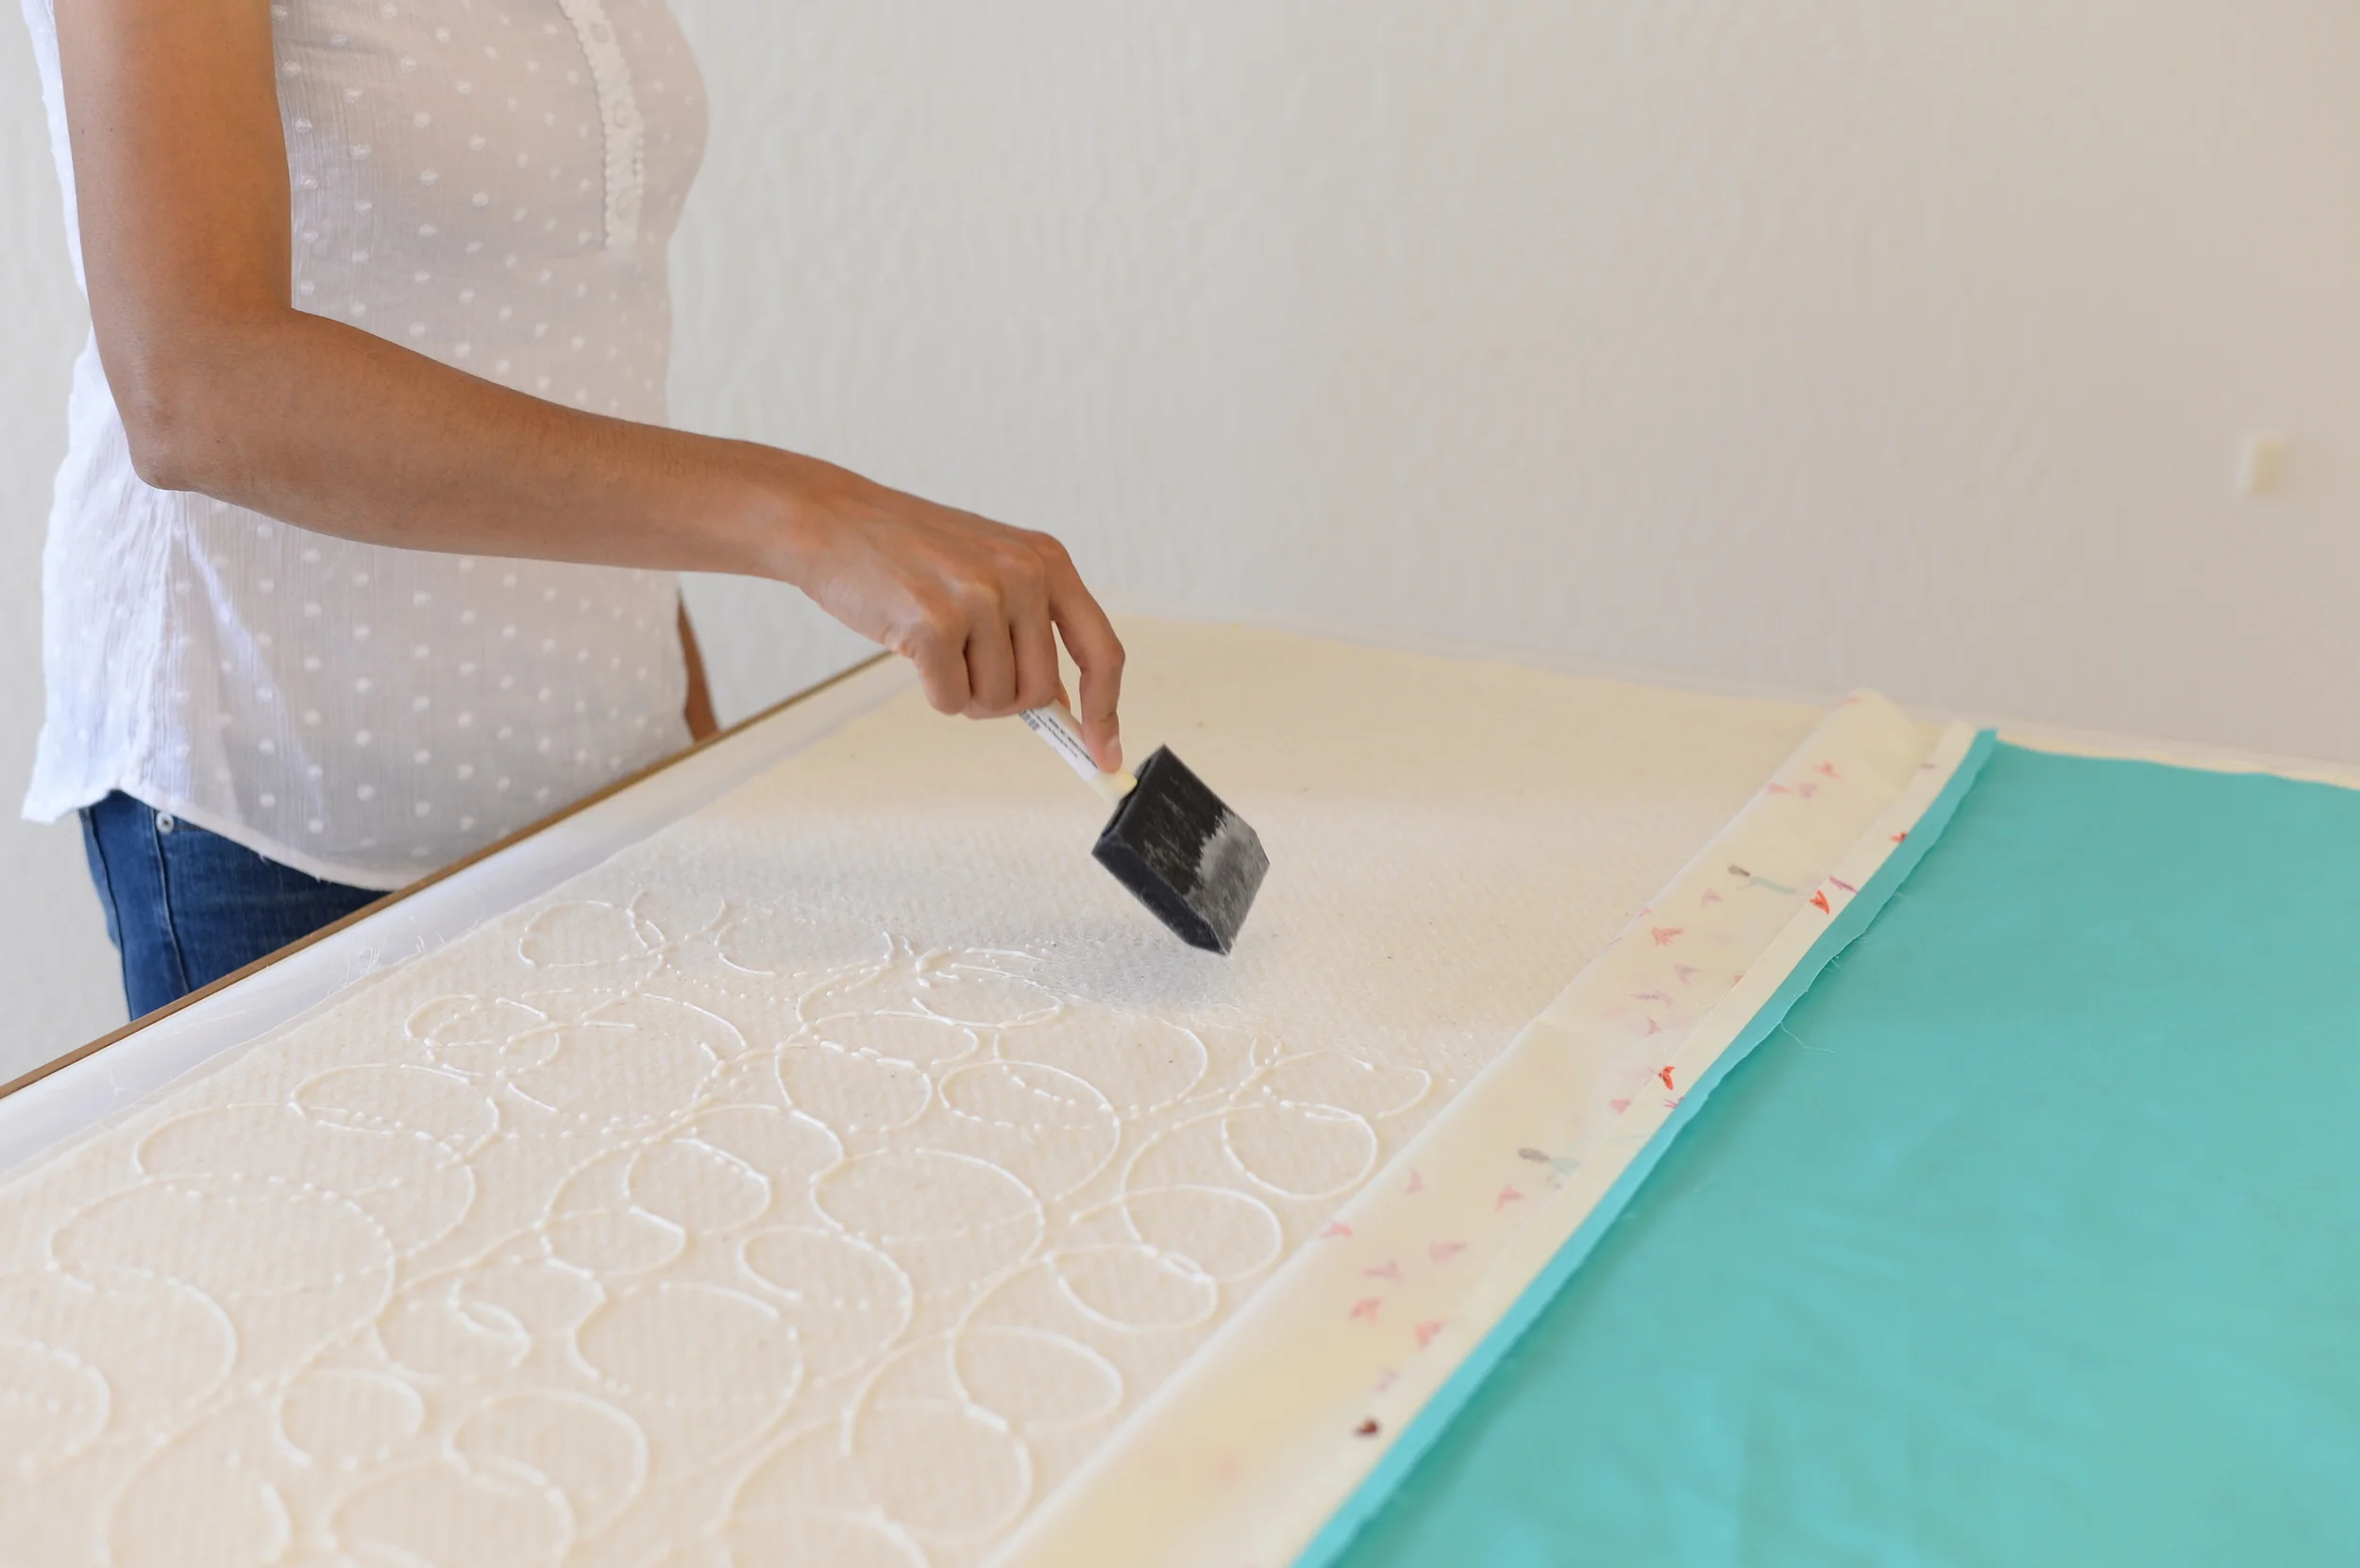
Once you’ve fully drizzled this section, you’ll use a foam brush to simple spread the drizzled glue so that you have complete coverage of the glue on the batting.  


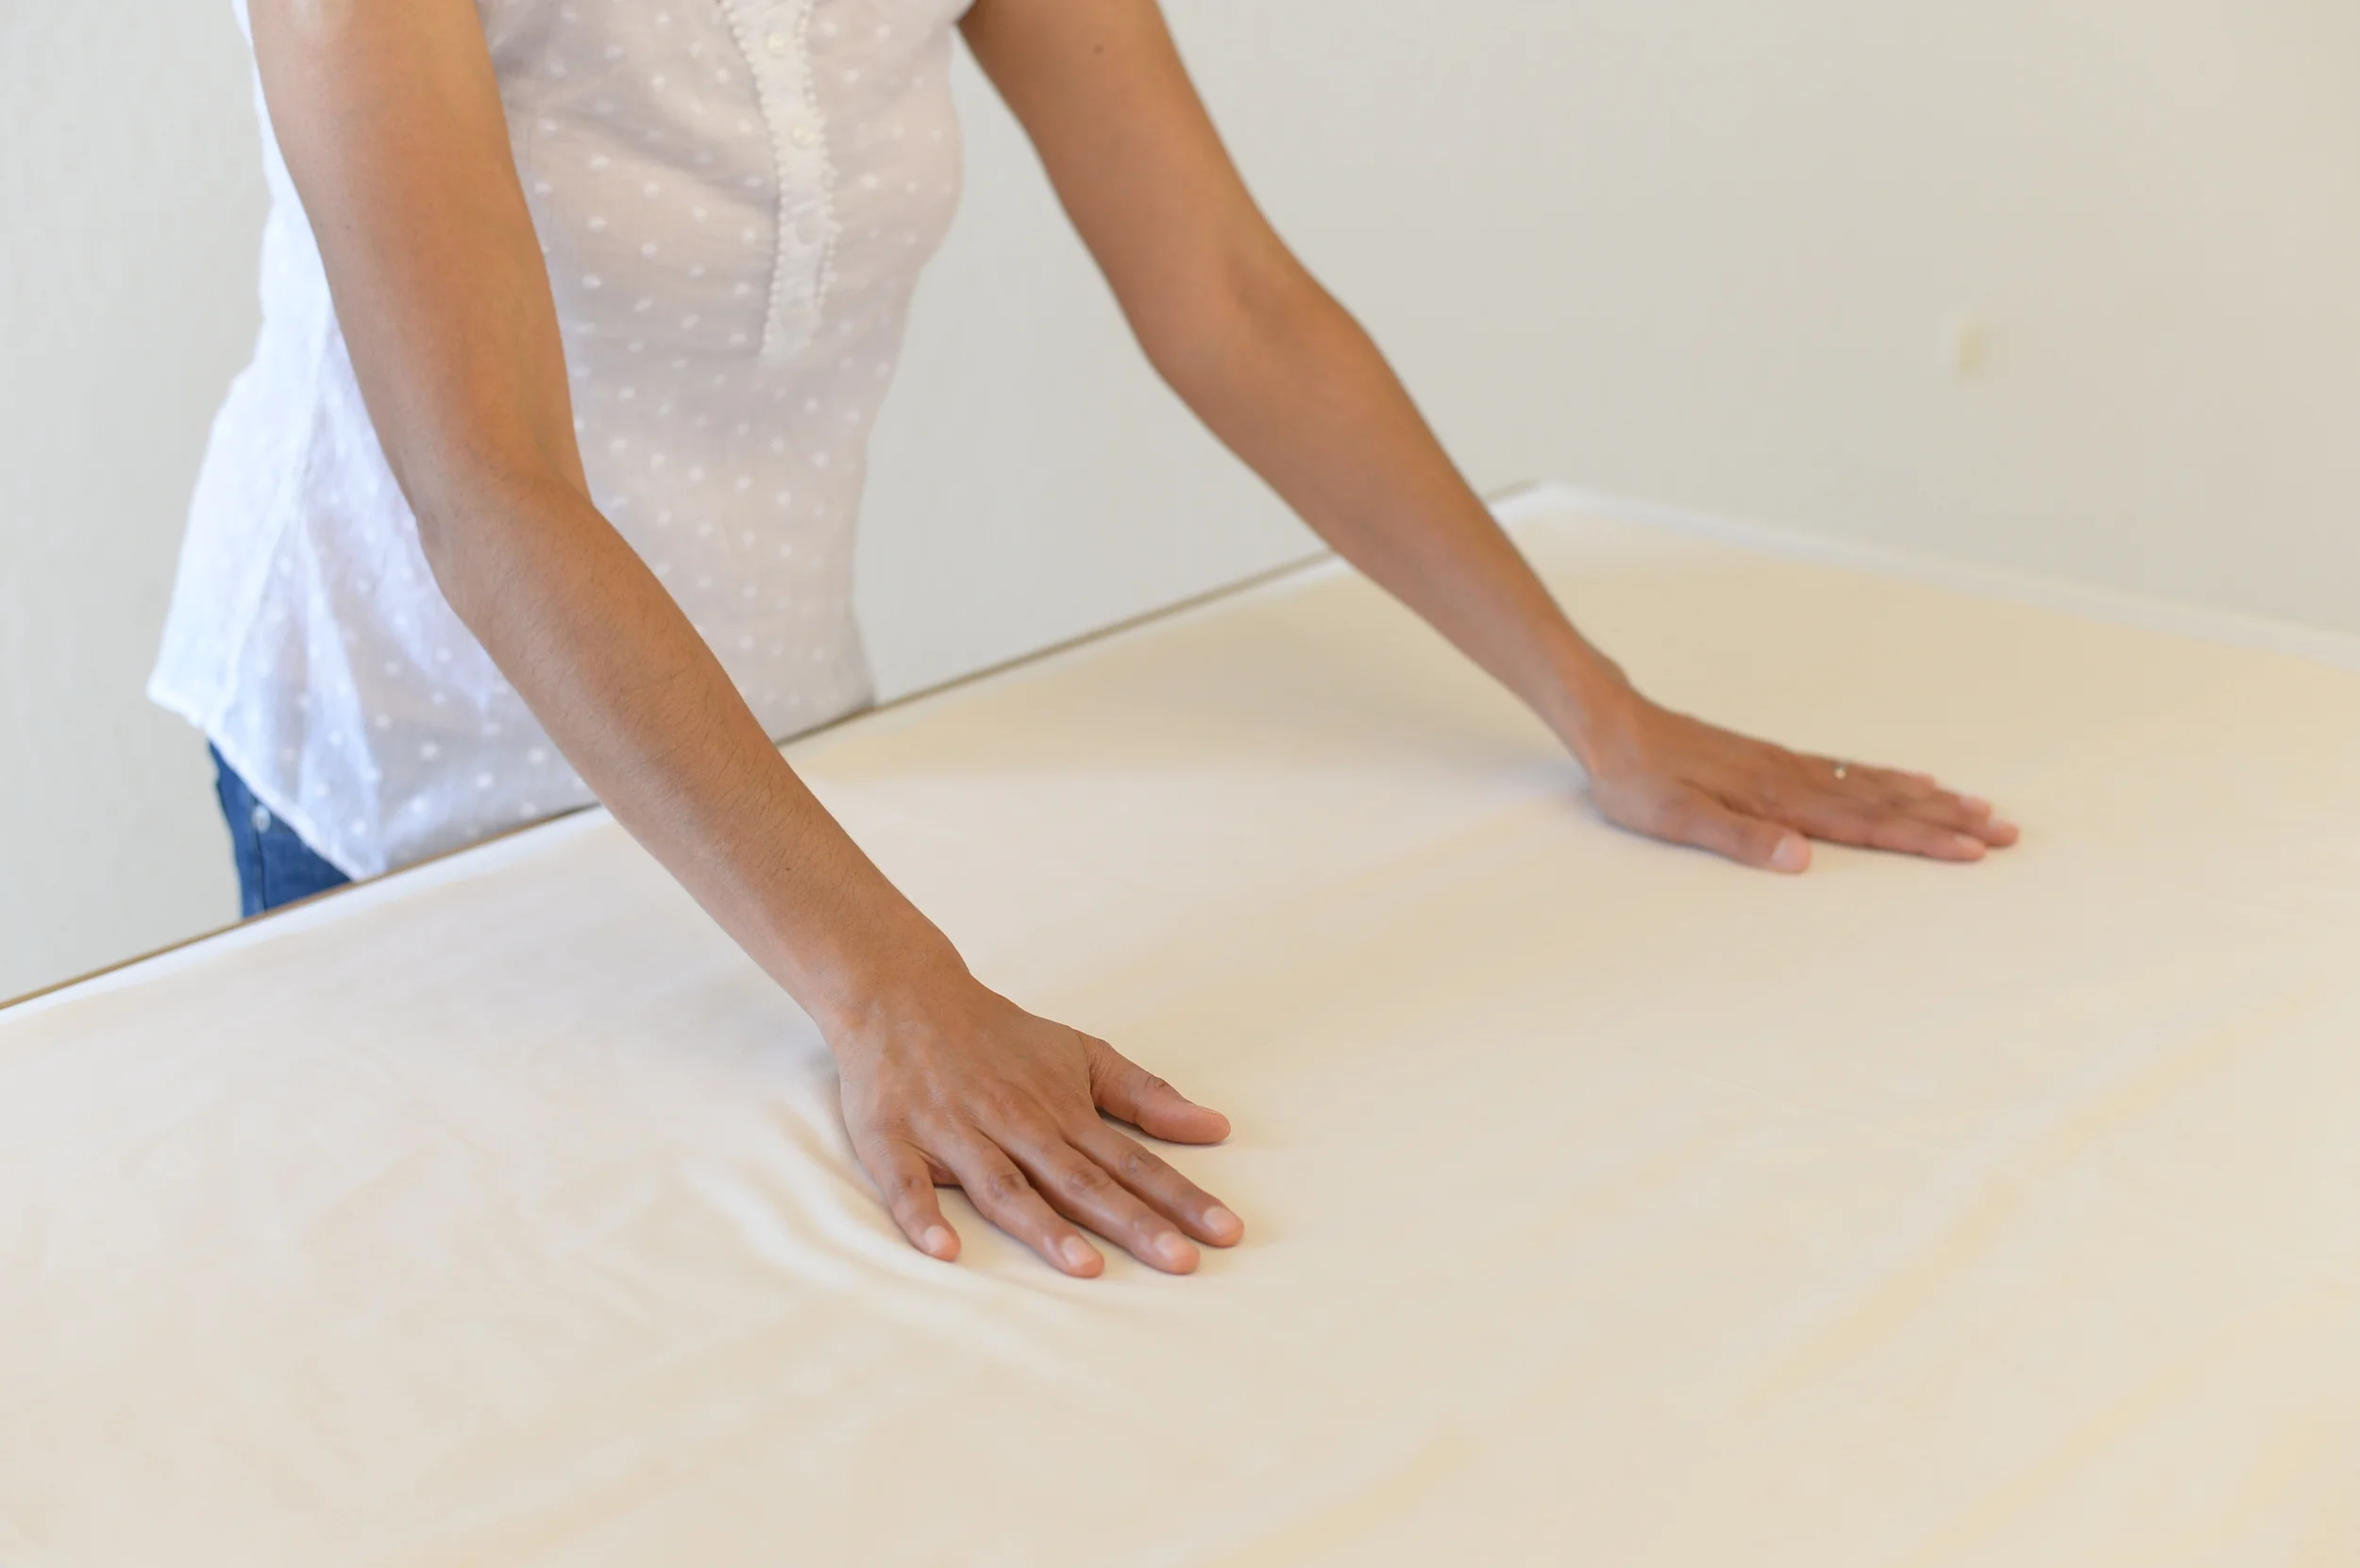
Once this is complete, slowly lay your quilt backer down onto the glued batting.  Smooth out the layers to make sure you don’t get any big wrinkles.  As the glue dries, the quilt will look a little wrinkly, but that won’t cause any problems and this is normal.  


Next lift your quilt backer, exposing the middle third of the batting.  Repeat the glue up process for this middle section of the batting. 


 Once this is complete, you’ll do the same for the last one-third section of the batting.  


Ta da!  You’re halfway there.  Now flip your layers and repeat the process on the other side of the batting to adhere the front of the quilt to the batting.  


Once this is complete, give the quilt about 8 hours to dry completely before moving on to sewing.  

Easy peasy, and best of all, you won’t have to worry about pesky puckers or shifting.  This process makes the sewing step smooth sailing.  We hope you’ll give this method a try.  

Happy Quilting!

Eva and Hetal

Disclosure: some of my posts contain affiliate links. If you purchase something through one of those links I may receive a small commission, so thank you for supporting SewCanShe when you shop! All of the opinions are my own and I only suggest products that I actually use. 🙂

Similar Posts

39 Comments

  1. Lesley Gilbert says:

    Thanks for this great tip. I’m fairly new to quilting so will give this a try on my next quilt. While looking at your photo’s I had the idea of using a small decorators roller brush instead of the foam brush – I’ll try that idea out on a smaller sample first. Thanks again for this tip 🙂

  2. Question, do you find this method better than using 505 spray? I’ve been using the spray but it does get expensive after a while. I like that I can quilt right away.

  3. Brenda Jerles says:

    Great idea! Thanks so much for sharing!
    I use the washable Glue sticks for machine applique embroidery but never thought of using this glue for quilts!

  4. Oo! This sounds easier than using lots of safety pins. 🙂 Thanks!

  5. Does the glue wash out? If not, isn’t it a bit stiff if it’s permanent?

  6. Lynnelle Stueve says:

    Thank you, thank you! I have a sensitvity to adhesive sprays and can’t use them. This is a wonderful alternative!

  7. Mary Breckeen says:

    After gluing the back to the batting, do you pin the top in place?

  8. Ferne Watt says:

    Any problems with a gummy needle when quilting? This seems like a great technique since basing is what is holding up so many of quilts from getting done.

  9. alice Callahan says:

    I love this idea. But would it be too stiff for hand quilting? I’m starting to have problems with arm and shoulder pain and I’m not able to do lap to larger size quilts on my domestic machine any more.

  10. Sharon Walton says:

    How long will this hold together? I am hand embroidering a king size quilt top and plan to hand quilt it. Do you think this method will work for a project that big?

  11. Vicki Voisin says:

    When doing final quilting, does the glue affect the needle? Does it "gum up"?

  12. When machine quilting, does the needle have any difficulty going through?

  13. Have you tried rolling the backing onto a rod then rolling it onto the gluey batting? I am thinking it would help when doing a large quilt but not sure if just one person could roll the material onto the batting evenly.

  14. I have done this but added a board on top of th glued pieces to make it flatter. Just watch out for glue puddles

  15. I used Elmers Glue to baste my binding down and it works great. I’m going to try this on my next quilted wall hanging. Thanks for the tip!!

  16. Brenda Wallace says:

    I am interested in trying this idea out.
    What kind of batting have you used? I was planning on using a polyester type between the top and back, can this method be used ?

    1. I have only tried this method with 100% cotton batting. But basting spray works well with polyester, so maybe glue will work too. Come back and let us know how it goes! xoxo

  17. Jenny Fritz says:

    What about basting the top of the quilt. You did the back and batt, but where is the top?

  18. This method did not work so well for me with polyester batting. The glue wouldn’t spread with the foam brush. It pulled the batting too much.

  19. I have used this method for basting and have had good success with it

  20. I wonder if diluting the glue with a bit of water then then using a spray bottle would work?

  21. Mary Plumb says:

    Have you tried the basting spray? It also is temporary and is easier than hand brushing the glue on all of your fabric. I have used it on the last 6 quilts I have made and no puckers. Love your blog.

  22. YOU are a lifesaver. In a moment of confidence, I bought custom printed material thinking to myself, "How hard could it be?". Since I wasn’t going to be making squares, I thought it would be easy. Later on, my brains kicked in and I wondered how I was going to hold it all together. Now I know! Plus, this just looks so much easier and quicker. I would offer to show you my finished product, but at the rate I am going, it will be another year roflol.

  23. I used a similar method to make a chenille quilt, 4 layers of flannel and two cotton, worked great didn`t get pricked with pins. I thinned mine out, sprayed layers and ironed dry.

Leave a Reply