How to Sew Japanese-style Fabric Bag Handles

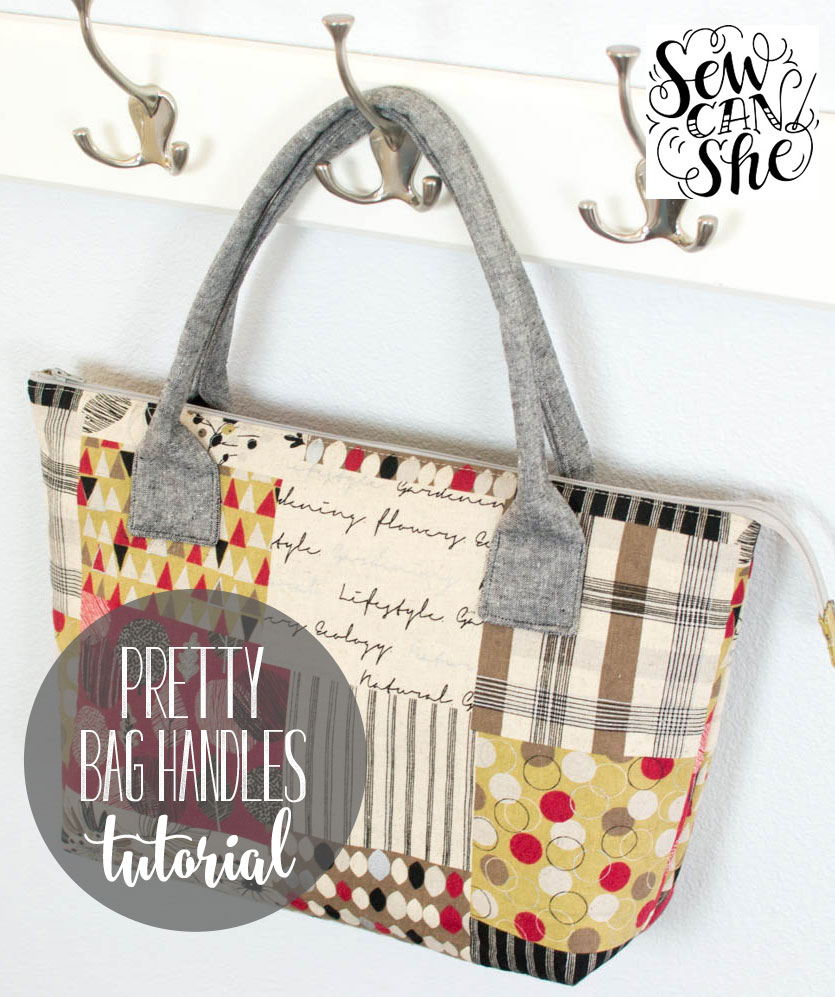
Are you ready for an easy to make handle that looks great on lots of different bags? Here’s the tutorial for the handles that I sewed on my 1 Yard Magic Lecre Totes.

The 1 Yard Magic Lecre Tote tutorial shows you how to make these two zippered tote bags from 1 yard of exterior fabric and 1 yard of lining fabric. I used cotton linen blend Lecre fabric from Lecien.
And now let’s sew the handles! This tutorial will share how to make two different lengths of handles for medium or large sized totes.
To make 2 handles (either length) you will need:
-
1/2 yard fabric (I used Essex Linen from Robert Kaufman)
-
1 yard fusible fleece (such as HeatnBond fusible fleece)

Cutting:
1. From the handle fabric, cut:
-
4 strips 2 1/2” wide x 30” long – if you are making the longer handles
-
4 strips 2 1/2” wide x 23” long – if you are making the shorter handles
2. From the fusible fleece, cut 2 strips the same length and width as the handle pieces.
3. Fuse the fusible fleece to 2 of the strips. The other 2 strips will not have stabilizer.

Sewing the tote handle:
1. Pin 1 fabric strip with fusible fleece and 1 strip without fusible fleece right sides together. Sew around all edges with a 1/4” seam allowance, leaving an opening about 4” long. Clip the corners.
2. Turn the handle right side out and press it flat. Press the edges at the opening to the inside.

2. Pinch the handle to fold it in half down the middle, tucking any loose fabric inside. Start pinning 3” from one end for the shorter handles, or 4” from one end for the longer handles. Pin along the whole strap, placing pins to mark 3” or 4” from both ends.


3. Starting at the pin that is 3” or 4” from one end, sew the handle together about 1/8’’ – 1/4” from the edge. Finish sewing at the pin that marks 3” or 4” from the other end. Make sure to backstitch at the start and end.
Repeat steps 1-4 for the other handle.

4. Decide where to attach your handles to the bag. On my smaller bag, I sewed the handles 3” down and 3” away from the side edge. On the larger tote bag (the one shown above), I attached my handles 4” down and 4” away from the side edge. Pin one handle in place.

5. Open the bag so you can sew the handle on without catching the other side. Carefully stitch around each handle end to secure it. Backstitch a few times at the start and stop to make sure the handle is secure.

Sew the other handle on and you’re done!
These handles would also look great on my Sweet Quilted Tote, QAYG Tote with Pom-Poms, Rope Handled Tote, or Sew Busy Teacher Totes. Just skip the handle or strap instructions in the tutorial and add these handles at the end.
Thanks so much for reading my blog. I love sharing sewing stuff with you!
xoxo,

Disclosure: some of my posts contain affiliate links. If you purchase something through one of those links I may receive a small commission, so thank you for supporting SewCanShe when you shop! All of the opinions are my own and I only suggest products that I actually use. 🙂
