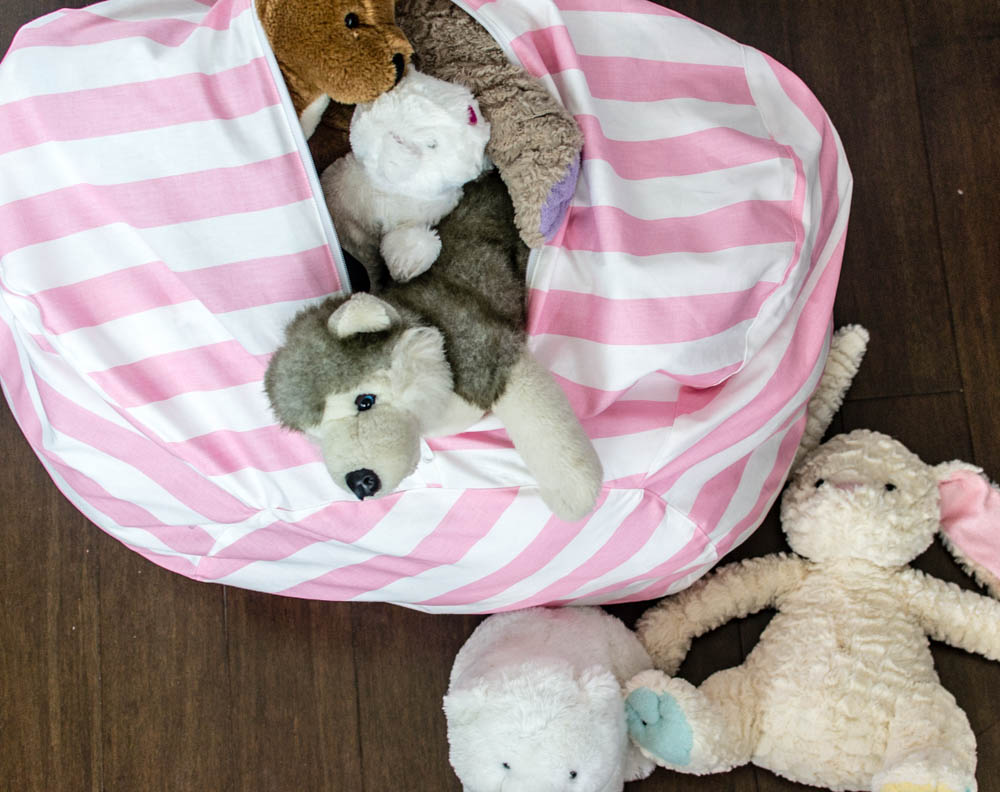
Bean Bag Chair Pattern with Toy Storage – Part 2
This is the awesome bean bag chair pattern with toy storage that I sewed up! If you are looking for the free pattern, click on the link above for Part 1. This is Part 2 – there are lots of step by step photos so I had to split it up. 🙂
I used adorable Baby Pink Canopy Stripe fabric from Fabric.com in case you are wondering. So let’s get on with it!

Sew the main pieces together:
1/2” seam allowance allowed.
You should have 4 main pieces again, and one of them has a zipper down the middle (see above).
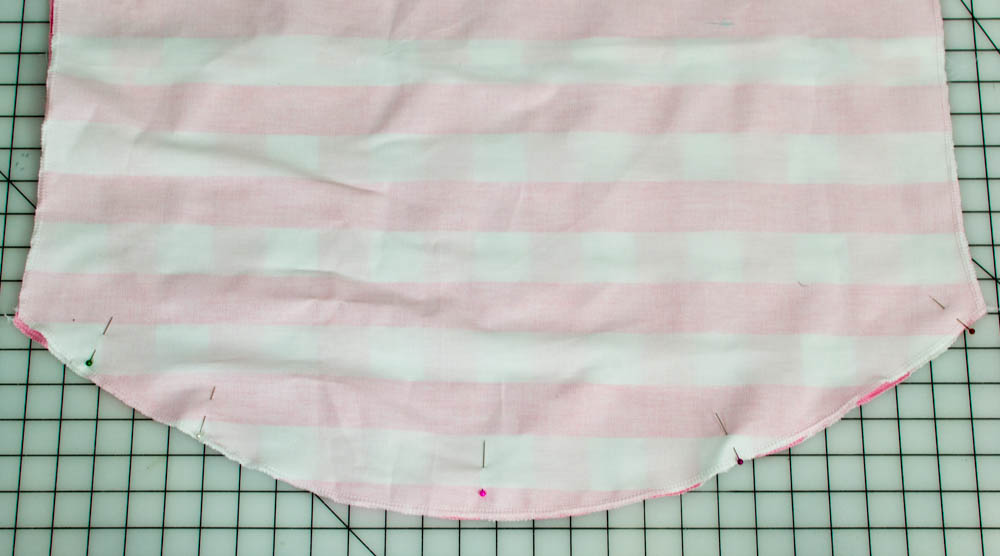
1. Place two of the main pieces right sides together and pin along one curved edge.
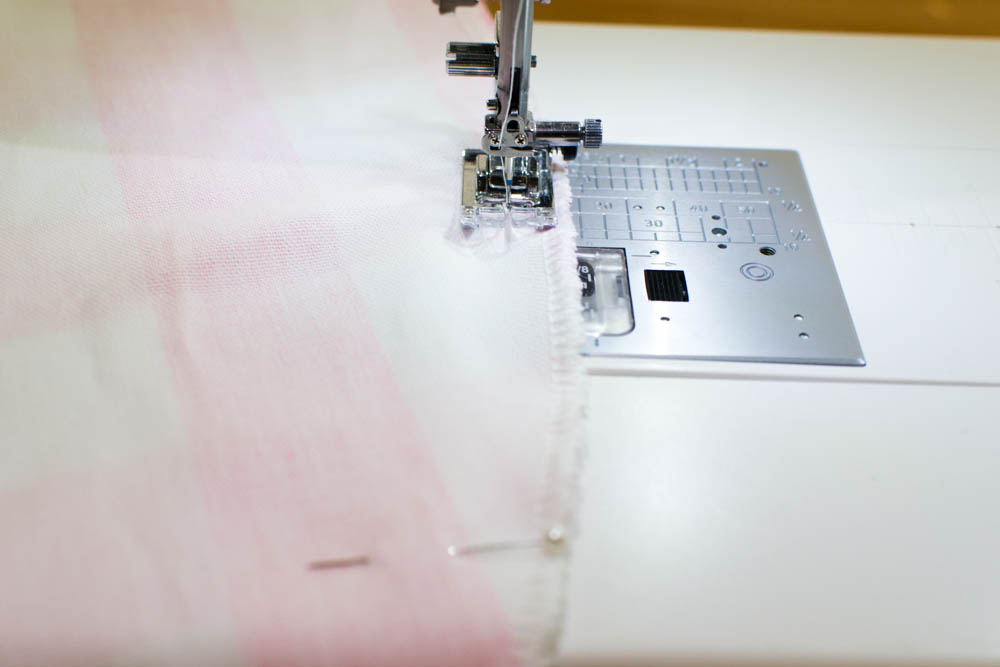

2. Stitch along the curved edge.
Tip: To reinforce the seam, fold or press the seam allowances to one side and topstitch on that side 1/8” from the seam.
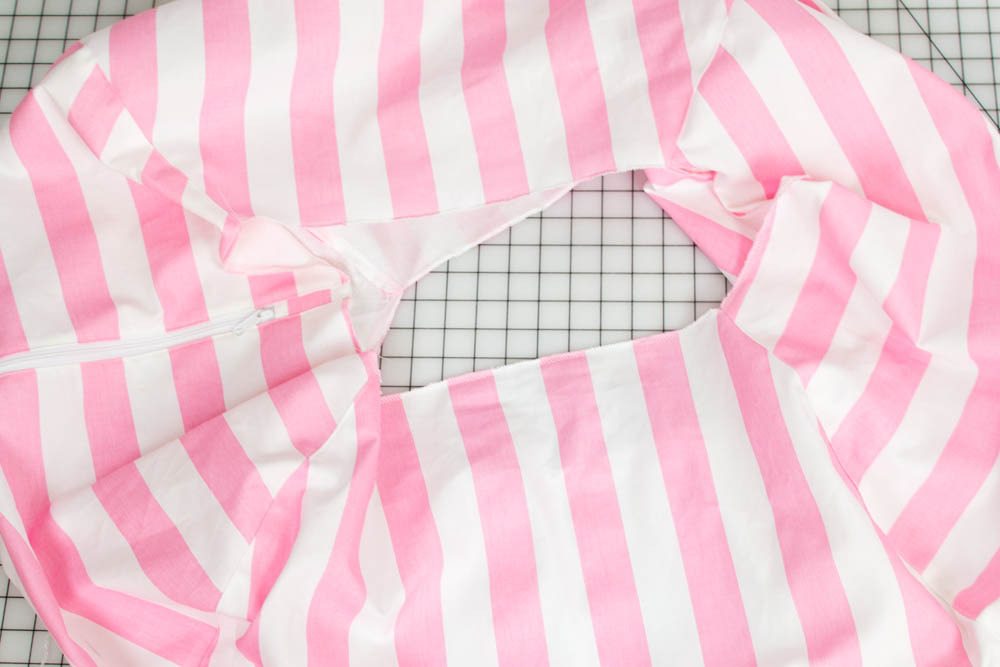
3. Repeat steps 1-2 above to sew the other 2 panels together. Then sew all 4 in a circle as shown above. It will look like a bean bag with big holes at the top and bottom.

Make the Handle:
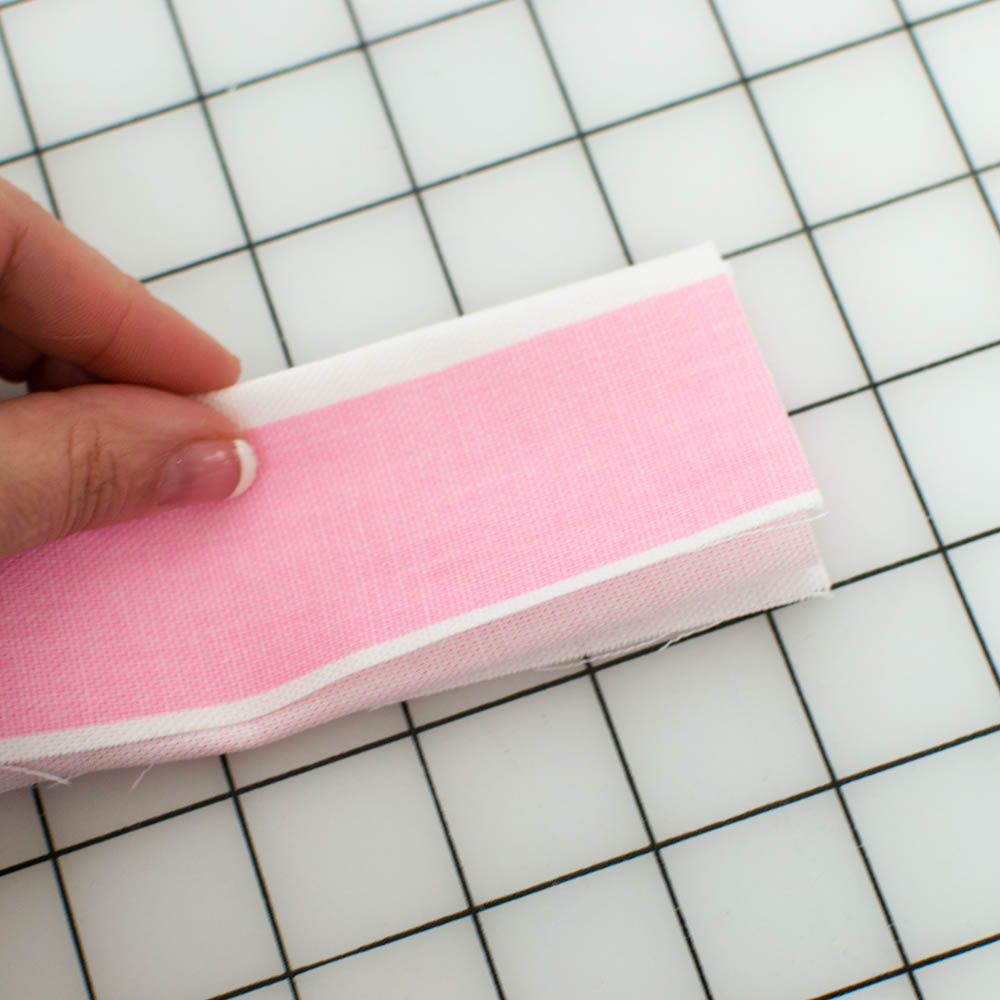
1. Fold the 8” x 20” handle piece in half lengthwise and press. Open and press the long edges to the center. Then fold in half and press again. You are looking at the ‘outside edges’ of the handle.
2. Now open the handle piece again and fold the outside edges together at one end as shown in the picture above.
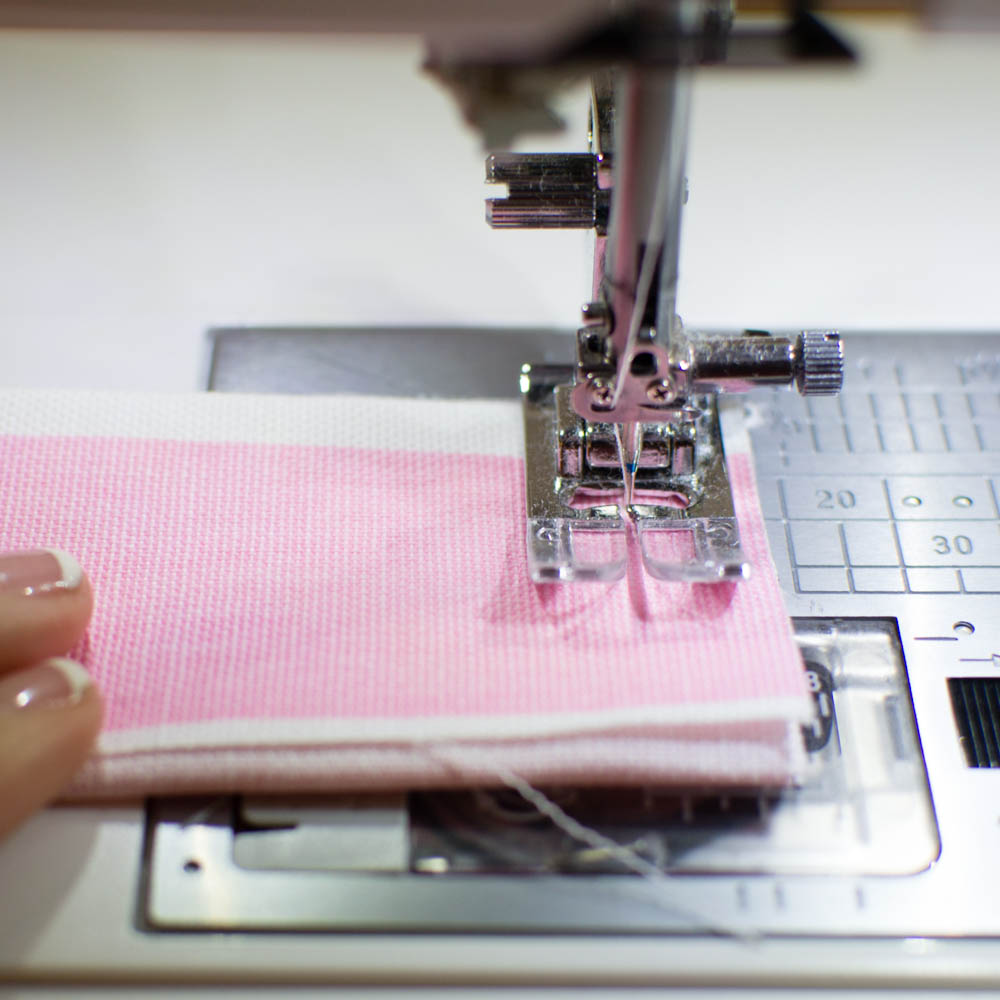
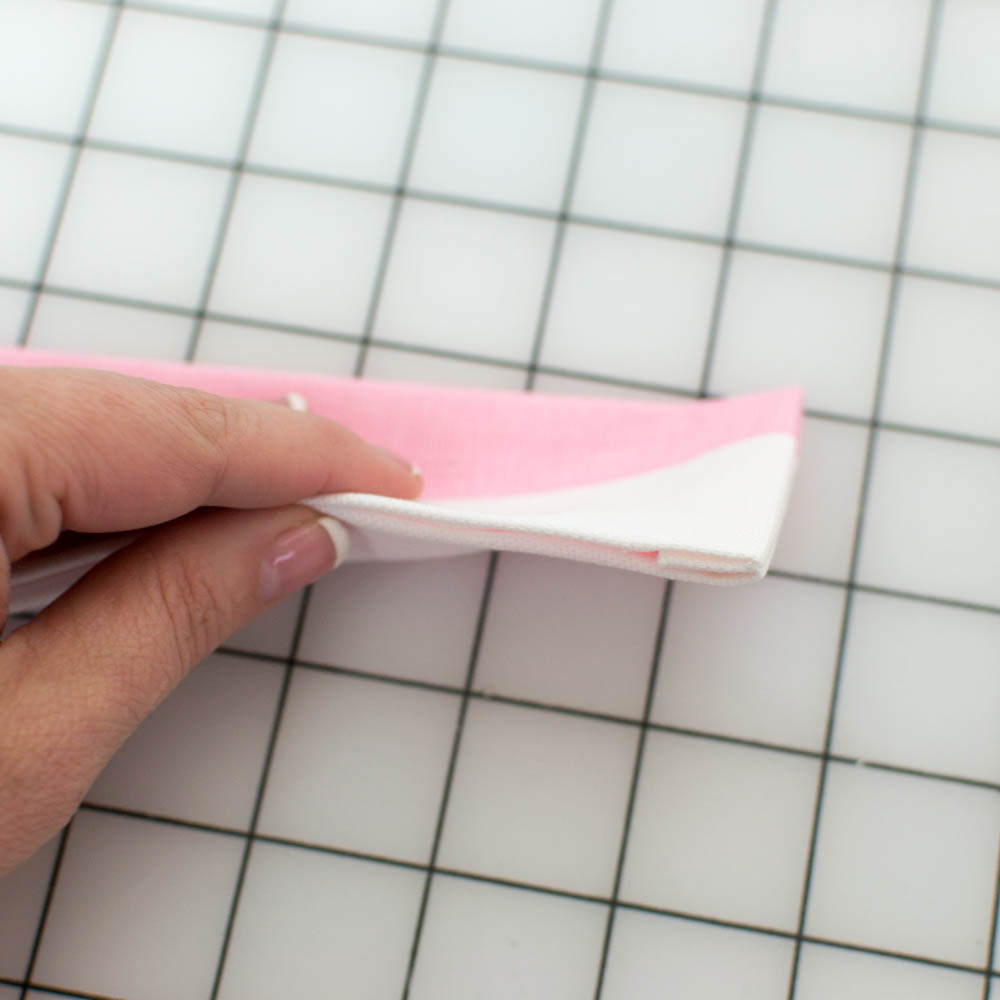

3. Stitch across the end of the handle 1/2” from the edge. Re-fold the end with outside edges on the outside again and the raw edges sandwiched in the middle.
Repeat on the other end of the handle and then press the handle flat. Topstitch around the handle 1/8” from the edge.
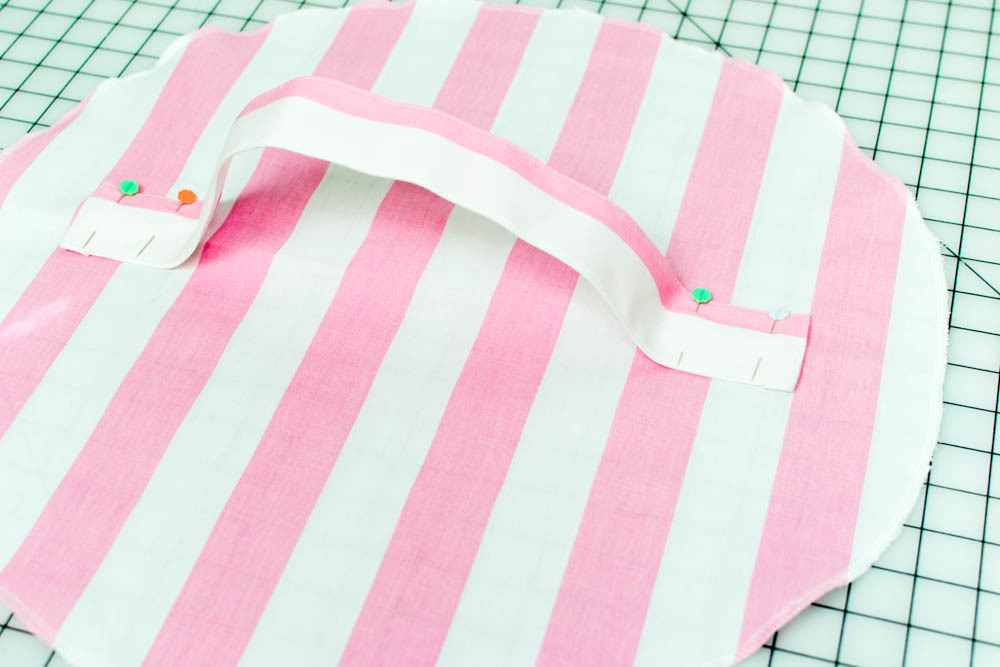
4. Center the handle on one of the circle pieces with the ends of the handle 2 1/2” away from the edges of the circle. Pin in place with 2 pins on each side.
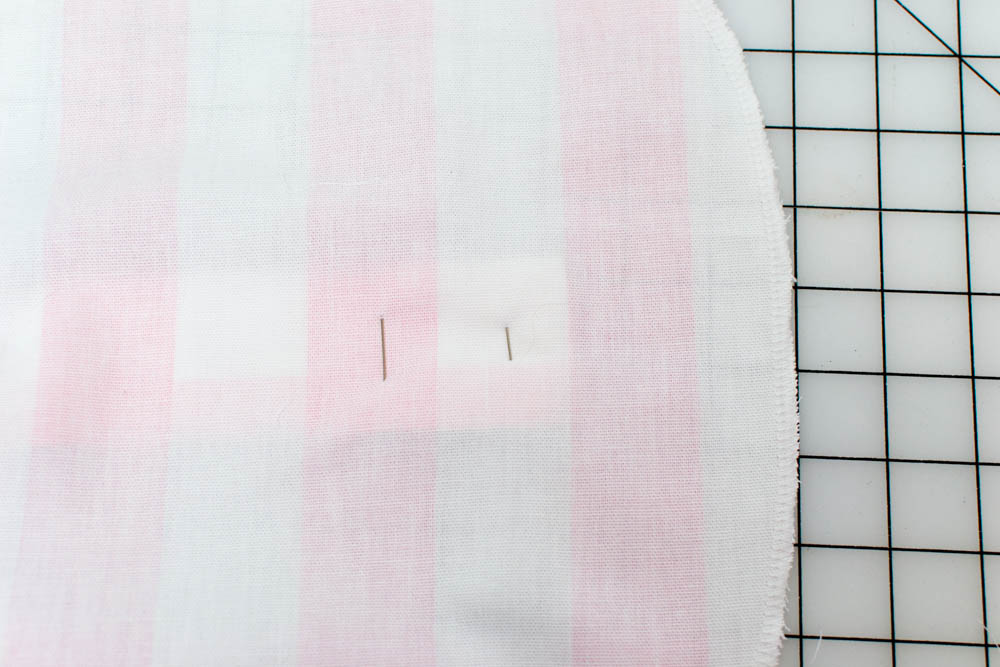
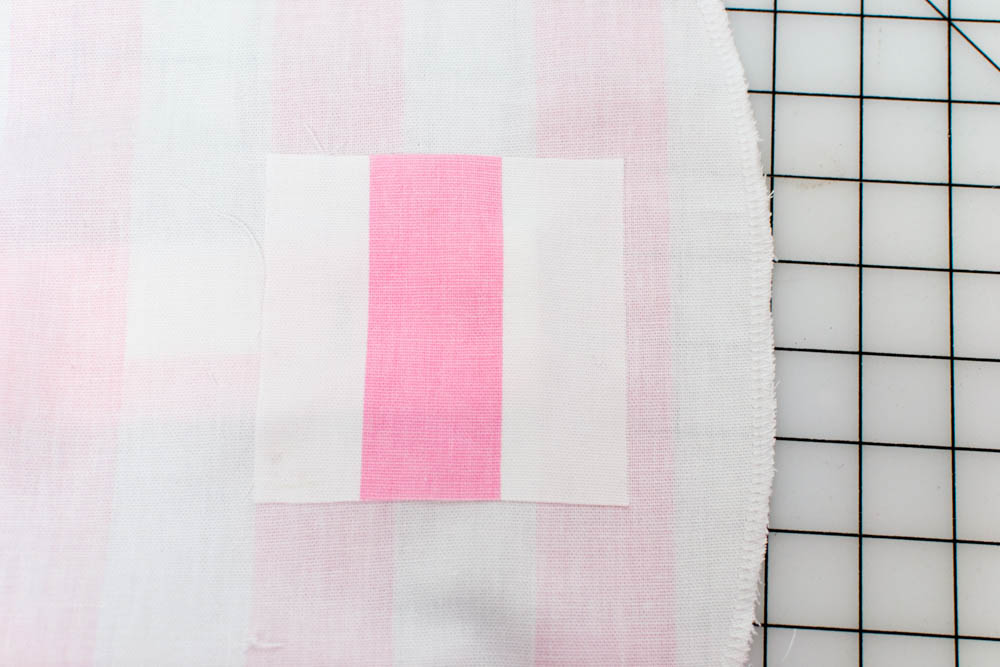
5. To reinforce the handle, turn the circle over so you can see where one end of the handle is pinned in place.
Use basting spray to attach one of the 3” squares to over the place where the handle will be sewn.
Tip: if you don’t have basting spray, you can hold the square in place on the bottom, flip the circle over, and re-pin the end of the handle while catching the square underneath.
Attach a square of fabric under the other side of the handle as well.
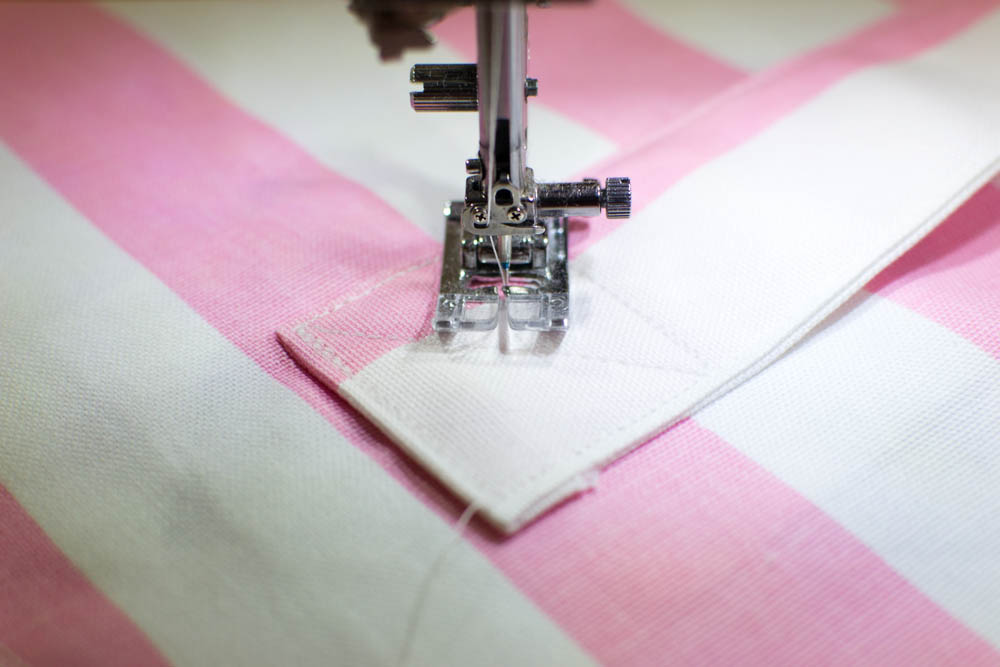
6. Sew one end of the handle to the circle securely by sewing a 2” square with an ‘X’ in the middle. I used my sewing machine’s ‘triple stitch’ so the handle will be super strong. Sew a square on the opposite side of the handle too.

Lookin’ great!

Sew the Circles on the Bag Top and Bottom:
1. Fold the circle with the handle in half twice and mark it into quarters.

2. Pin the circle to the top of the bag right sides together. Start by matching the quarter marks with the seams in the bag and pinning in place.
Note: the top of the bag is the end where the zipper closes.
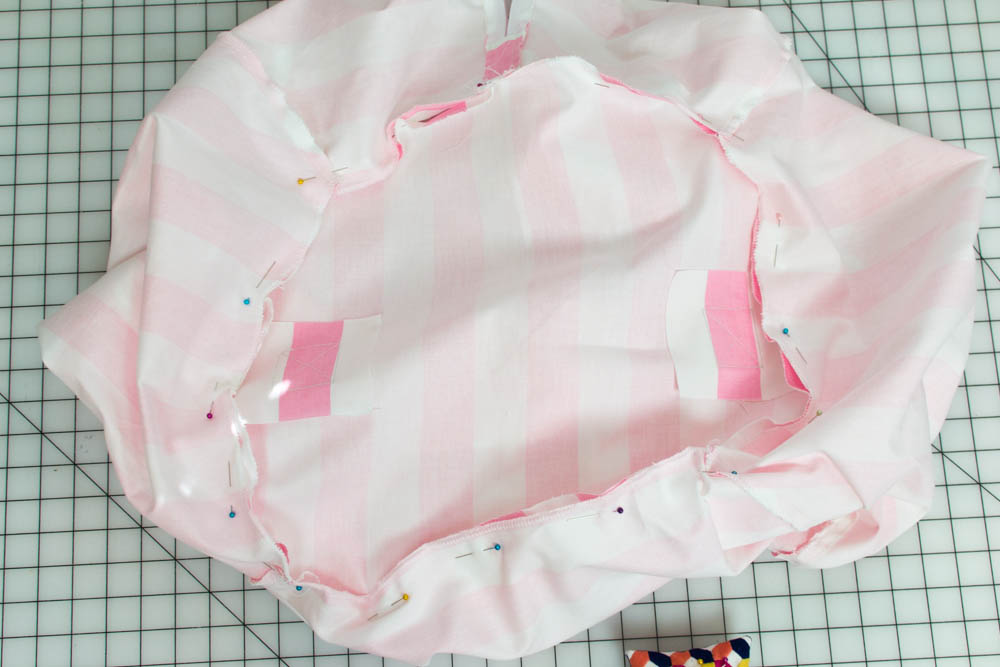
Tips:
- Use lots of pins.
- Place the pins horizontally along the 1/2” seam line.
- Work slowly, easing the two pieces together. The raw edges will not match up, but the pieces match at the seam line.

3. Stitch the circle to the bag with a 1/2” seam allowance.
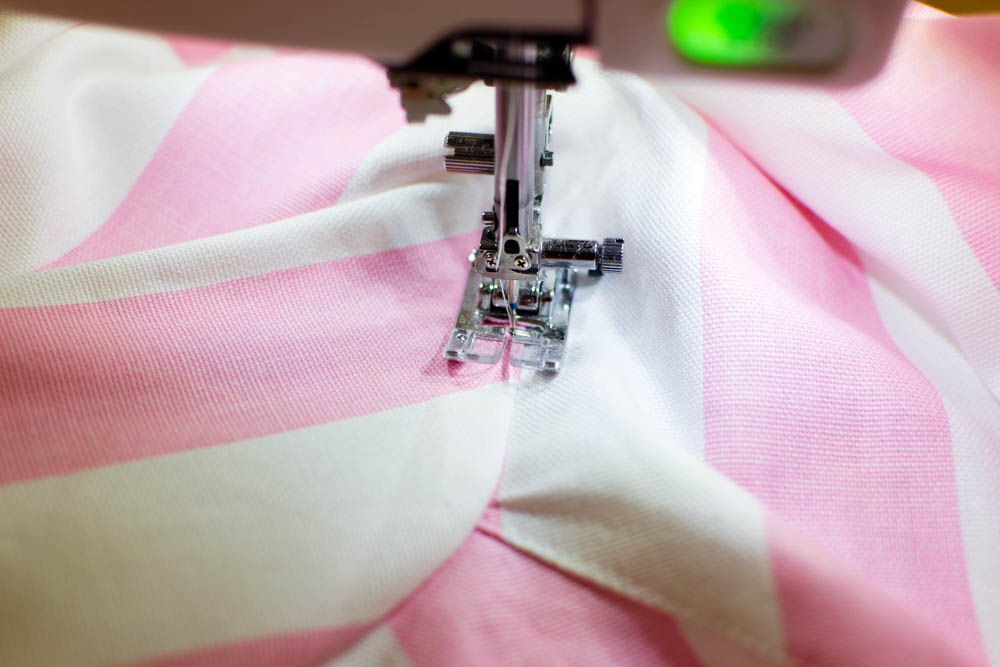
4. Reinforce this seam too by folding the seam allowance toward the circle and topstitching 1/8” from the seam.
Open the zipper all the way and repeat steps 1-4 above to sew the remaining circle to the bottom of the bag.

You are done. Watch your little one clean up all their toys because stuffing them in the bag is so much fun!
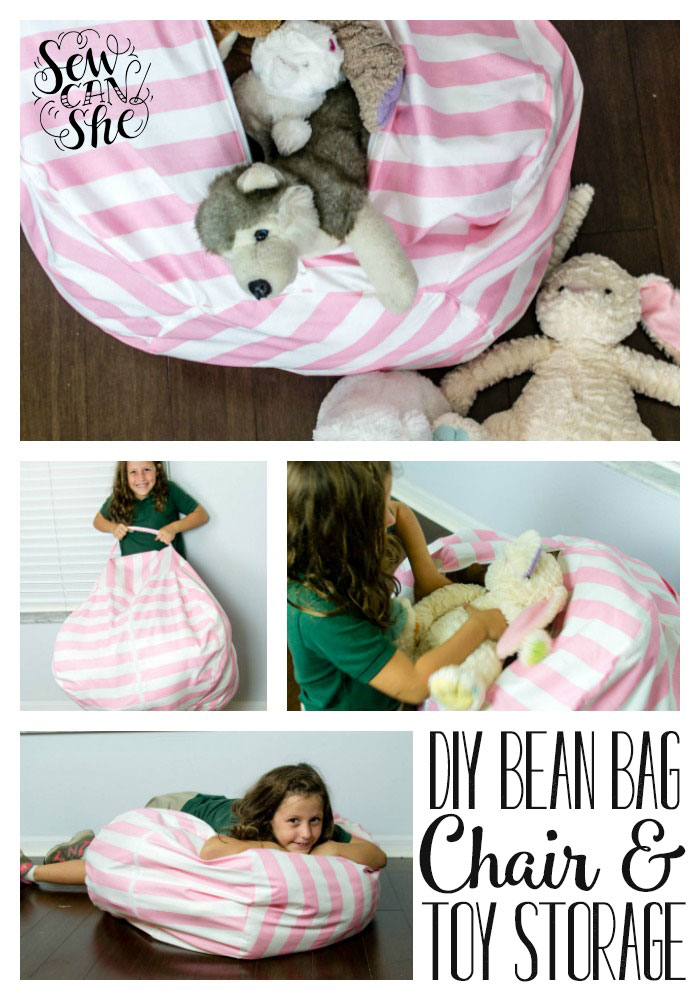
Pin for later!
xoxo,

Disclosure: some of my posts contain affiliate links. If you purchase something through one of those links I may receive a small commission, so thank you for supporting SewCanShe when you shop! All of the opinions are my own and I only suggest products that I actually use. 🙂

