How to Sew A Fat Quarter Patchwork Shower Curtain!
Learn how to sew a shower curtain from a bundle of fat quarters! This easy sewing project is sure to make your bathroom beautiful and create a huge impact.

Last week I decided to turn my sewing room bathroom into a lovely space instead of a storage-closet-with-a-shower-and-toilet.
The blog post below is totally free to read, print, and sew! Just hit CTRL +P on your computer to print. There is an optional PDF download offered at the end of the post. Join our Sewing Bee Community for access to over 300 PDF patterns (including this one), live workshops, premium video courses, and more.

I was inspired by this beautiful collection of fabrics from Blend called Haven. The fat quarter bundle that was sitting on my sewing desk was transformed into a tall and wide patchwork shower curtain in just a couple hours.

Fat quarters are perfect for this project. Even though they are not square, they appear to be because the curtain is slightly scrunched. It’s the perfect patchwork illusion.
Since this shower curtain is made with cotton fabric, it does need a waterproof liner. But that’s not a problem. Most shower curtains need a liner anyway and the liner does not need to be the same size as the curtain.
So do you want to sew a Patchwork Shower Curtain? Read on!

You will need:
- 20 or 25 fat quarters of fabric (I used 25)
- 12 extra large eyelets
Notes:
20 fat quarters will make a shower curtain that is approximately 84” tall and 80” wide. 25 fat quarters will make a shower curtain that is approximately 84” tall and 100” wide. For comparison, a ‘standard’ shower curtain is 72” x 72”. An ‘extra-long’ shower curtain is 84” long. Extra-wide shower curtains vary – the wider the prettier, in my opinion!
This shower curtain would be considered ‘extra-long’ so you can raise your curtain rod for a dramatic effect like I did or cut off more at the bottom if you don’t want it so long. I don’t suggest making this curtain narrower than 80” because it won’t flow and scrunch as much.

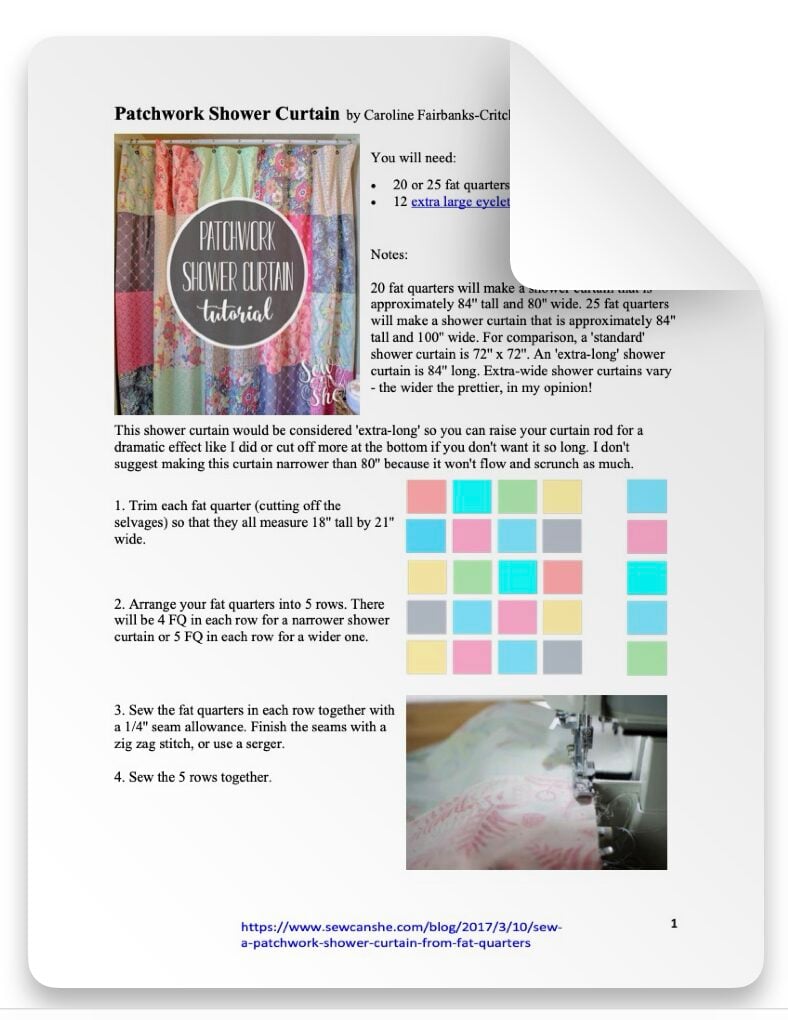
1. Trim each fat quarter (cutting off the selvages) so that they all measure 18” tall by 21” wide.
2. Arrange your fat quarters into 5 rows. There will be 4 FQ in each row for a narrower shower curtain or 5 FQ in each row for a wider one.

3. Sew the fat quarters in each row together with a 1/4” seam allowance. Finish the seams with a zig zag stitch, or use a serger.
4. Sew the 5 rows together.

5. Fold the sides over 1/2” and then 1/2” again to make 1/2” hems. Stitch close to the fold. Then press and sew a 1/2” hem at the bottom.

6. Press and sew a 1 1/2” hem at the top of the curtain. The eyelets (or grommets) will be centered within this hem.
7. Mark the top of the curtain as follows for the eyelets:
- make two marks 1 1/2” from either end
- make 10 more marks at 9” intervals

10. Install the eyelets using the manufacturer’s instructions (or see how I do it near the end of my Rope Handled Tote tutorial), centered over each mark.
Enjoy your new Patchwork Shower Curtain!
xoxo,

PATCHWORK SHOWER CURTAIN SEWING PATTERN
Purchase this pattern in PDF format! The PDF file contains all of the instructions, plus the step by step photos that have been reduced to fit the page nicely with no ads.
Download the file immediately and keep your confirmation email so you can download it again later. Unlimited downloads are available from the confirmation email. Free patterns must be downloaded within 30 days.
Disclosure: some of my posts contain affiliate links. If you purchase something through one of those links I may receive a small commission, so thank you for supporting SewCanShe when you shop! All of the opinions are my own and I only suggest products that I actually use. 🙂