How to Make 3 Yards of Continuous Bias Binding from a Fat Quarter!!! {video tutorial}
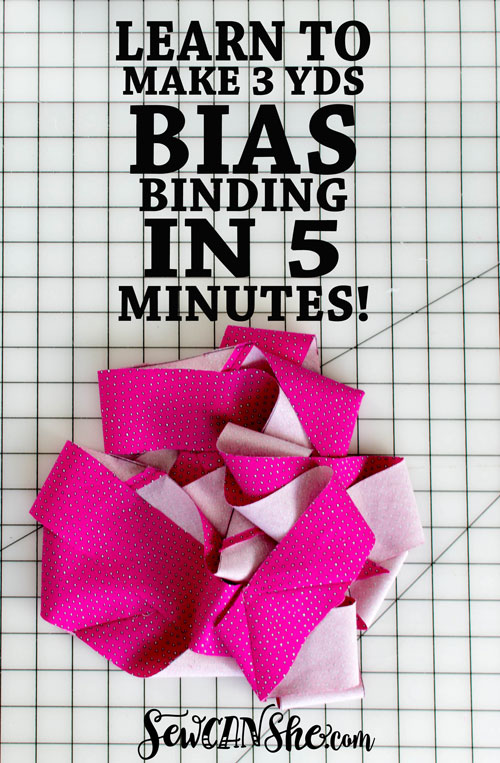
I’m so excited to share with you my favorite DIY technique for making bias binding!
I love making my own bias binding for so many reasons. Here are a few:
-
the quality is soooo much better than you get in packaged bias trims
-
I can make any length or width of bias trim that I want
-
DIY bias trims are so much cuter – I get to pick the fabric
-
making your own is faster than going to the store
I wanted to make some anyway, so I made a video for you (you’re welcome)! The video will play automatically in the video player on this page. If you don’t see it, you can find it on my YouTube channel here.
From an 18” square of fabric (cut from a fat quarter), you can get almost 3 1/2 yards of bias tape that is 2 1/4” wide (my current preference) or 4 yards if you cut it 2” wide.
This technique works with just about any size square, although I wouldn’t try it with a square smaller than 10” – there would be too many seams and not very much trim. Once I did it with a 36” square – using up almost a yard. That was a LOT of bias trim!!!!
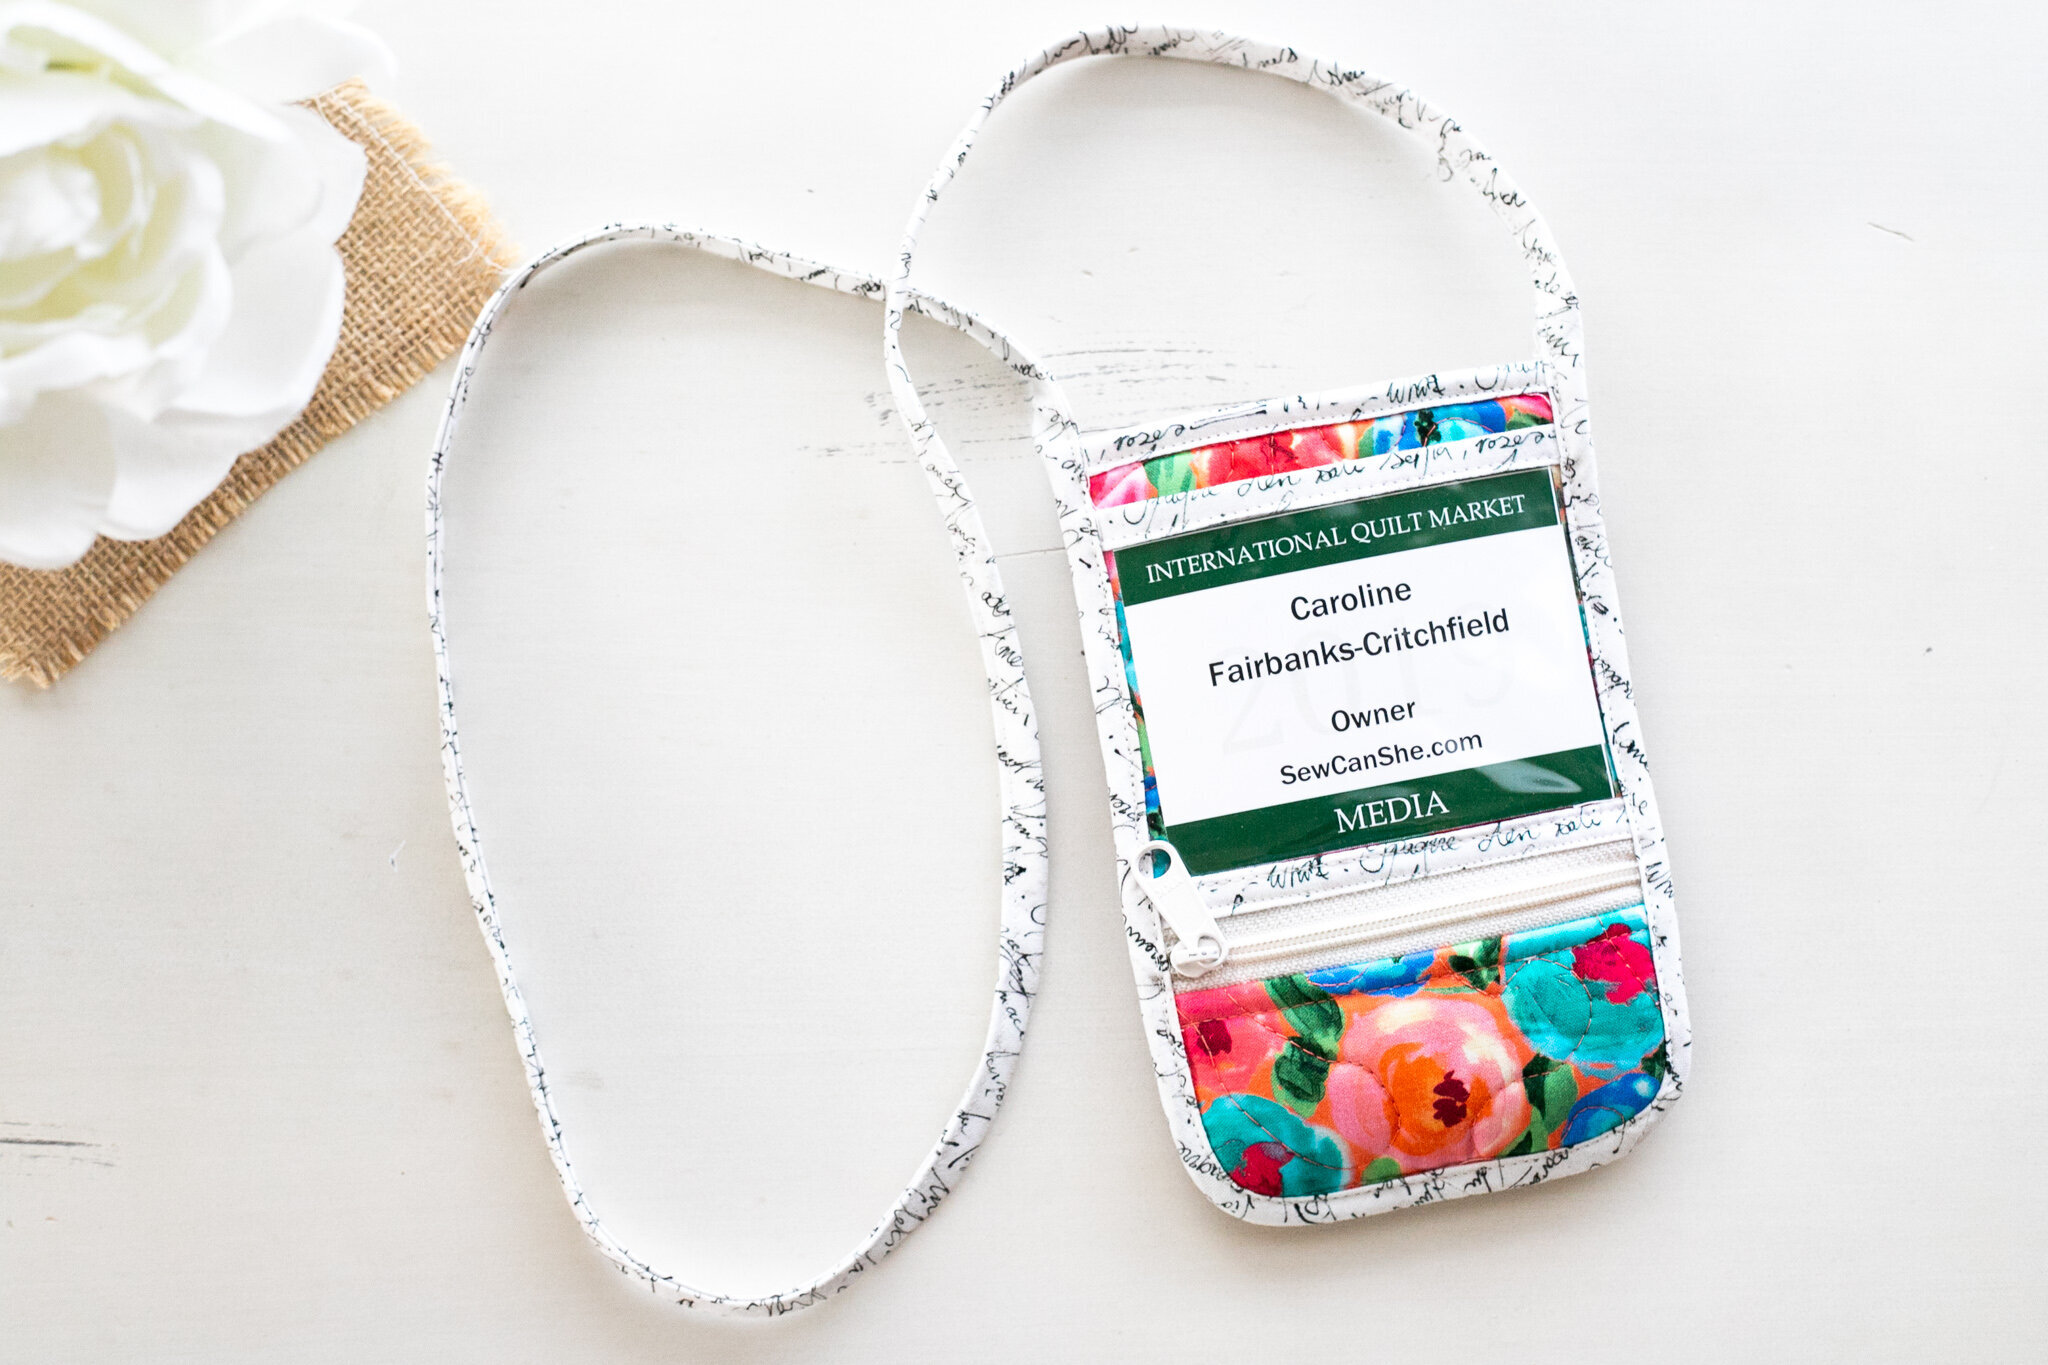
Here are some of my favorite free sewing tutorials and patterns that use bias binding:
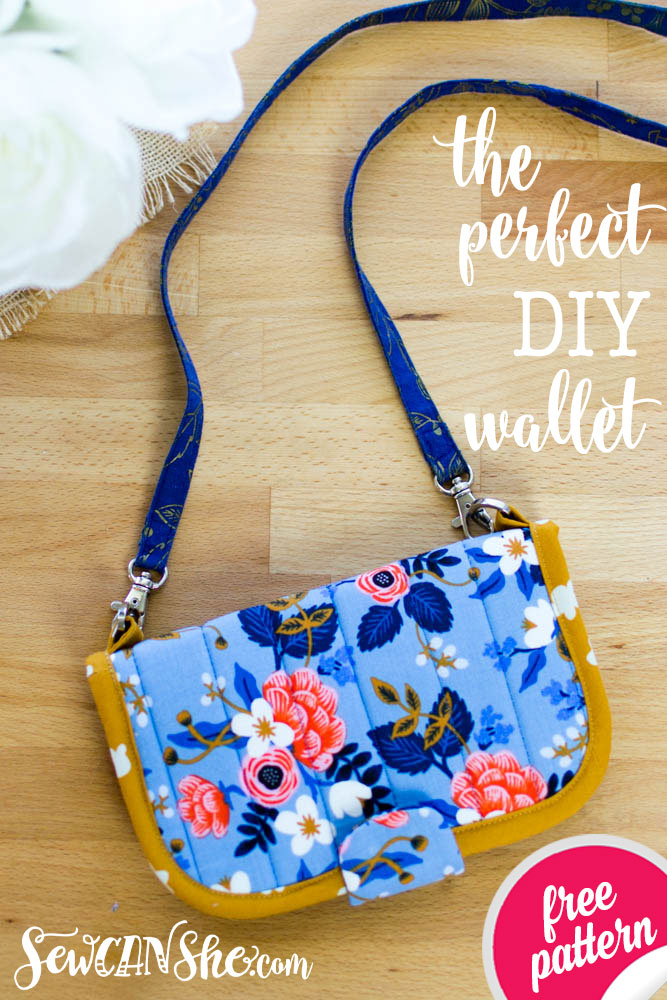
You’ll need about 2 yards to be able to sew the Perfect DIY Wallet.

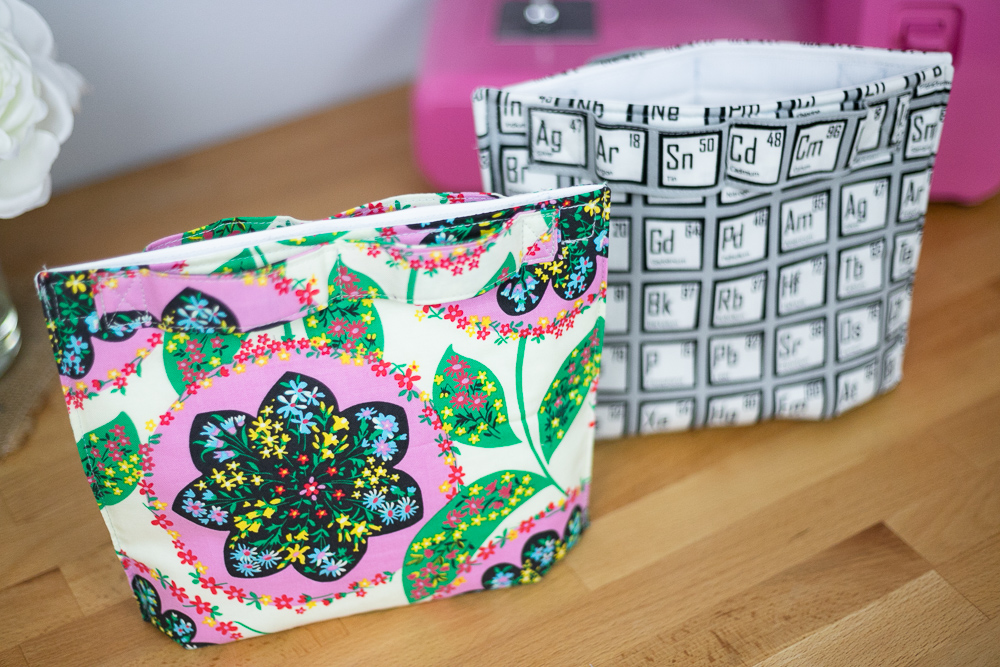
Or the Pretty Box Pouch!
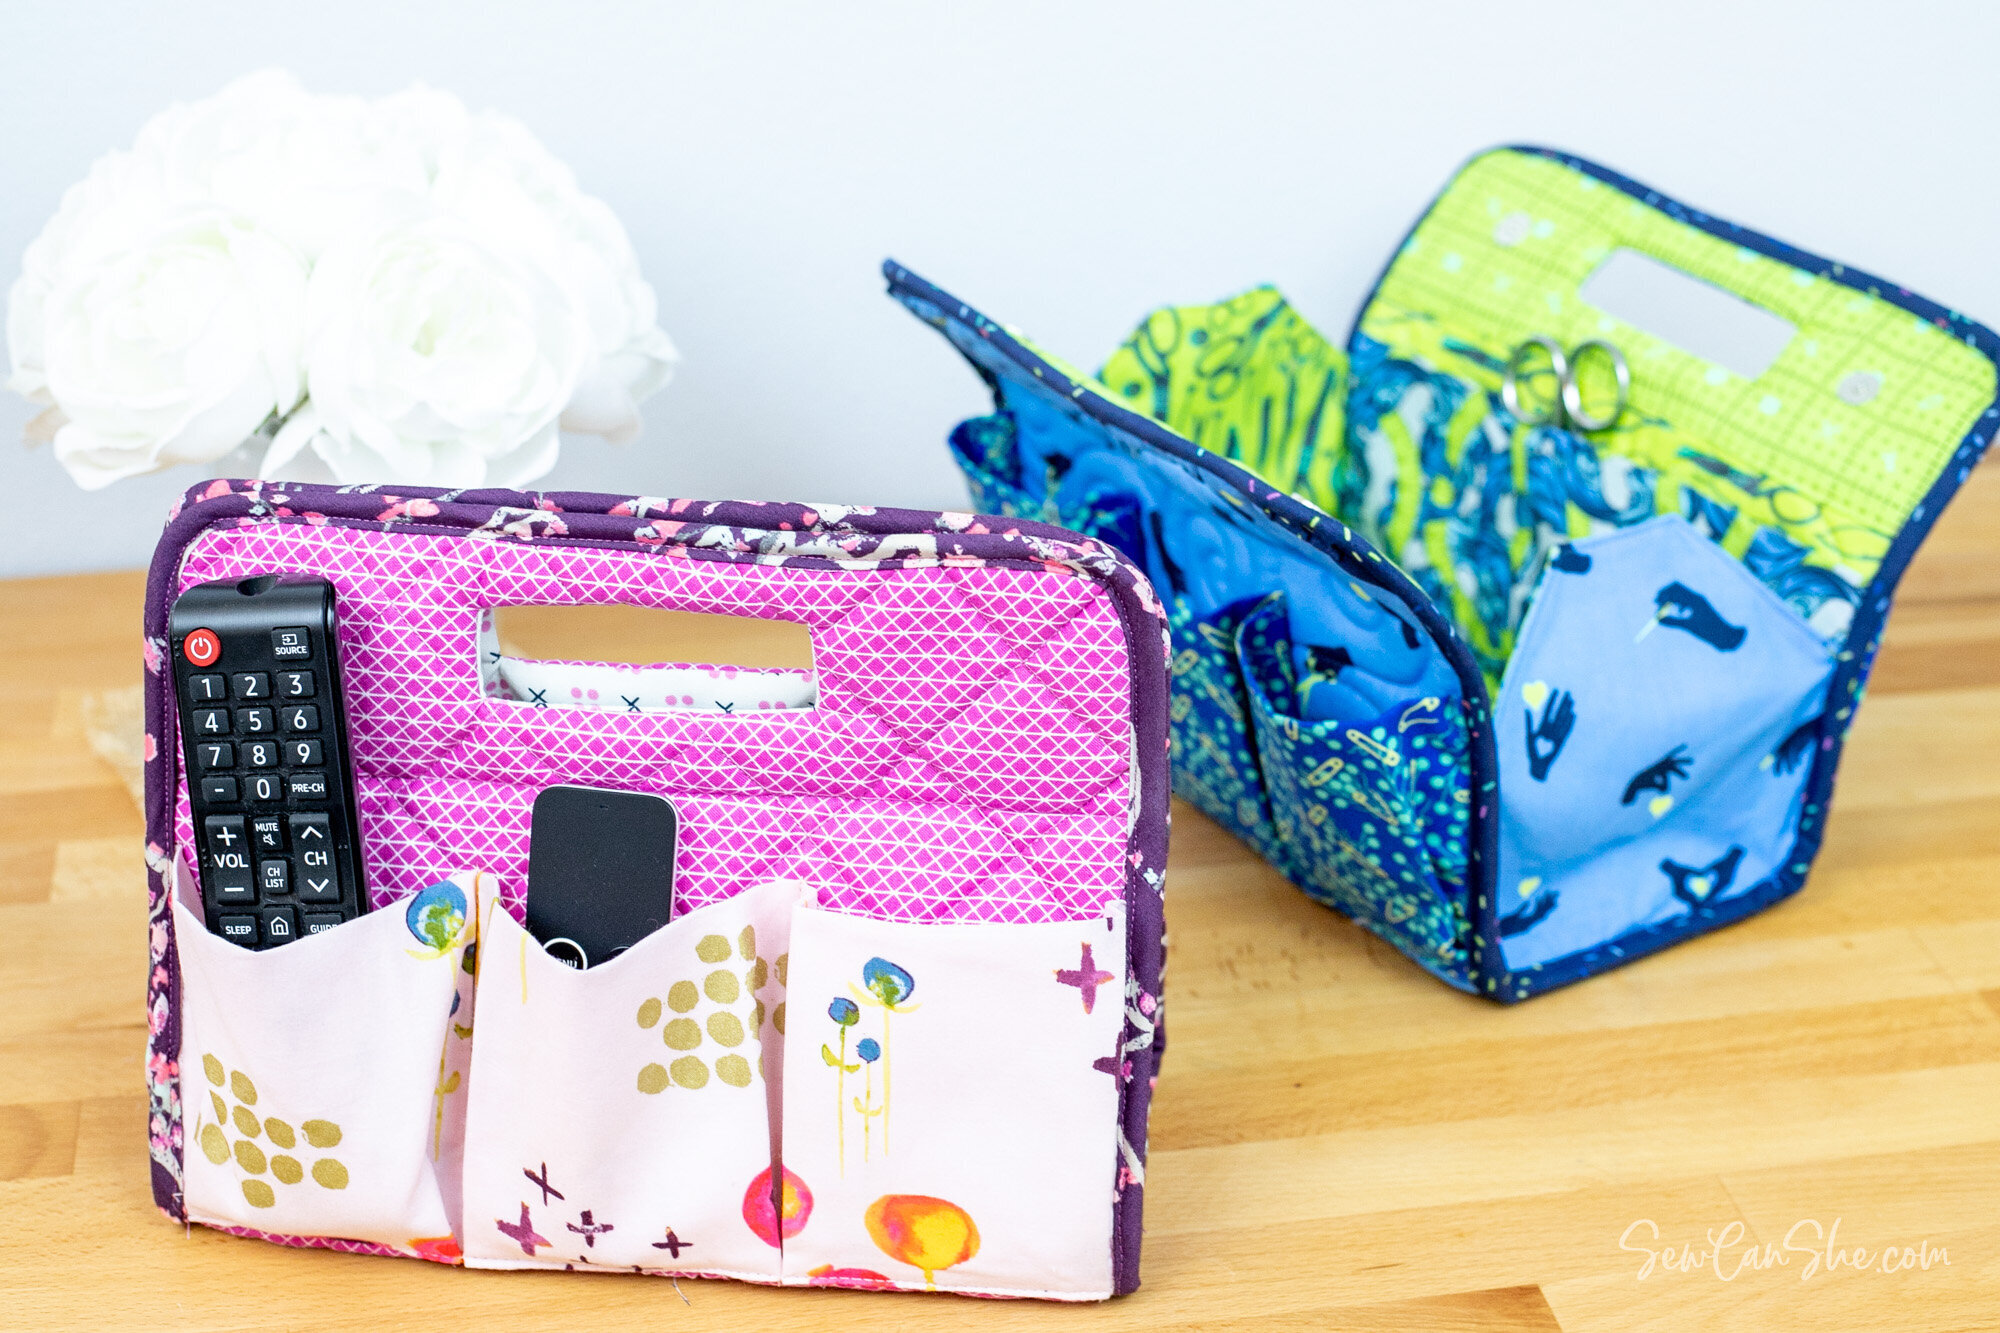
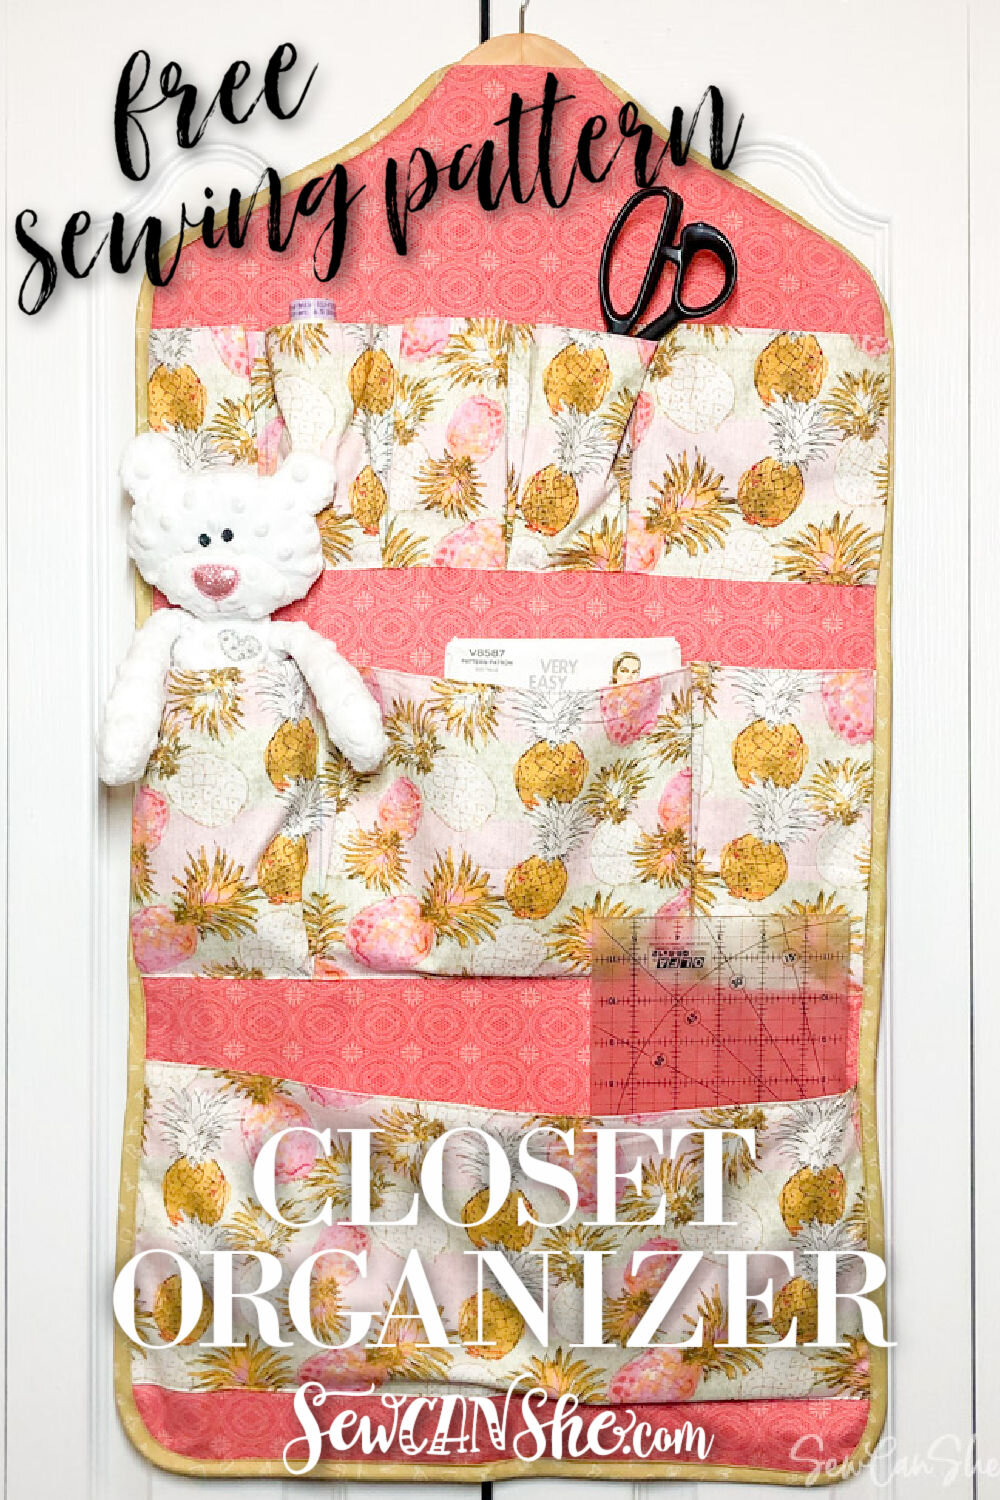
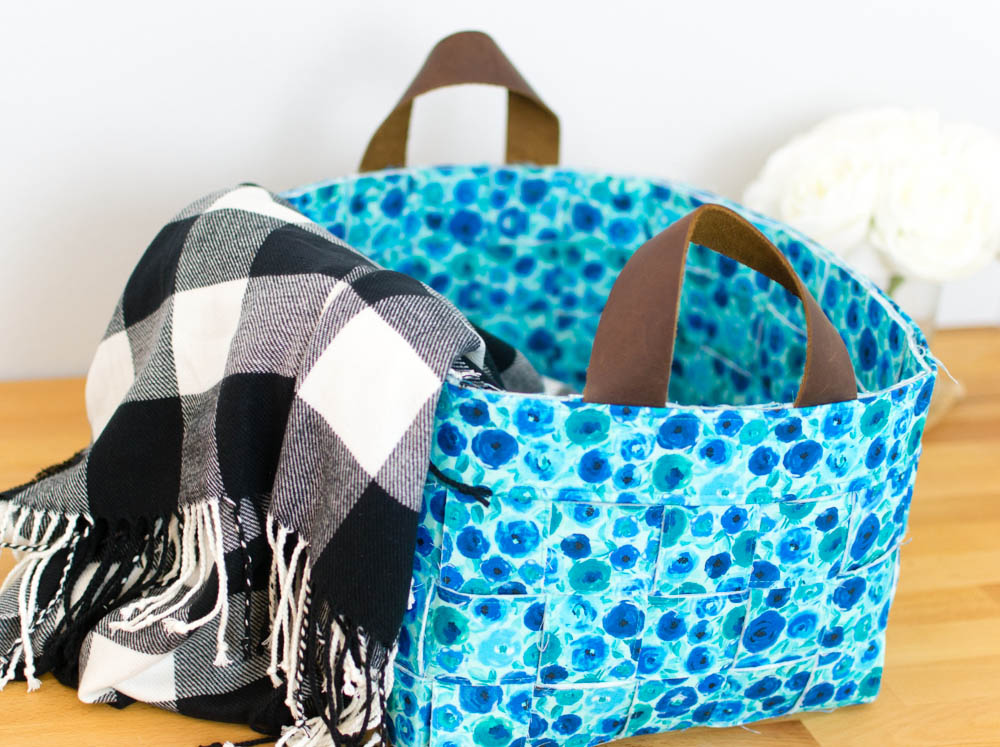
The A-Frame Organizer pattern also needs about 2 yards of bias trim.

The Patchwork Potholder Pattern needs about 60’’ of bias trim.
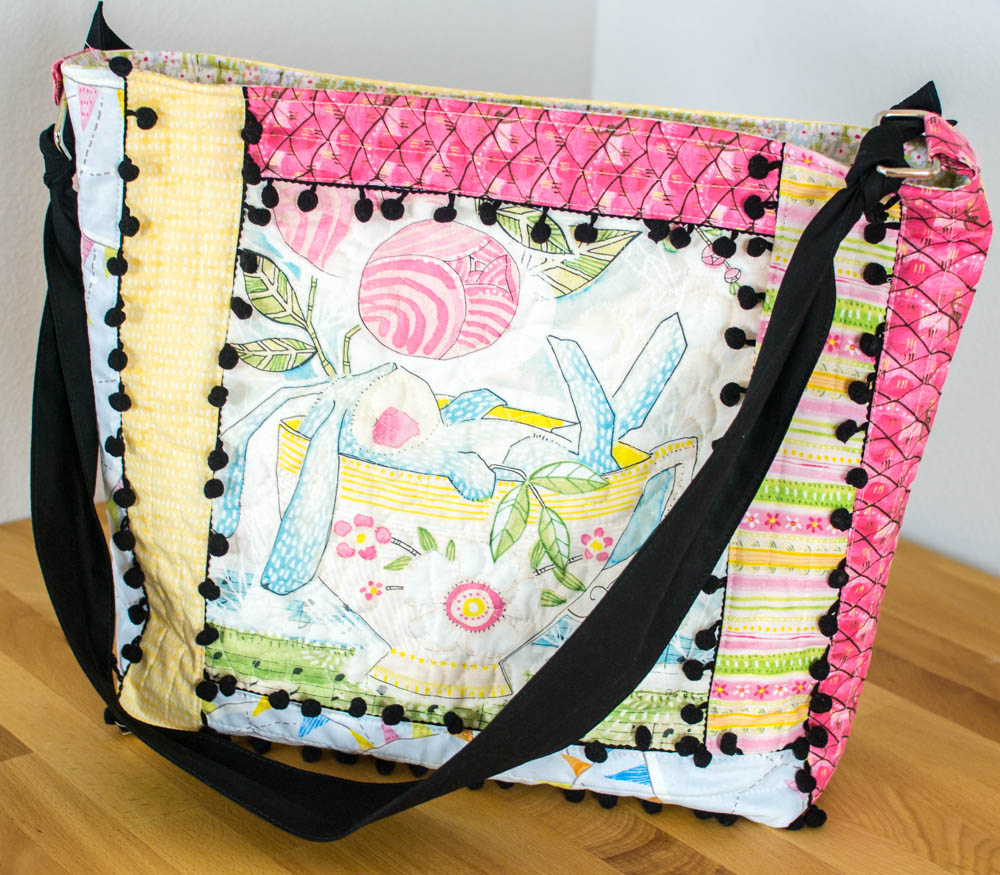
You’ll also need a bunch to sew the ‘Call Me’ pouch from ByAnnie.
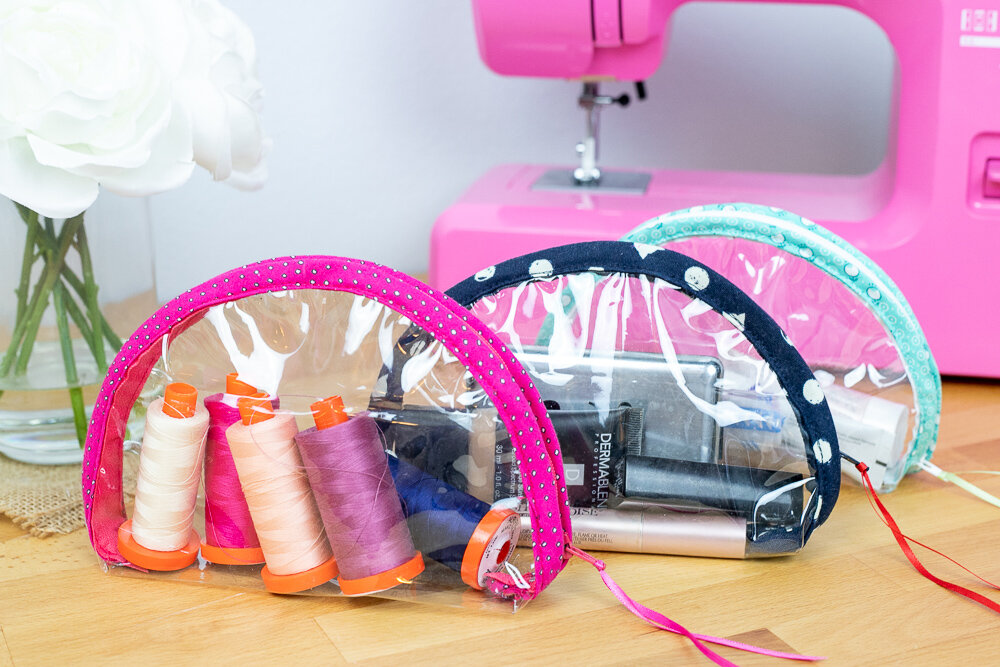
Or some quick and easy dumpling shaped pouches that are see-through!
You can bind your quilts with bias cut binding too. Some quilters prefer to do so because the binding may be more durable without single threads running the length of the quilt. I often use striped fabric to make bias binding on quilts for the cute candy cane look!
Whatever you use your DIY bias binding for, remember to come back here for my quick and easy video!
xoxo,


Disclosure: some of my posts contain affiliate links. If you purchase something through one of those links I may receive a small commission, so thank you for supporting SewCanShe when you shop! All of the opinions are my own and I only suggest products that I actually use. 🙂