How to Sew a Cute DIY Long Zipper Pouch – free sewing tutorial
Learn how to sew a cute zipper pouch that is long enough to hold pencils, markers, sunglasses, cosmetics, ‘girl supplies’, and more! I really love the size and shape of this case. It’s perfect for throwing in another purse or bag so I can keep my things organized.

This blog post has been converted to an optional PDF that’s optimized for printing. Find it here. The free Long Pencil Pouch Pattern is included in the blog post below and is free to read, print, and sew! Just hit CTRL +P on your computer to print.
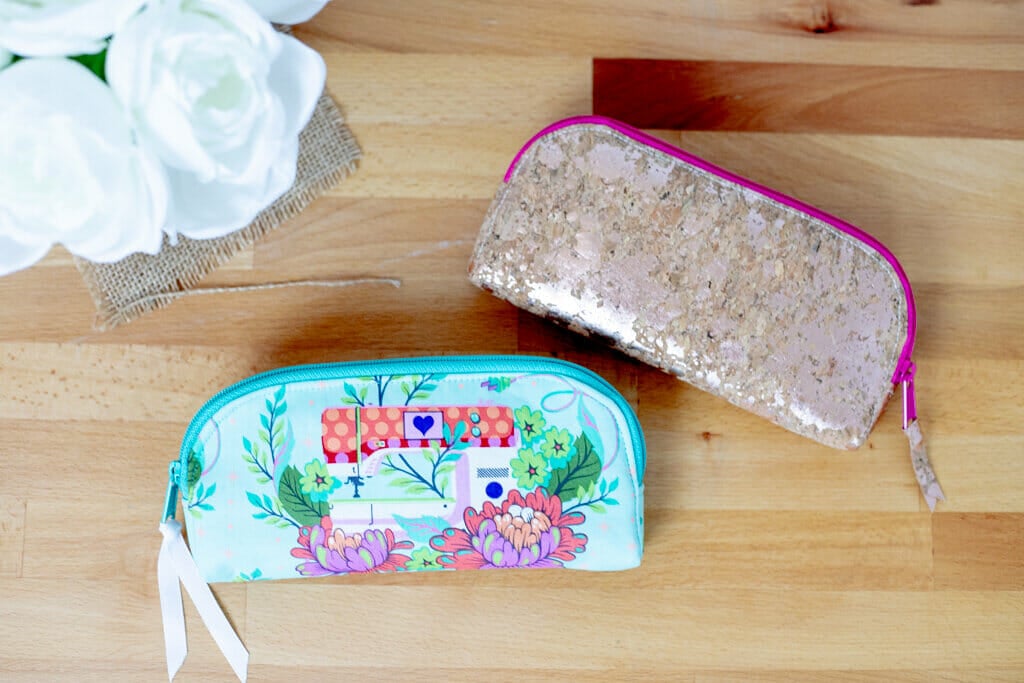
That cute sewing machine fabric is the main print in Tula Pink’s Homemade Collection.
The construction techniques on this sewing project are different than what you might have seen before. I streamlined the number of steps by fusing craft felt to the wrong side of my pretty cotton fabric in order to create a single layer that would be stable and not need a lining.

This means that the interior seams of the pouch are not finished. I’m fine with that because the felt and fused cotton are not likely to fray, but if it bothers you, you can finish the seams with a zig zag stitch, serger, or binding.
This single layer pouch design is also perfect for cork fabric (you see I already tested it with fabulous results) and vinyl (try a non-stick sewing machine foot for vinyl).
I managed to sneak a card pocket into the pouch interior without having the stitching show on the outside, but this is only possible if you are using felt and cotton fabric (not cork fabric or vinyl).

I’m providing a pattern template for you because there are gentle curves on the top edges.
Extended zipper tabs create the sides of the pouch.
Download the Cute Long Pencil Pouch Template
How to Sew a Cute Long Pencil Pouch
You will need:
- 1 sheet of wool, wool blend, or acrylic craft felt 9’’ x 12’’
- 1/8 yard woven cotton fabric (such as quilting cotton)
- Iron-on adhesive such as HeatnBond lite – a piece about 9’’ x 10’’
- 1 YKK size 4.5 handbag zipper at least 12’’ long (I really like ByAnnie’s Zipper By the Yard)
- 6’’ long piece of narrow ribbon for embellishment (optional)
- fabric marking pen (I like Frixion pens)
- Wonderclips
Note: If you are using cork or vinyl fabric, you will not need the craft felt.

Cutting
1. Print the pattern template at 100%. Before cutting out the paper template, trace the template shape twice onto the paper side of the fusible web. Cut out the fusible web shapes.
Also cut a piece of fusible web 1 1/4’’ x 4’’

2. From the craft felt, cut:
- 2 from the pattern template
- 1 rectangle 1 1/4’’ x 4’’
3. From the cotton fabric, cut:
- 2 from the pattern template
- 1 rectangle 1 1/4’’ x 4’’
- 2 rectangles 1 1/4’’ x 2’’
- 1 rectangle 5 1/2’’ x 4 1/2’’ (for the optional card pocket)
Size the Zipper

4. Cut the zipper down to 11 1/2’’, removing the metal zipper stoppers so you won’t break your needle on them when sewing.
Sew a new zipper stopper at each end of the zipper, a scant 1/4’’ from the end. You can do this with a zig zag stitch (see above) or by sewing back and forth with a straight stitch.
Make the Interior Card Pocket
Note: Skip this step if you are using cork or vinyl fabric for your pouch exterior because the stitching from sewing on the pocket will show on the outside of the pouch.

1. Fold the pocket piece in half with the 4 1/2’’ edges together, right sides facing. Stitch around the three raw edges, leaving a 2’’ opening along the long edge for turning.

2. Clip the corners. Turn the pocket piece right side out and press it flat, pressing the raw edges at the opening to the inside.
3. Topstitch along the top, 1/8’’ from the long edge, closing the opening at the same time.

4. Pin the pocket to one of the felt pouch pieces, centered left to right, and 1’’ below the top curved edge. The topstitched edge of the pocket should be at the top.

5. Sew the pocket to the felt around the side and bottom edges, stitching 1/8’’ from the edge.
Fuse the Cotton Fabric and Felt Pieces Together

1. Following the manufacturers instructions, place the bumpy side of the iron-on adhesive pieces against the wrong side of the matching cotton fabric pieces and press lightly on the paper side to adhere.

2. Remove the paper to reveal a shiny surface on the back of the fabric. If the adhesive sticks to the paper instead of the fabric, press lightly again.
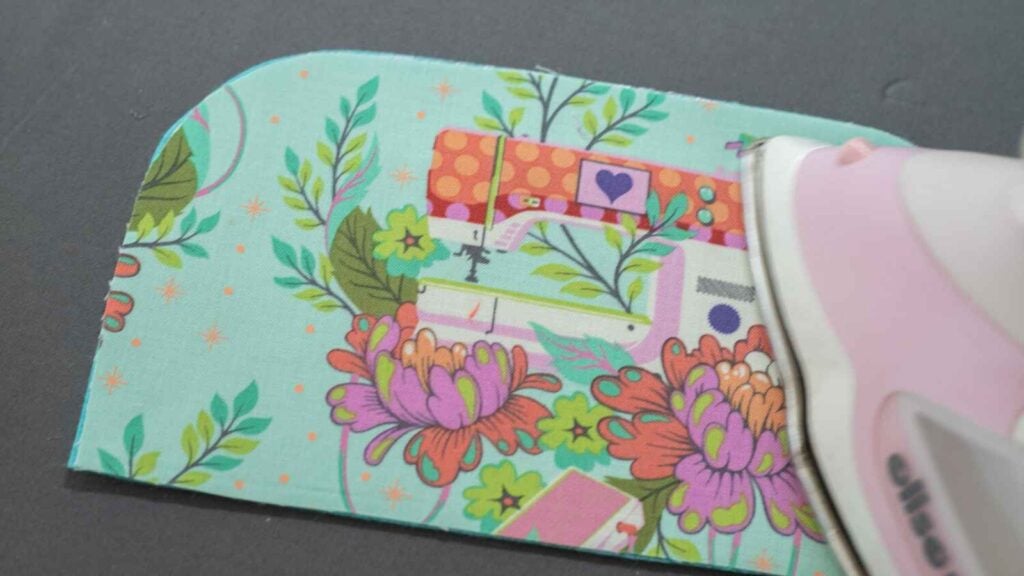
3. Place the shiny back side of a fabric piece against a felt piece of the same shape and press until fused.
Tip: Press on the cotton side up. If you press with the felt side up protect it from melting with parchment paper or other fabric.
Fuse a fabric piece, to the opposite side of the pouch piece with a pocket. For the other pouch piece and the 1 1/4’’ x 4’’ rectangle, it doesn’t matter which side you fuse fabric to.
4. You should now have 3 double sided felt/fabric pieces: two from the pattern template and one 1 1/4’’ x 4’’ rectangle.
Prepare the Zipper
Cut the rectangle in half to make two 1 1/4’’ x 2’’ pieces.

1. Place one of the 1 1/4’’ x 2’’ fabric only pieces on the back of the zipper at one end with the right side of the fabric against the wrong side of the zipper. Baste in place 1/4’’ from the edge.

2. Place a 1 1/4’’ x 2’’ felt/fabric piece on the top of the zipper with the fabric side against the right side of the zipper.

3. Sew through all layers with a 1/4’’ seam allowance.
4. Open both rectangles out and gently press them together.

5. Topstitch on the fabric, 1/8’’ from the fold. Baste the edges together at the end, 1/8’’ from the edge.

6. Repeat at the opposite end of the zipper to make the zipper strip with fabric at both ends..

7. Fold the zipper in half to find the center. Use the fabric marking pen to mark the center on the back of the zipper, on both zipper tapes.
Sew in the Zipper

1. Again from the wrong side, mark small dots 1/4’’ away from the corners at the end.
2. Repeat at the other end of the zipper.

3. On the pouch side pieces, mark the center at the top. Then place marks 5/8’’ up from each bottom corner.

4. Clip the zipper to one of the side pieces, right sides together:
- First match the center marks and clip.
- Then place a couple clips on either side of the center clip.
- Match the ends of the zipper tabs with the marks that are 5/8’’ up from the bottom corners and clip.
- Finally, place clips around the corners, easing the zipper so it curves around.

5. Switch to your sewing machine’s zipper foot if necessary to sew the zipper panel to the side piece with a 1/4’’ seam allowance.
Start sewing on the marked dot that is 1/4’’ from the corner.

Sew slowly around the curves, removing the clips one by one.
Note: A sewing stiletto helps to sew curves like this without catching your finger!

Stop sewing when you reach the dot that is 1/4’’ away from the opposite corner.
Be sure to backstitch at the start and end of this seam.

6. Finger press the seam toward the side of the pouch. On the outside, topstitch on the side piece 1/8’’ from the seam.

Start and end your topstitching even with the dots where you started and ended sewing the zipper panel to the side piece (you can’t see the dots, just try to start and stop sewing even with where you started and ended sewing in the previous step).

7. Place the side piece with the zipper right side down against the remaining side piece (right sides facing).
Place clips around the edges as you did before, matching the center marks and match the ends of the zipper panel up with the marks 5/8’’ up from the bottom corners.
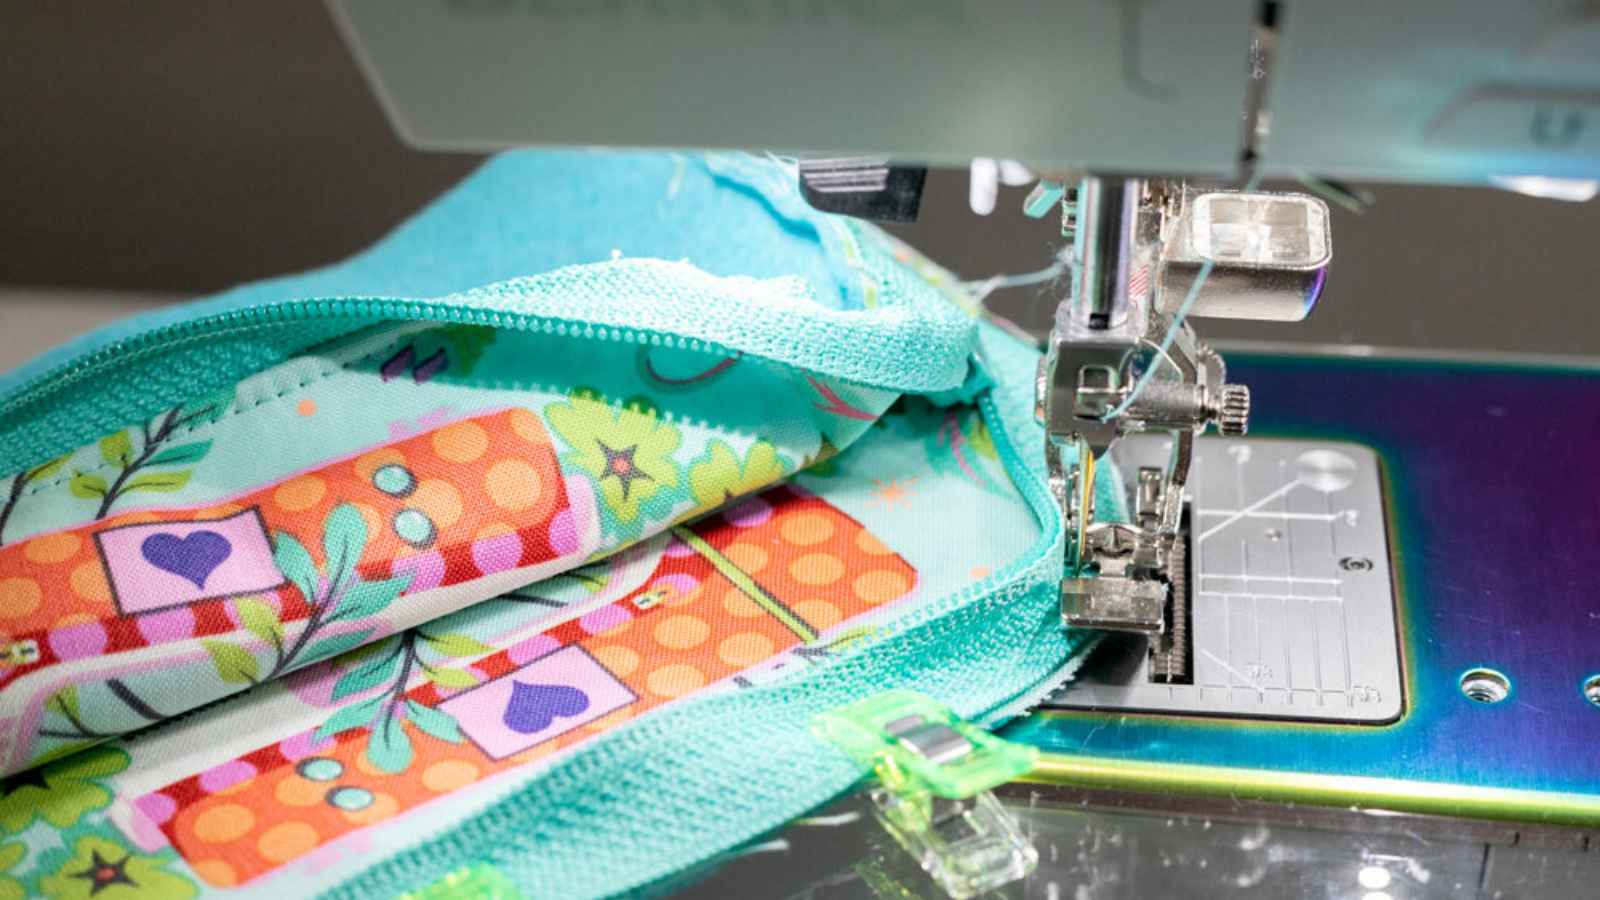
8. Sew the zipper to the remaining pouch side as before, starting and ending at the marked dots.
Tip: Open and close the zipper as needed to make sewing easier.
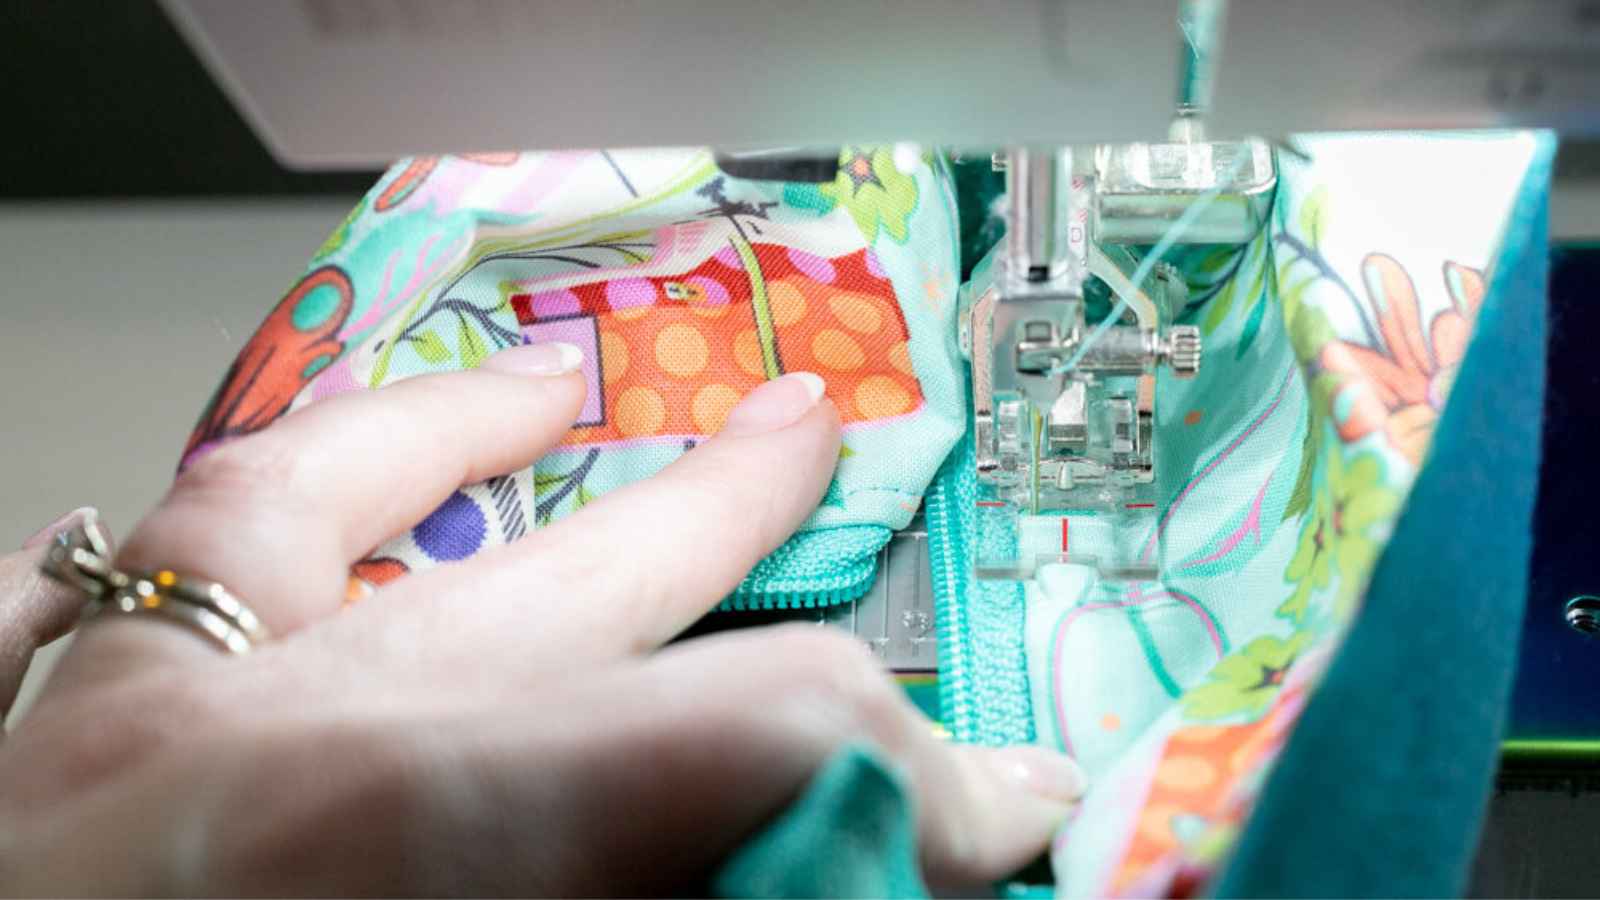
9. Topstitch along the other side of the zipper, again opening and closing the zipper as needed.
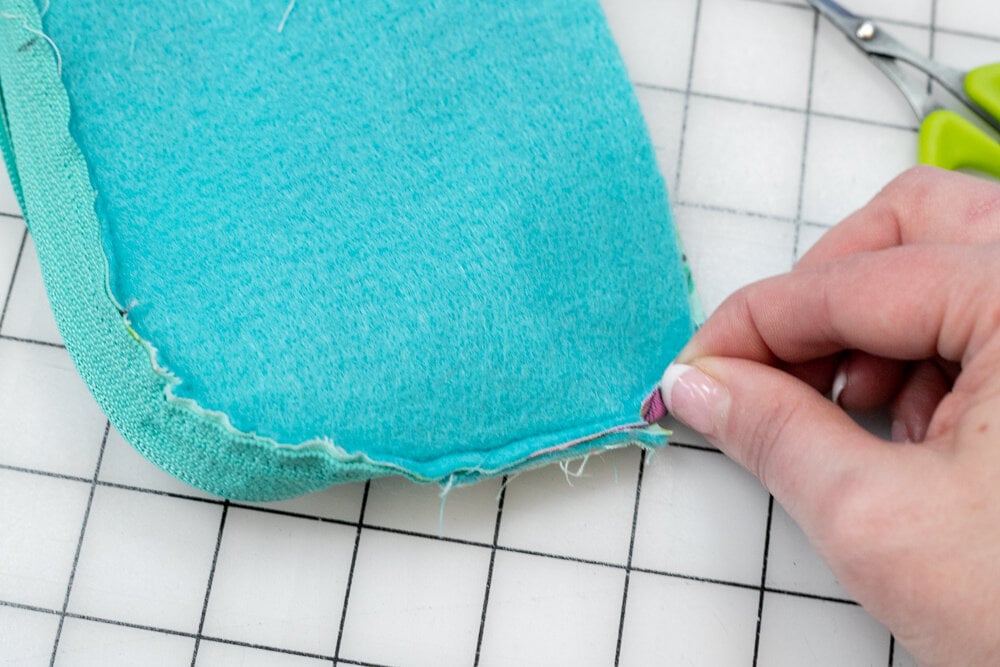
10. On all 4 corners of the pouch sides, clip the seam allowance at the place where you started and stopped stitching (the dots). You don’t need to clip the seam allowances on the zipper panel material, just clip through the layers on the side pieces.
Sew the Pouch Seams
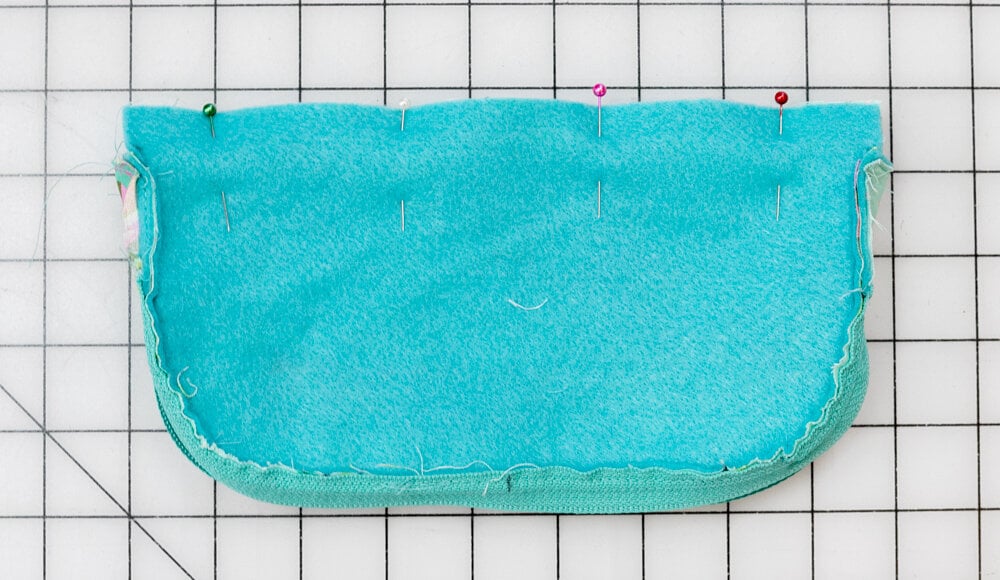
1. With the pouch inside out, pin the bottom straight edge together.
2. Stitch with a 1/4’’ seam allowance.
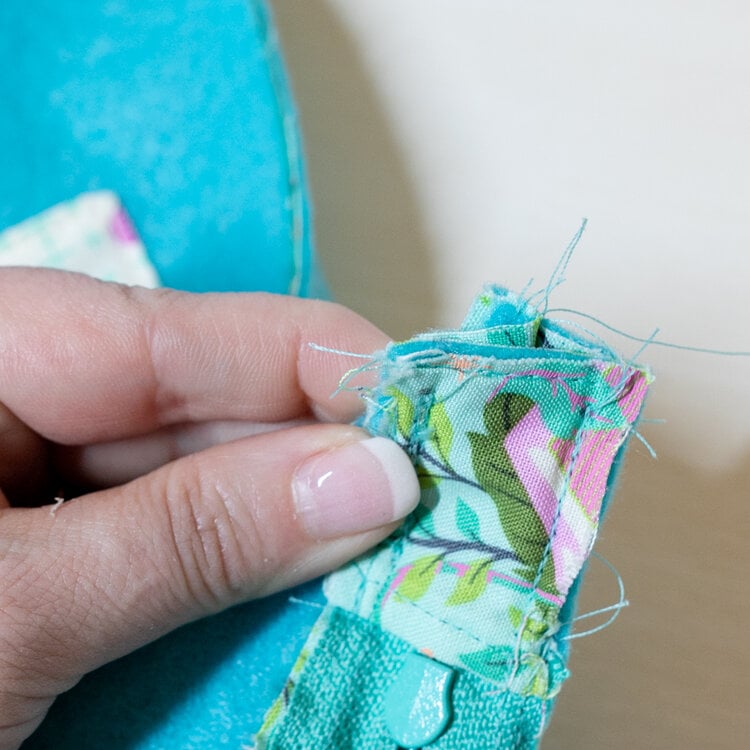
3. Flatten the bottom edge of the bag against the bottom edge of the zipper panel. The clips that you made in the seam allowance will help the edges lay together nicely.
Tip: You can press or finger press the bottom seam open, if you prefer.
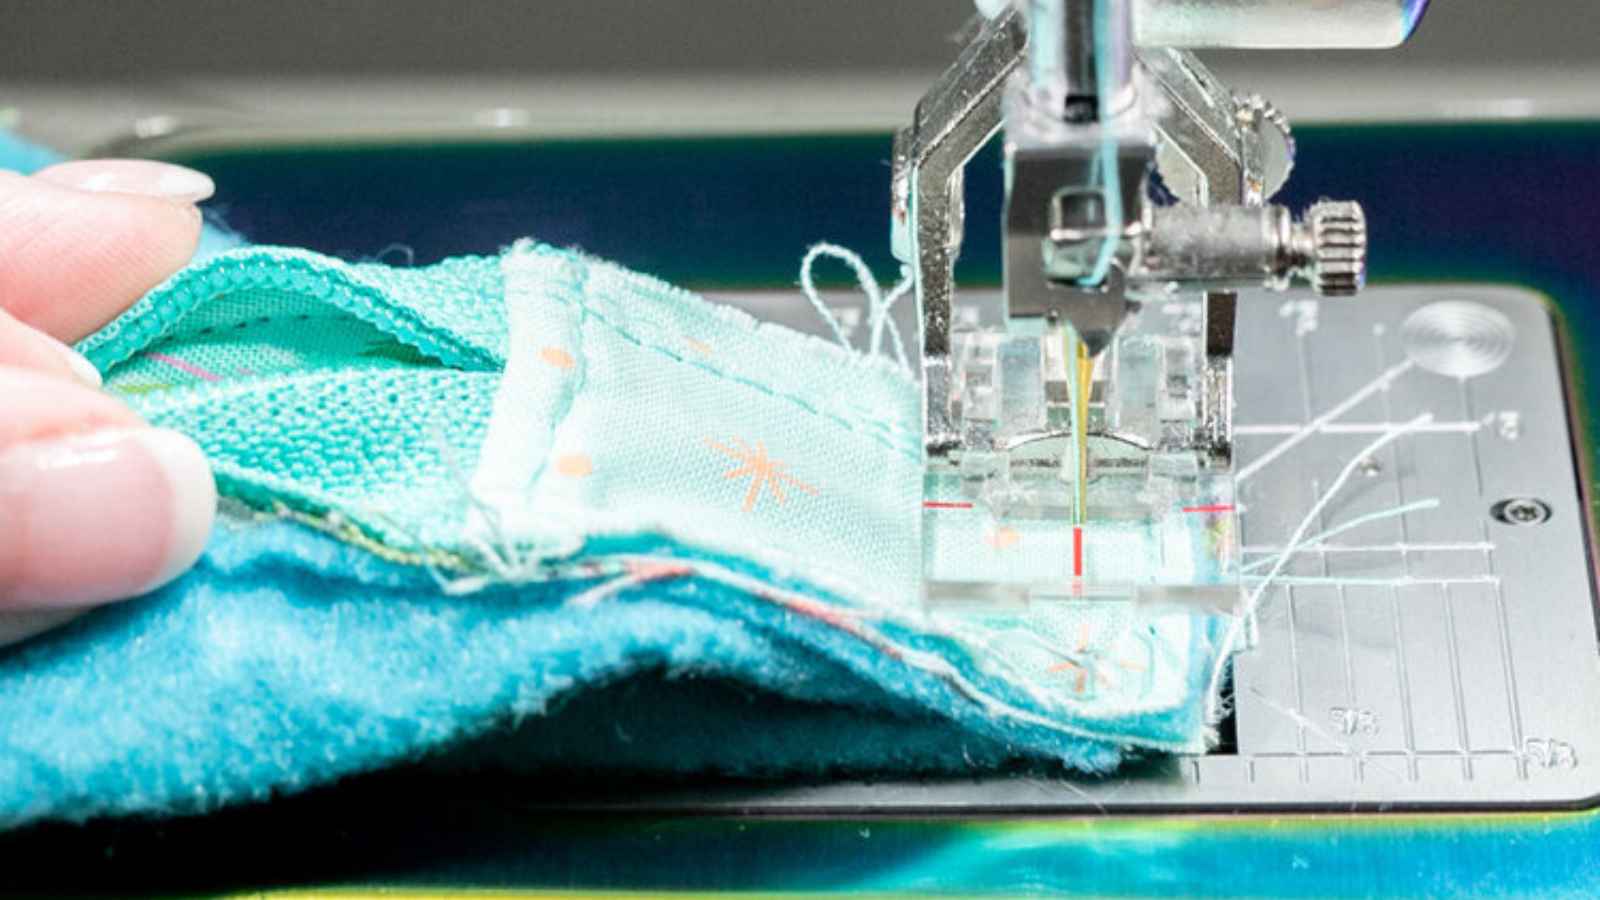
4. Stitch across the ends with a 1/4’’ seam allowance.
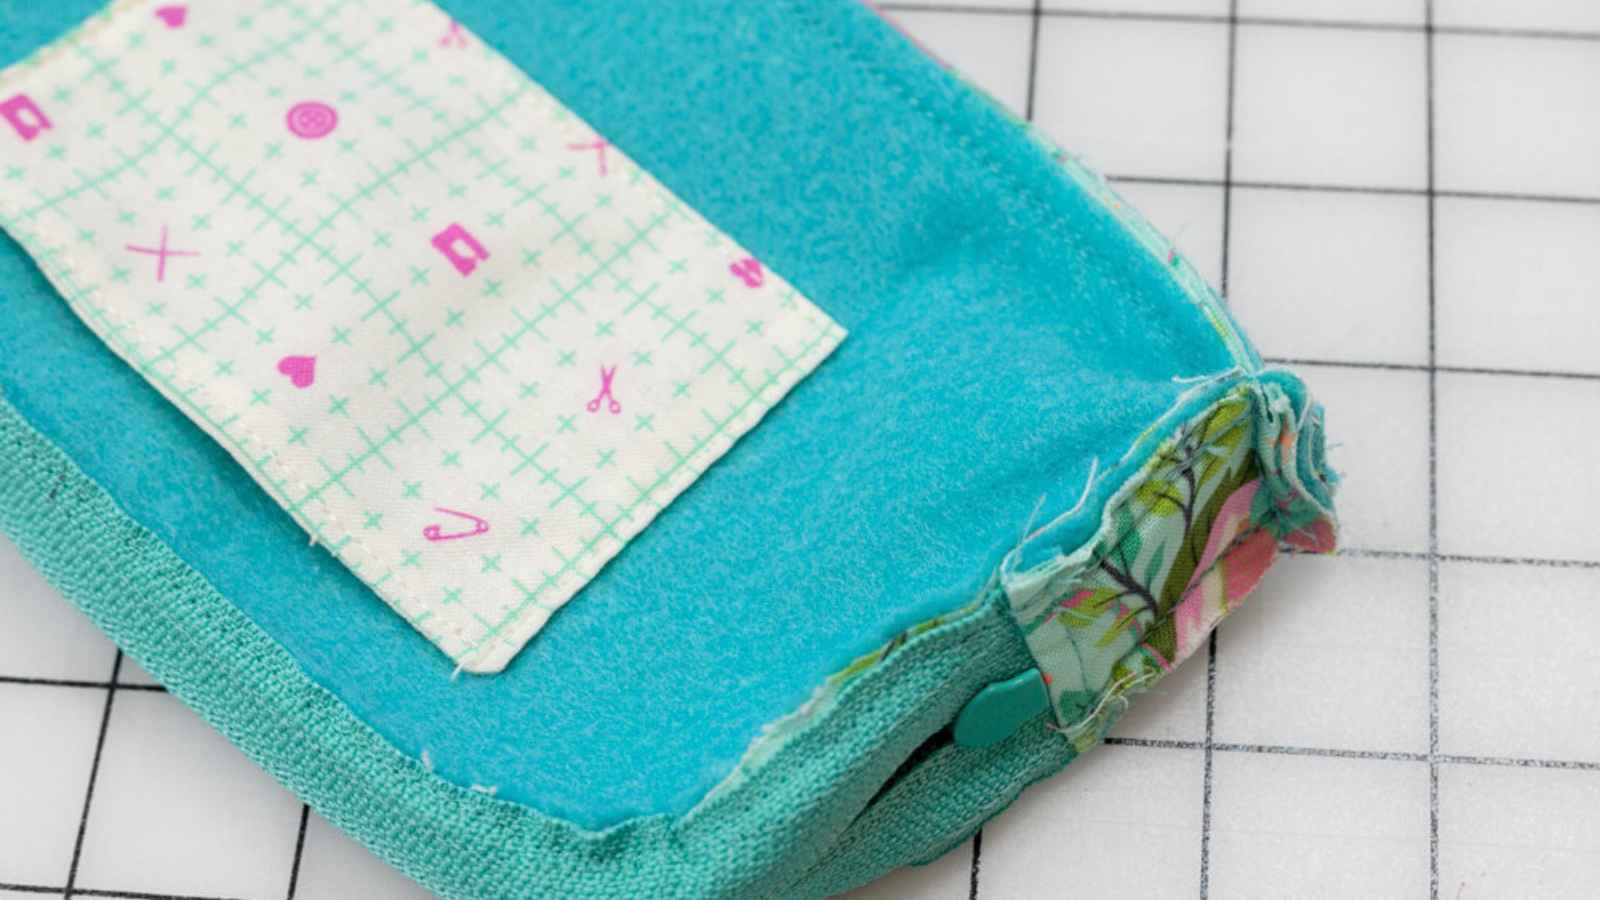
Trim away all of the loose threads. Finish the inside seams with a zig zag stitch, serger, or binding (if desired).

5. If desired, push both ends of the 6’’ piece of ribbon through the hole at the end of the zipper.
Thread both ends through the loop and pull tight.

Fall in love with your cute long pencil pouch and make lots more! I’m going to put this pouch tutorial on my free pattern page for Clever Little Things to Sew.
As always, I love to see what you make using my free patterns and tutorials – and what you use them for! Please post a picture to Instagram and tag me @sewcanshe or #sewcanshe so I can take a look.
xoxo,

Disclosure: some of my posts contain affiliate links. If you purchase something through one of those links I may receive a small commission, so thank you for supporting SewCanShe when you shop! All of the opinions are my own and I only suggest products that I actually use. 🙂
