DIY Pool Chair Covers… with lots of pockets! {Part 2}

We are sewing fun and clever pool chair covers!
This is Part 2 of the free sewing tutorial. Click here to begin at Part 1.
Tip: I found these extra long beach towels at Target.

Make a Stretch Chair-Pocket at the Top:
1. Fold the 30” x 24” piece of stretch fabric in half with the 24” ends together and wrong sides facing.
2. Place this 15” x 24” folded rectangle over the top end of the towel (on top of the pillow pocket). Right sides will be facing. The raw edges of the stretch fabric should be at the sides and top so that the folded edge will not be caught in the seams.
3. Pin around the sides and top.
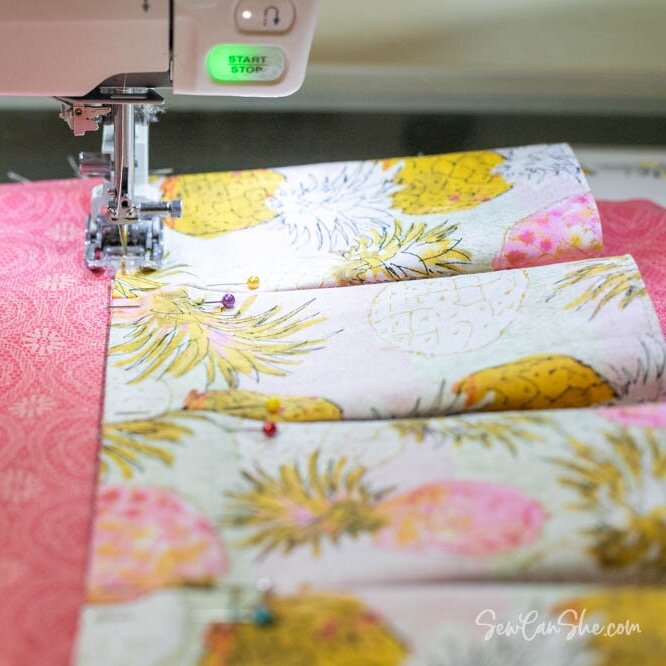
Tip: Place all of the pins on the terrycloth side, not the stretch fabric side. If you sew with the stretch fabric on the bottom (see next photo) your sewing machine’s feed dogs will be able to do a better job sewing stretch fabric to non-stretch fabric.
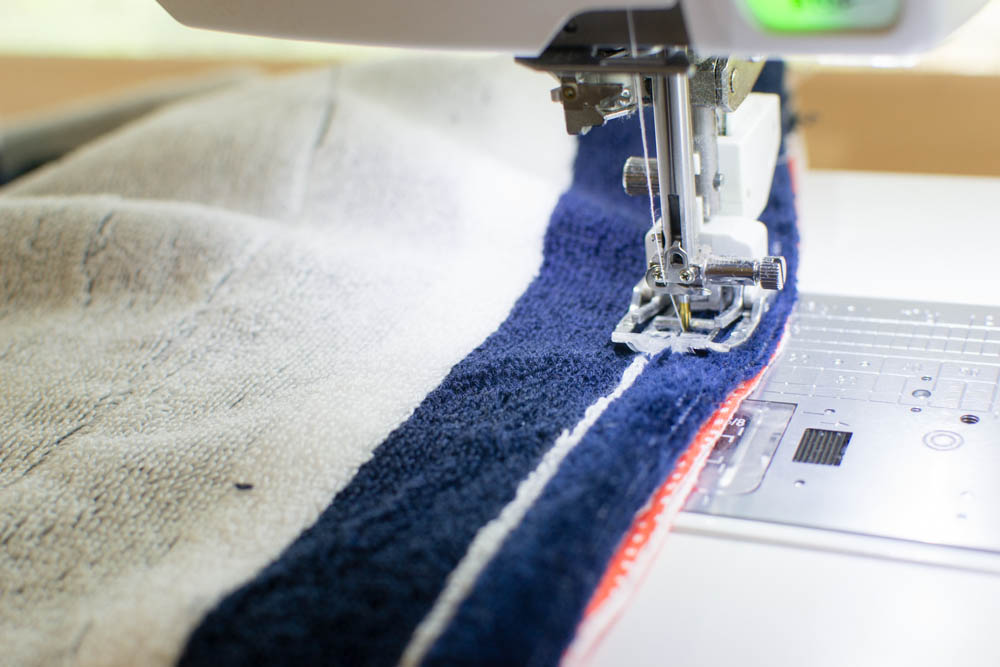
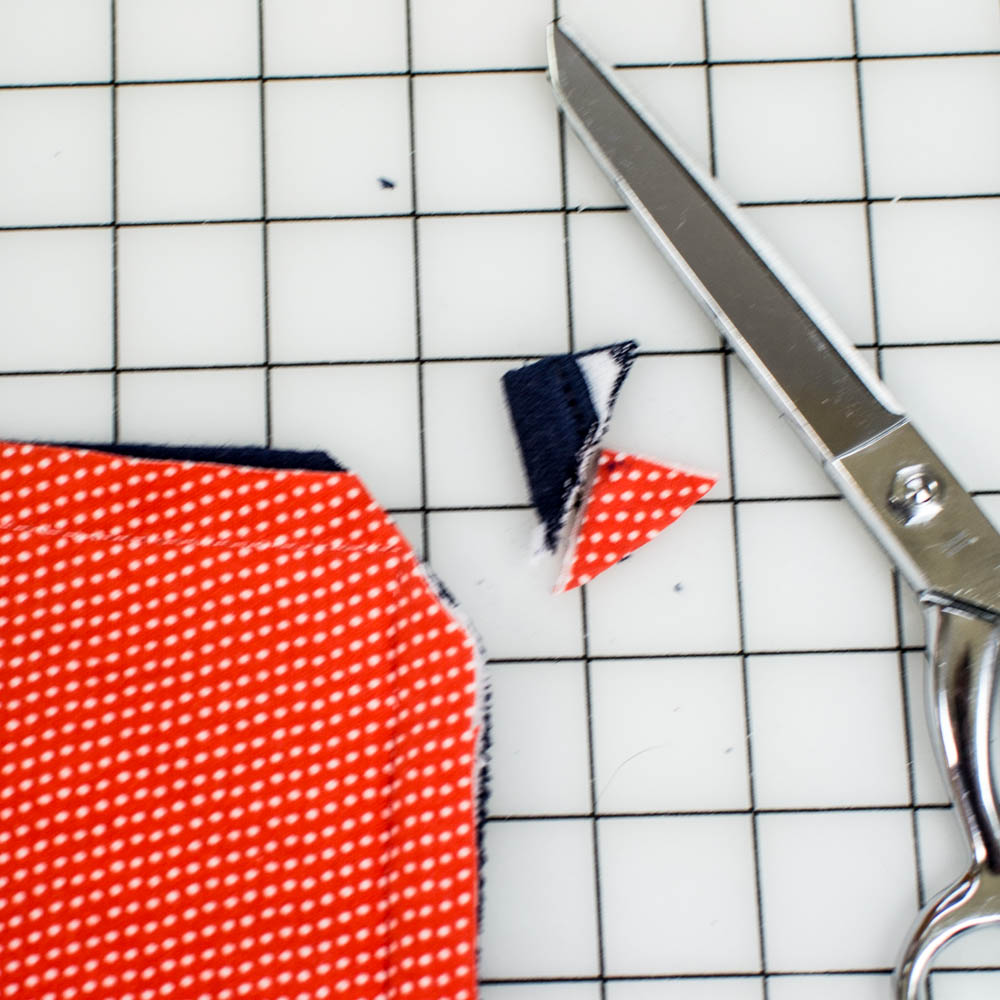
4. Sew around the sides and top edge with a 1/2” seam allowance.
If you followed my tip above and are sewing on the terrycloth side, you can simply sew on top of your stitching line from hemming. Make sure to backstitch at the start and stop to make this ‘chair pocket’ secure.
5. Clip the corners. Turn the chair pocket right side out.
Make the Zippered Side Pockets:
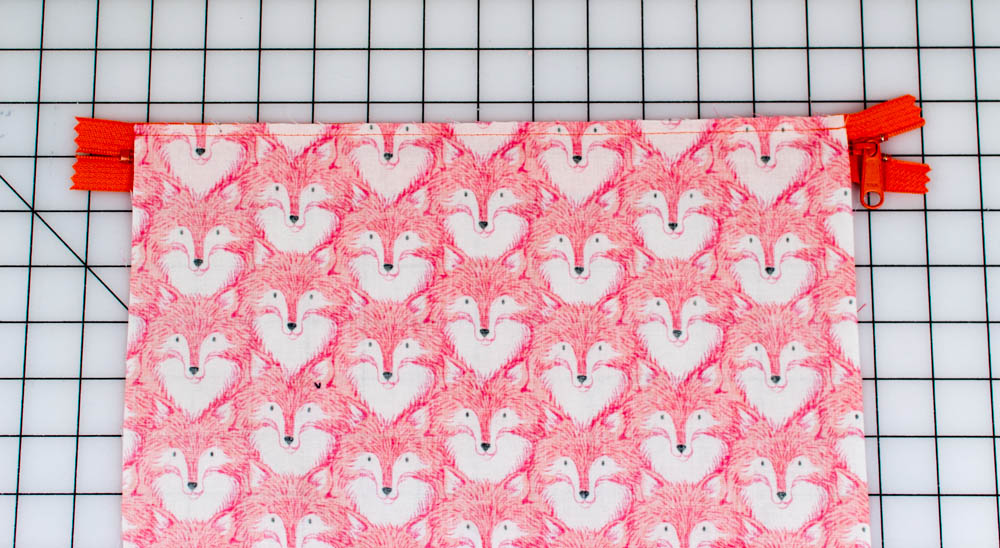
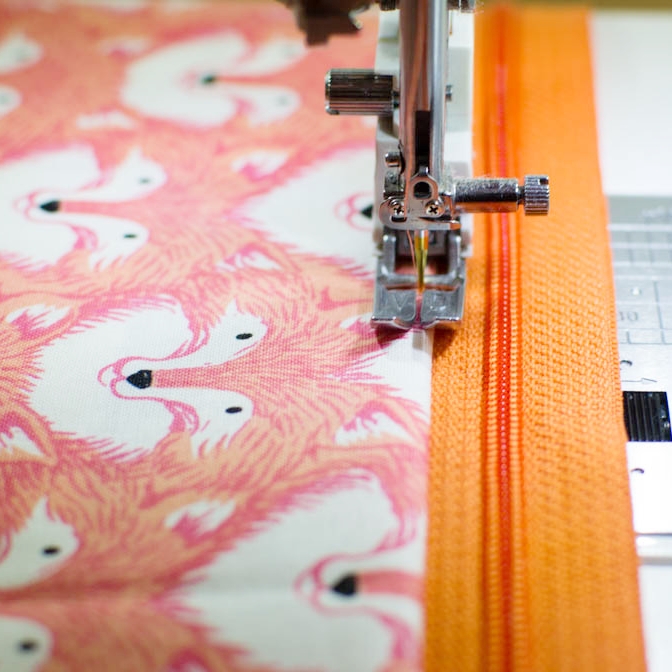
1. Center the 13” edge of one of your 18” x 13” rectangles along one of the zippers. Pin and stitch right sides together with a 1/4” seam allowance.
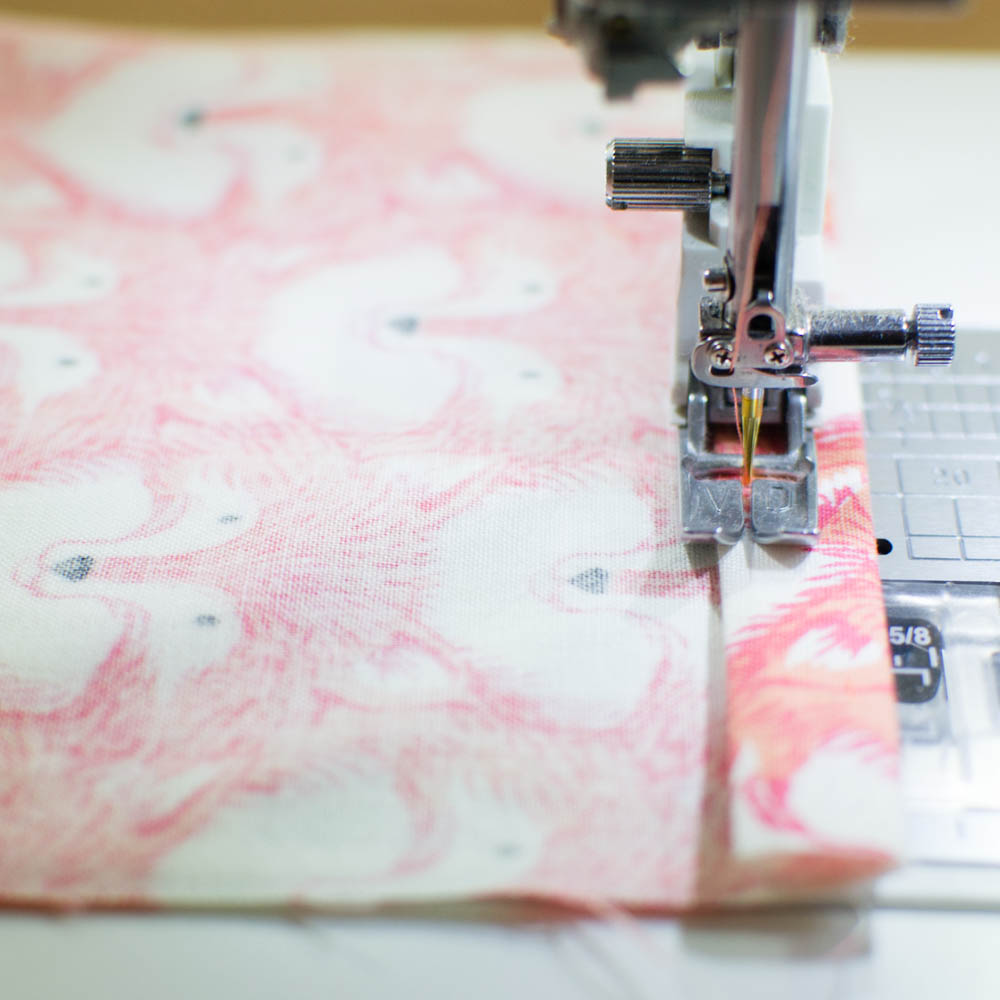
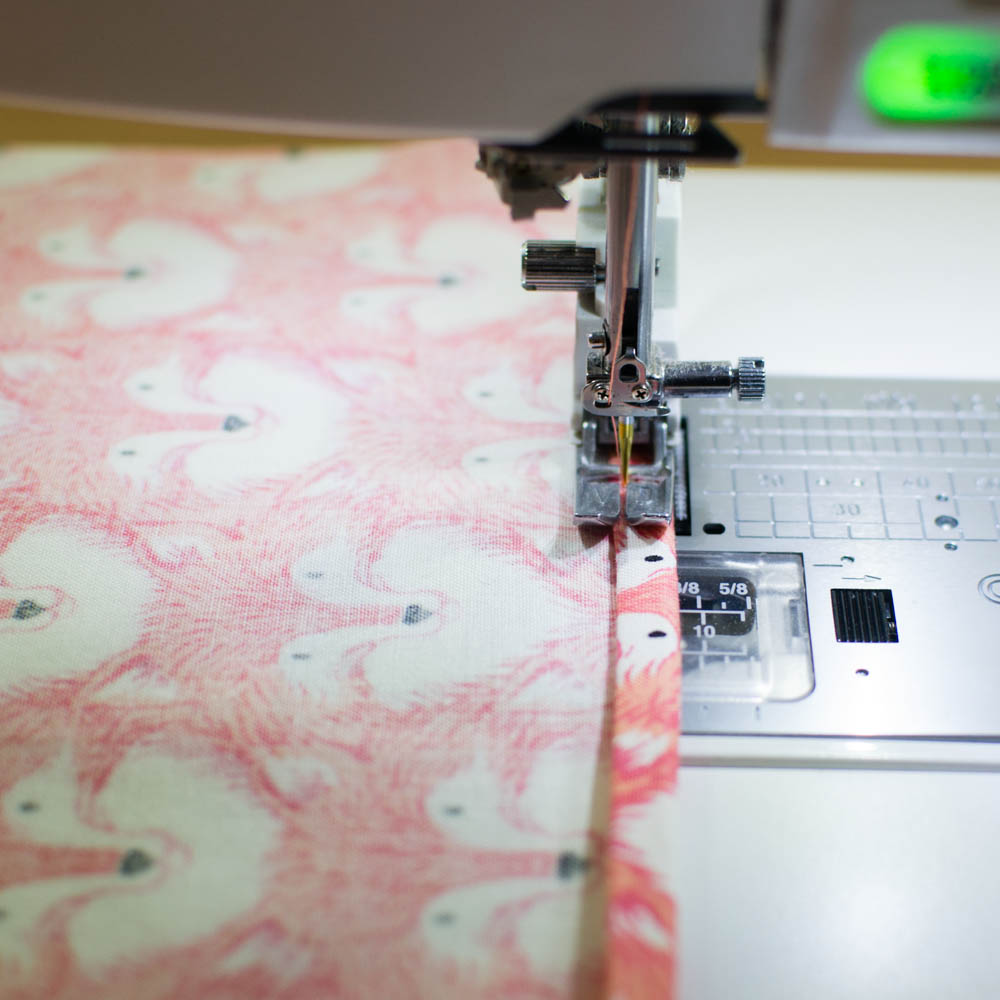
2. Fold the fabric back away from the zipper and topstitch on the fabric 1/8” away from the edge.
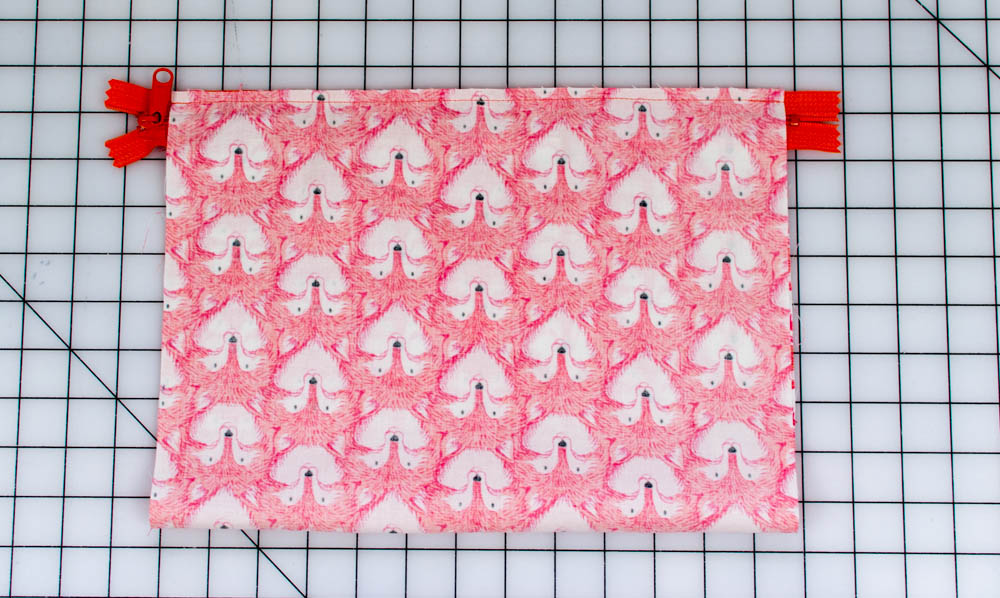
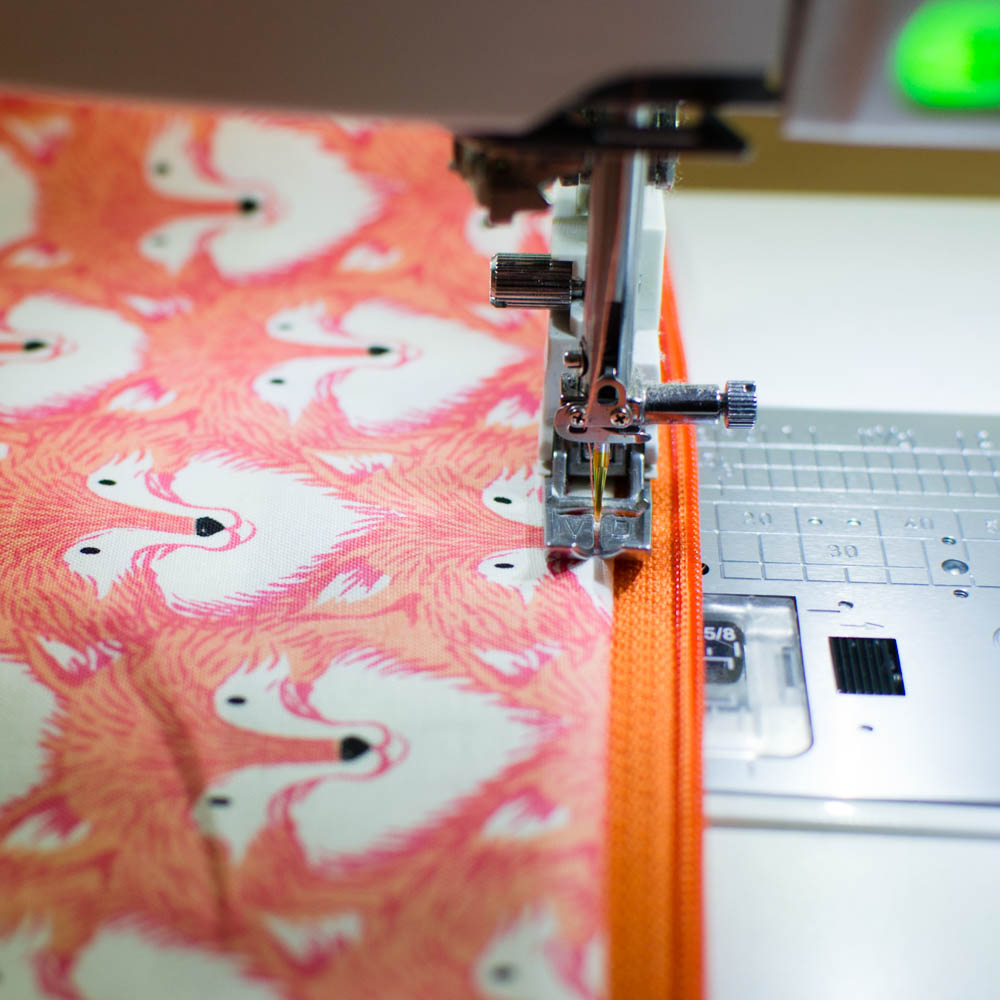
3. Pin the remaining 13” edge along the other side of the zipper, right sides together. Stitch.
4. Unzip the zipper to allow you to topstitch this side.
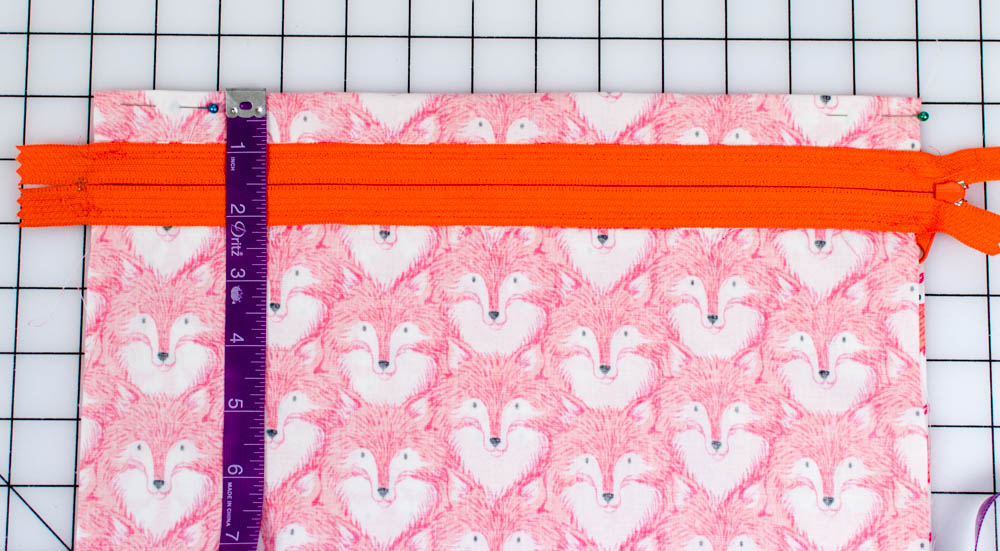
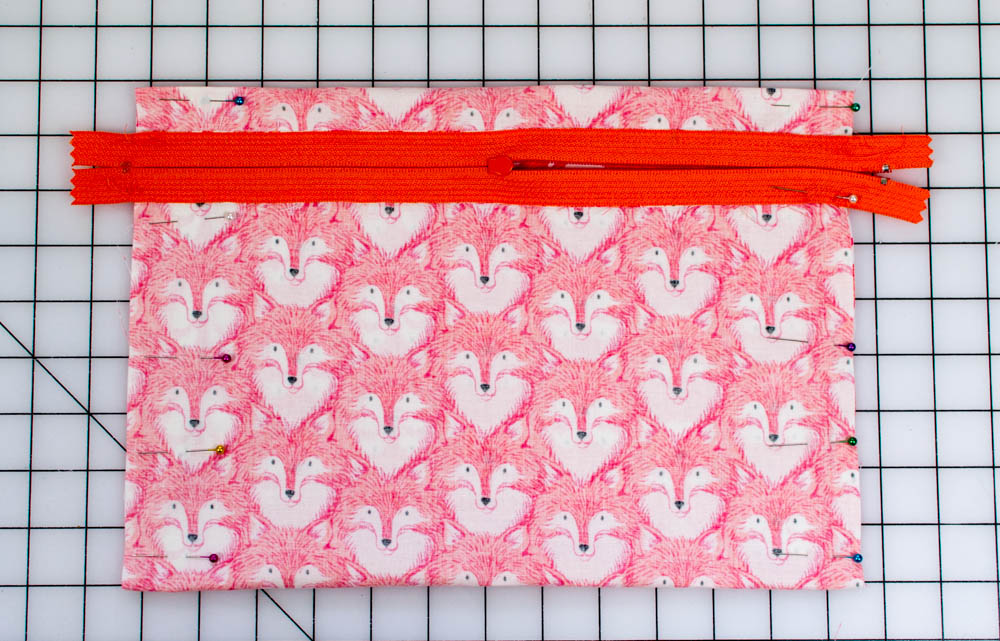
5. With the pocket wrong side out, adjust the top edge until it is 1 1/2” away from the center of the zipper. Place pins at the top to hold it in place.
6. Then move the zipper slider to the middle of the pocket and pin both sides closed.
7. Sew both sides of the pocket with a 1/2” seam allowance.
8. Cut away the extra zipper tapes. Finish the edges with a serger or zig zag stitch, if desired.
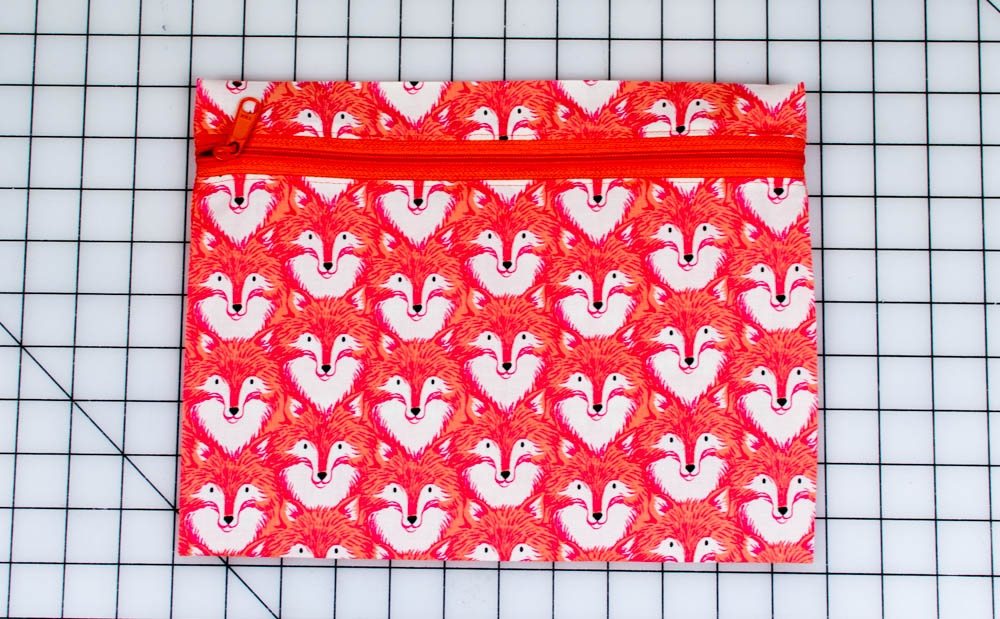
9. Turn the pocket right side out and press flat.
Repeat to make one more zippered pocket.
Make the Slip Side Pockets:
1. Hem the shorter edges of an 18” x 8” rectangle as follows (‘top’ and ‘bottom’ only matter if your fabric is directional):
-
Sew a 1/2” hem at the top edge.
-
Sew a 1/4” hem at the bottom edge.
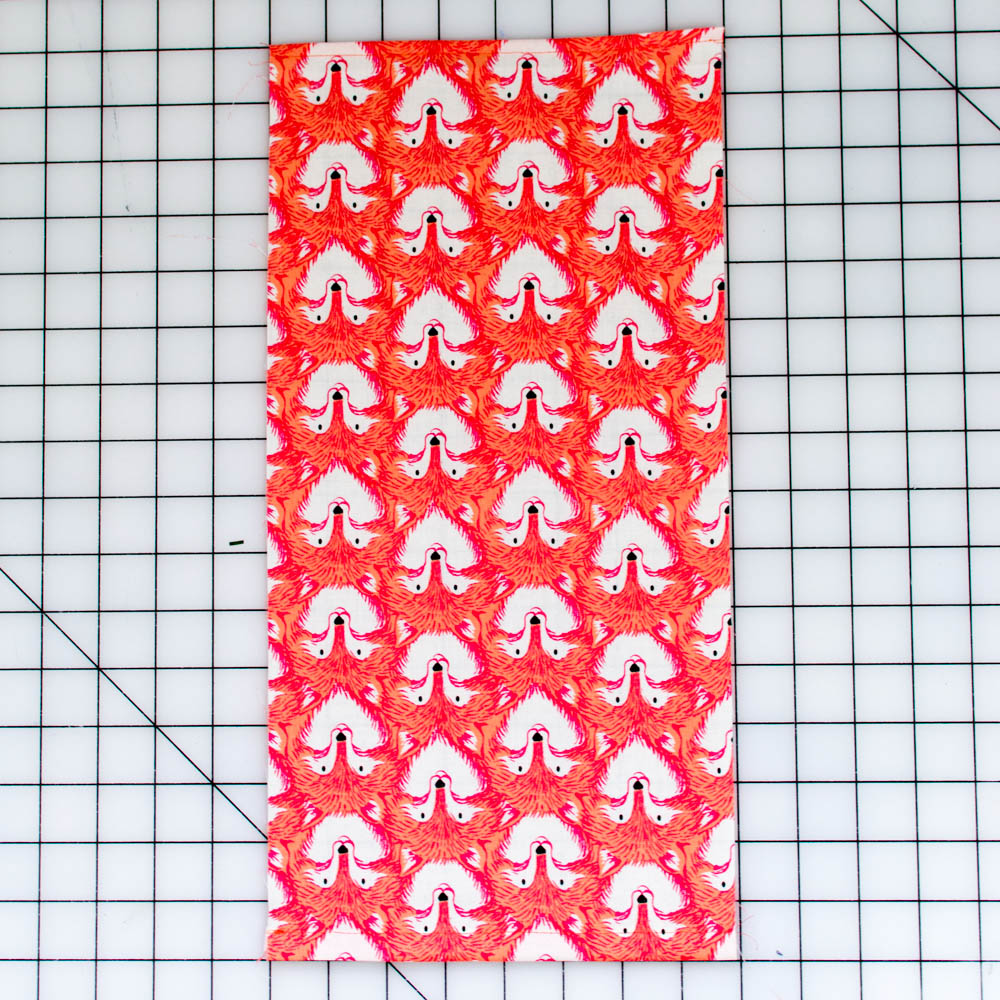
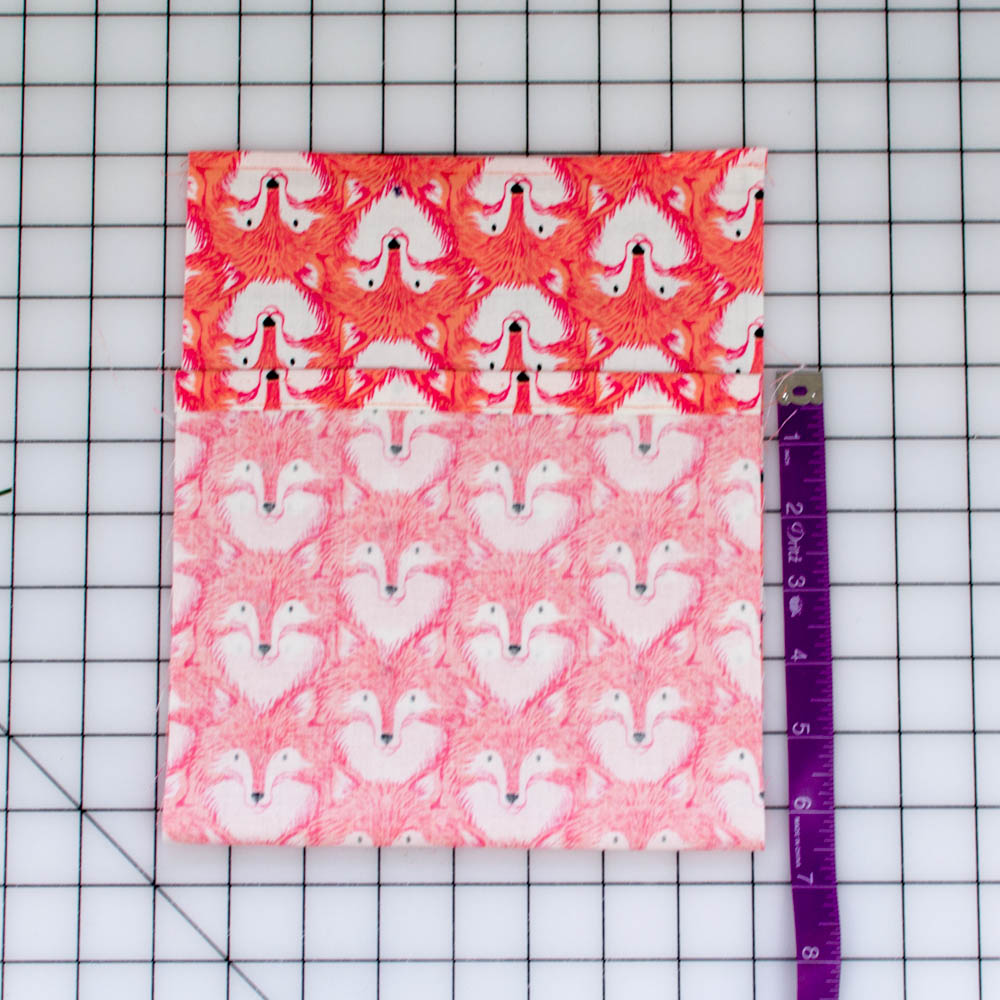

2. Place the piece on your work area with the 1/2” hem closer to you (the print will be upside down).
Fold the edge closer to you up (with a 1/2” hem) up by 6 1/2”.
Fold the other edge (with a 1/4” hem) down until it just covers the other hem.
Pin the sides together.
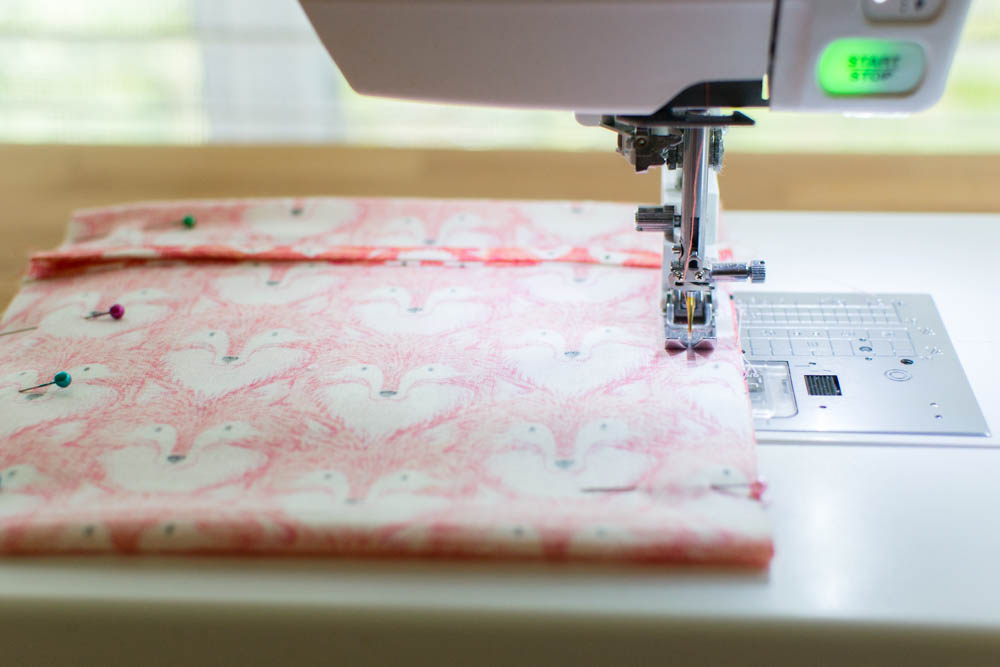
3. Stitch the sides together with a 1/2” seam allowance. Finish the edges with a serger or zig zag stitch, if desired.
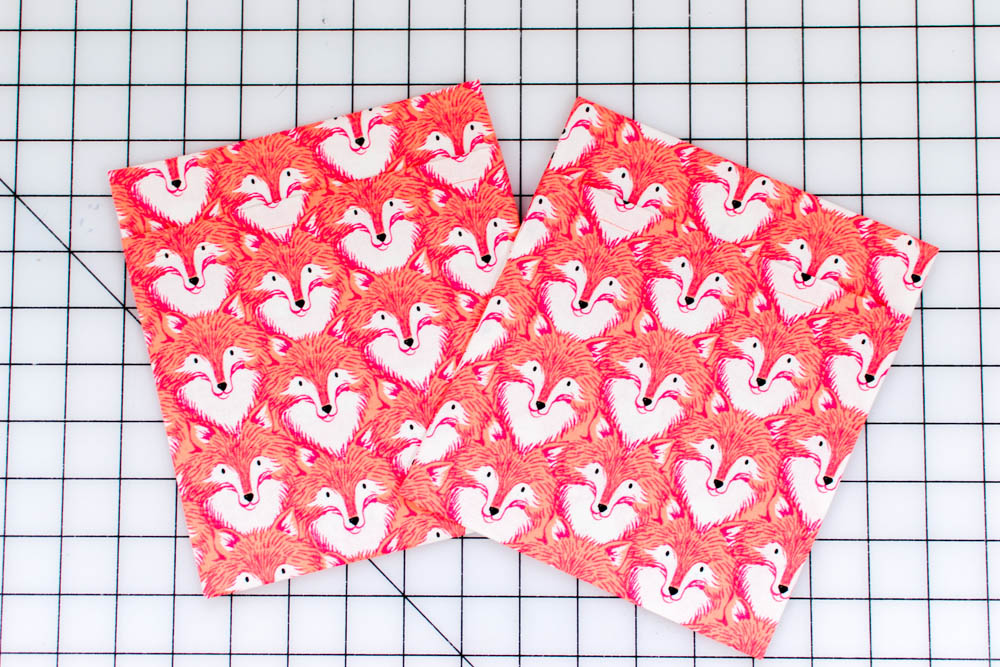
4. Turn the pocket right side out and press flat.
Repeat to make one more slip pocket.
Note: the top flap on the slip pocket is not meant to be a closure, but simply 1) to be pretty and 2) to make the pocket more sturdy. The inside edge is not sewn in place.

Attach the Side Pockets:
Feel free to attach your side pockets in locations that are most convenient for you. I chose the configuration above to fit in between the chair arms at our closest pool.
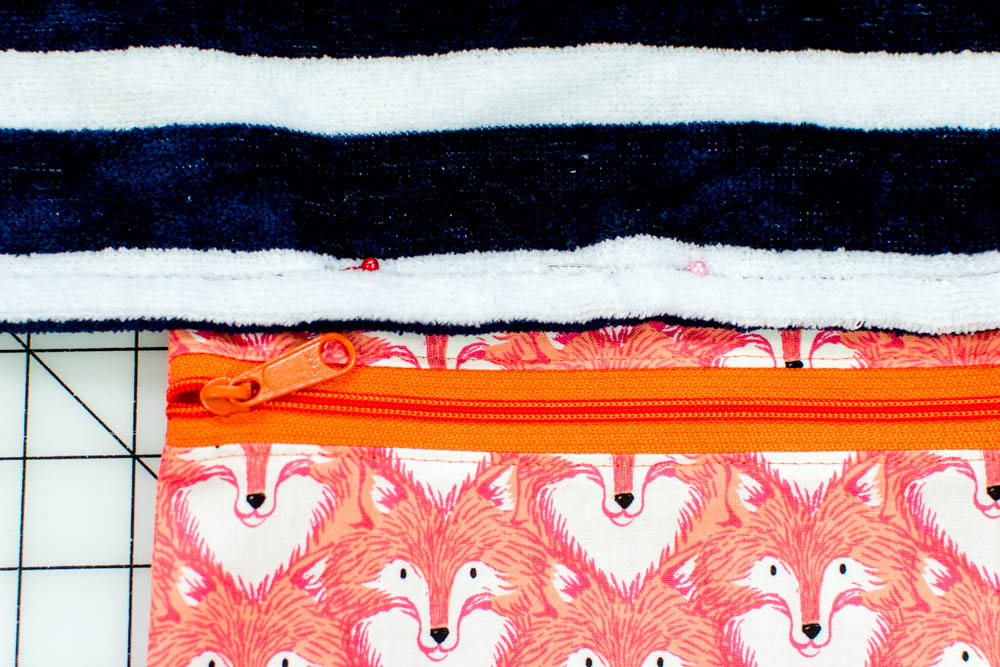
1. Place each pocket under the cover edge in the desired location. It should be under the cover by about 3/4”. Pin in place.

2. Sew the pocket in place by sewing on top of the hem stitching.
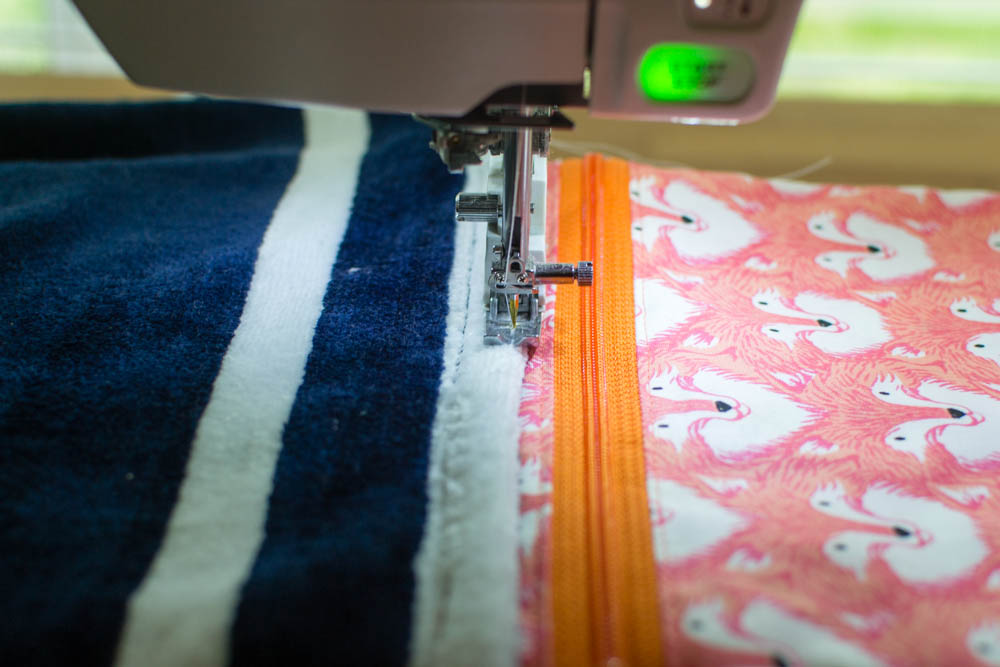
3. Reinforce the pockets by stitching one more time about 1/8” from the edge.
Repeat to attach all of your pockets where you want them to be.
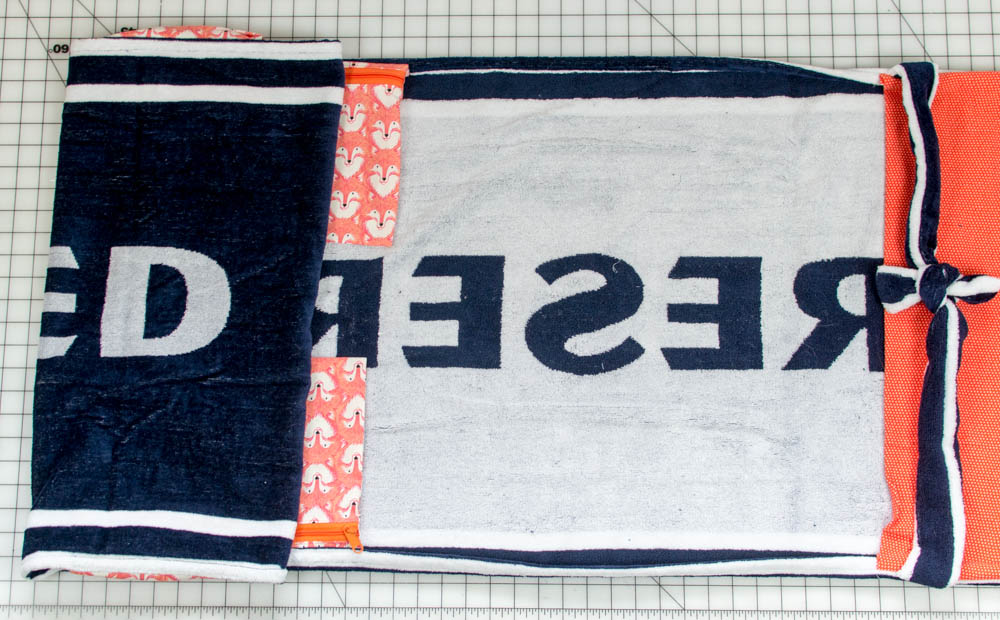
To fold up the chair cover and make it a tote, lay it face down. Fold the pockets in. Start folding it over by about 12” at the bottom end. Continue folding until you reach the stretch pocket and tuck the towel part inside the stretch pocket.
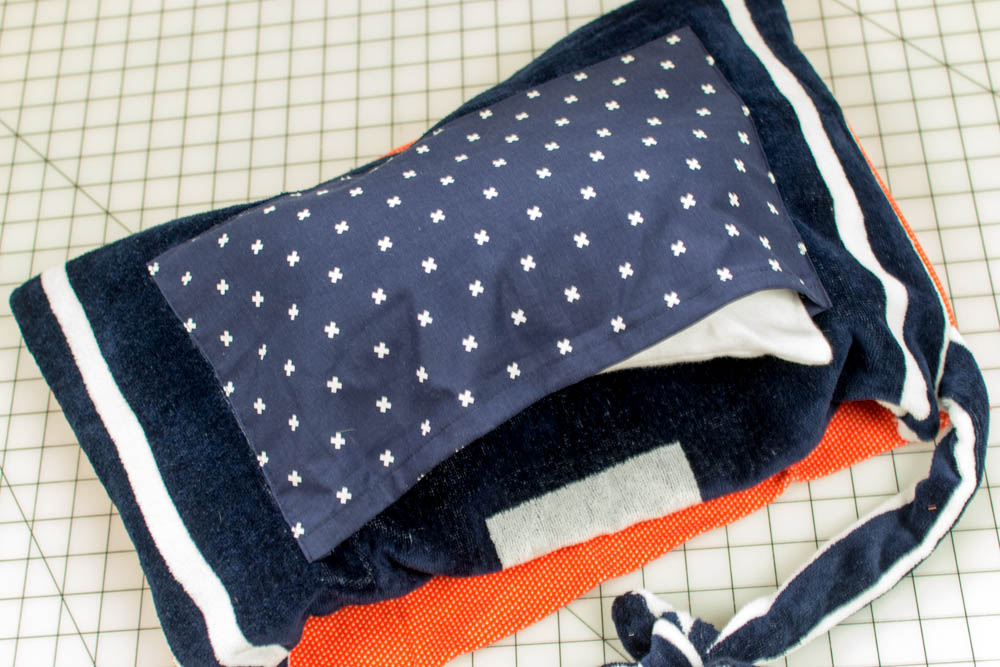
Place the pillow inside it’s pocket and you’re good to go!
Disclosure: some of my posts contain affiliate links. If you purchase something through one of those links I may receive a small commission, so thank you for supporting SewCanShe when you shop! All of the opinions are my own and I only suggest products that I actually use. 🙂


