Elastic and Tie Solutions for your Fabric Face Masks
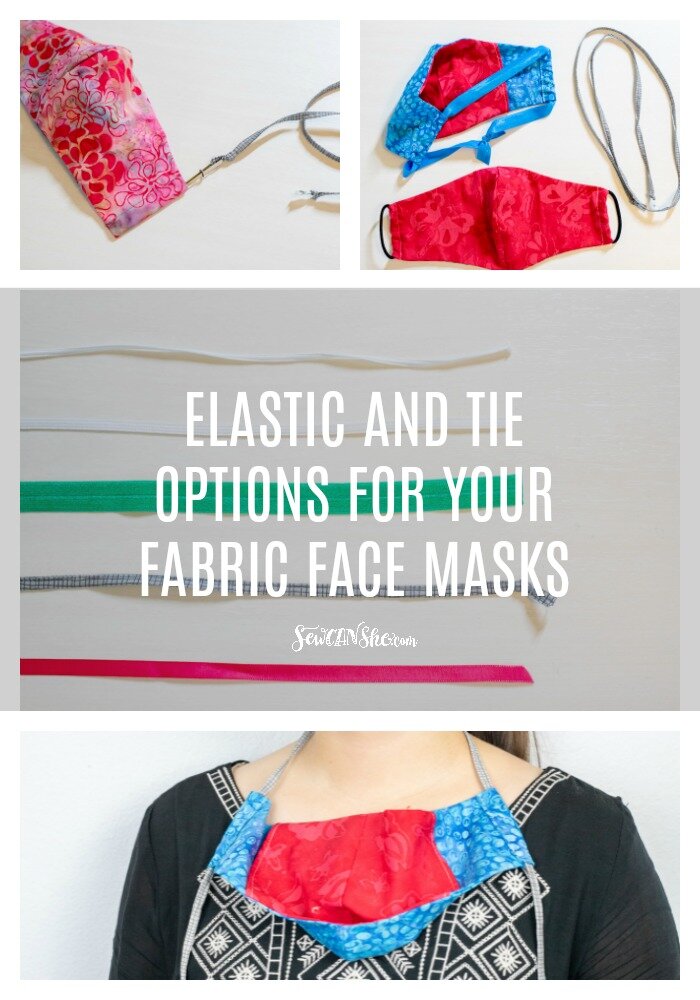
If your fabric face mask pattern doesn’t have an elastic or tie option that works for you – or you can’t find the right kind of elastic, don’t worry. As you can tell from the myriad of patterns and tutorials available, you can use the supplies you have on hand to make something that works for you.

Ready Made Adjustable Ties
We have even more ear loop choices since I first wrote this post, including ready-made adjustable elastic pieces. I recently drafted new mask pattern that uses comfortable adjustable ear loops. See my new free pattern here!

Elastic Hair Ties
The Olson Mask Pattern uses elastic hair ties that are sewn in at the same time that you make the casings.
This option is great for medium sized users who will not wear the mask all of the time.
I only wear my mask when leaving the house to go to the grocery store (or take my kids to the eye doctor – don’t ask!). The hair elastics create the perfect fit on me (a 5’4’’ tall woman) and since I don’t wear the mask all day long, the elastics do not start to bother the skin behind my ears.

You can also use a single piece of elastic, elastic cording, or fold over elastic, a fabric tie, or a piece of ribbon.
How to use one piece of elastic
If you would like to use a length of elastic instead:
1. Cut a 25’’ (for an average sized person) piece of elastic.
2. Use a bodkin or safety pin to run the elastic through both casings on the mask.
3. Tie the elastic loosely. The user can adjust the fit of the elastic by tying and re-tying it to fit.
The user would slip the mask over their head,

and then move the upper elastic to the back and top of the head to find the best fit.
Tie the elastic more tightly as needed.
In the photos above I used 5/8’’ fold over elastic (FOE) because that is my family’s preference. It is soft and flexible and still available in lots of stores!
Regular woven elastic and elastic cording would be cut to the same length and inserted the same way.

How to Sew a 1/4’’ Fabric Tie
You will need:
-
a strip of fabric 1’’ x 44’’ long (1’’ x the width of the fabric)
-
a 1/2’’ bias tape tool (optional but helpful)
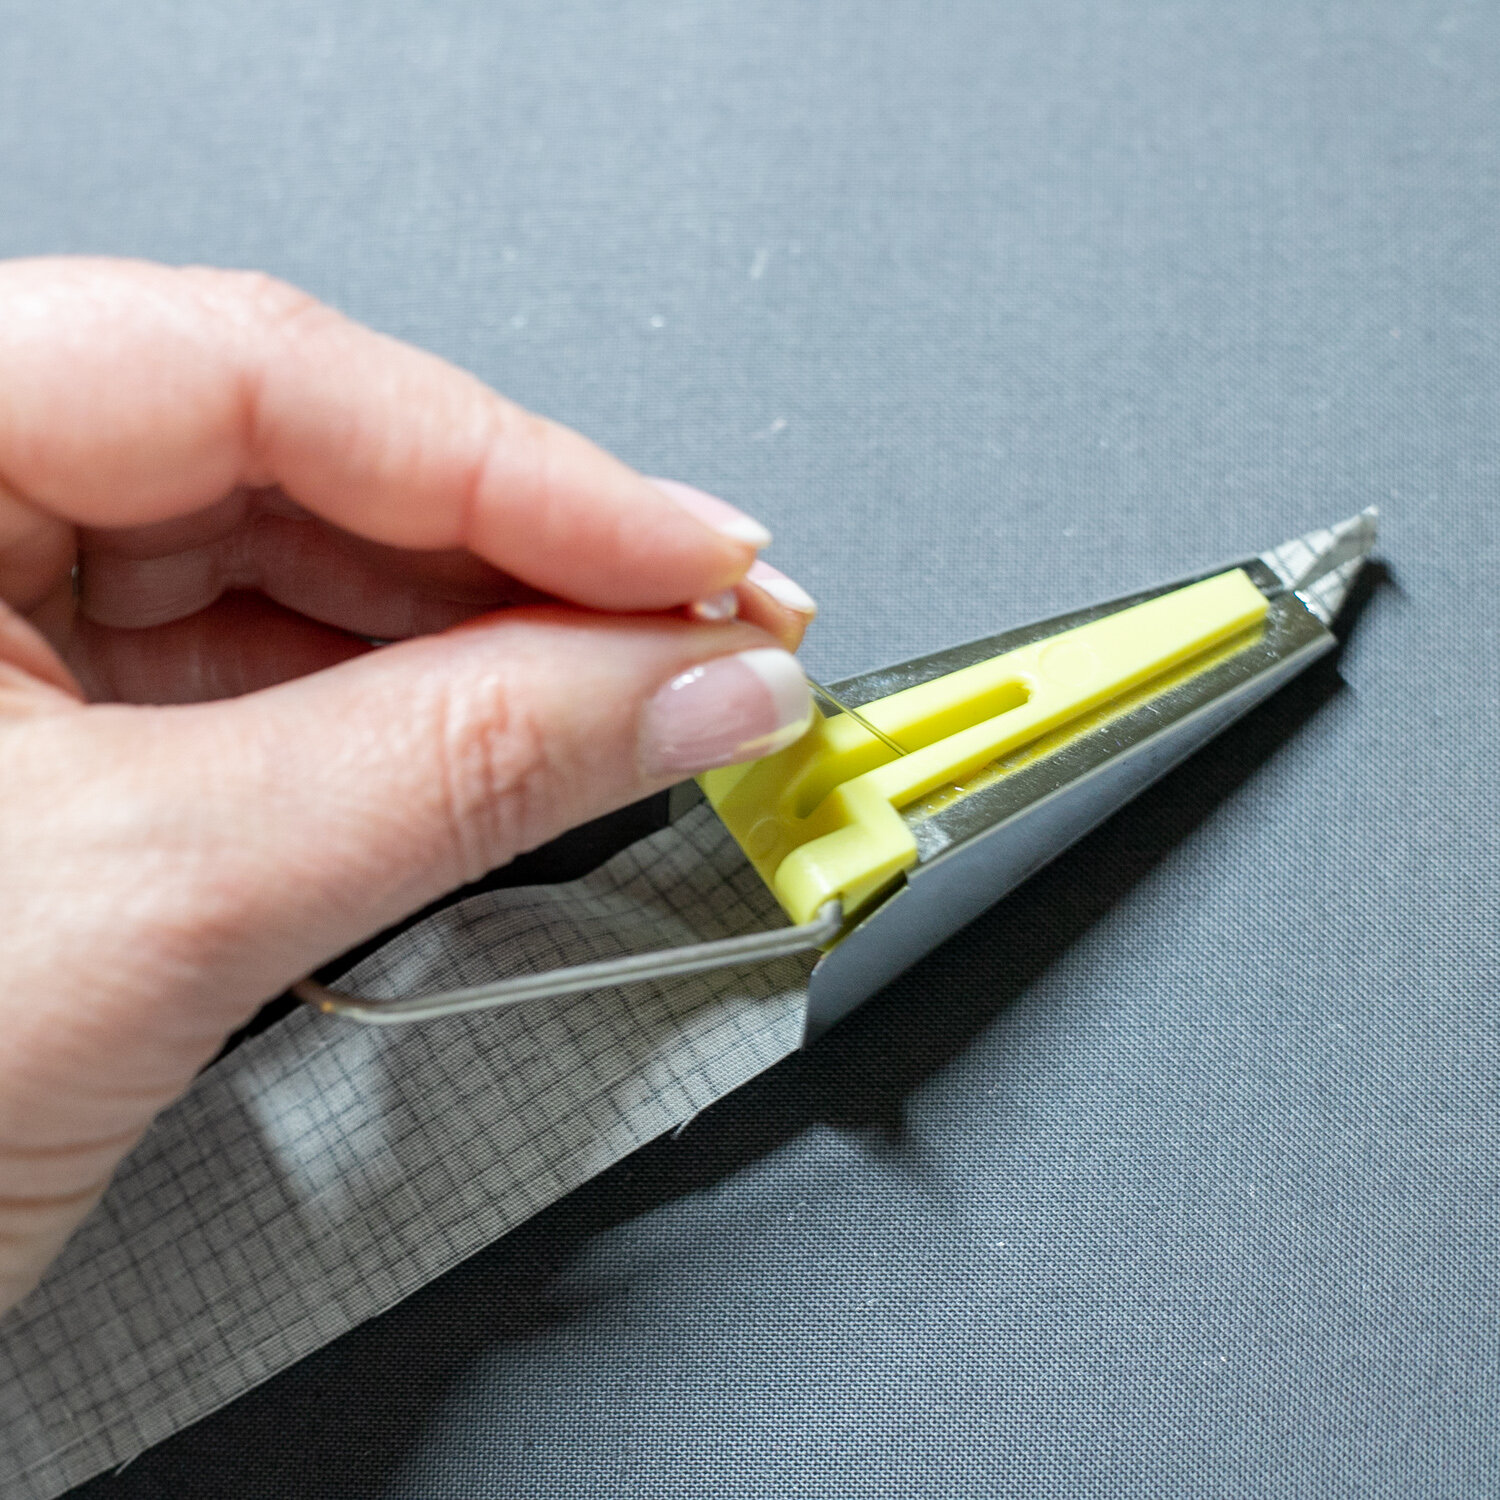
1. Use a pin to help you feed the strip of fabric through the large end of the bias tape tool so that when it comes out the small end, the sides are folded to the center.
2. Move the strip through the tool, pressing it as it comes out to set the folds.
Tip: If you don’t have a bias tape tool, you can fold the strip in half lengthwise and press. Open it and carefully press the long edges to the center one at a time.


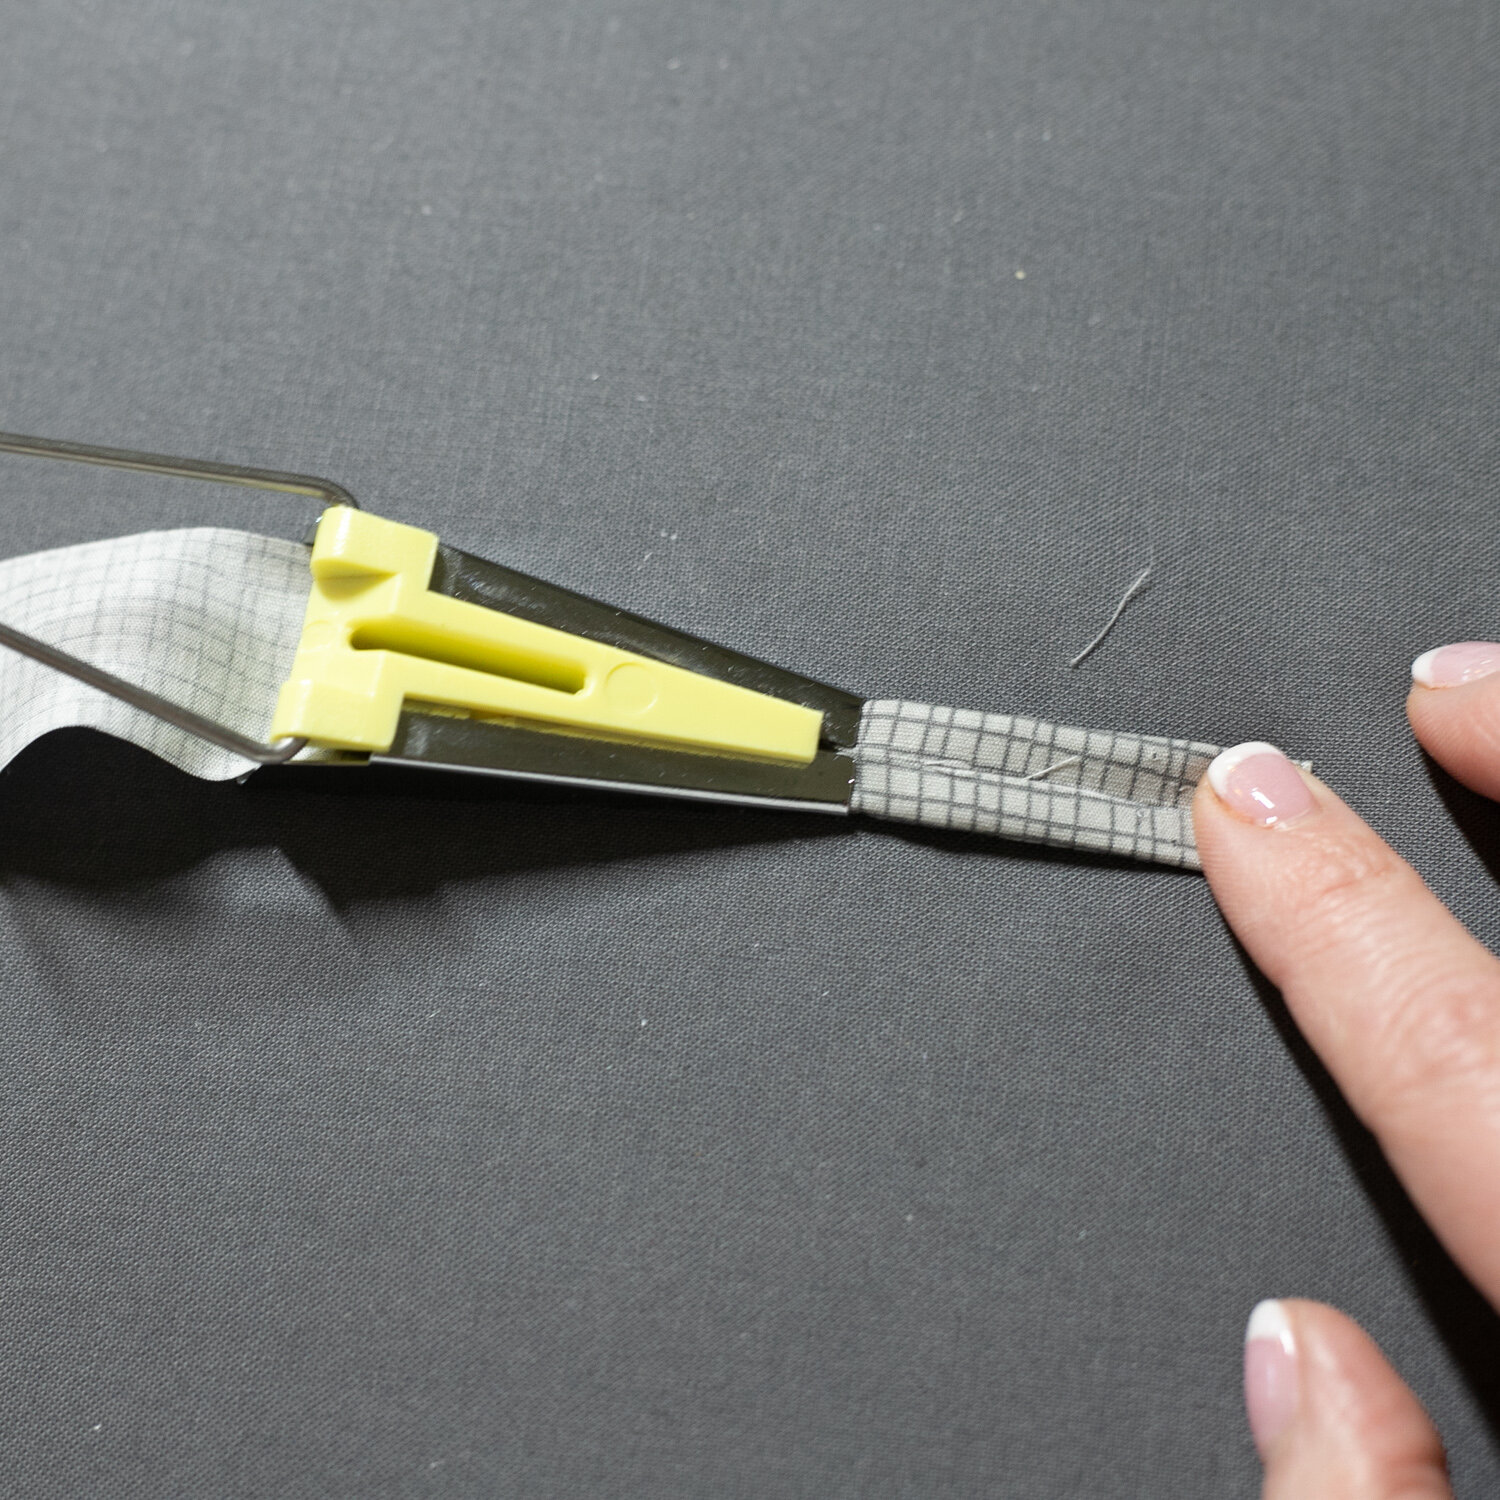
3. Fold the strip in half again so it is approximately 1/4’’ wide and press.
4. Sew down the length of the tie to secure it.
Tip: If possible (depending on your sewing machine), move your needle all the way to one side so that the tie is over one of the feed dogs. This will help it move smoothly through the machine.
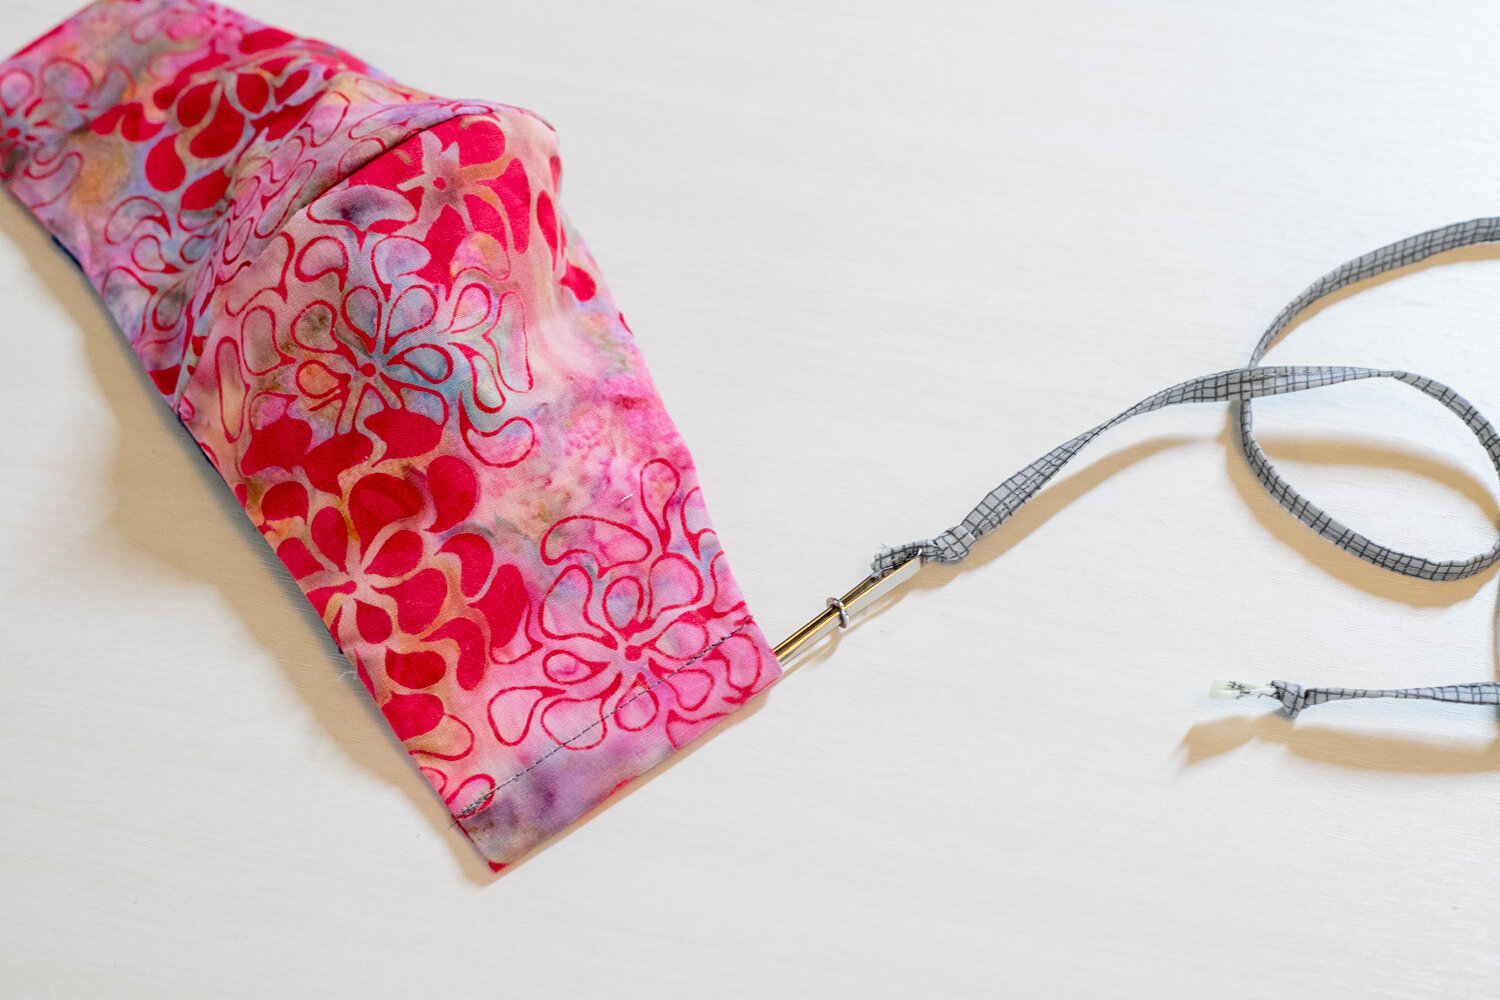

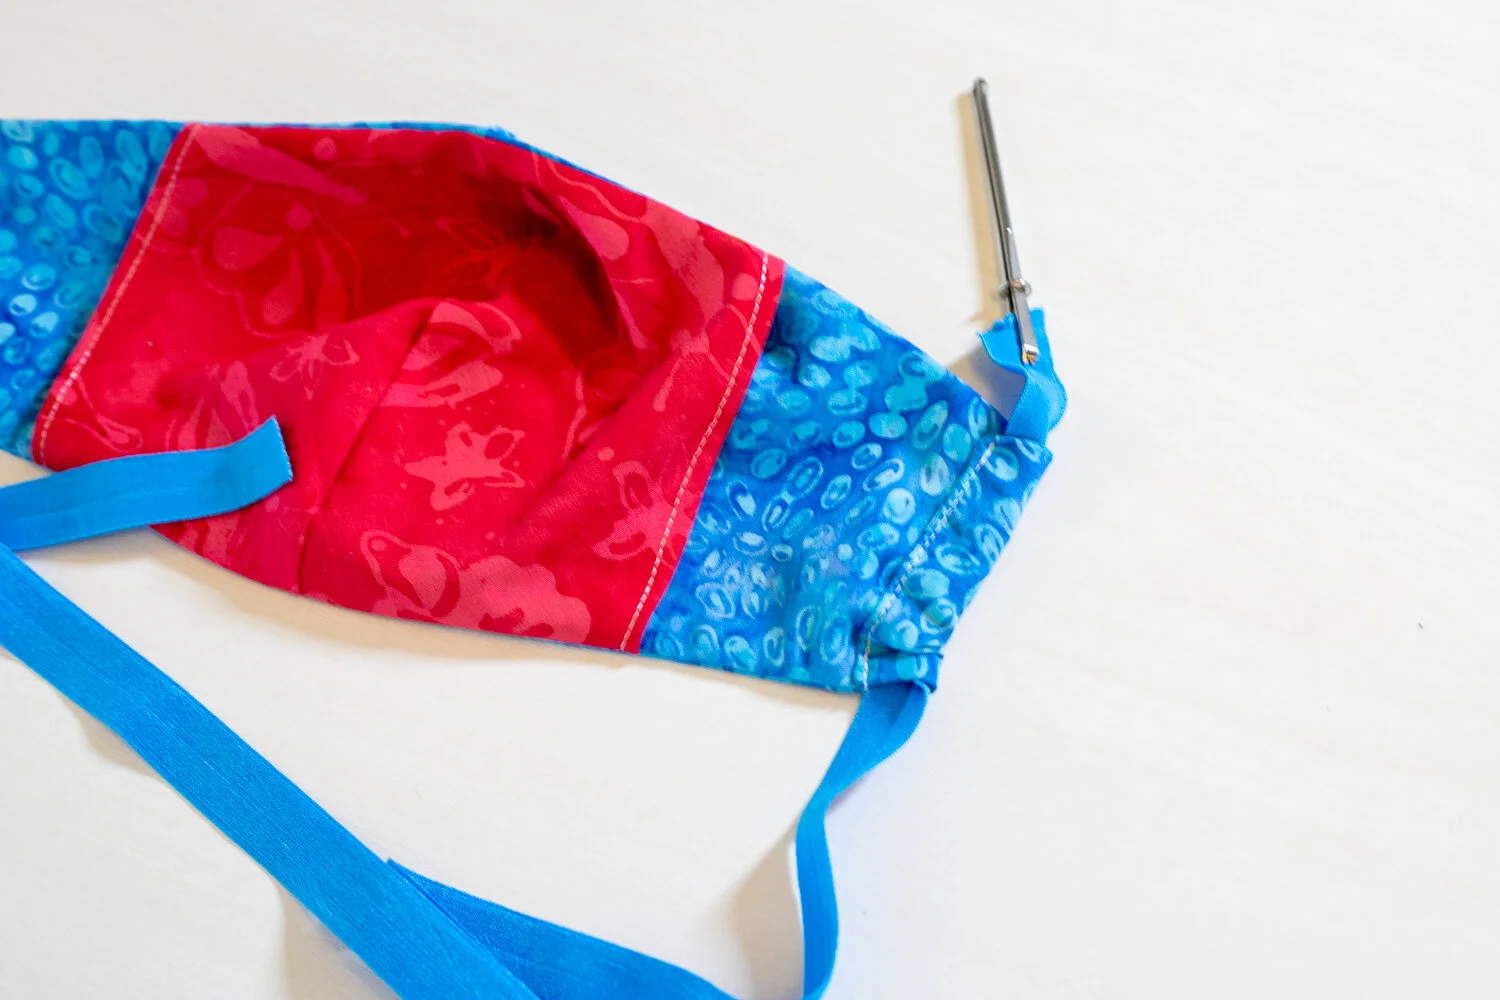
Using a bodkin or safety pin, thread the tie downward through the first casing and then upward through the second casing.
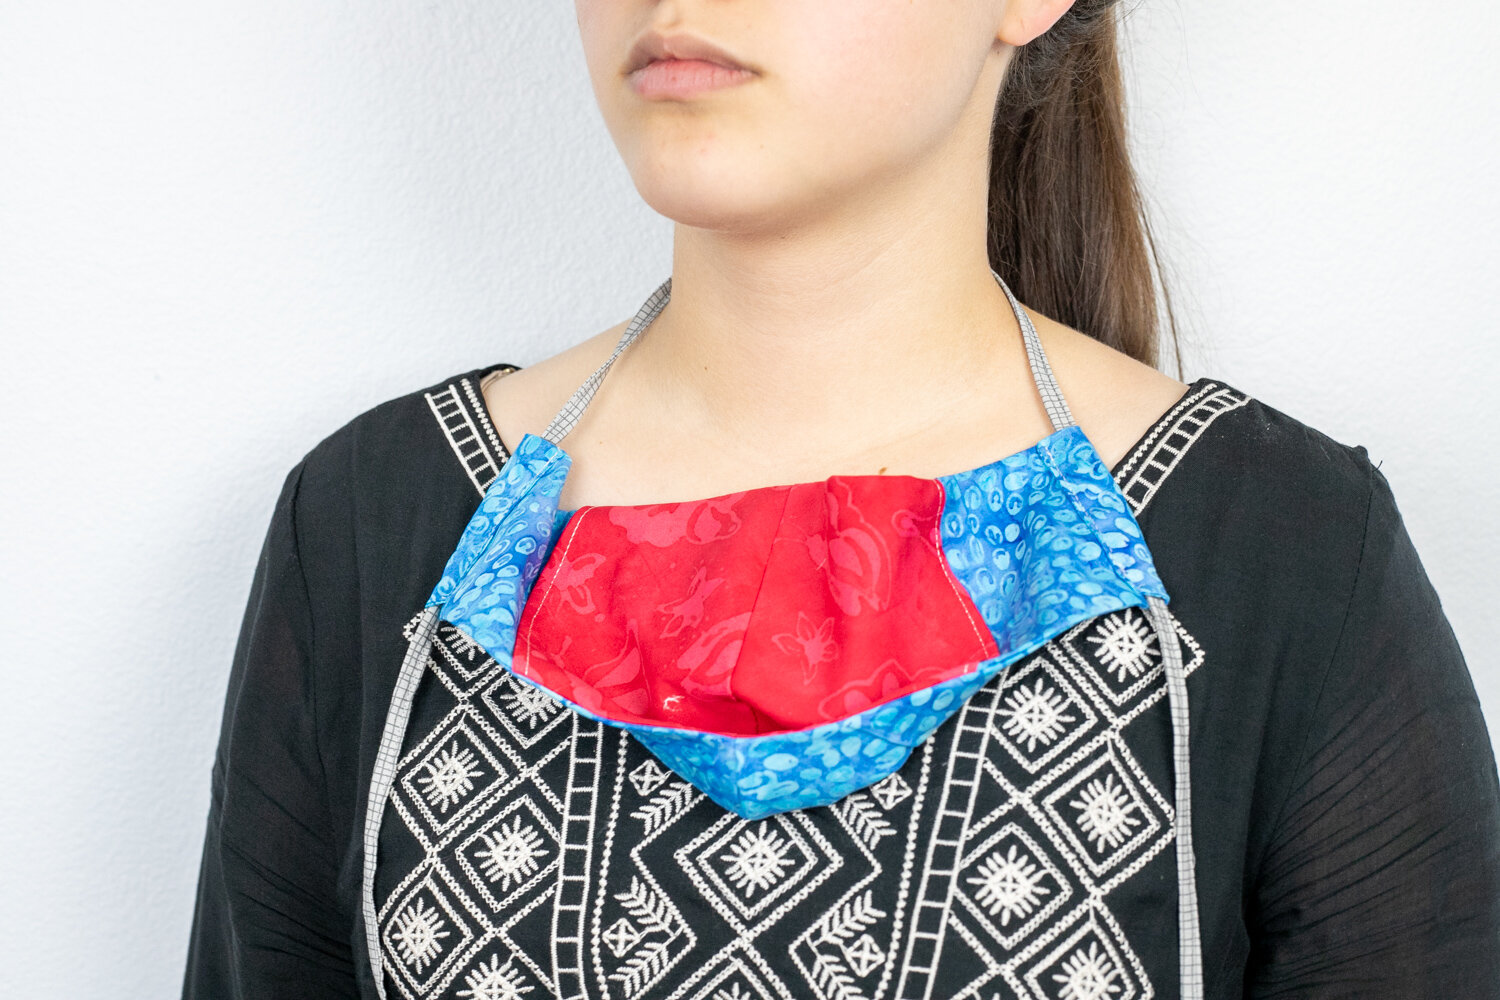
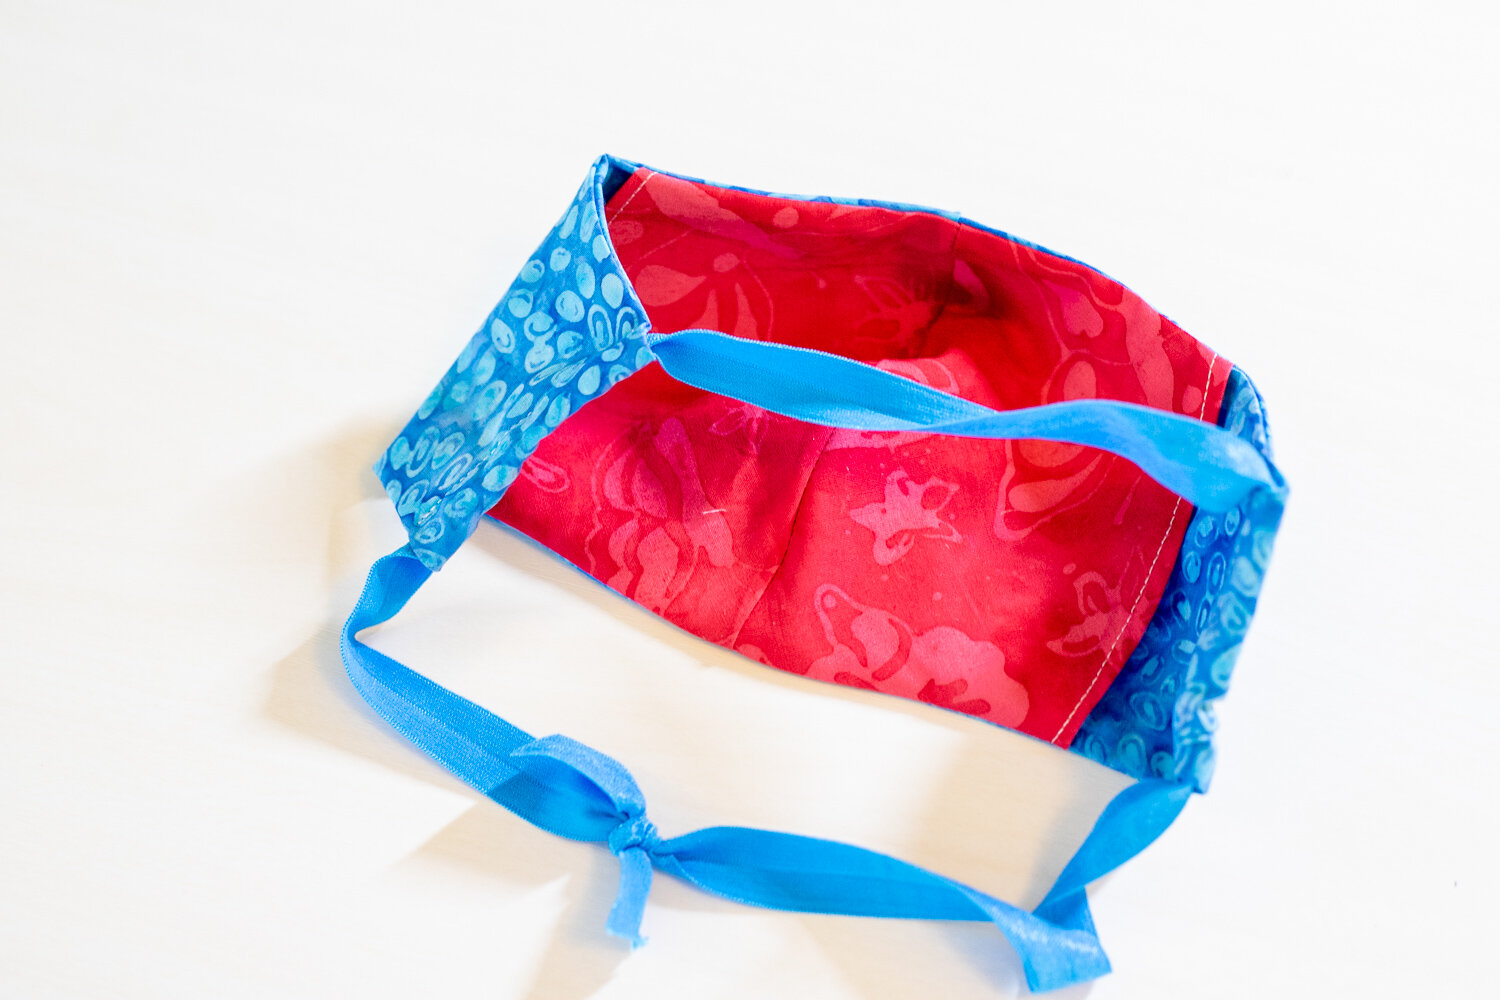
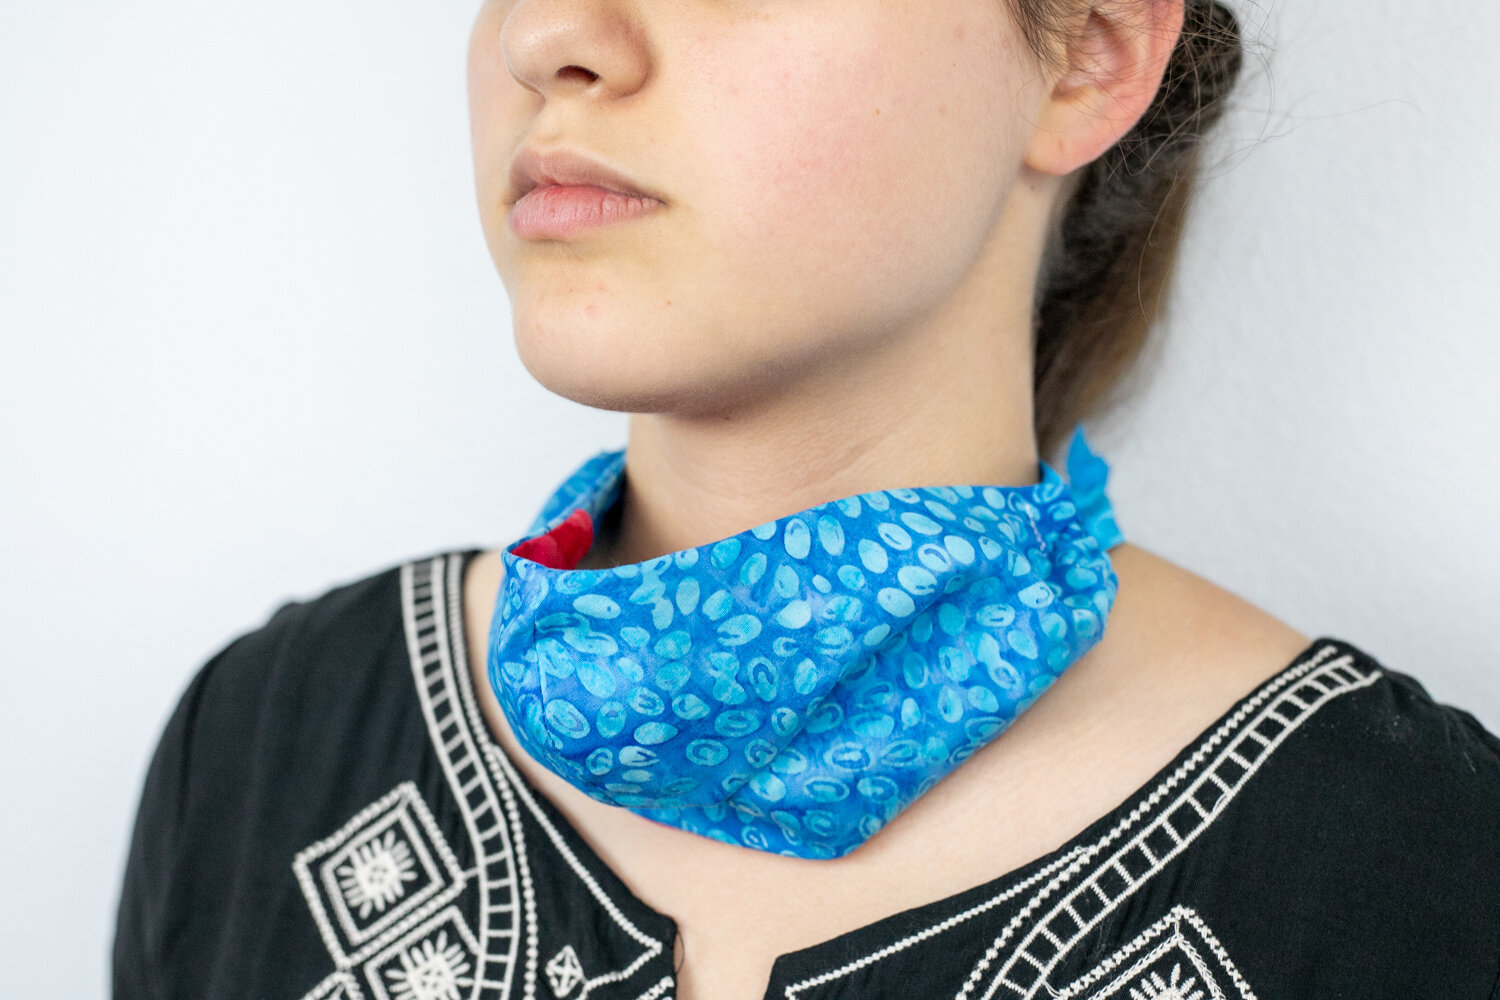
The user will put the loop over their head

and then tie the ties near the back and top of the head, adjusting them to fit.
If you have ribbon that you’d like to use, cut a 44’’ (or as needed) piece and thread it through the face mask’s casings the same was as a fabric tie.
Tee Shirt Ties
UPDATE: Since I wrote this post, lots of you commented to let me know about easy to make and comfortable ties cut from a tee shirt. No sewing needed. All you need to do is cut a 3/4’’ to 1’’ strip from the body of a t-shirt, and cut the loop open to make an easy tie.
This YouTube video shows how, starting at about 4:42 in the video.
I hope that one of these options will work for you!
Here are some other posts you may find helpful:
Thank you for all your help sewing masks to keep our communities safe!
xoxo,

Featured


Disclosure: some of my posts contain affiliate links. If you purchase something through one of those links I may receive a small commission, so thank you for supporting SewCanShe when you shop! All of the opinions are my own and I only suggest products that I actually use. 🙂