How to Sew DIY Bag or Purse Straps
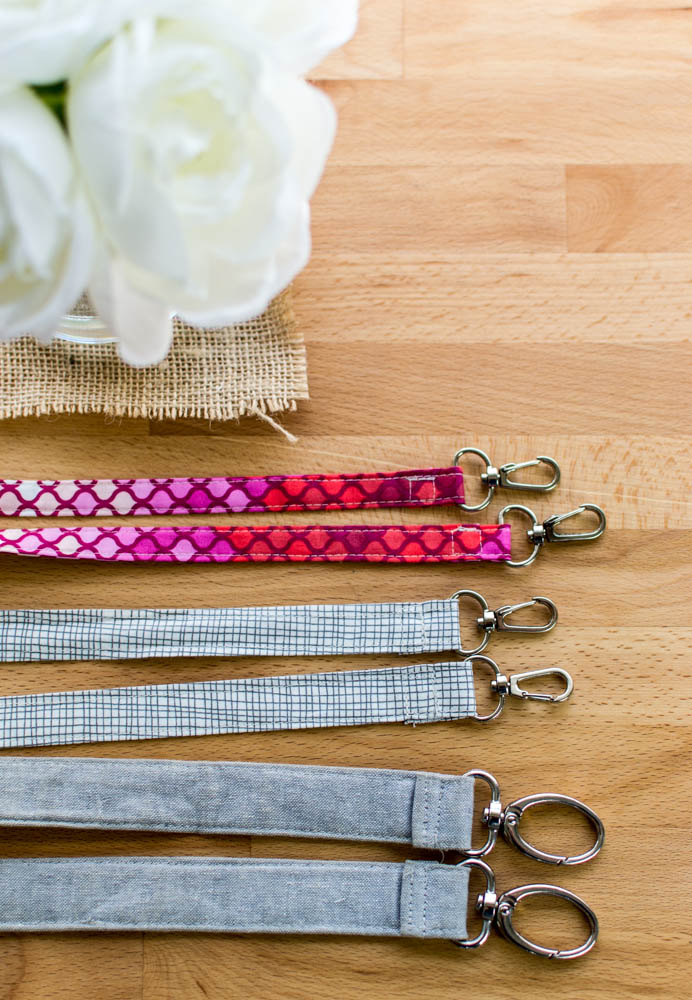
Let’s talk about bag straps!!!
I write so many tutorials for tote bags, and there are pretty much just 3 different kinds of handles or straps that I use:
- straps that get sewn onto the sides of a bag (like my Japanese Style Bag Handles or Thrift Store Handles)
- straps that are sewn into a seam (like my quick teacher totes)
- clip on straps or handles
I wrote a free sewing tutorial for clip on bag handles a couple years ago. The strap that I’m going to show you how to make in this tutorial is very similar.
Just so you know, bag makers all have their favorite ways to make straps and handles. My favorite way is no doubt going to be different from someone else’s favorite way, and I may adopt something totally different a year from now. Feel free to experiment and find your favorite method for making bag handles and straps!
UPDATE: This blog post has been converted to an optional PDF that’s optimized for printing. Find it here. The blog post below is totally free to read, print, and sew! Just hit CTRL +P on your computer to print. The PDF download is inexpensive and optional.
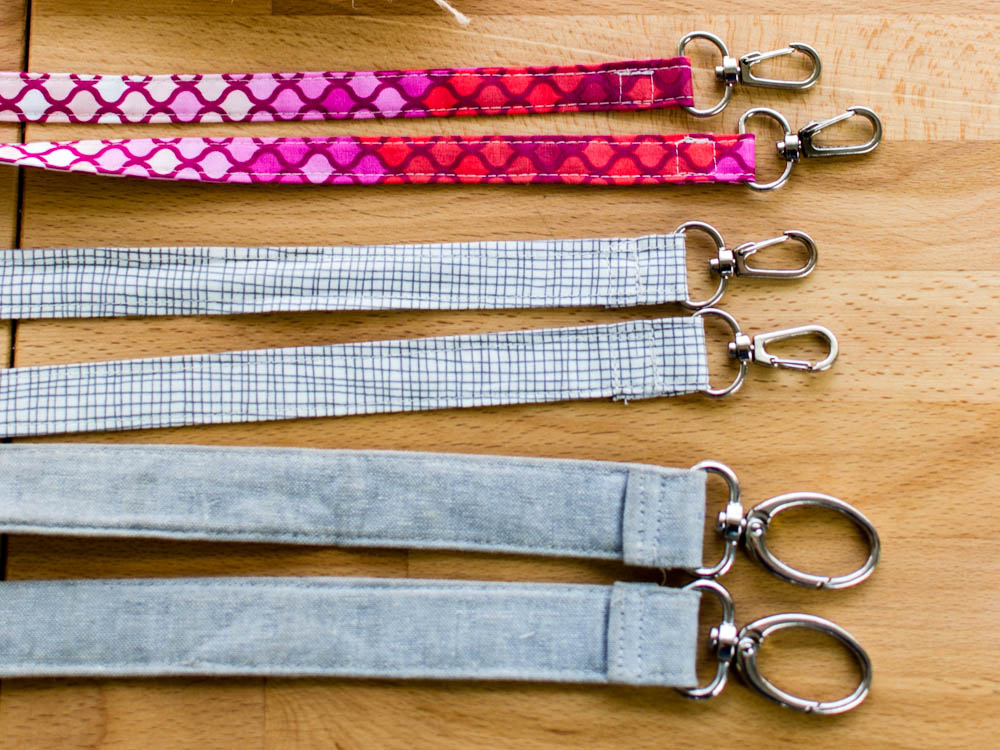
There are 3 straps shown above, the first is 1/2” wide, the next one down is 3/4” wide, and the bottom strap is 1” wide. All three widths are great for a cross-body bag and you’ll want to pick which one would look best with your particular bag.
Obviously, the strap will have to clip on to a d-ring or some other piece of hardware. The width of your strap does not have to match the width of your tab that holds the hardware. Just make sure that your clip and the hardware it will clip to are compatible before you get started.
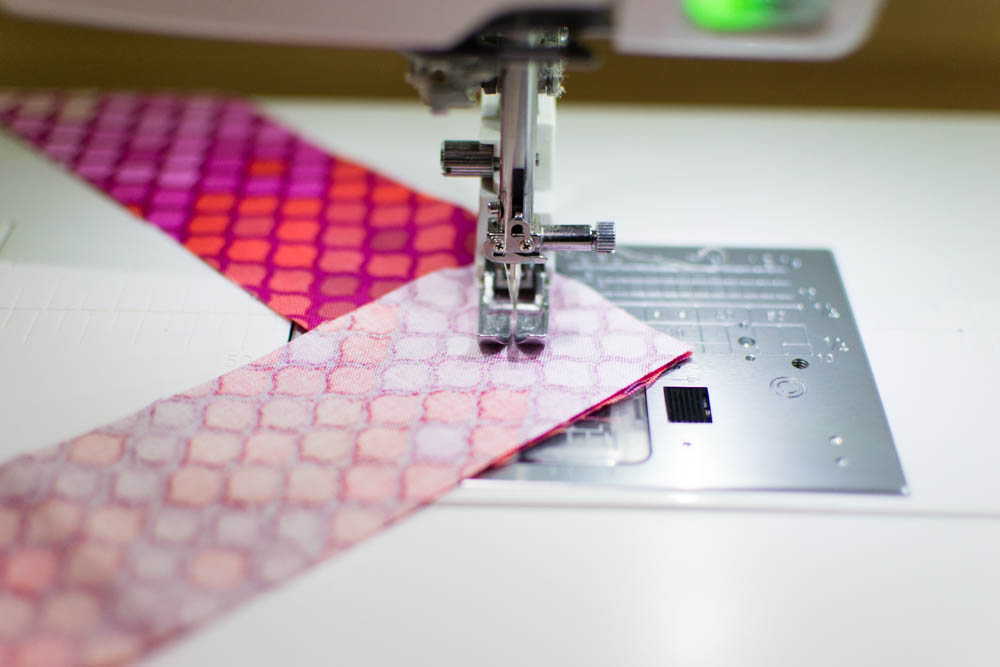
Cut strips that are 4 times as wide as you want your finished strap to be. The strips above are 2” wide, so the strap will be narrow – only 1/2” wide.
If possible, join the strips diagonally as seen above so you won’t end up with a ‘lump’ of fabric in the spot where you are joining strips to make a long strap. After joining, trim the seam allowance to 1/4” and press the seam open.
How long should you strap be? That’s totally up to you. My preference for a cross-body bag is about 50-55 inches. My teenage daughter likes her’s shorter, about 40-45”. You can always purchase hardware to make your strap adjustable if you like.
Tip: After cutting or piecing together a strip of fabric the width and length that you want, you can add interfacing or fusible fleece to make it more sturdy. I think medium weight woven interfacing (Pellon SF101) is always a good choice. Sometimes I add a thin strip of fusible fleece or ByAnnie’s flexible foam interfacing to the inside of my straps to give them a little more padding. This is another way for you to customize and get straps that you love.
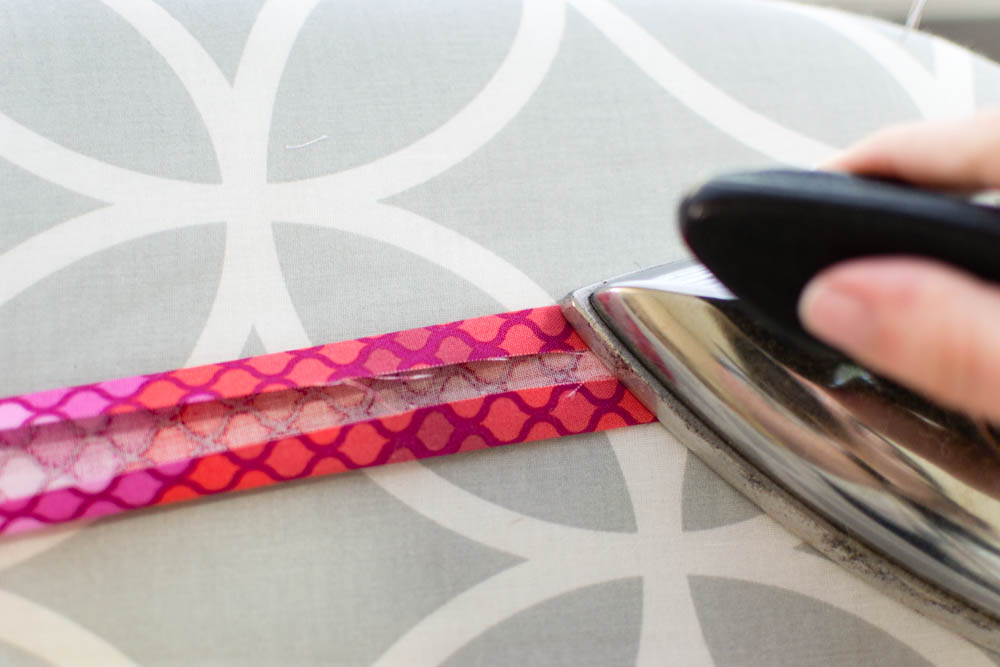
If you are going to add a layer of all-over interfacing, do it before pressing the strap.
To press the strap, fold it in half, press. Then open it and fold the edges to the center, press.
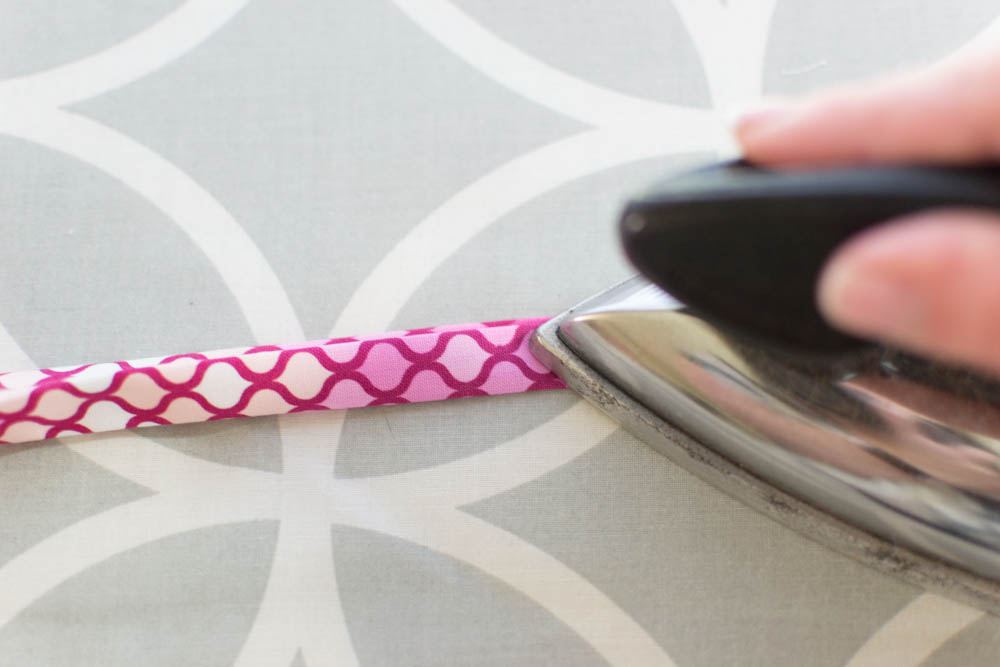
Then fold the strap in half one more time and press.
If I were going to make this a padded strap, I would open it one more time and insert a thin strip of fusible fleece, cotton quilt batting, or flexible foam stabilizer. The strip would be 1/8” narrower than the finished width of the strap.

Next you’ll topstitch along both long edges of the strap.
Take my word for it, using a walking foot makes this step soooo much easier! The last time I was too lazy to put on my sewing machine’s walking foot and I attempted to sew a strap without it, I got so mad at how wonky and twisted the strap looked that I unpicked all the stitching, put on my walking foot, and sewed it the right way 10 minutes later. 🙂

Lastly, you’ll fold the ends of the strap through your swivel clips, tuck the ends under and sew a square or rectangle to secure the clip. You can sew an ‘X’ through the square if you like.
As you can see, I’m fairly open minded about using clips and d-rings that vaguely fit the width of my strap. I think the clips above have 3/4” openings and I’ll use them for straps that are anywhere from 1/2” – 1”.
The selection of swivel snap clips and d-rings to choose from at the craft store may be limited, but if you are willing to shop Amazon, there seems to be an ever-changing number to choose from. I usually buy about 20 at a time and pick different ones every time I have to re-order. I just like variety!
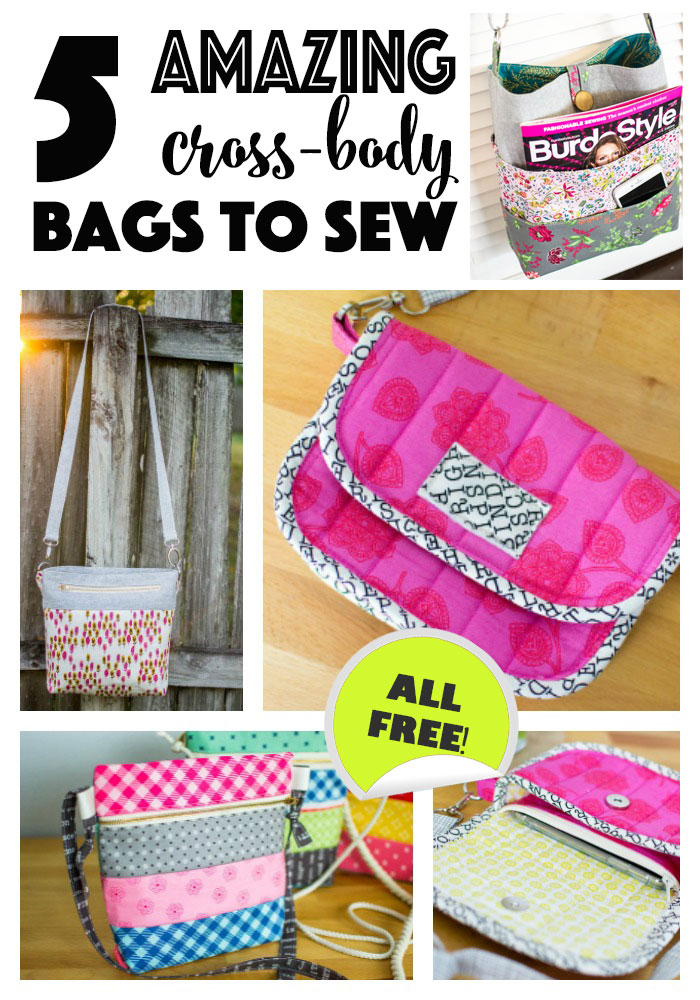
You might have recognized two of the straps above from cross body bag patterns I’ve made. Another cute cross body wallet pattern is coming very soon. Sign up for my newsletter so you don’t miss it!
Disclosure: some of my posts contain affiliate links. If you purchase something through one of those links I may receive a small commission, so thank you for supporting SewCanShe when you shop! All of the opinions are my own and I only suggest products that I actually use. 🙂
