How to Sew the Miracle Caddy Dividers
If you are here, you’ve finished sewing your Miracle Caddy (from my free pattern) and now you are ready to sew the dividers.
Let’s go!

Divider 1
Divider 1 and Divider 1B
I designed three different dividers. Divider 1 can be used by itself or with Divider 1B
Di vider 2
Divider 2 can only be used by itself.
Cutting instructions for these dividers can be found in the Miracle Caddy Pattern, and I will include them again below.
I have provided separate cutting lists for each divider in case you do not want to make all three.
For Divider 1, cut:
-
1 fabric rectangle 14’’ x 9’’
-
2 fabric strips 3’’ x 7 1/4’’ (side velcro panels)
-
1 fabric strip 3’’ x 8 1/4’’ (bottom velcro panel)
-
1 piece of foam stabilizer 6 3/4’’ x 8 1/2’’
For Divider 1B, cut:
-
1 fabric rectangle 14’’ x 7 1/2’’
-
2 fabric strips 3’’ x 7 1/4’’ (side velcro panels)
-
1 fabric strip 3’’ x 6 3/4’’ (bottom velcro panel)
-
1 piece of foam stabilizer 6 3/4’’ x 7’’
For Divider 2, cut:
-
1 fabric rectangle 14’’ x 15’’
-
2 fabric strips 3’’ x 7 1/4’’ (side velcro panels)
-
1 fabric strip 3’’ x 14 1/4’’ (bottom velcro panel)
-
1 piece of foam stabilizer 6 3/4’’ x 14 1/2’’
You will also need:
-
6 3/4’’ piece of soft velcro tape (for Divider 1)
-
2 yards of scratchy velcro tape (enough for all 3 dividers)
Make the Divider Pieces
Use a 1/4’’ seam allowance.
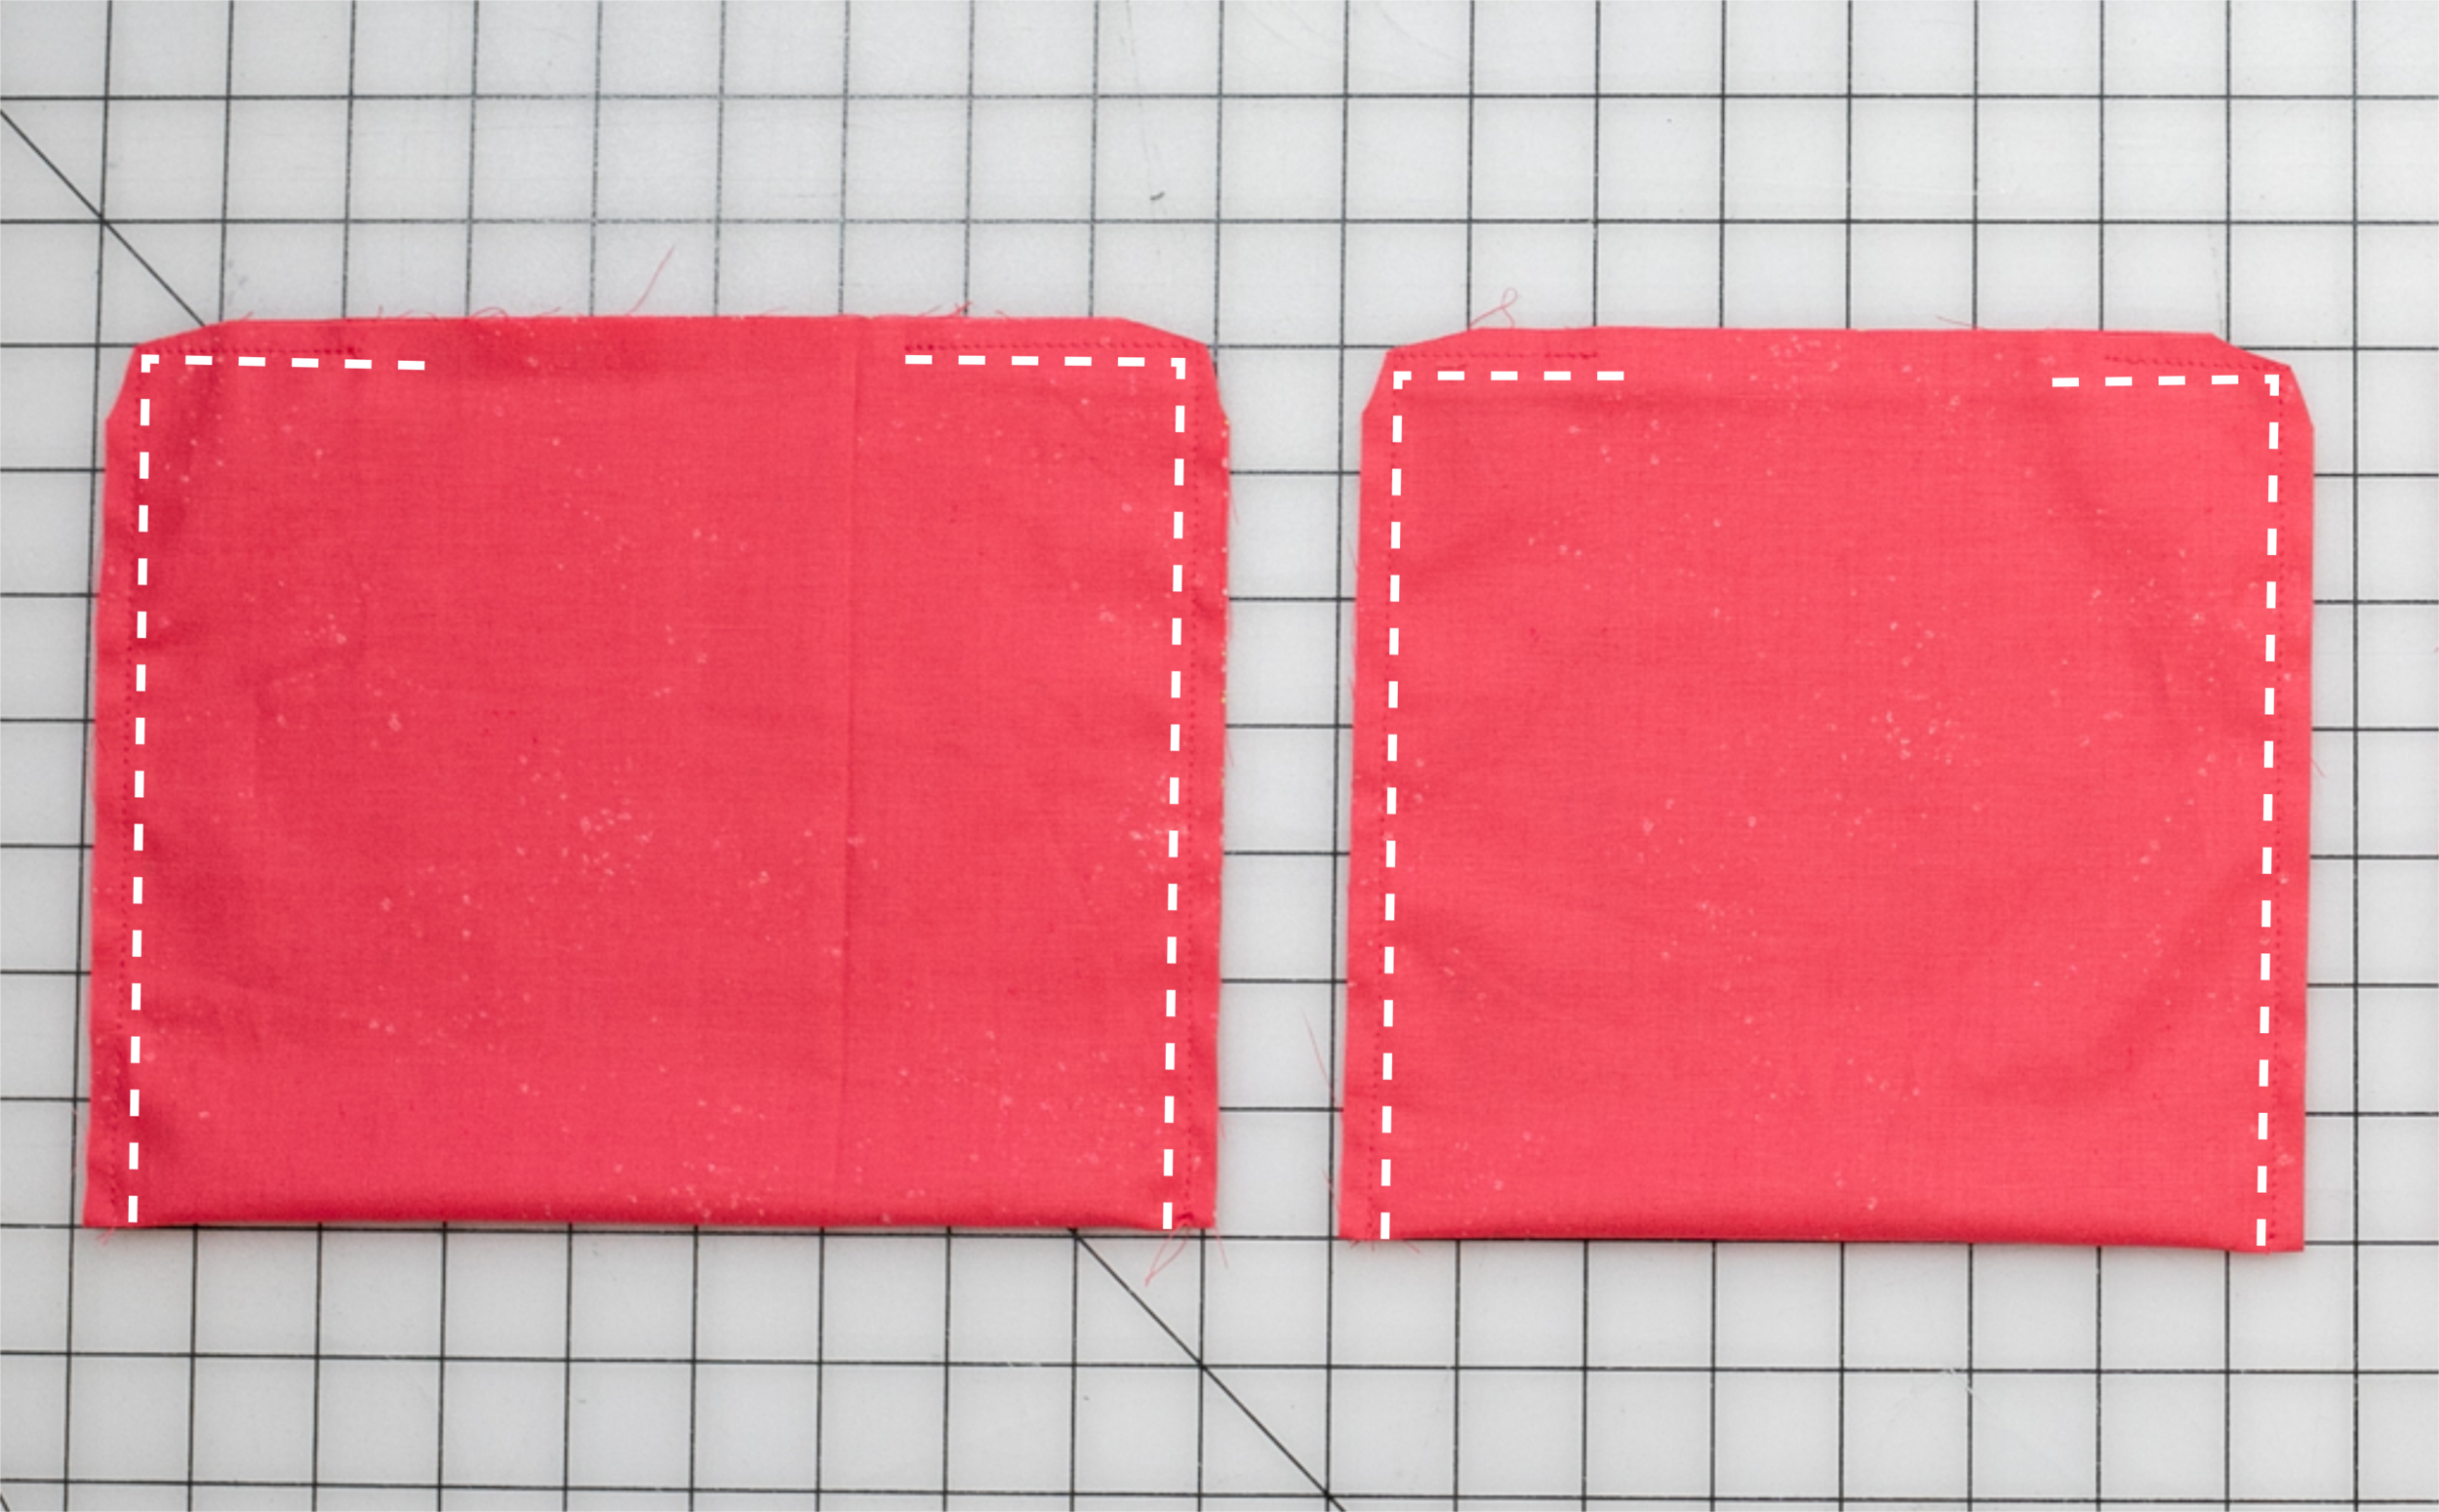
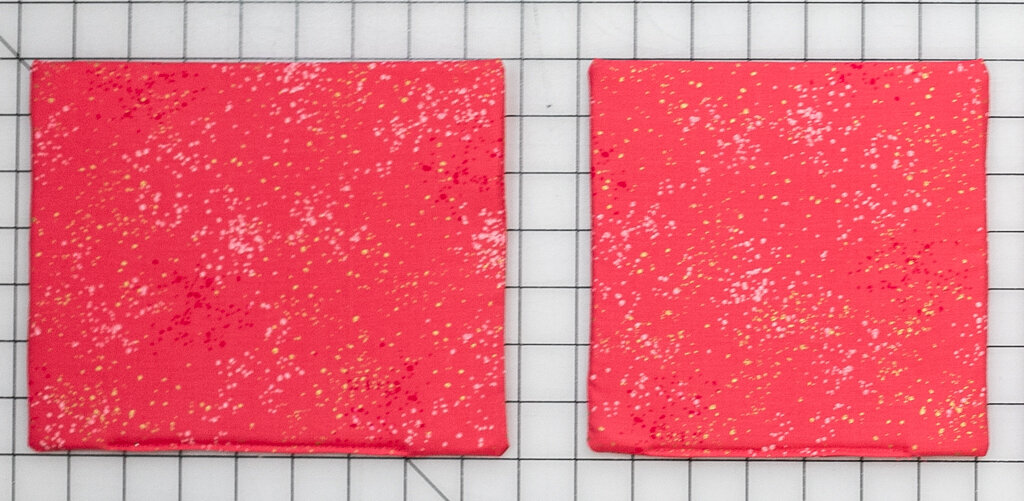
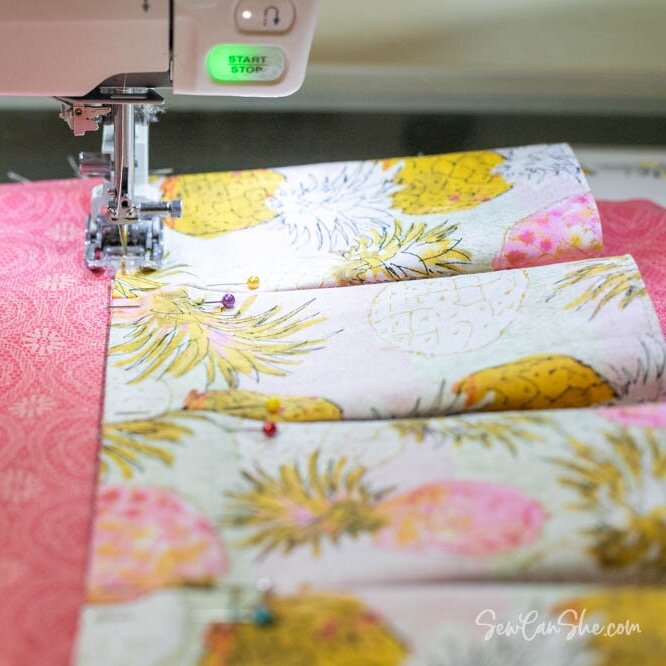
1. Fold the fabric piece for each divider in half and sew around the three open sides, leaving a generous opening for turning. The opening should be large enough to put your hand in.
-
For Divider 1, fold the fabric piece so that the 9’’ edges are together. Sew.
-
For Divider 1B, fold the fabric piece so that the 7 1/2’’ edges are together. Sew
-
For Divider 2 (not shown), fold the fabric piece so that the 15’’ edges are together. Sew.
Make sure you leave an opening along the long edge that is large enough to put your hand in.
Clip the corners to trim away the extra fabric.
2. Turn the divider pieces right side out through the opening. Use your fingers or a point turner to gently push the corners out.
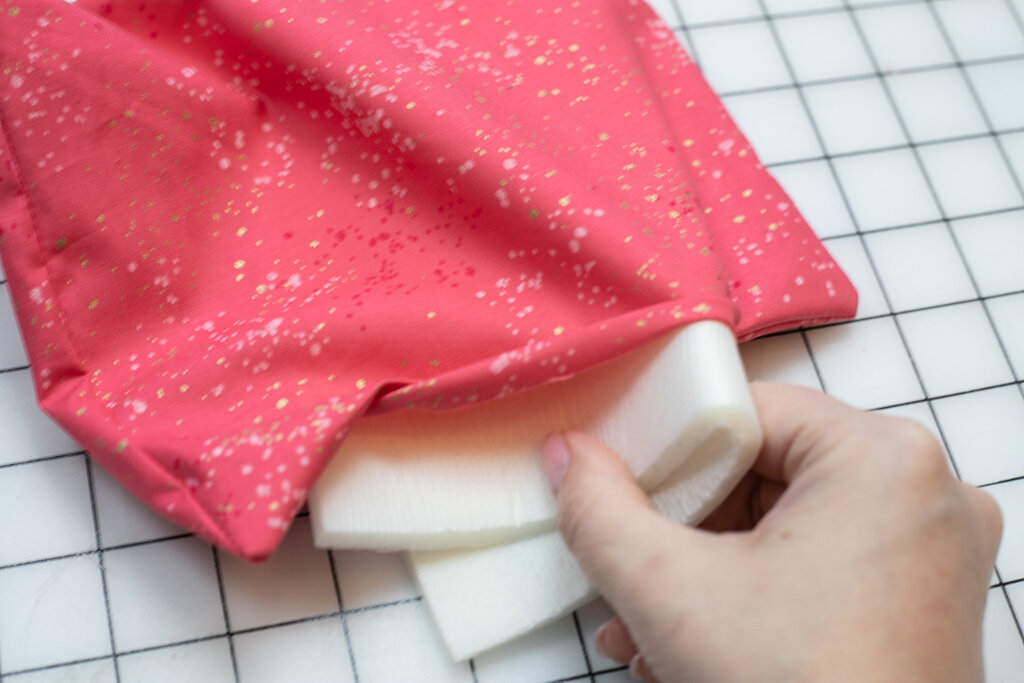
Fold the piece of foam stabilizer that goes inside each divider in half (or more) in order to fit it through the opening.
3. Put your hand inside and smooth out the foam inside the divider fabric. Work it into each corner so the divider lays flat.
Fold the raw edges at the opening to the inside – one raw edge should wrap over the edge of the foam.
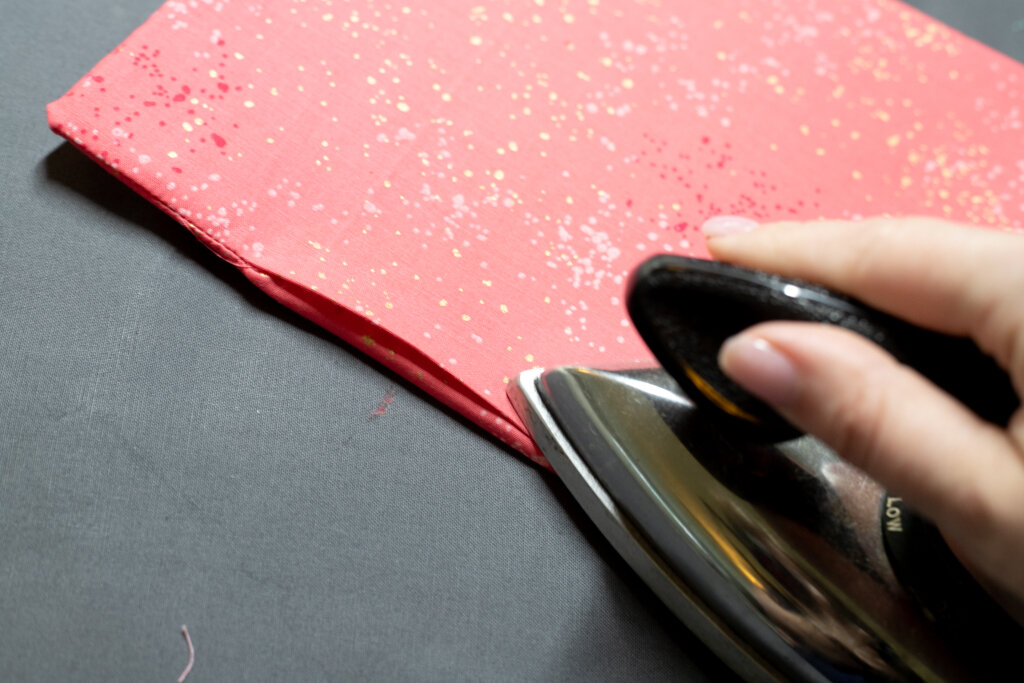
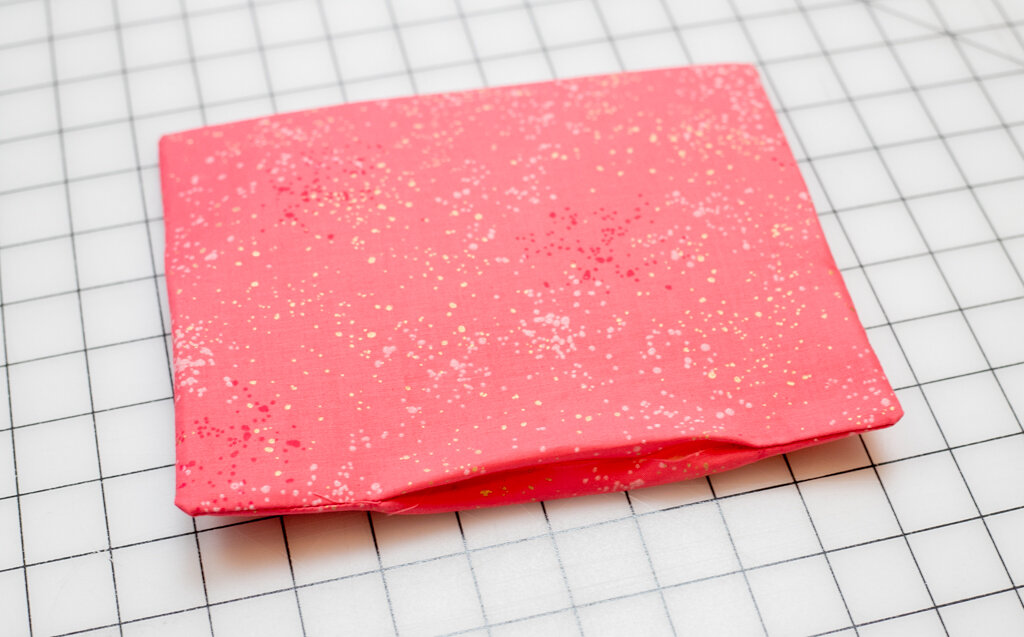
4. Press the divider on each side to get rid of any wrinkles. Press the edges at the opening to the inside.
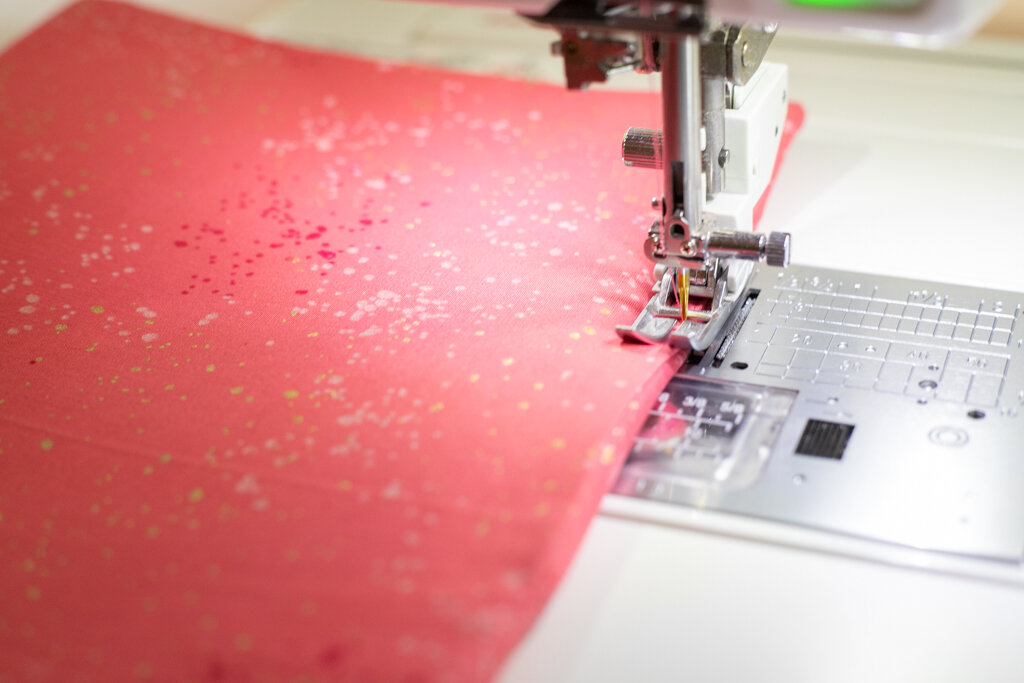
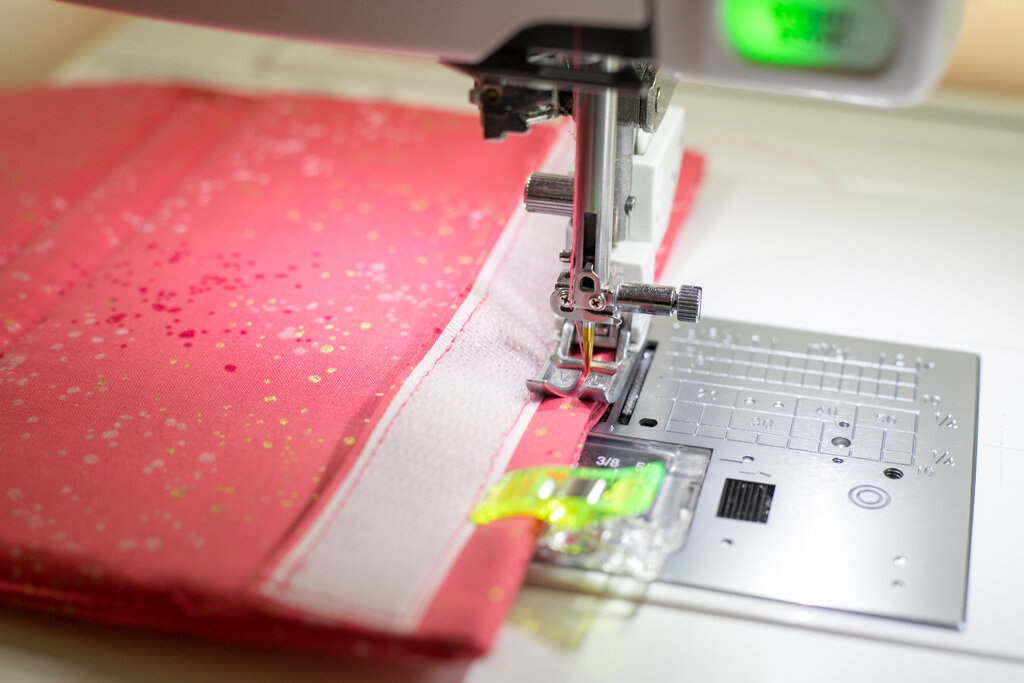
5. Sew the opening closed 1/8’’ from the edge.
This will be the bottom edge of the divider.
Make all of the divider pieces that you have planned. Divider 2 is not shown above.
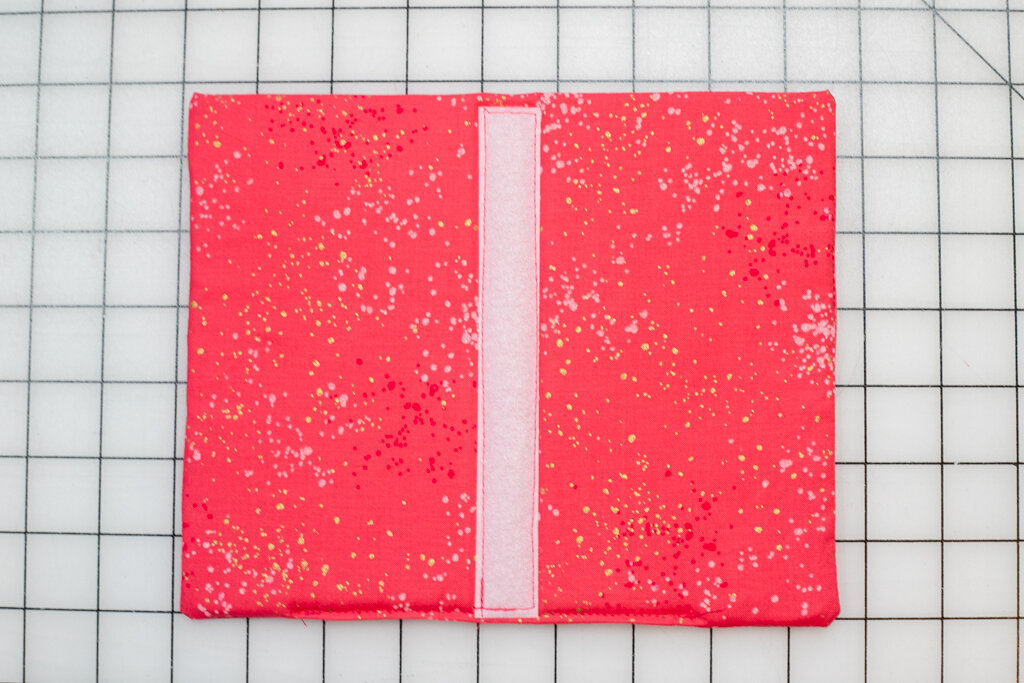
6. For Divider 1 only, cut a piece of velcro tape (soft side) that is 6 3/4’’ long. Center it vertically on one side of Divider 1.
Pin and stitch in place.
Sew the Hook and Loop (Velcro) Panels
Use a 1/4’’ seam allowance.
Your remaining fabric pieces should all be 3’’ wide strips for making the velcro panels. Each divider has 2 side velcro panels that are all the same size, plus one uniquely sized bottom velcro panel.
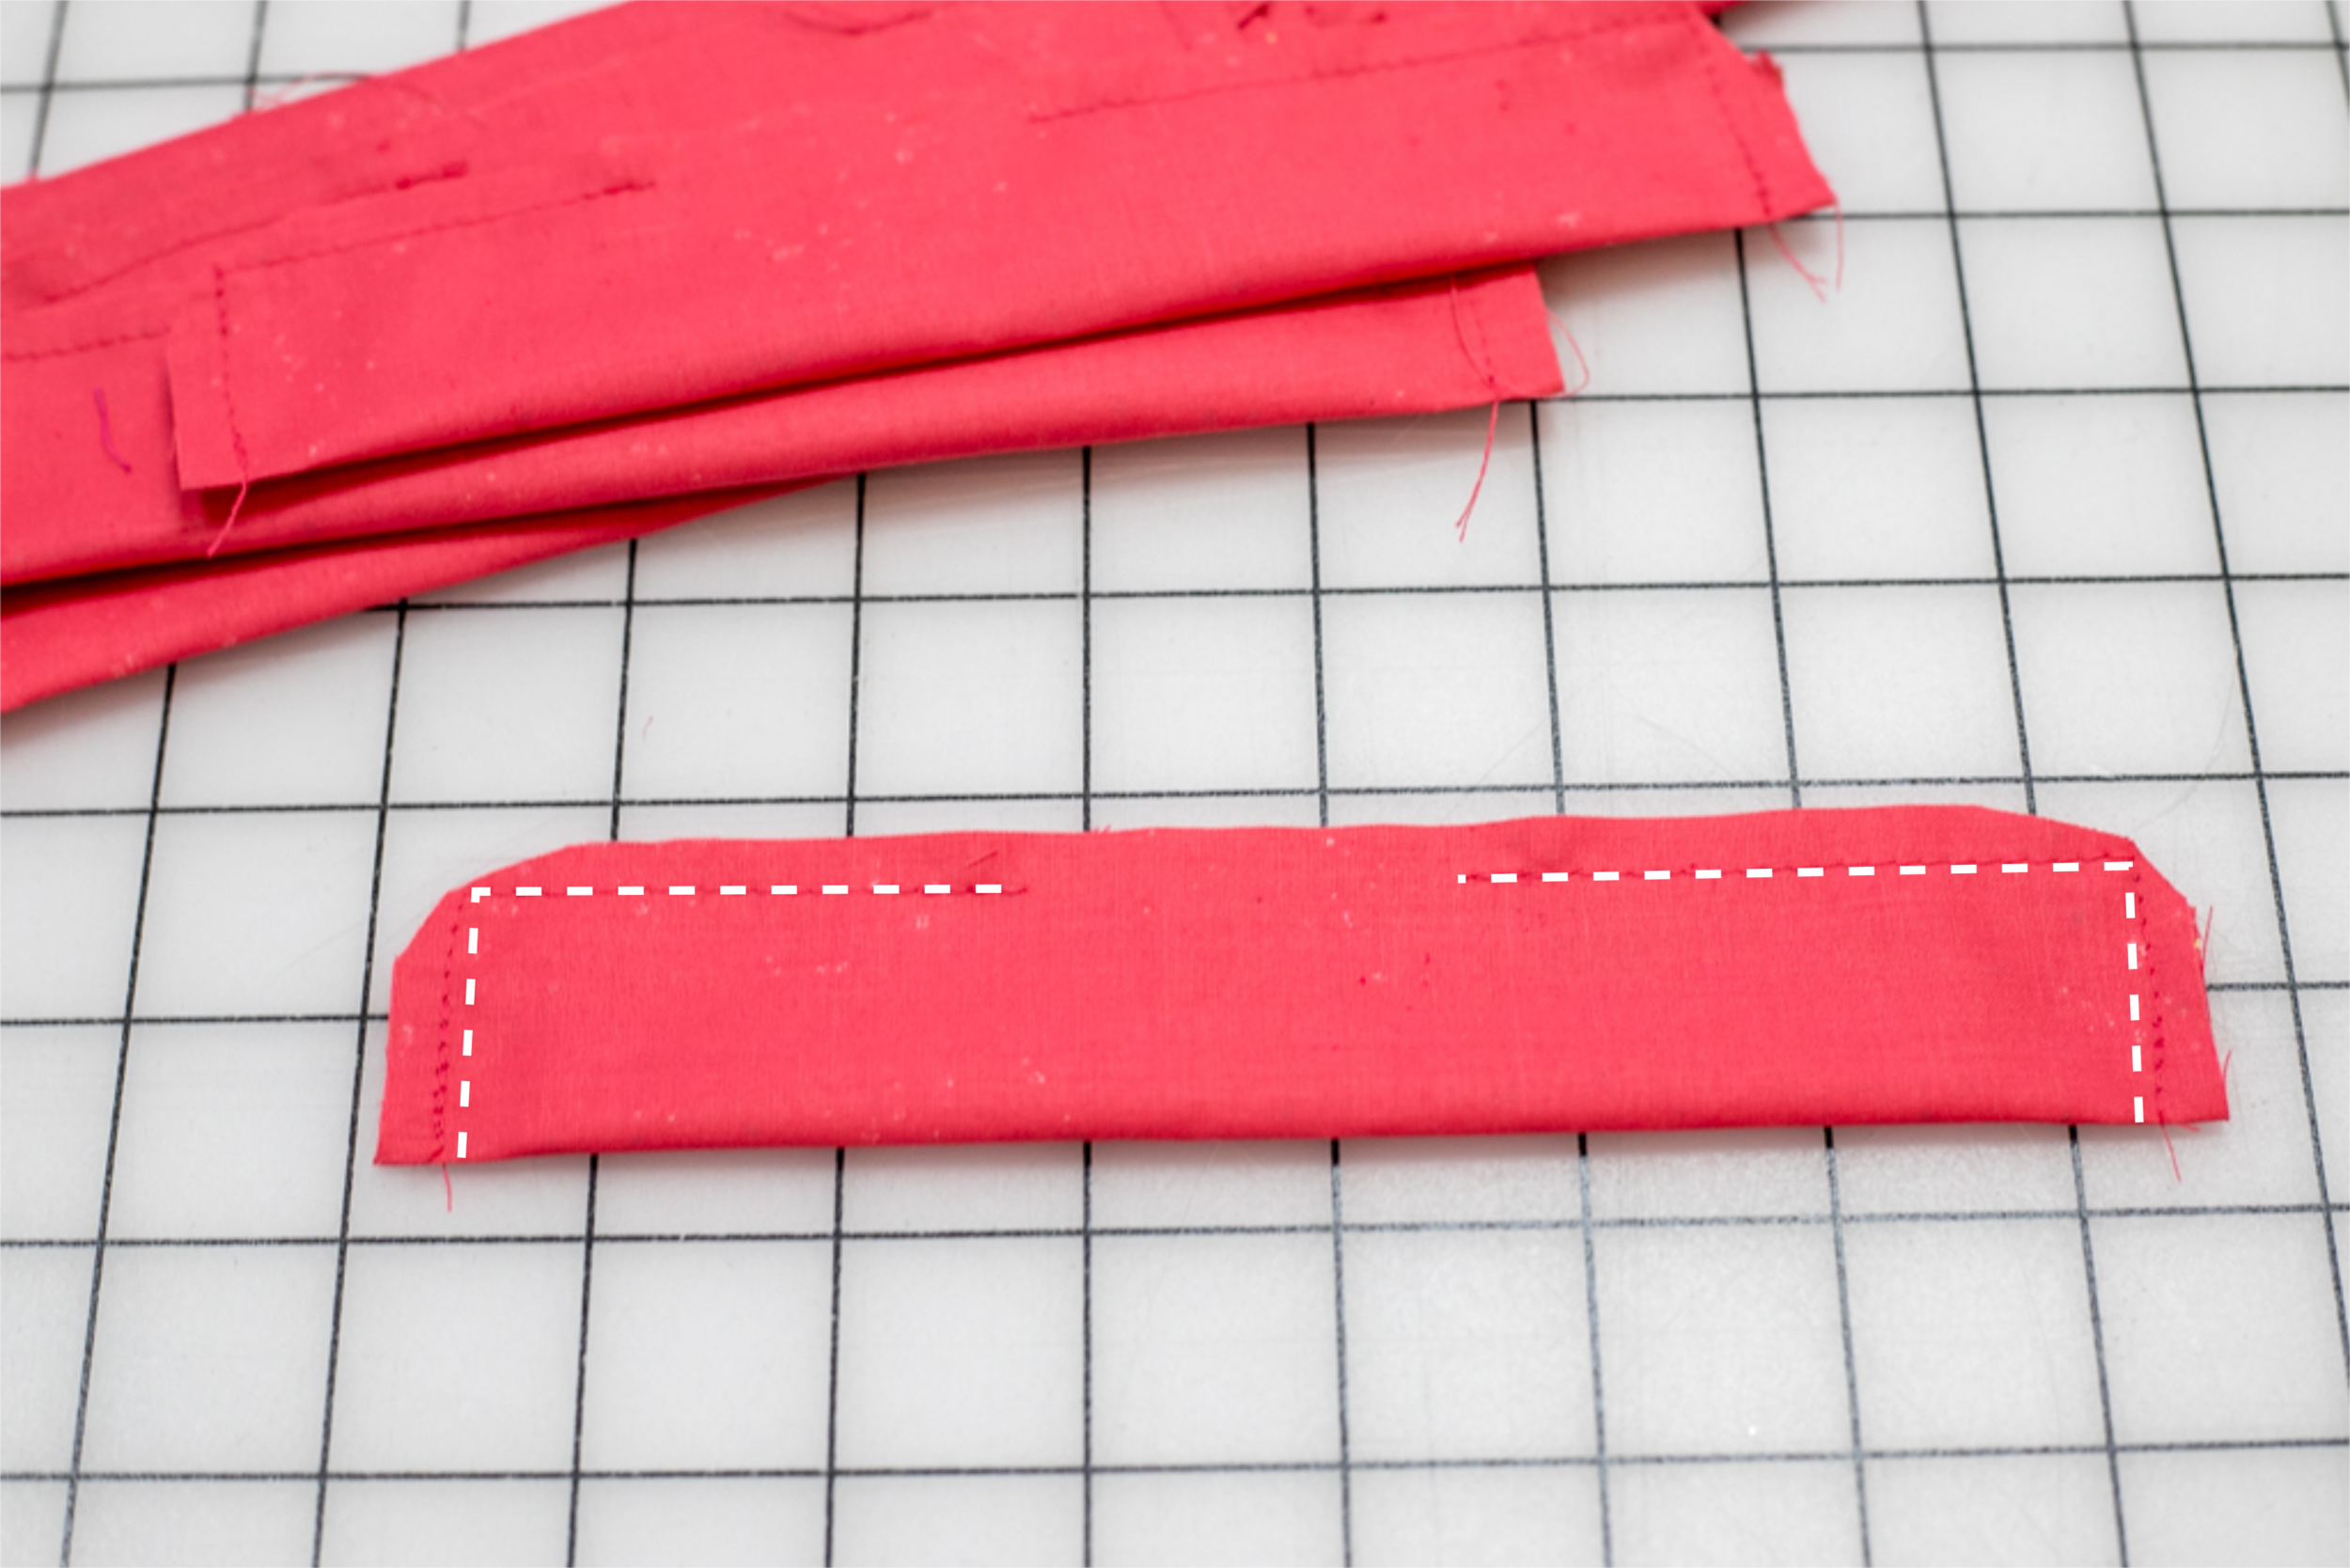
1. Fold each strip in half lengthwise and sew around the three raw edges, leaving a 2’’ opening along the long edge for turning the panel right side out.
Clip the corners to trim away the extra fabric.
2. Turn each panel right side out through the opening and use a point turner (or chopstick) to gently push the corners out.
Press, turning the raw edges at the opening to the inside.
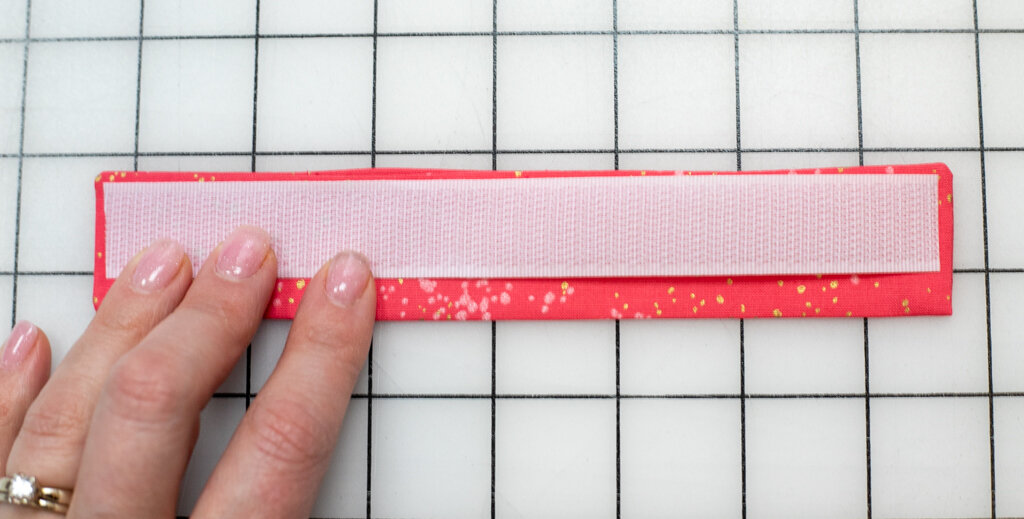
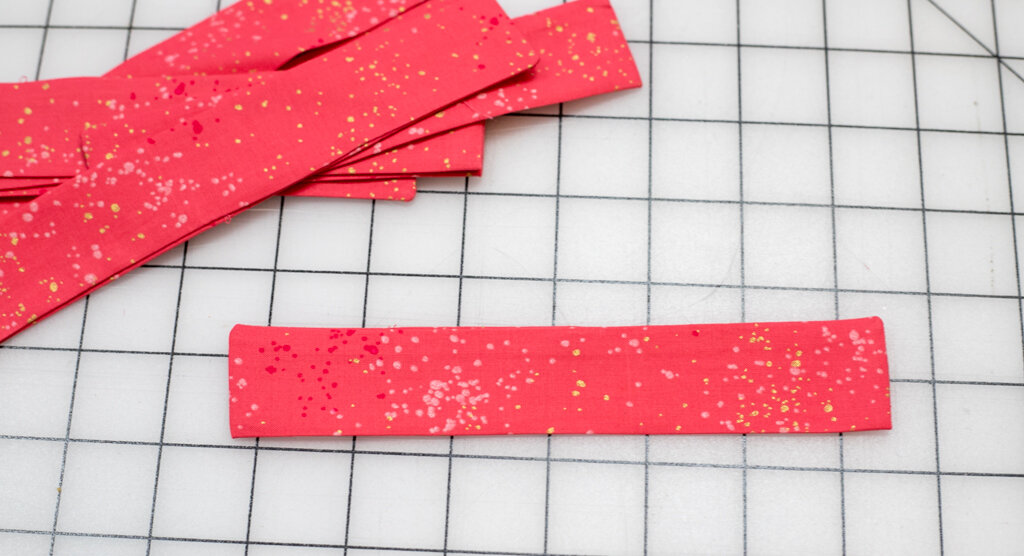
3. Cut a piece of scratchy velcro tape for each panel. The tape should be 1/4’’ shorter than the panel so that it fits nicely inside it.
Pin the tape to the panel close to the edge with a seam.
4. Sew the scratchy velcro tape to the panel all the way around the edges.
Since the velcro tape is close to the seam (not centered), sewing the velcro on will close the opening in the seam at the same time.
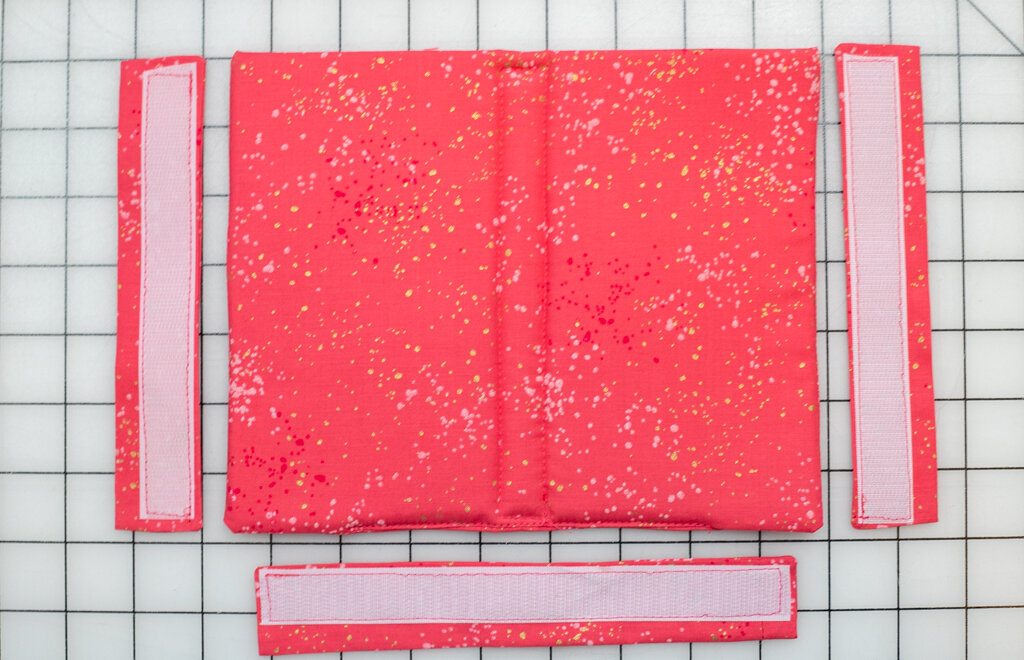
Make two 1 1/4’’ x 6 3/4’’ side velcro panels plus the uniquely sized bottom velcro panel for each divider.

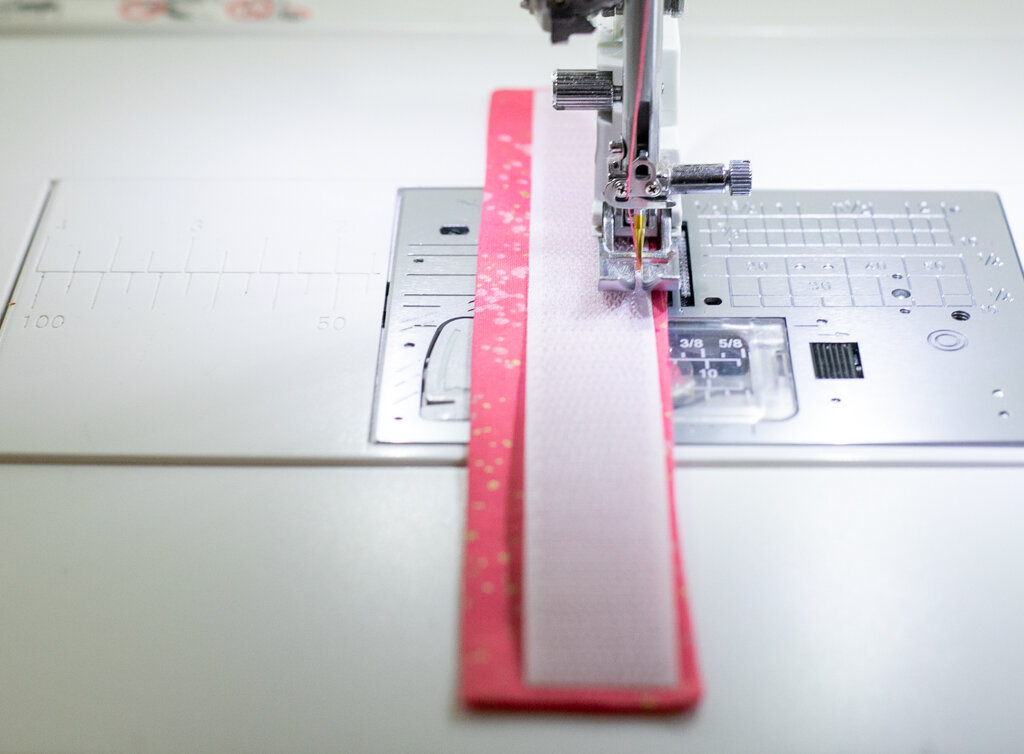
5. Pin or clip the side velcro panels to the sides of the divider with the velcro tape facing up and the folded side edge (not the seam edge) lined up with the side of the divider.
Note: for Divider 1, attach the velcro panels to the side of the divider that does not have the soft velcro tape (see Step 6 above)
6. Attach the velcro panels by sewing along the edge, halfway between the velcro tape and the edge of the fabric (about 3/16’’ from the edge).
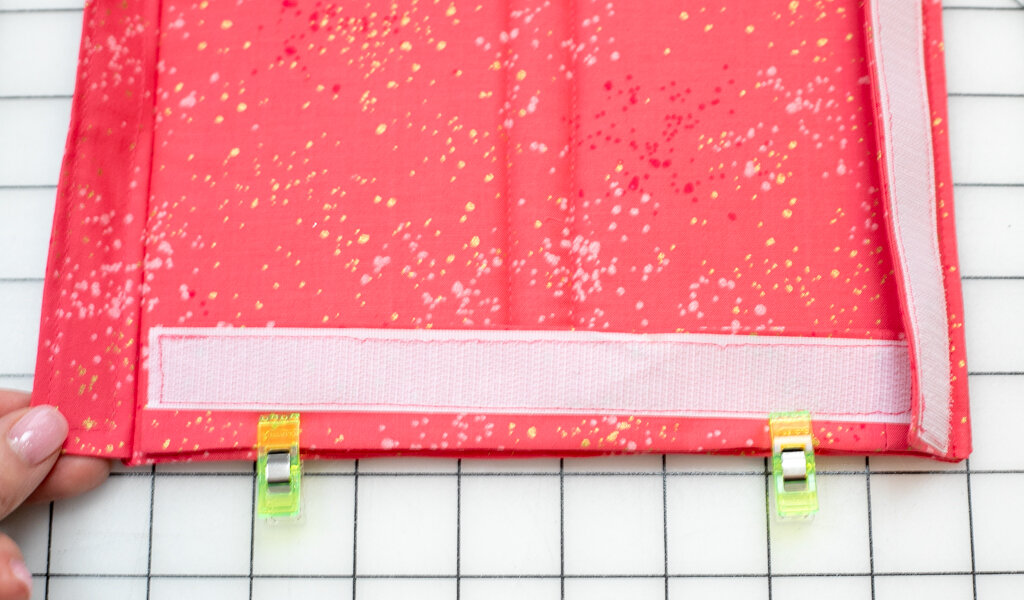
7. Open the side panels and center the bottom panel along the bottom edge with the folded edge (not the edge with a seam) lined up with the bottom edge of the divider. Pin or clip in place.

8. Sew along the edge, halfway between the velcro tape and the edge of the fabric (about 3/16’’ from the edge).
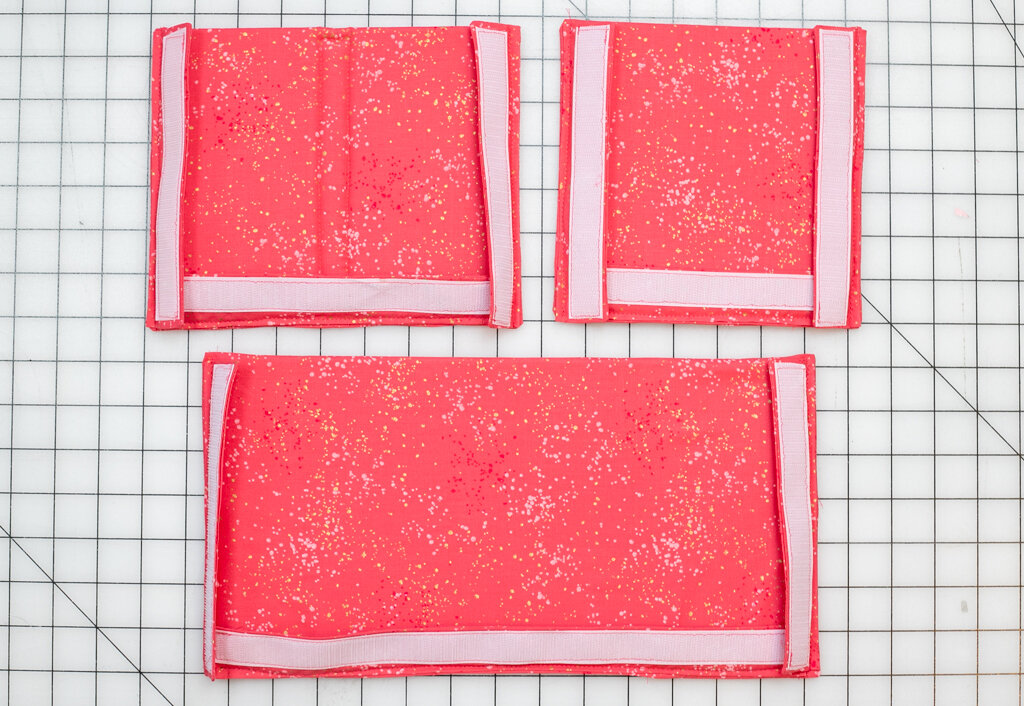
Repeat to make all of the dividers.
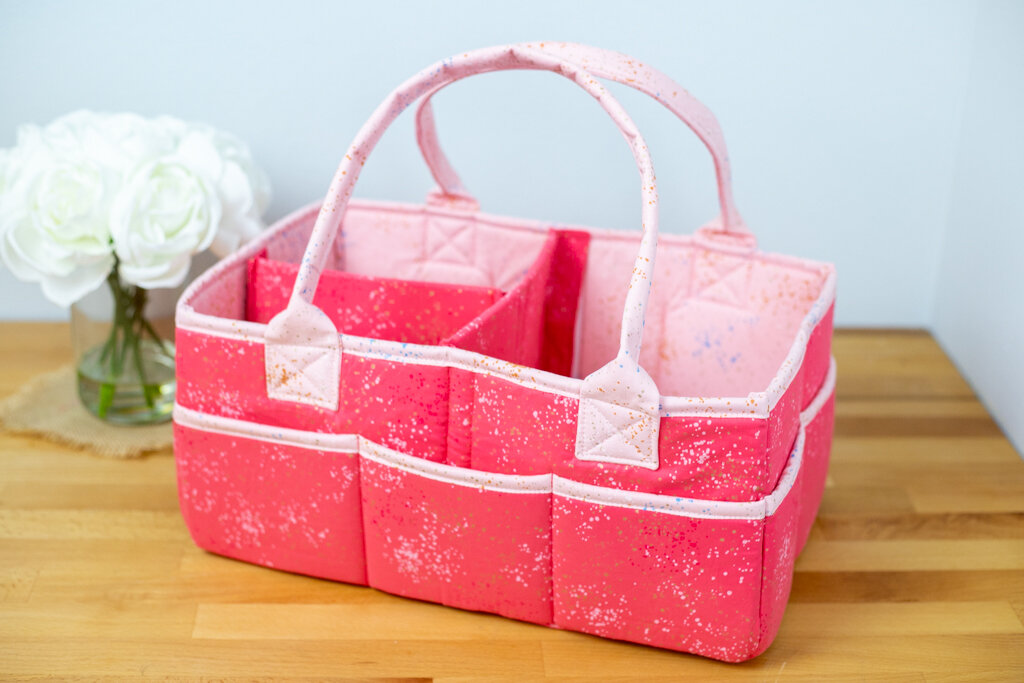
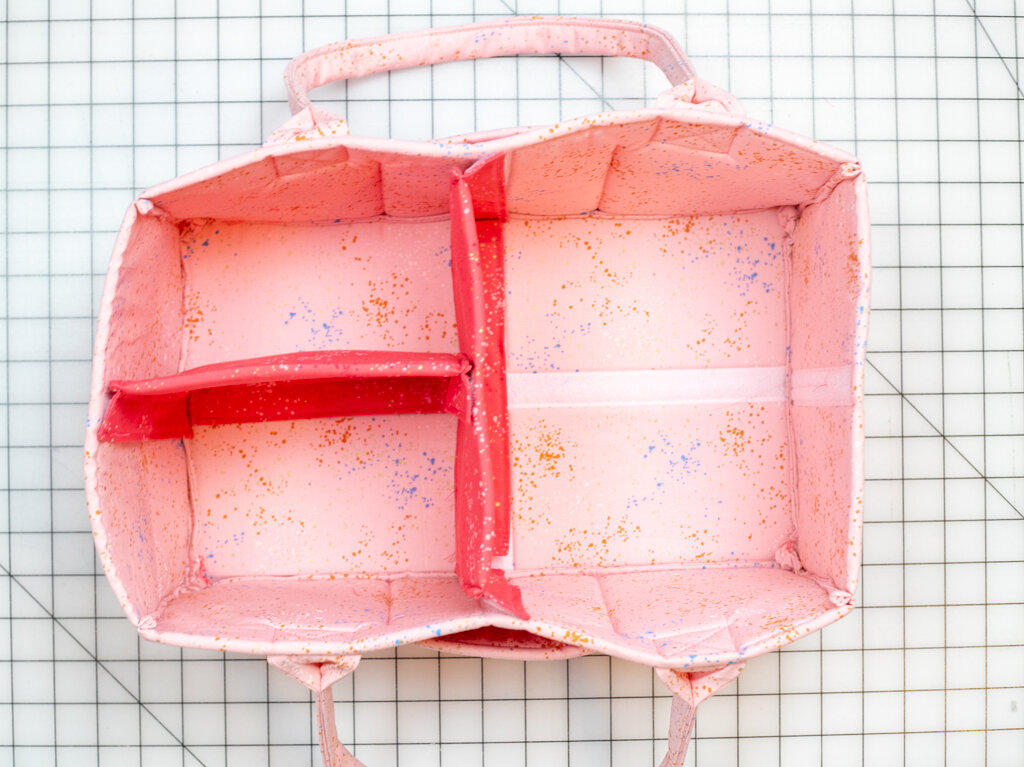
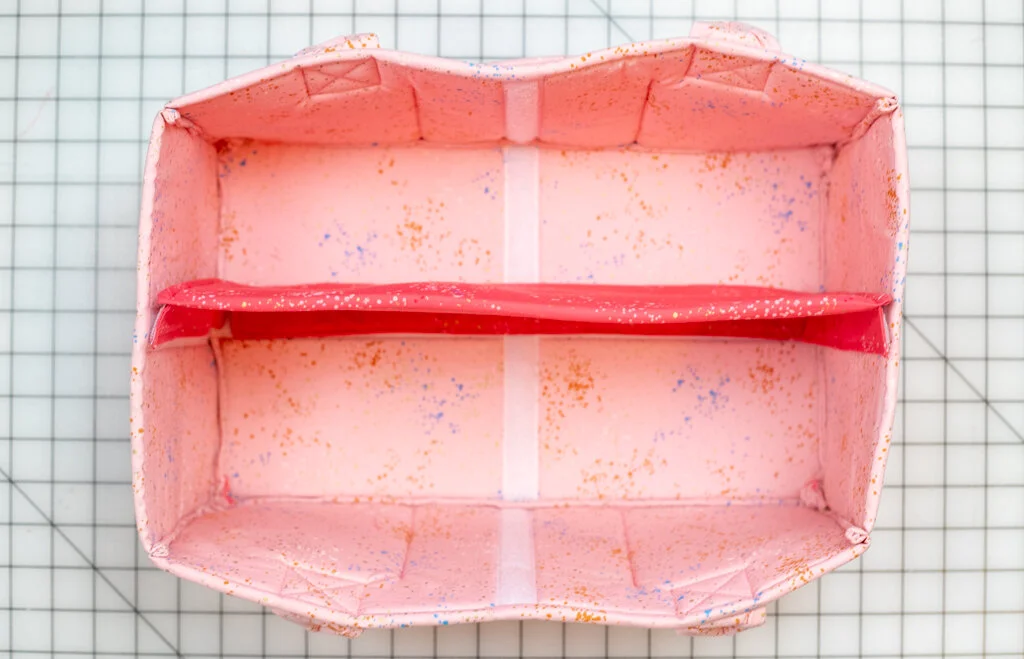
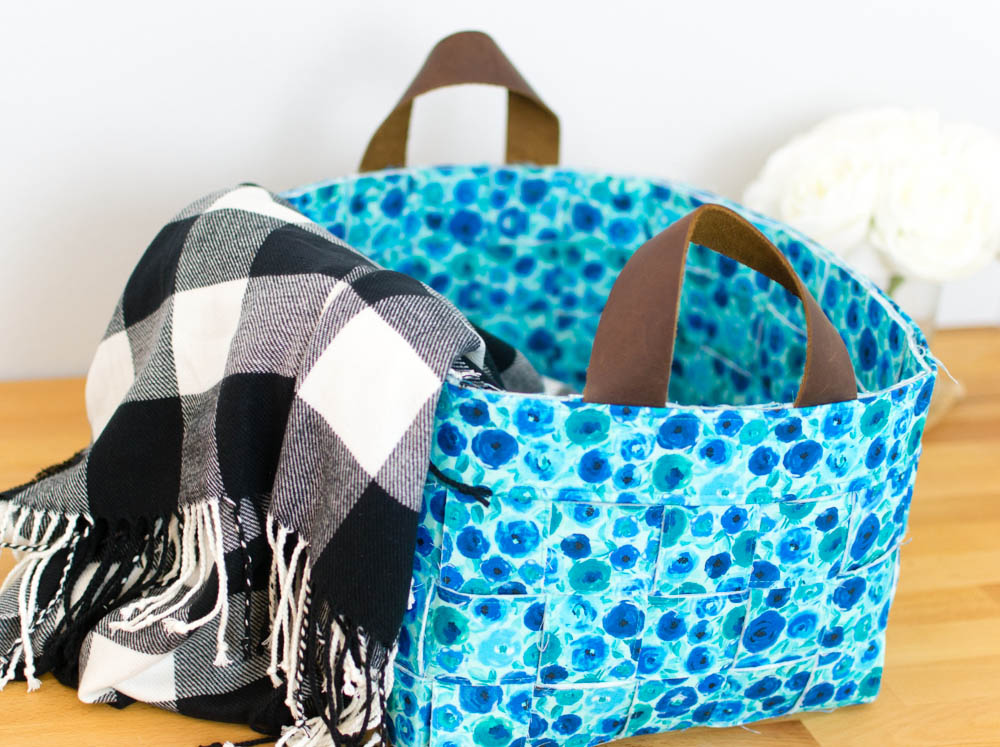
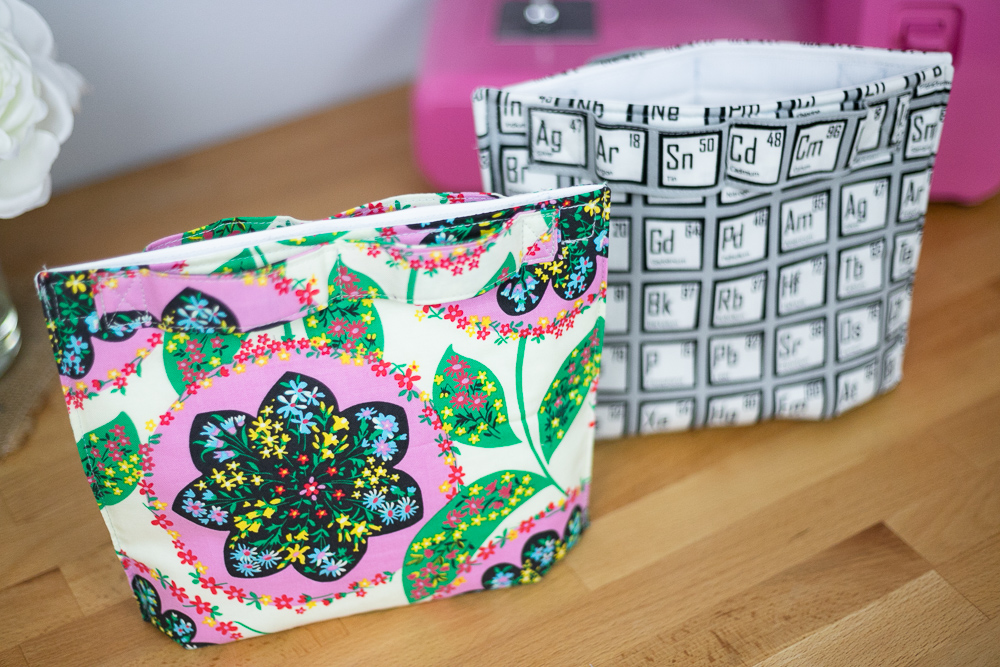
Refer to the pictures at the top for using them in your Miracle Caddy!
If you like this tutorial, you’ll love my 11 Free Sewing Projects to Make You More Organized.
xoxo,

Featured


Disclosure: some of my posts contain affiliate links. If you purchase something through one of those links I may receive a small commission, so thank you for supporting SewCanShe when you shop! All of the opinions are my own and I only suggest products that I actually use. 🙂