How to Use Fusible Quilt Batting to Baste a Quilt

Fusible quilt batting is amazing for basting your quilt if you don’t want to use pins or basting spray. Have you ever wondered why so many quilters love it? Is it really such a big timesaver? Yes, it’s fast and easy and it’s what I use for all my quilts that are about 50’’ or smaller. Let me answer all your questions and show you how to use fusible batting!

My favorite batting for quilts around 50’’ wide or smaller is always the fusible kind. Why only 50’’ or smaller? Because if it’s any larger it’s hard to fit it on my ironing board. I’ll show you in the pictures below. If my quilt is larger than my ironing board or if I want to use specialty batting that’s not fusible, then I pin baste.
But first, I’ve seen a few different kinds of fusible batting in quilt shops and online, but I almost always use Hobbs Heirloom Fusible Cotton Quilt Batting. That’s because:
-
It’s a cotton blend – mostly cotton actually. The thickness is comparable to quilts made with non-fusible Warm & Natural batting. If you prefer polyester fusible quilt batting you might like this from June Tailor.
-
It’s fusible on both sides, and I’ve yet to see another cotton or cotton blend brand that is.
-
It’s recommended for both machine quilting and hand quilting up to 4’’ apart. I usually quilt closer than that, but it’s nice to know I don’t have to!
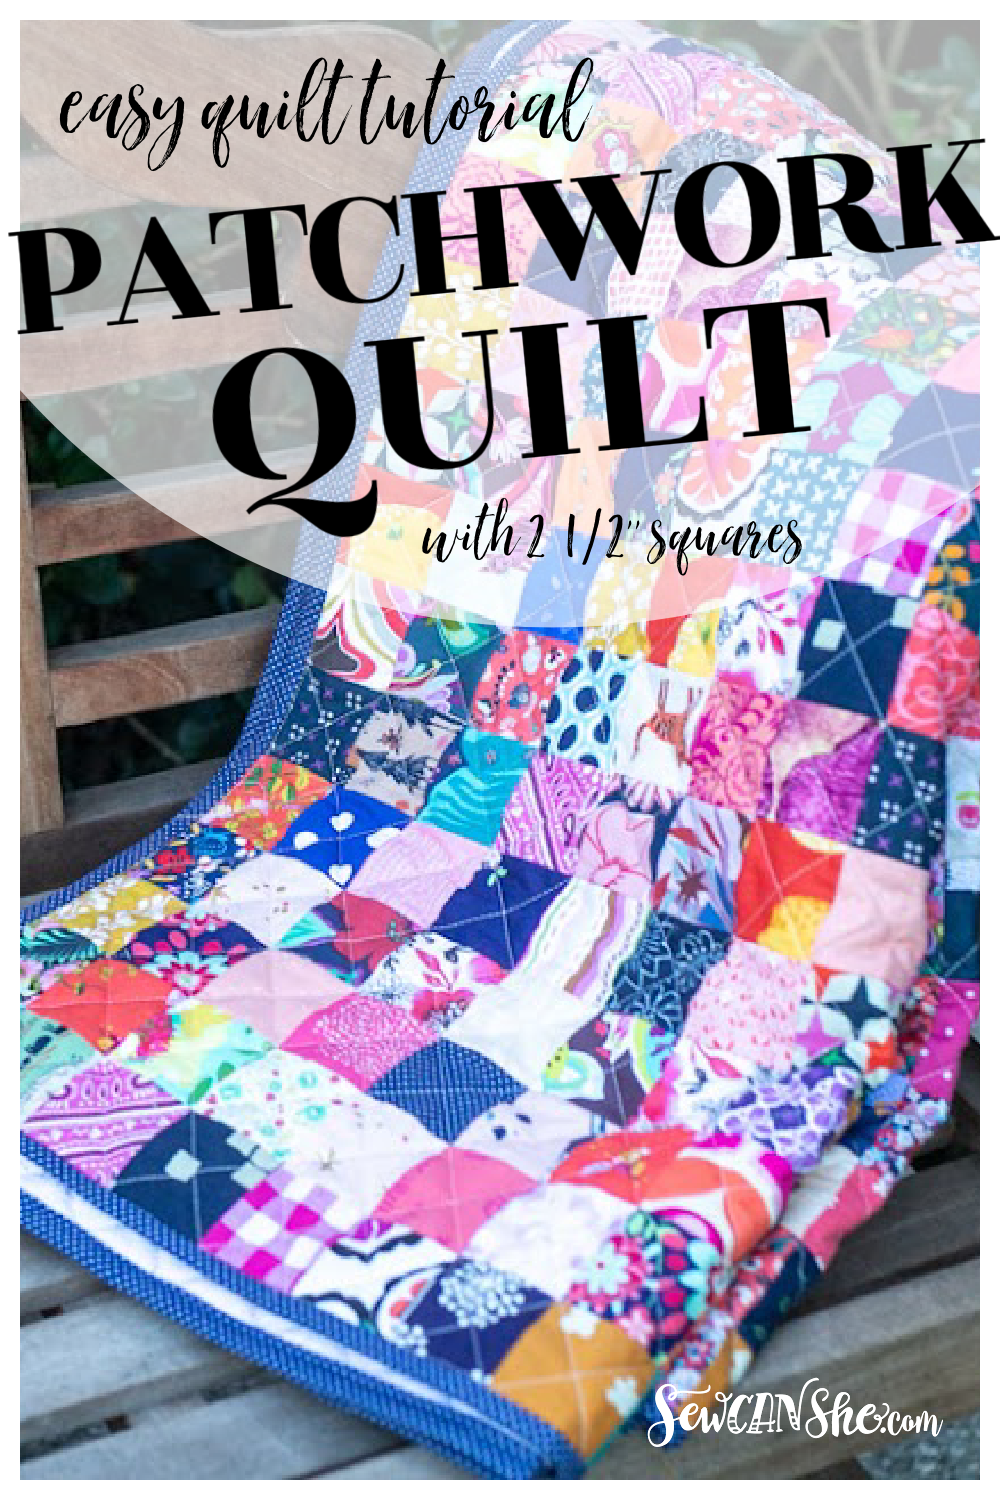
By the way, if you want to try my cute patchwork baby quilt, you won’t believe how easy it is!
So let’s get started basting a quilt with fusible batting!

How to Use Fusible Batting to Baste a Quilt
1. Prepare a quilt backing that is 2-3’’ larger than your quilt all around (so about 4-6’’ taller and 4-6’’ wider).
I normally piece together a quilt backing (or use extra wide fabric) that is much larger than my quilt top. I lay the quilt top over it and cut around it leaving about 2-3’’ of fabric all the way around.
The quilt in the photo above is a baby quilt and my backing is 50’’ wide flannel so it worked out great! All I had to do was cut away the extra flannel.
Tips:
-
Make sure your quilt top and backing are both well pressed. I usually press both my quilt top and backing fabric using Best Press (I recommend pressing with that or your favorite laundry starch).
-
Sometimes it helps to take your batting out of the package and unfold it the day before so the folds start to fade away and it fluffs up.

2. Spread out your fusible batting on your work space and smooth it out. Place your quilt backing piece against the batting wrong side down (if it is solid, there is probably not a right or wrong side). Smooth the backing fabric out on top of the batting until there are no wrinkles, and then cut the batting around the flannel backing piece so they are the same size.
Baste the Quilt Together with your Iron
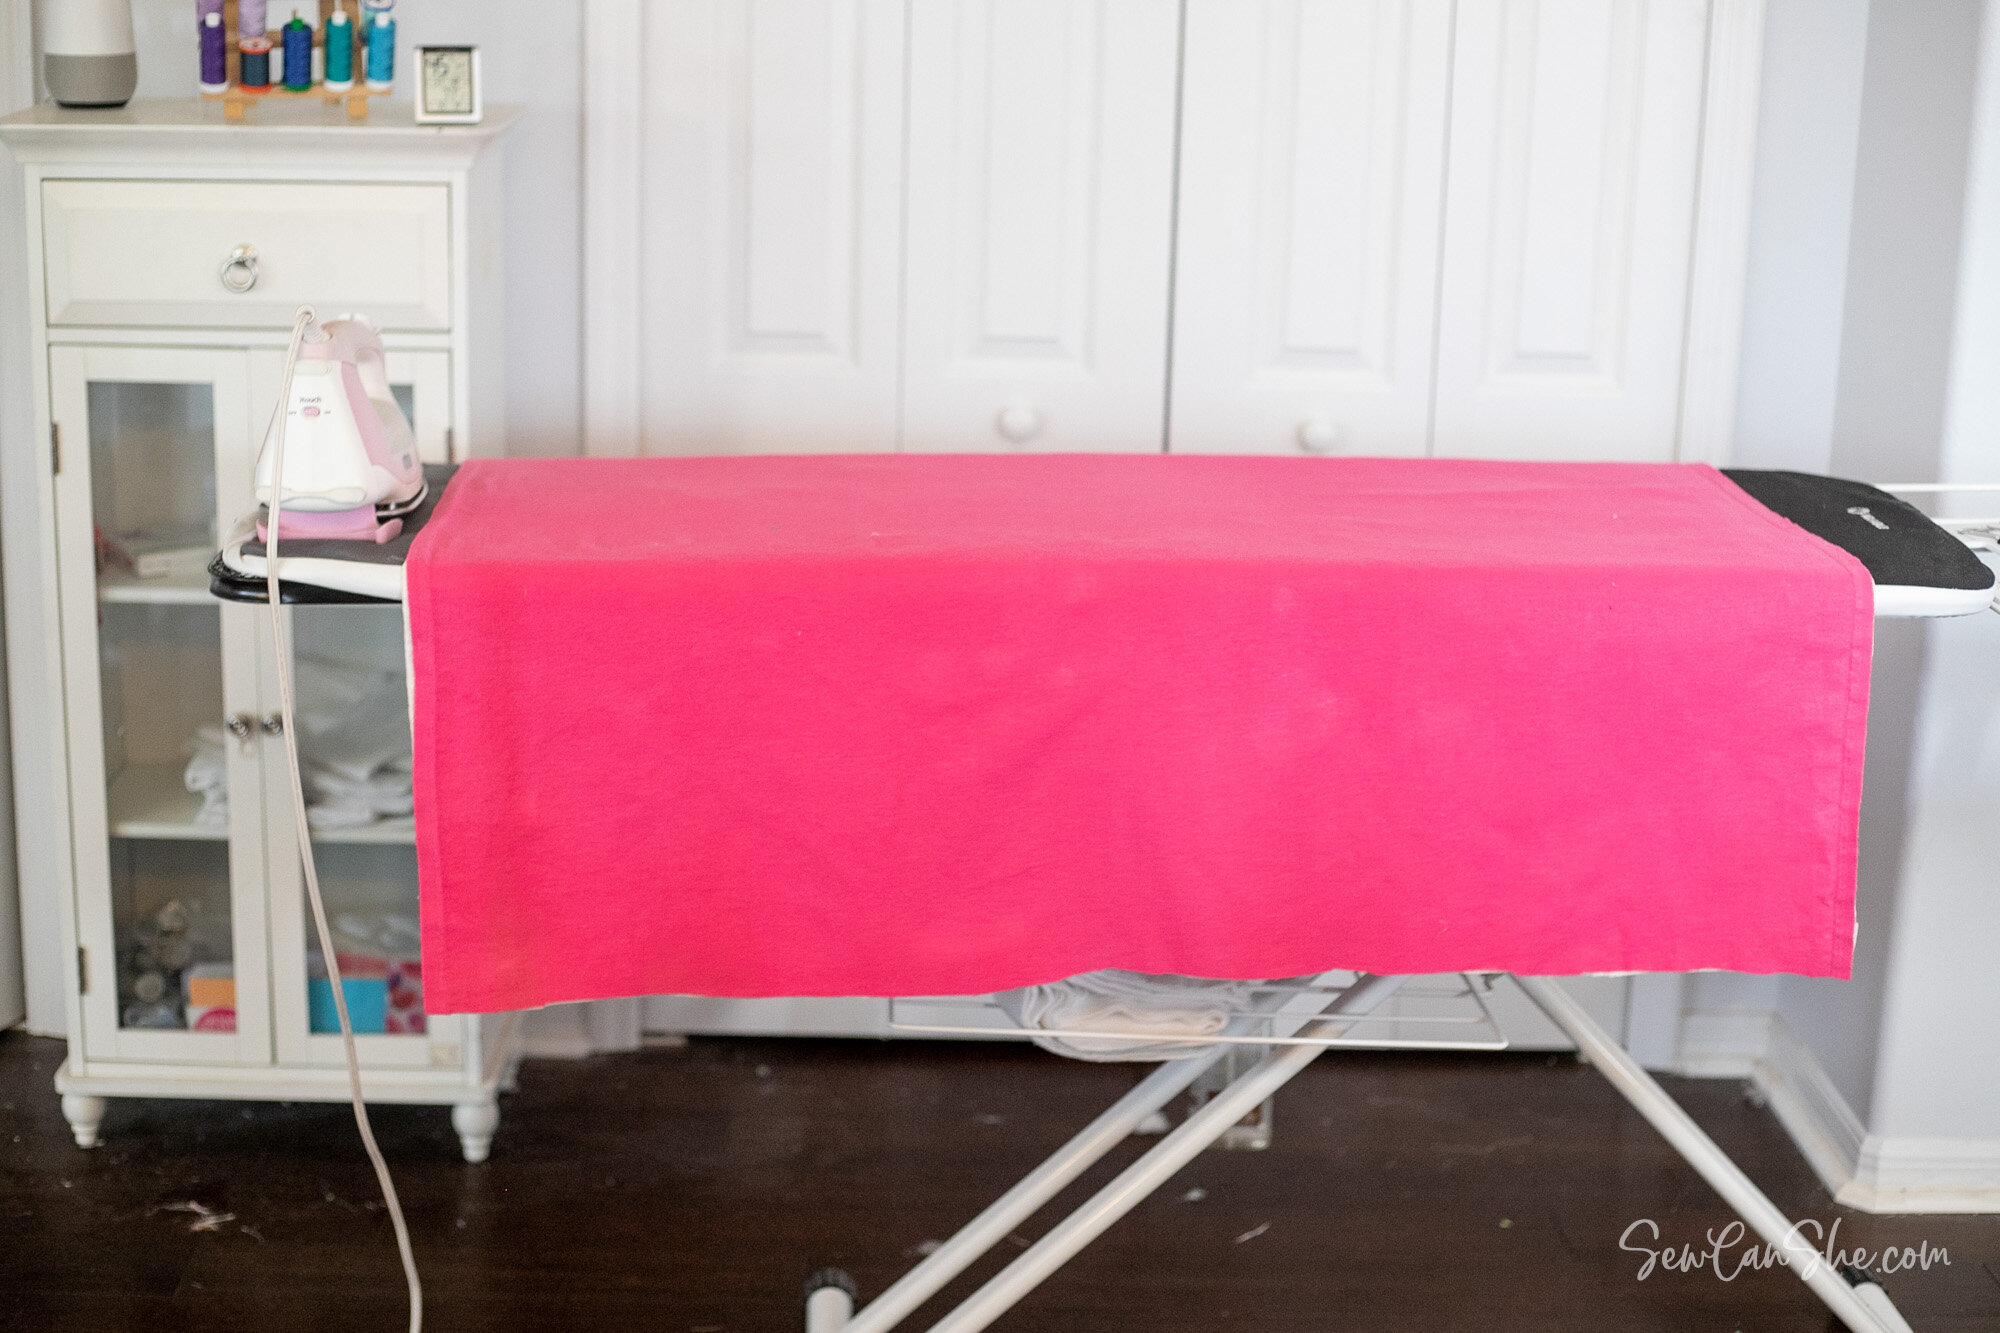
3. Lay the quilt backing and batting (still together) over your ironing board with the center of the quilt ready to press first.
You can see that if the quilt was so large that the sides of the fabric and batting draped over the ironing board, it would be difficult to keep the layers from shifting while you are fusing them together. I’m not saying it can’t be done! But when I’m making quilts larger than my ironing board, I usually stick with pin basting so I don’t have to worry about the basting coming apart halfway through quilting.
Note: the manufacturer of this batting (Hobbs) suggests that you can sandwich all three layers (quilt top, batting, and backing) together before pressing. I have found that it’s easier to achieve a smooth surface on both sides if I lightly press the batting to the backing first, and then add the top.
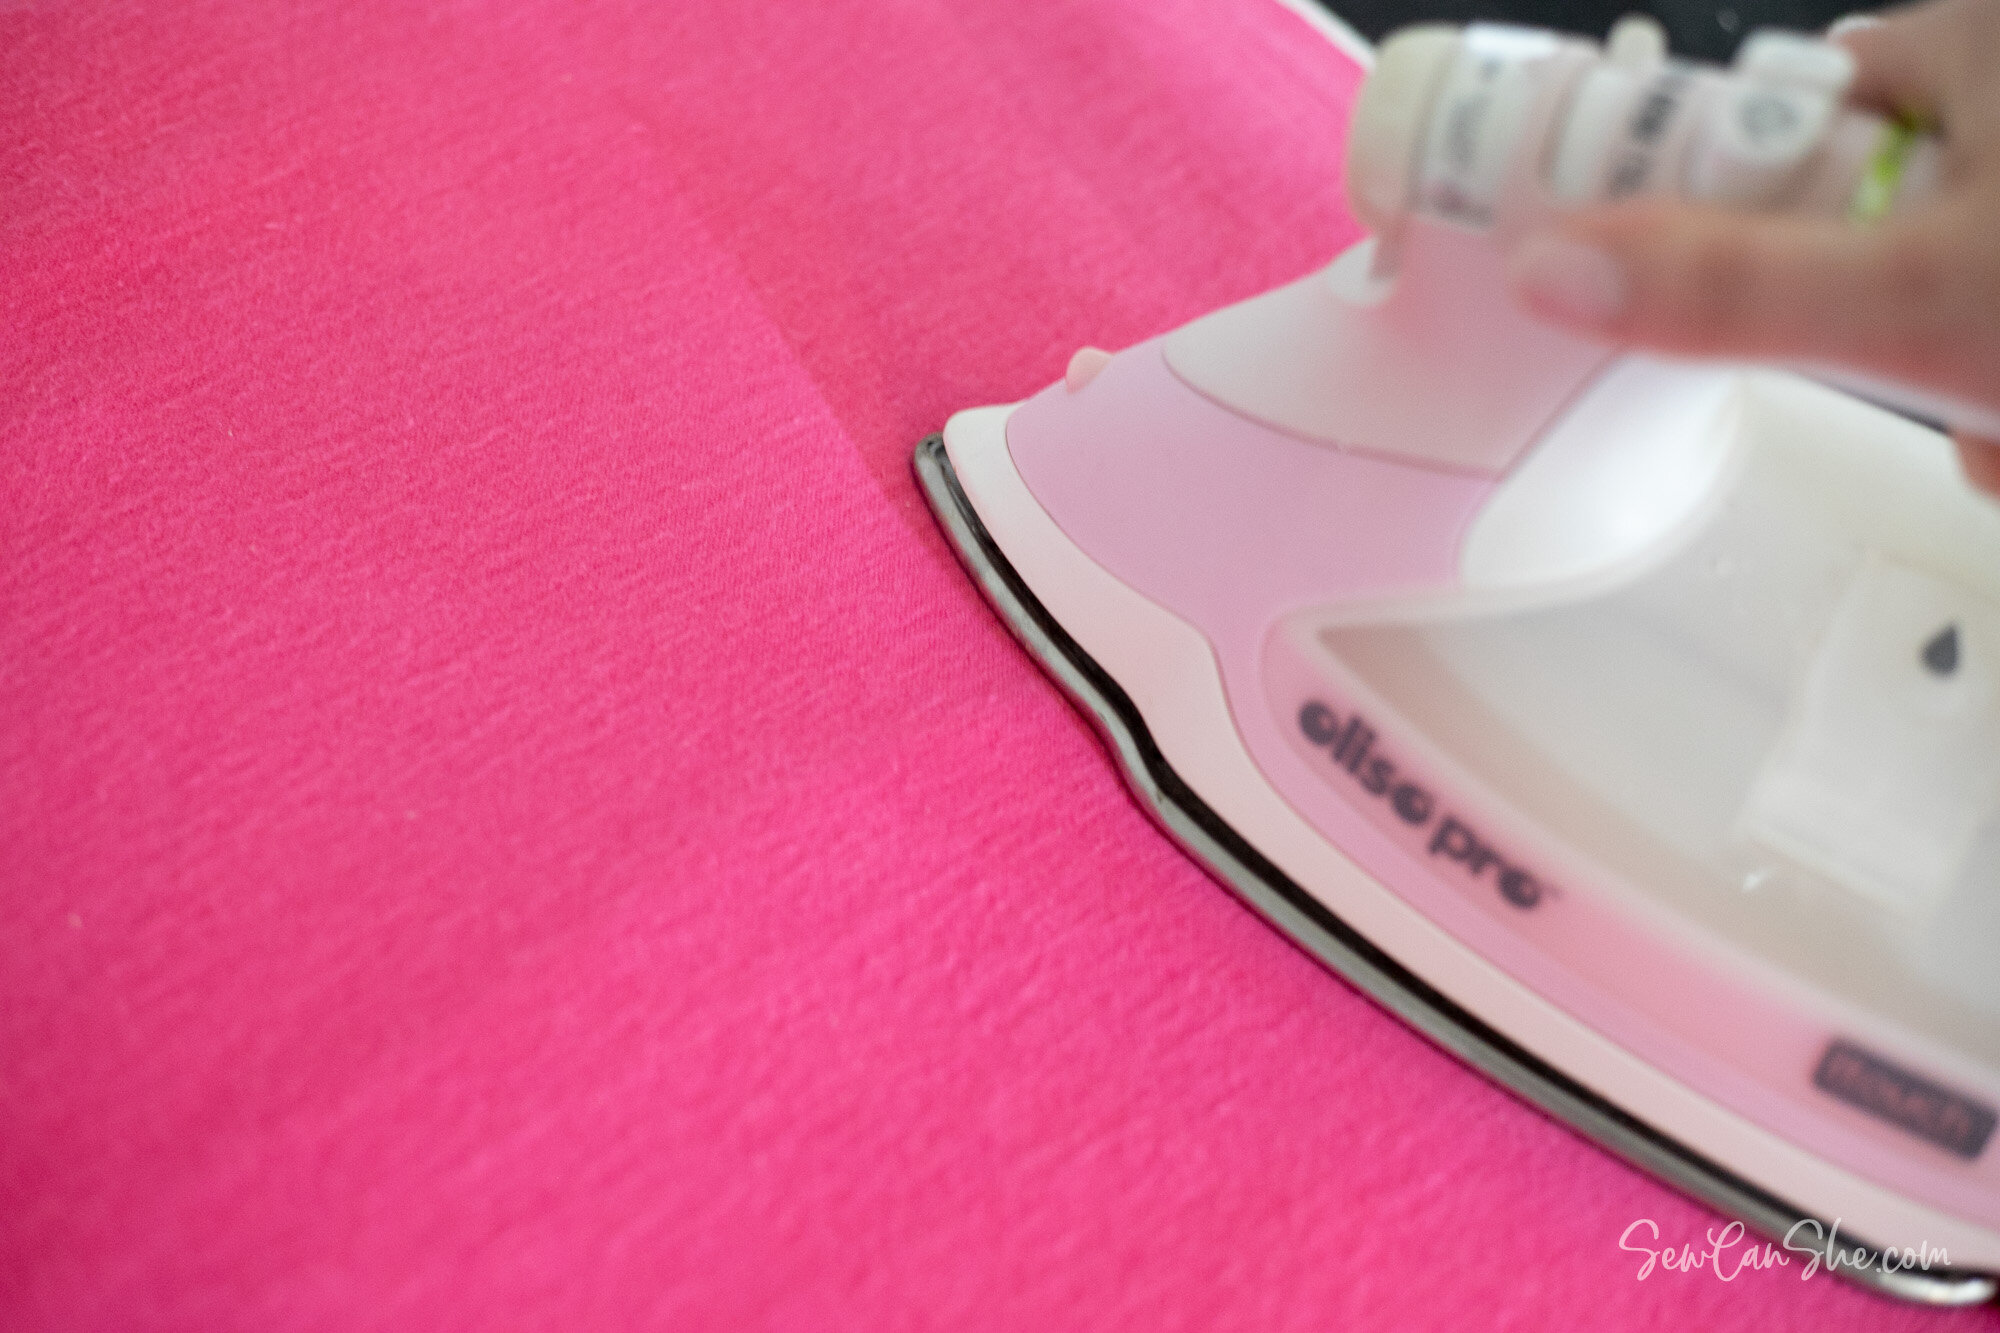
4. Using a hot iron and steam, press the backing and batting together section by section, starting at the center and first moving out to the sides. Then move your batting and backing to a different section and press the center and then the sides. Continue until the entire backing piece is fused to the batting, especially the side edges and corners.
Tips:
-
When pressing the batting and backing together, you don’t want to fuse them to your ironing board, so only press for 3-4 seconds in each spot. If they start to stick to your board, peel them up and press for less time.
-
Fusible batting works best when you press with an up and down motion instead of ironing with a sliding motion.

3. Move the batting and backing to your work space and center the quilt top on the other side of the batting, right side up. Smooth it out completely until there are no wrinkles.
Move it to your ironing board so you can start pressing at the center as before.
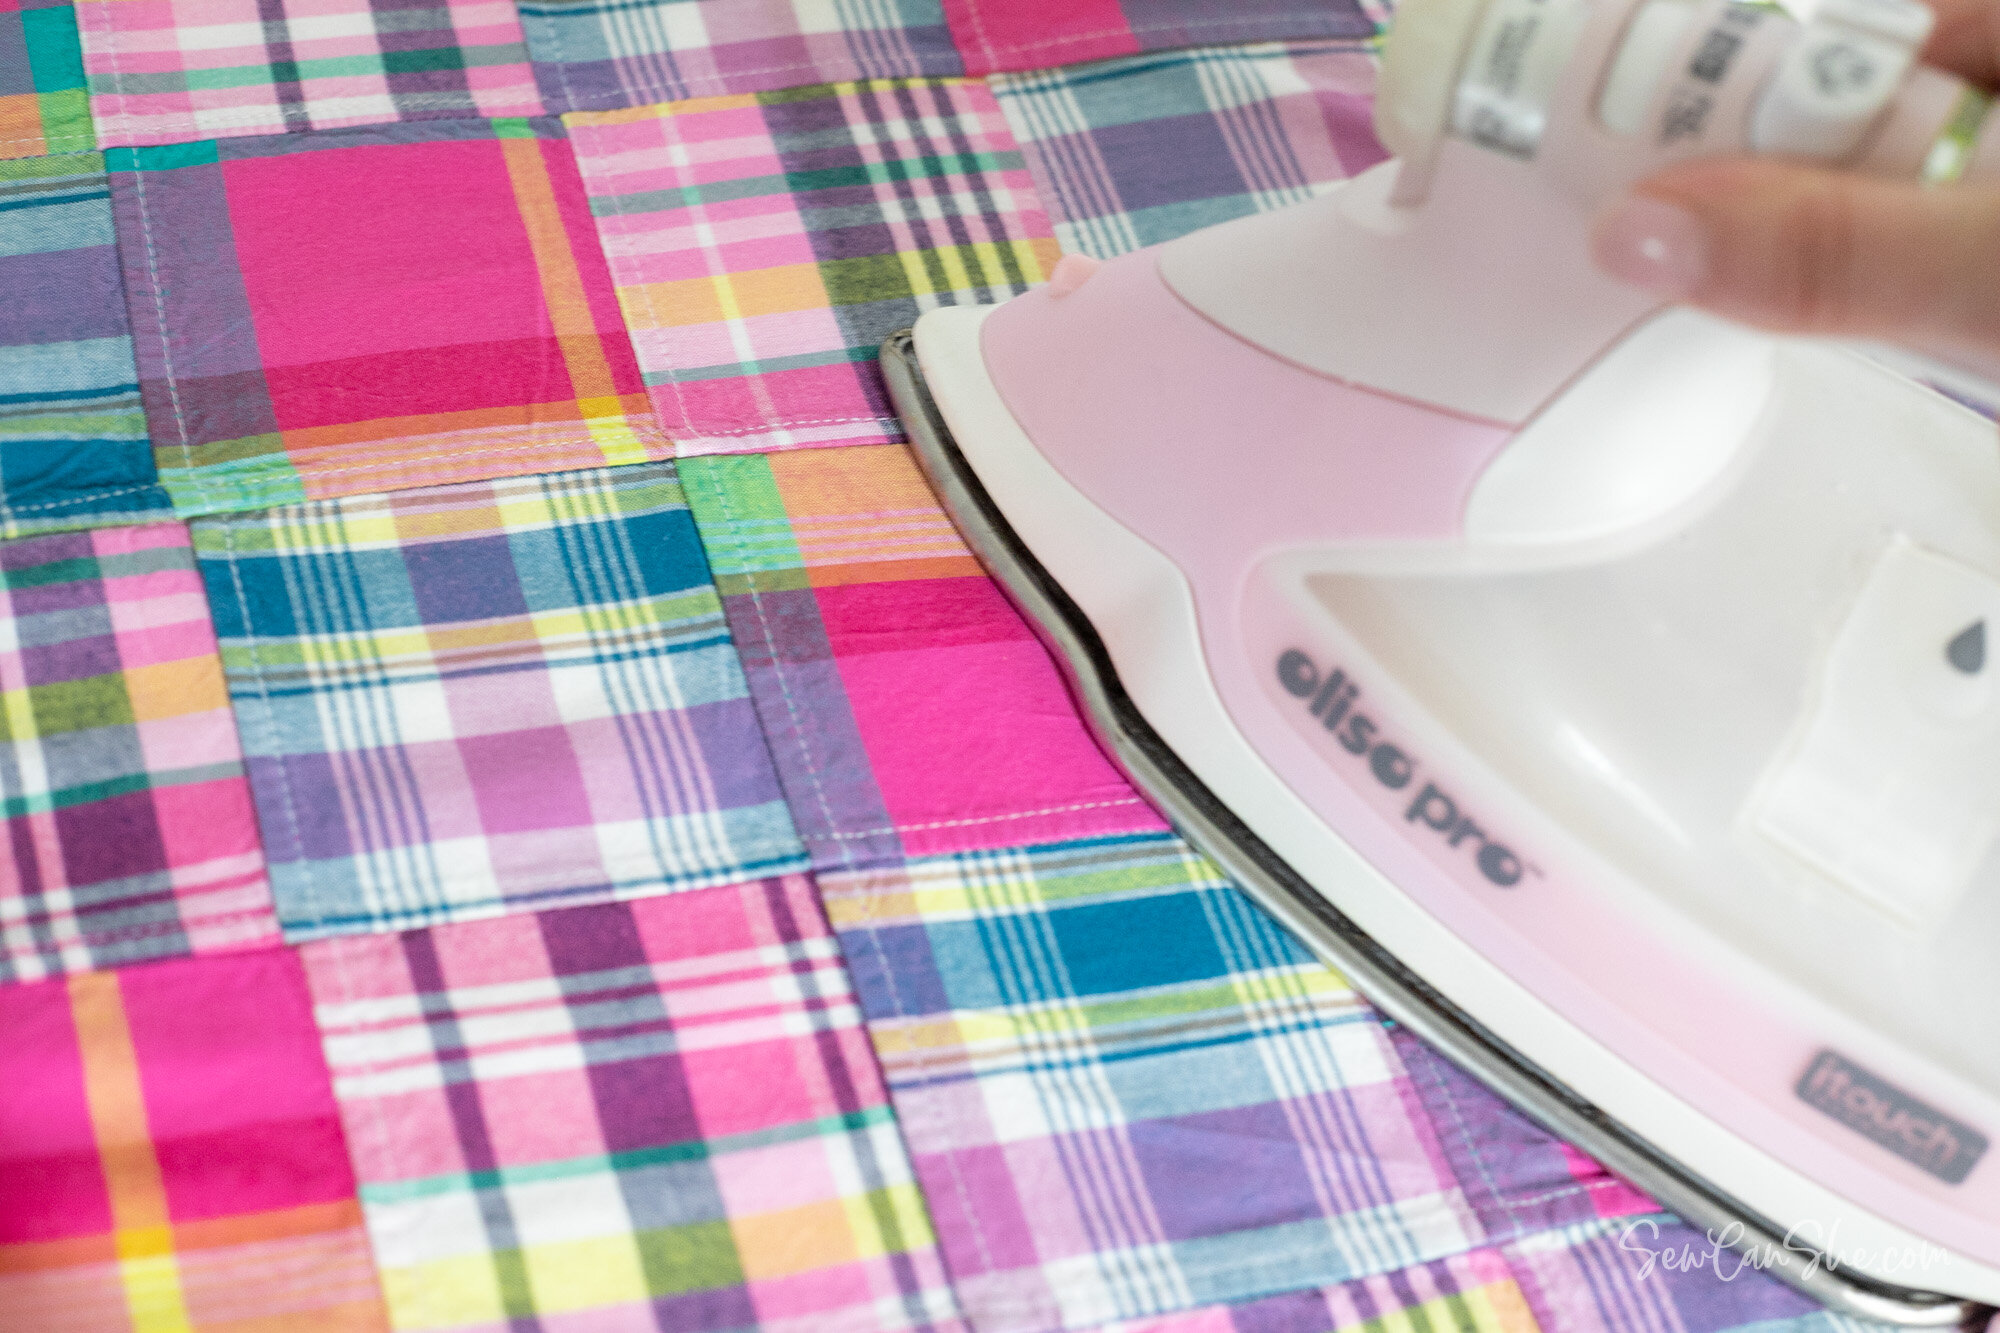
4. Press to fuse the quilt top to the backing. This time, press with the iron for 5-10 seconds in each spot, using lots of steam until the quilt top is securely fused.
Turn the quilt over and press the back again, if it needs it. Sometimes I turn it over and press both sides a few times until my quilt is completely smooth and fused.

I also place pins at the corners just in case they start to come up with all the shifting around that will occur during quilting.
Now it’s time for quilting! See how to quilt a cross hatch design here.

After quilting, trim and square up your quilt and it’s time to bind.

Here’s my favorite all-machine quilt binding method.
Happy Sewing,

Disclosure: some of my posts contain affiliate links. If you purchase something through one of those links I may receive a small commission, so thank you for supporting SewCanShe when you shop! All of the opinions are my own and I only suggest products that I actually use. 🙂


