Quilt As You Go (QAYG) Strip Quilt! free sewing tutorial with videos

Make a strip quilt and quilt it as you go (QAYG) so by the time the quilt top is done, the back and quilting are done too, and you are ready for binding!
Please note, this QAYG technique and tutorial are in video format. If you must have something to print, just hit CTRL+P on your computer to print this post.
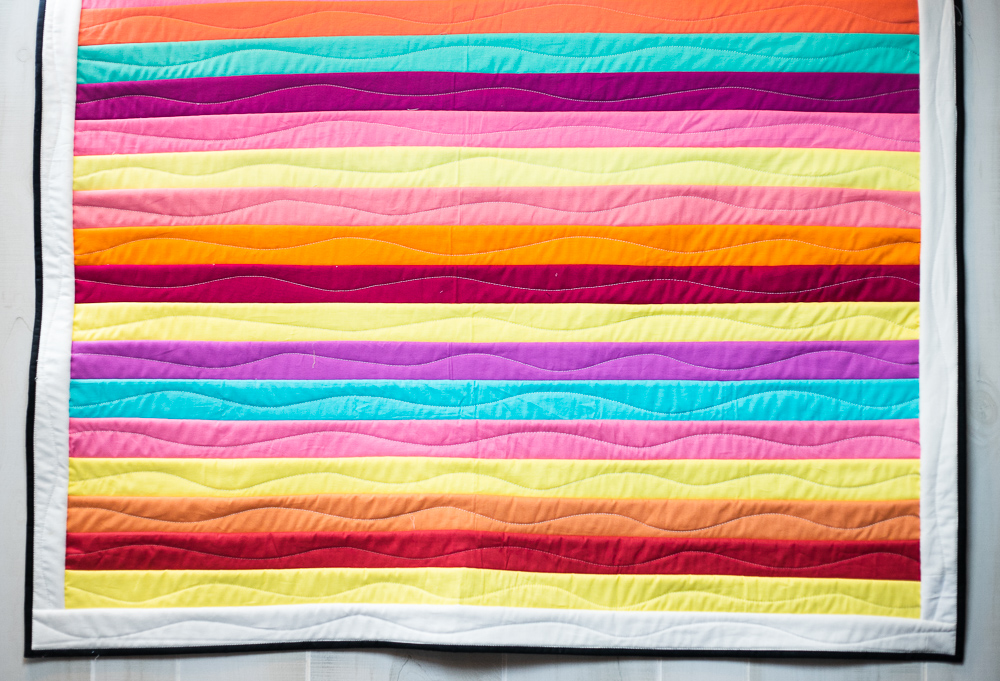
This is another version of the same strip quilt that I sewed with solid strips on the front and print strips on the back.
I love how fast and easy this quilt is to make – it’s perfect for beginners or experienced quilters who want a super quick quilt project.
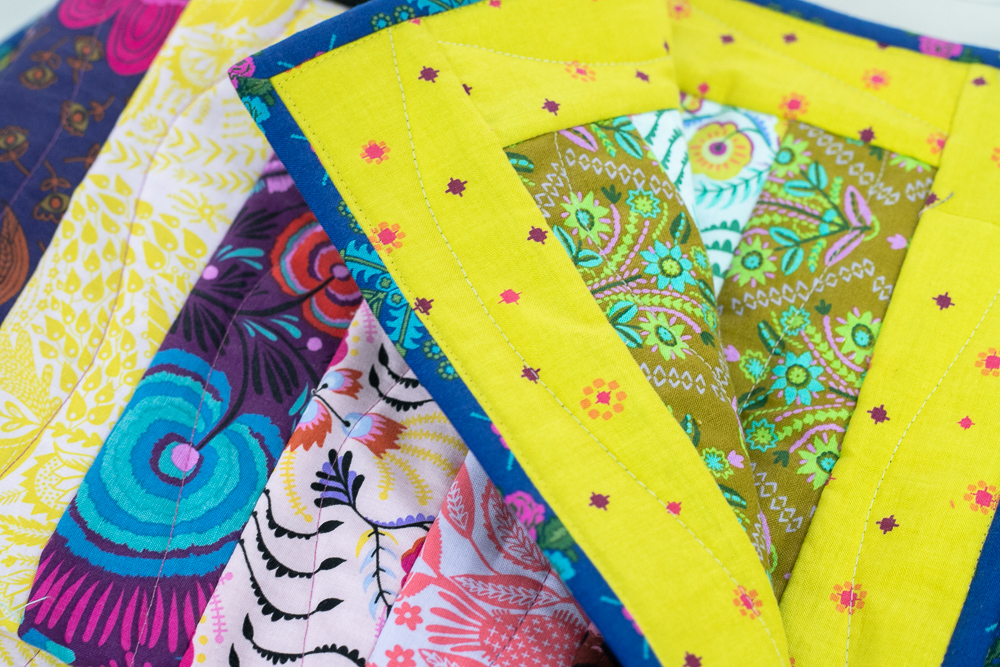
reversible quilt front

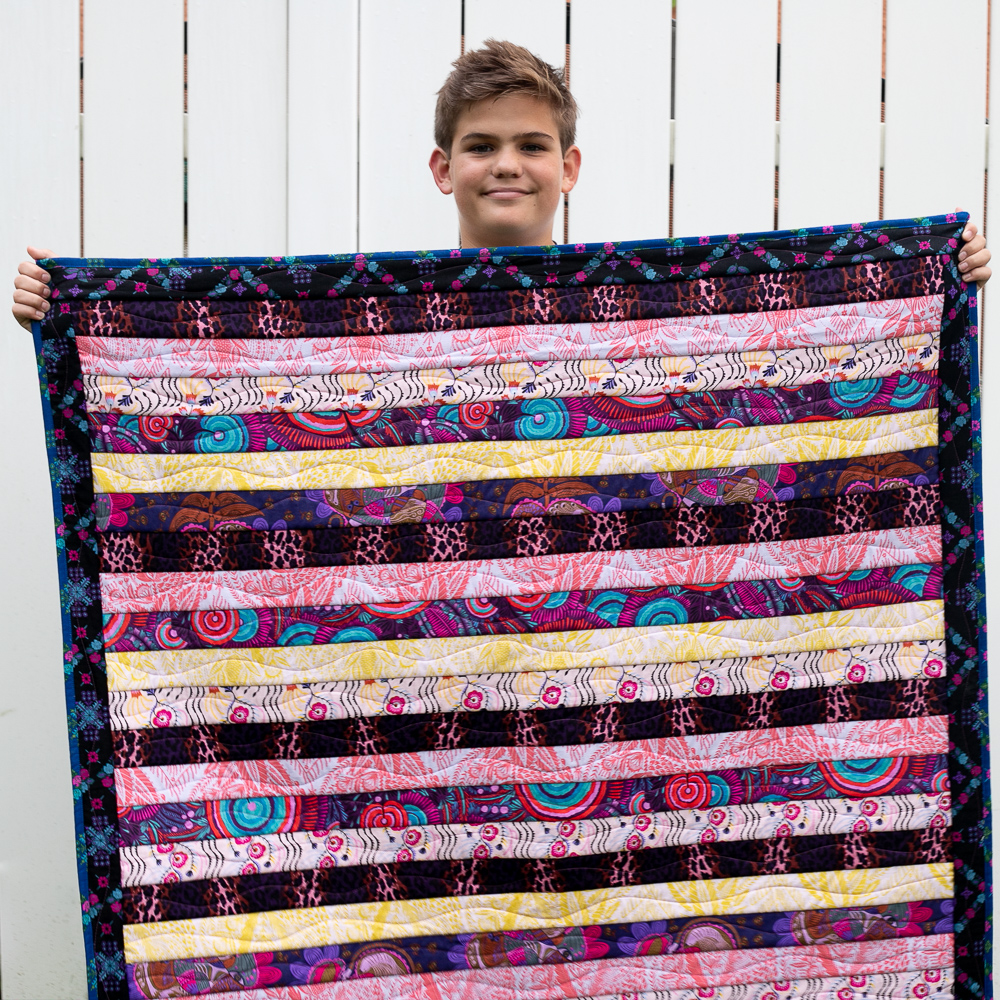
reversible quilt back
And it’s reversible! The back of the quilt is the same design.
You can play with 2 different color ways like I did above, or solids and prints, or brights and pastels – your options are endless.
My finished quilts are approximately 45’’ x 50’’. It would be easy to make this quilt pattern longer by using more strips in the center. You could also make it bigger overall by adding more borders around the edges.

How to Sew a QAYG Strip Quilt (free tutorial with videos)
You will need:
-
24 strips of fabric for the front of the quilt (center) – 2 1/2’’ x 42’’
-
24 strips of fabric for the back of the quilt (center) – 2 1/2’’ x 42’’
-
5 strips of fabric for the front of the quilt (border) – 2 1/2’’ x 42’’
-
5 strips of fabric for the back of the quilt (border) – 2 1/2’’ x 42’’
-
5 strips of fabric for the quilt binding – 2 1/2’’ x 42’’
You will also need:
-
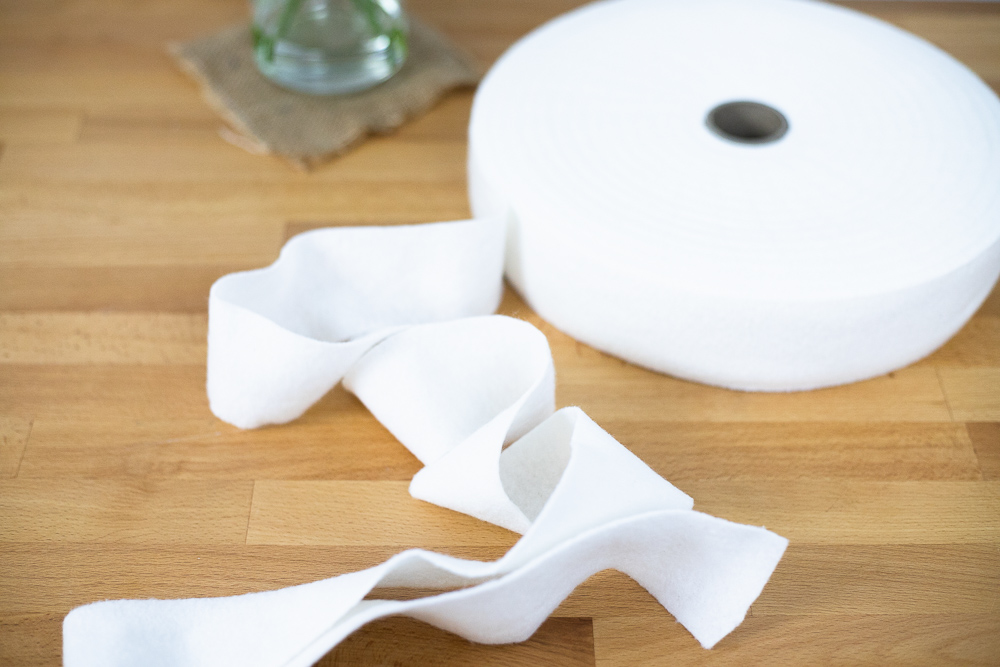
1 pkg of 2 1/4’’ wide pre-cut batting on a roll (you will have some leftover) OR
-
about 1 1/2 yards of 60’’ wide batting (you will also have some leftover, but buying 1 1/2 yards means that you can cut strips that are 42-45’’ long, instead of only 36’’ long strips) OR
-
Trim a lot of batting scraps into 2 1/4’’ wide strips (we all have leftover batting strips!)
Note: If you want to use jelly roll bundles of pre-cut 2 1/2’’ wide strips, you will need 2 jelly roll bundles. Instead of buying pre-cut fabric strips for this project, I bought a 1/2 yard bundle and used my Accuquilt Go fabric cutter and 2 1/2’’ strip cutting die to cut the exact number of strips that I needed.
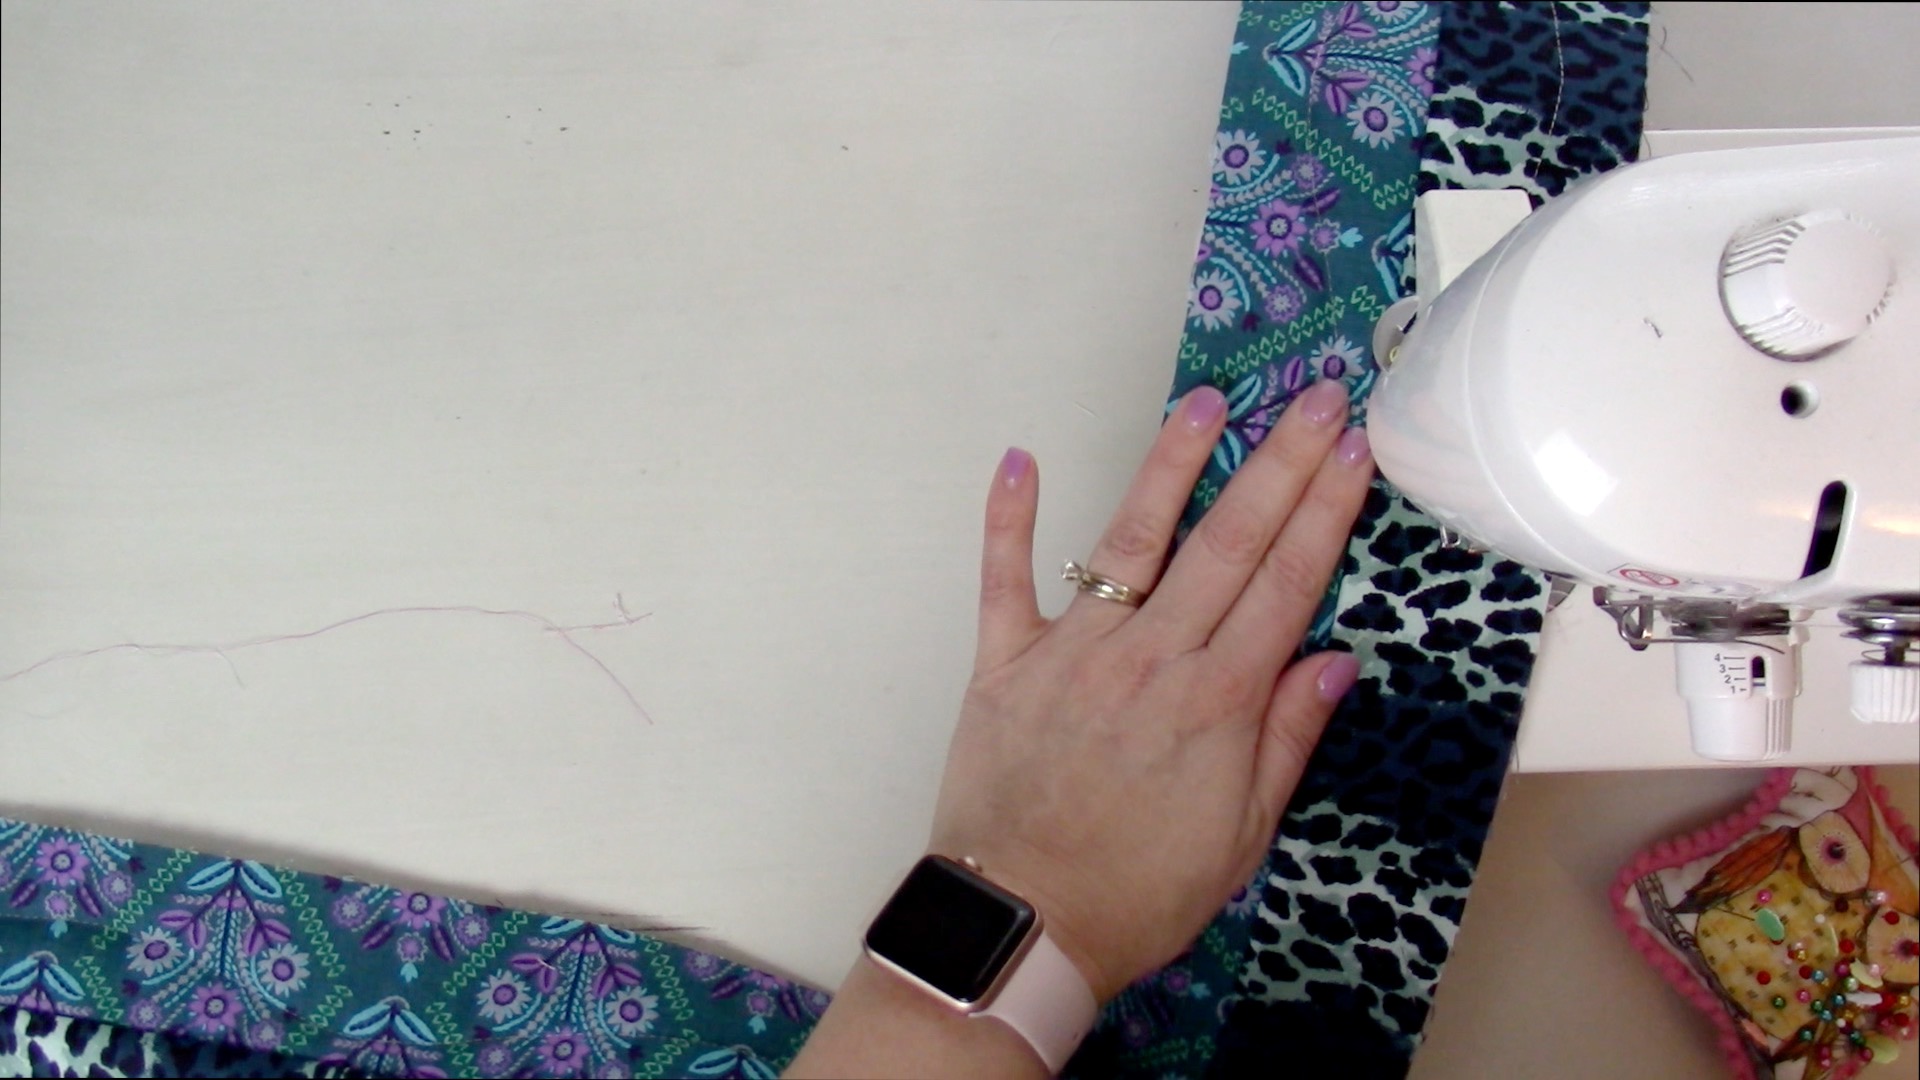
Make Strip 1 – (see video above)
Sandwich a 42-44’’ long strip of batting in between one front-side-strip and one back-side-strip, with the wrong sides of the strip against the batting.
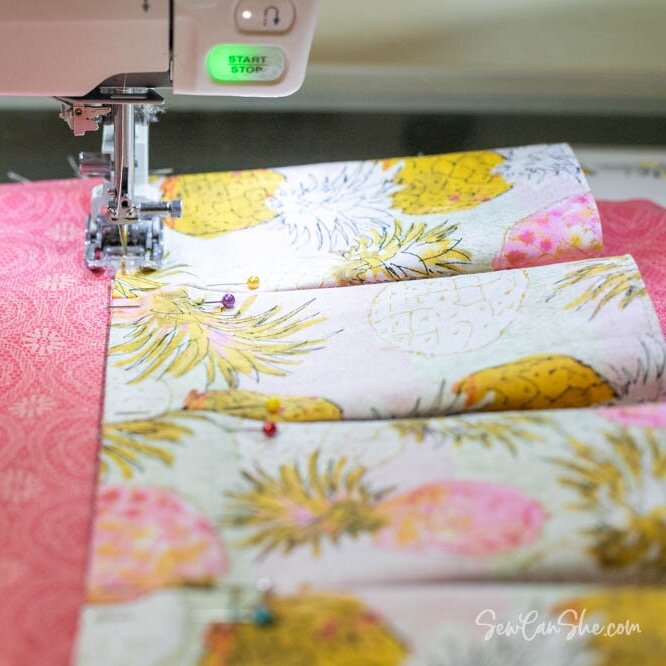
Using a walking foot on your sewing machine (highly recommended), sew one or more lines of quilting along this strip. I just sewed one wavy line, but if you want to mix it up with straight lines, angled lines, or free motion quilting, go ahead! The purpose is to quilt these pieces together.
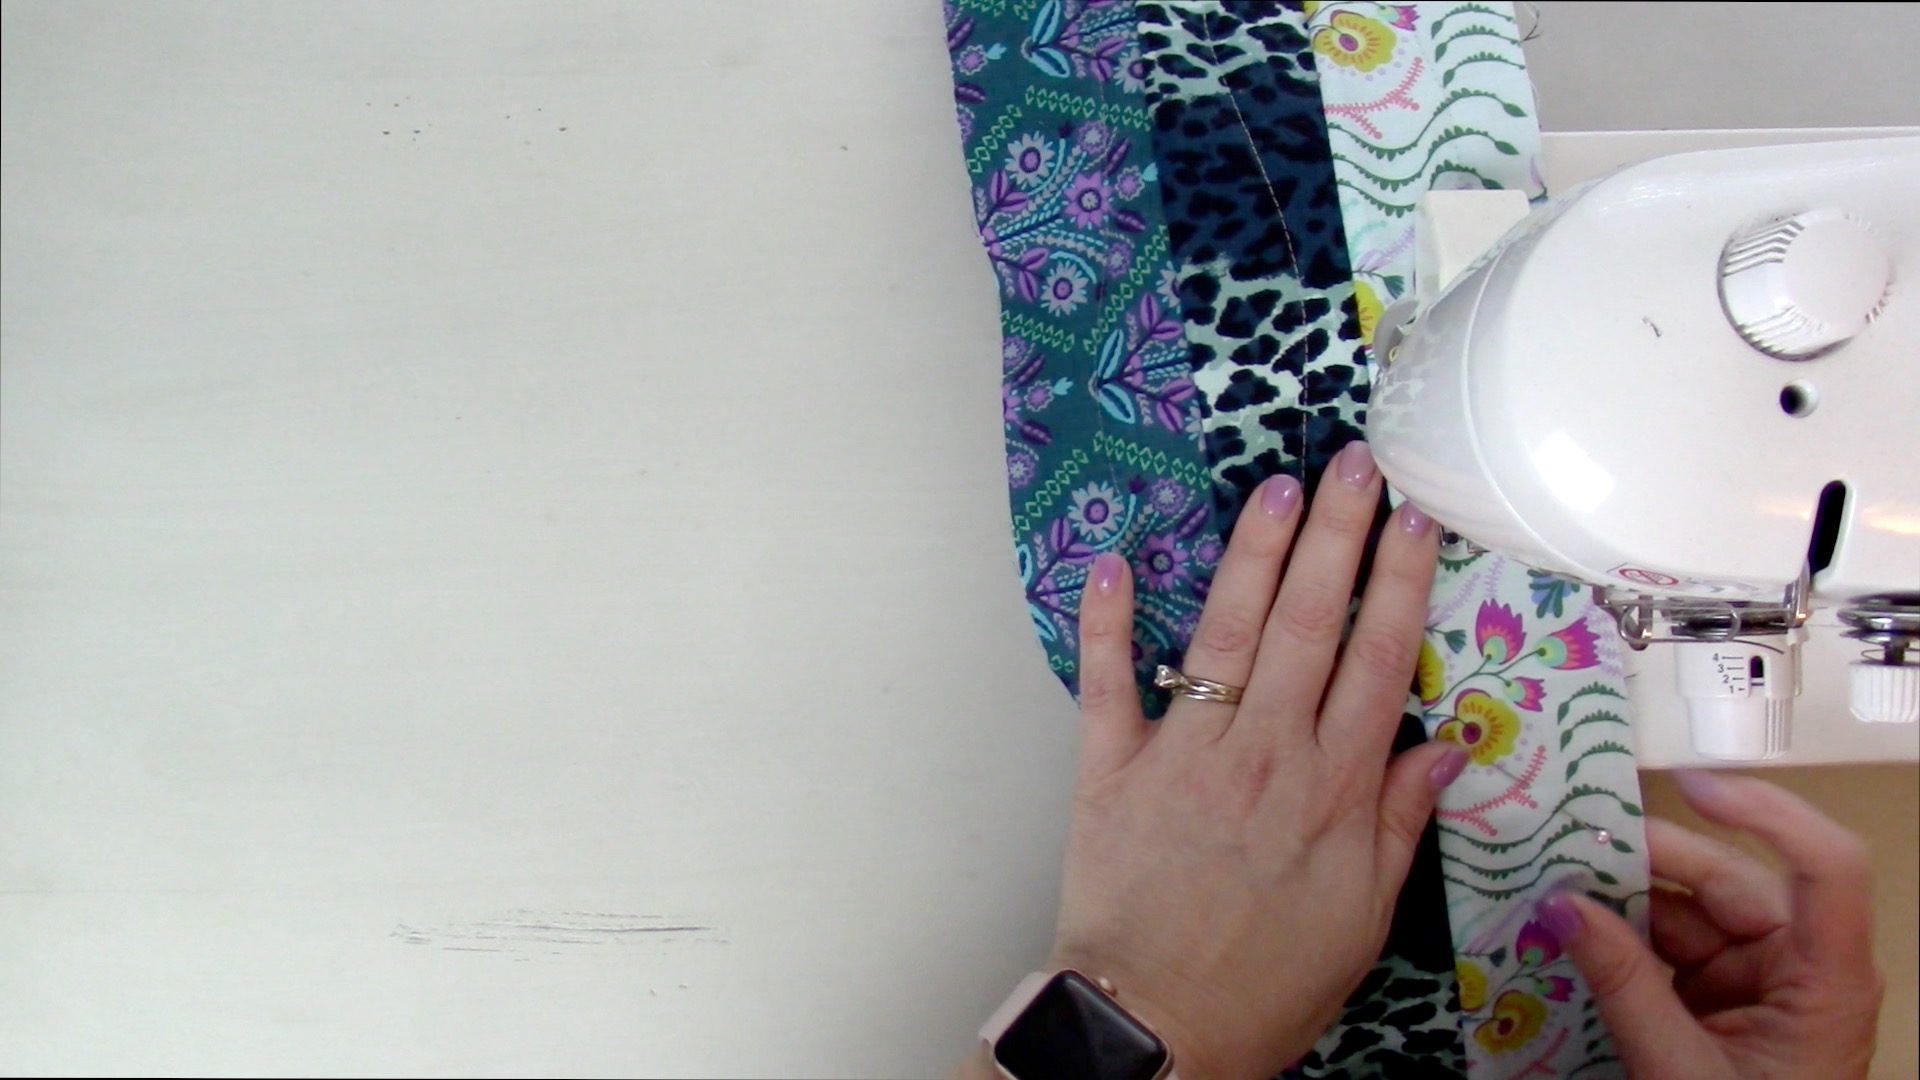
Sewing Strip 2 – (see video above)
Place a back-side-strip against the back of your quilted piece (right sides together) and a front-side strip against the front of the quilted piece (right sides together. Line up the edges on the right side. Center a 42’’-44’’ strip of batting on the wrong side of the front-side-strip.
Pin all 6 layers together.

Sew with a 1/4’’ seam allowance.
Quilting Strip 2 – (see video above)
Open up the front side strips and press (or finger press the seam on the front.
Flip the piece over and press (or finger press) the seam on the back. Pin the new strips together with the batting sandwiched in between.
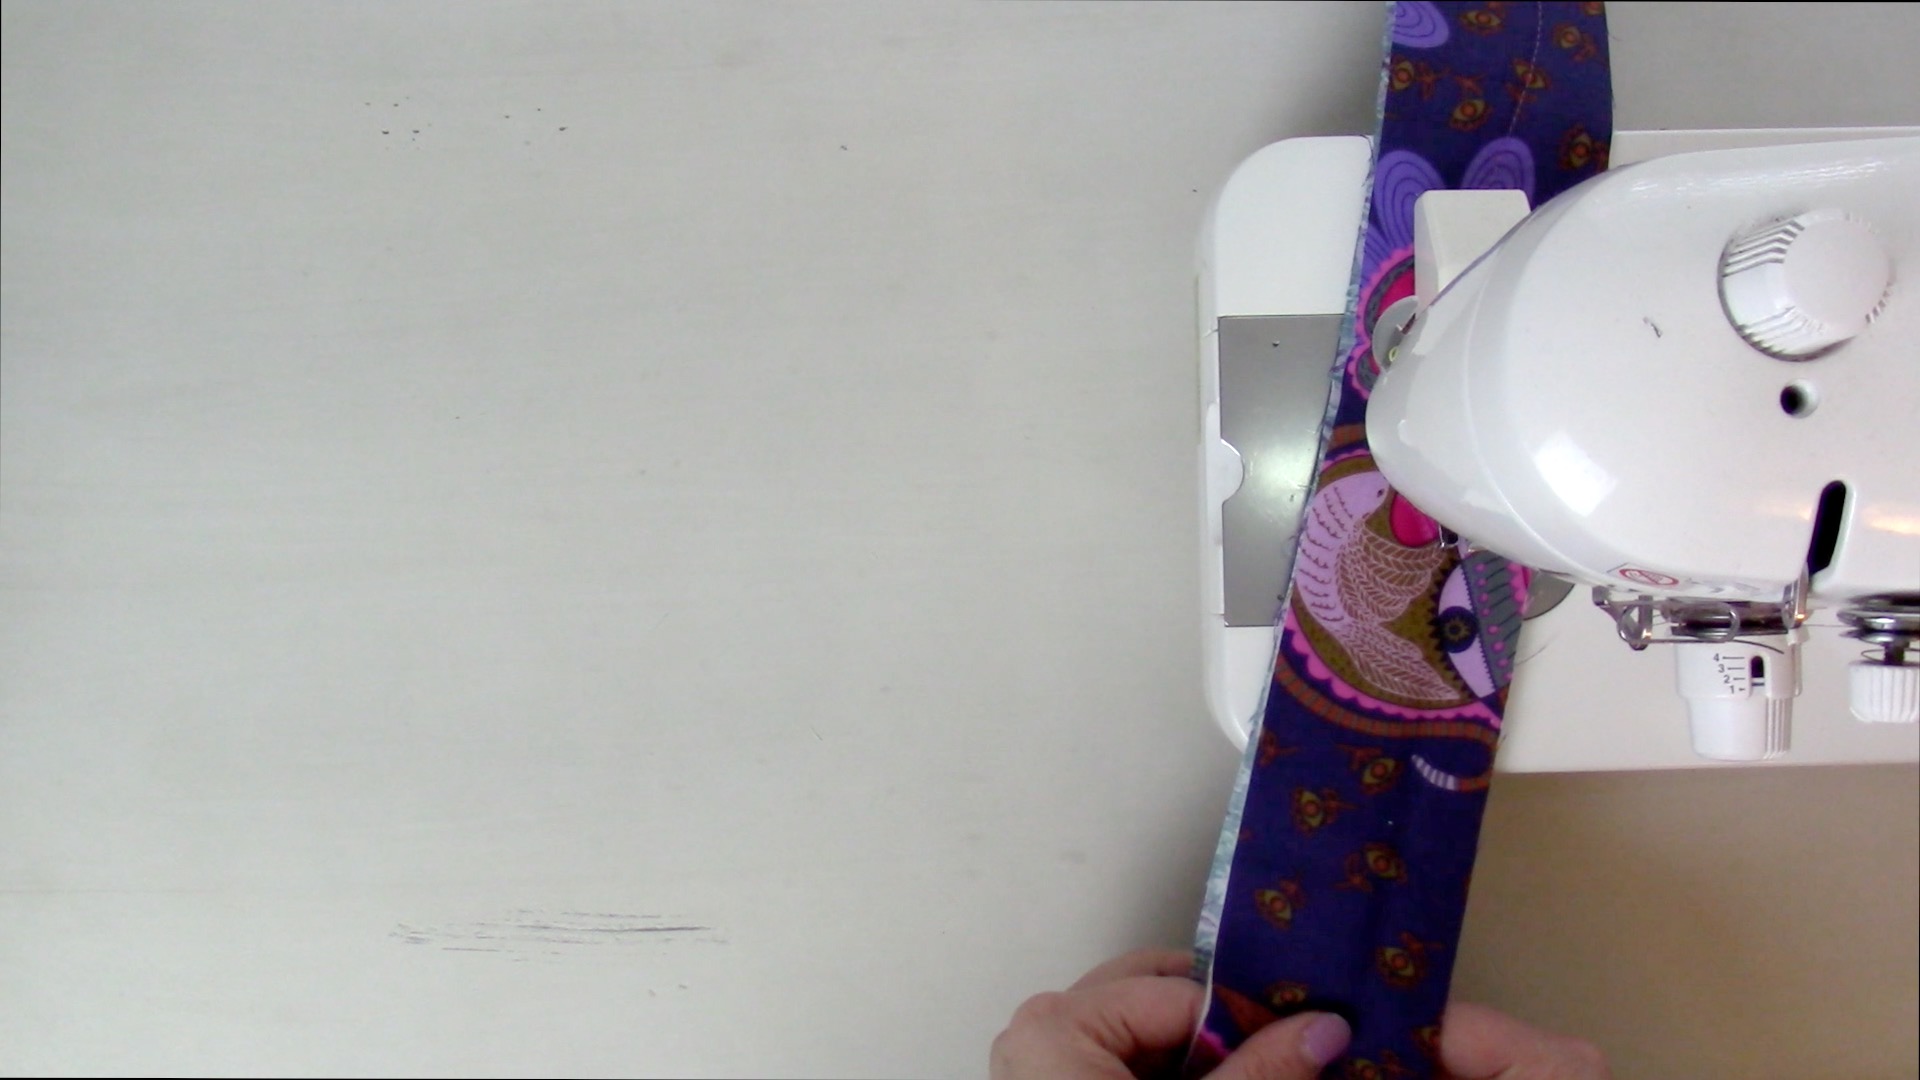
From the back side of the quilt, sew one or more lines of quilting along the new strip.
Sew and Quilt Strip 3 – (see video above)
Add 2 more fabric strips and one batting strip to the most recently sewn strips as before. Pin and stitch with a 1/4’’ seam allowance.
Open the strips, press (or finger press), pin together, and quilt as before.
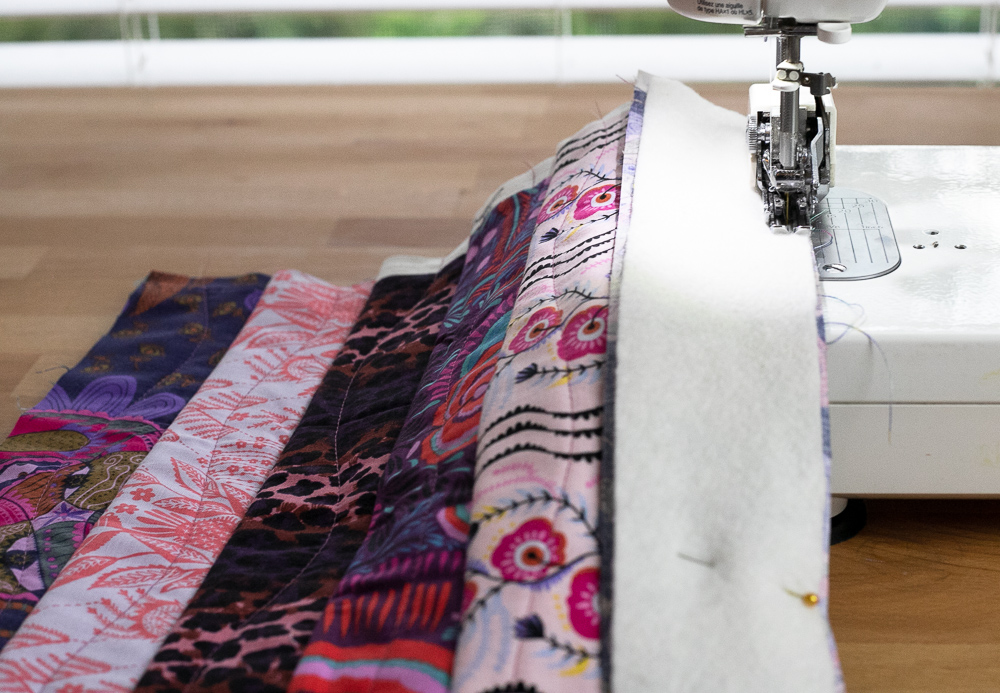
Continue the steps for sewing and quilting Strip 3 until you have 24 strips on the front and 24 strips on the back.

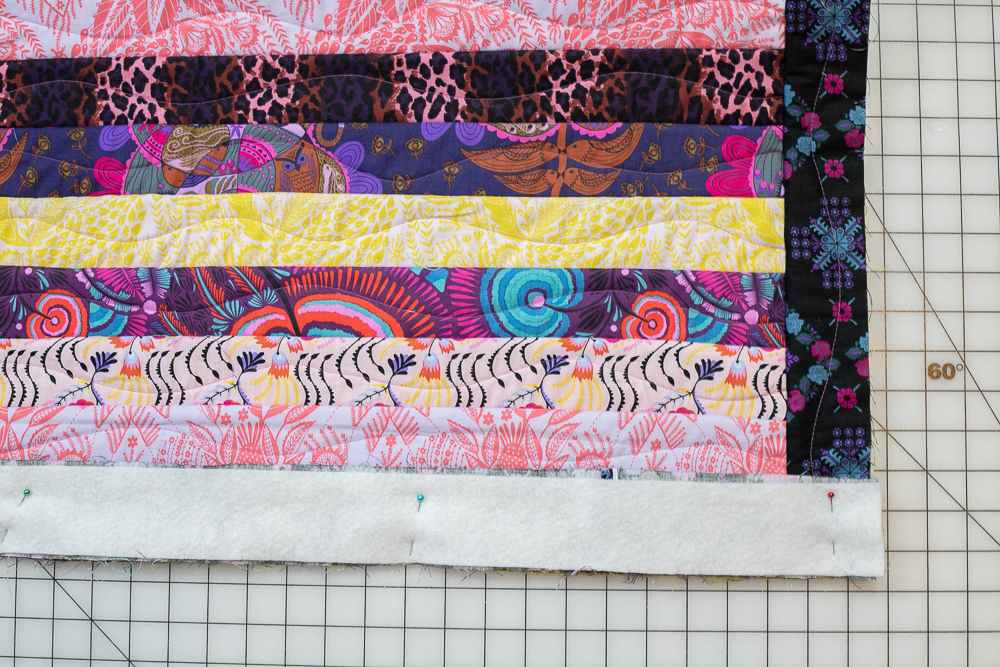
Trim the Side Edges of the Quilt
It is easier to trim the sides if you fold the quilt in half horizontally as seen above.
Use a long ruler and rotary cutter to trim away the selvages (if they were left on) and even up the side edges of the quilt.
You may need to trim more or less than I did depending on how evenly sewn the strips were.
Add the Border Strips
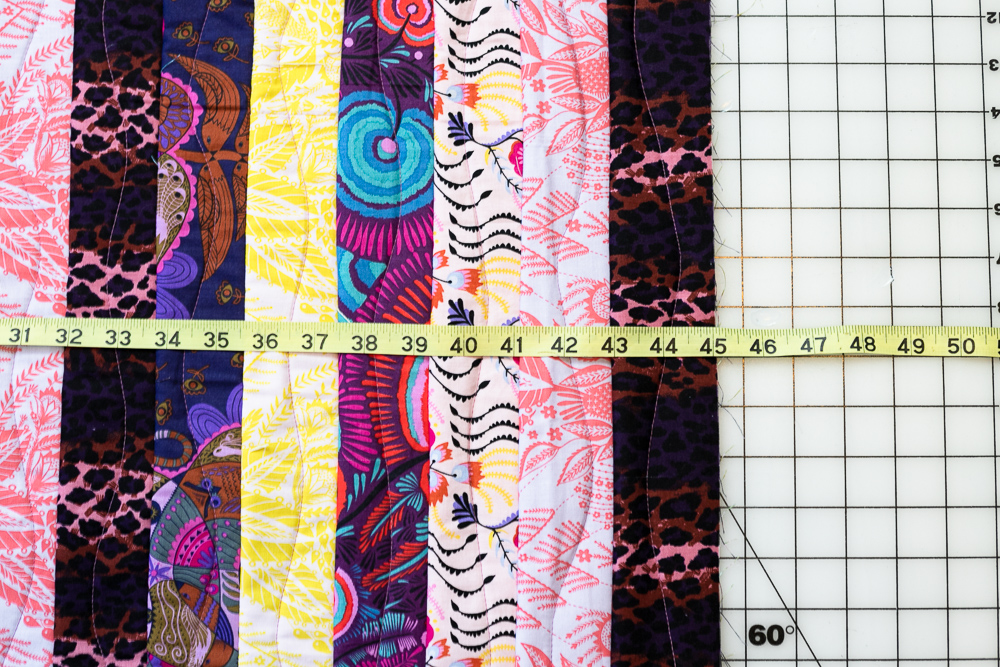
Measure the height of the quilt in the center. It may vary a lot depending on your seam allowances and quilting. You can always add more strips at this point if you wish.
Measured in the center, my quilt was 45’’ tall so far.
Piece together 2 strips for the front border and 2 strips for the back border the same length as the center of the quilt that you just measured. Cut batting strips this length also.
Tip: Sew together all 5 of your strips for the front border and then all 5 strips for the back border. You will now be able to cut all 4 of your front and back border pieces from these long strips (with a bit leftover).
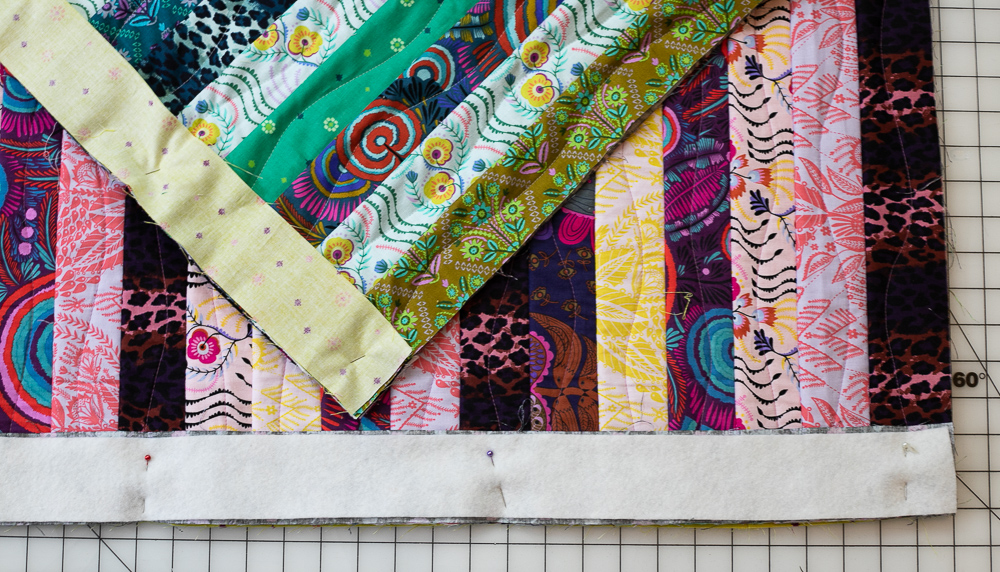
Pin the side borders to your quilt using the same sandwich method that you used to sew the center strips together (Place the back border strip against the edge on the back and the front border strip against the edge on the front, right sides together. Center the batting strip on the wrong side of the front border strip.)
Repeat for the border on the other side of the quilt.
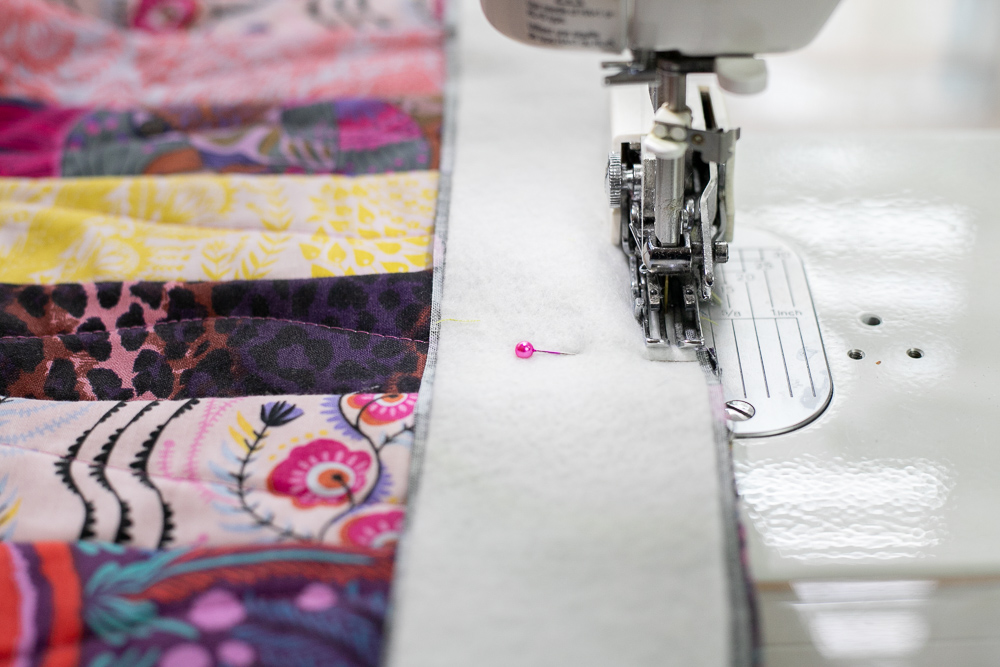
Sew the vertical borders with a 1/4’’ seam allowance.
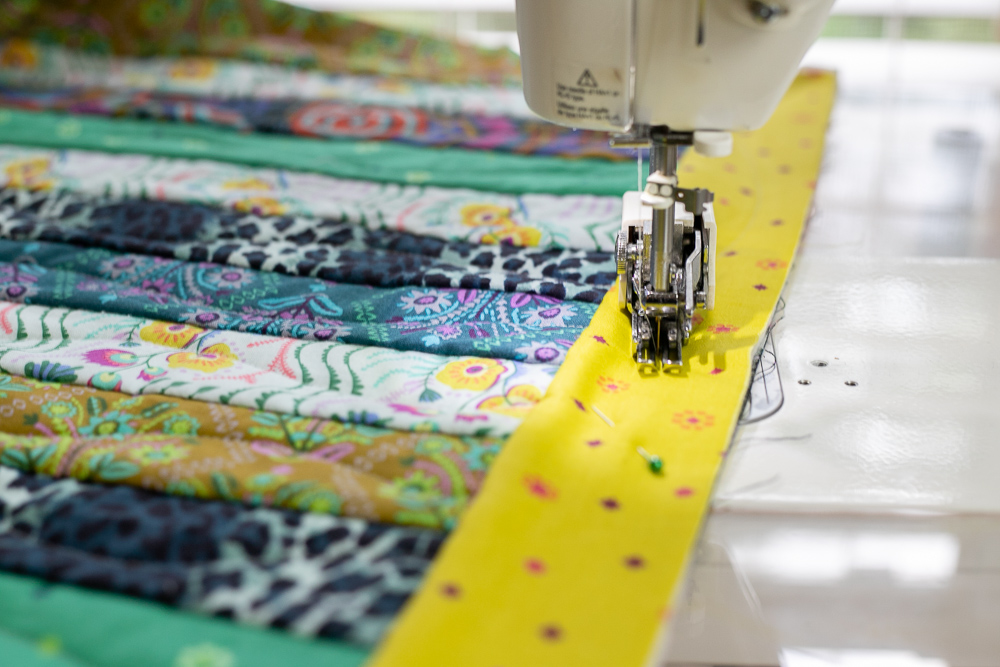
Open the border strips, press (or finger press), pin together, and quilt.
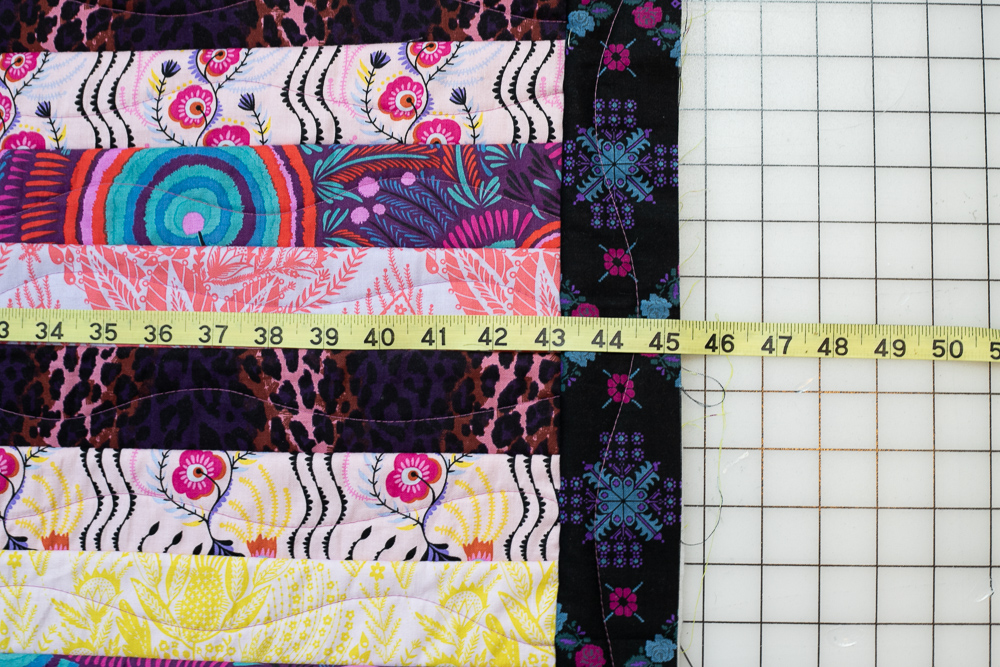
Now measure the quilt horizontally across the center.
Mine was 45 1/4’’ wide. Yours might vary.
Cut (or piece together) 2 strips for the front and 2 strips for the back the same length as the horizontal center of the quilt that you just measured. Cut batting strips this length also.
Sew the horizontal borders with a 1/4’’ seam allowance.
Open the border strips, press (or finger press), pin together, and quilt.
Sew the Quilt Binding
Sew the 5 binding strips together and bind your quilt!
Here is my favorite all-machine binding method. In that tutorial I show you on a mini quilt, but I used the exact same method on the throw sized quilt above.
So what do you think of my QAYG strip quilting techniques? Would you like more quilt patterns that are a variation on this technique? Tell me in the comments!
See all my free quilt patterns here.
xoxo,


Disclosure: some of my posts contain affiliate links. If you purchase something through one of those links I may receive a small commission, so thank you for supporting SewCanShe when you shop! All of the opinions are my own and I only suggest products that I actually use. 🙂