How to Pin Baste a Quilt to Get Ready for Quilting
Once you have finished sewing your quit top and you are ready to start quilting, the quilt top, batting, and quilt backing piece all need to be basted together so that you can have beautiful quilting with no pulling or puckering on the back. For large quilts, or when I want to use a batting that is not fusible such as wool batting or another specialty batting, I always use pin basting because it gives me great consistent results. So let me show you the easiest way how to pin baste your quilts for the very best results!
While we are talking about basting quilts together, I should share that if I want to baste a smaller quilt (such as a small throw quilt or a baby quilt), I will often use fusible batting instead of pin basting, however I love both of these basting methods!
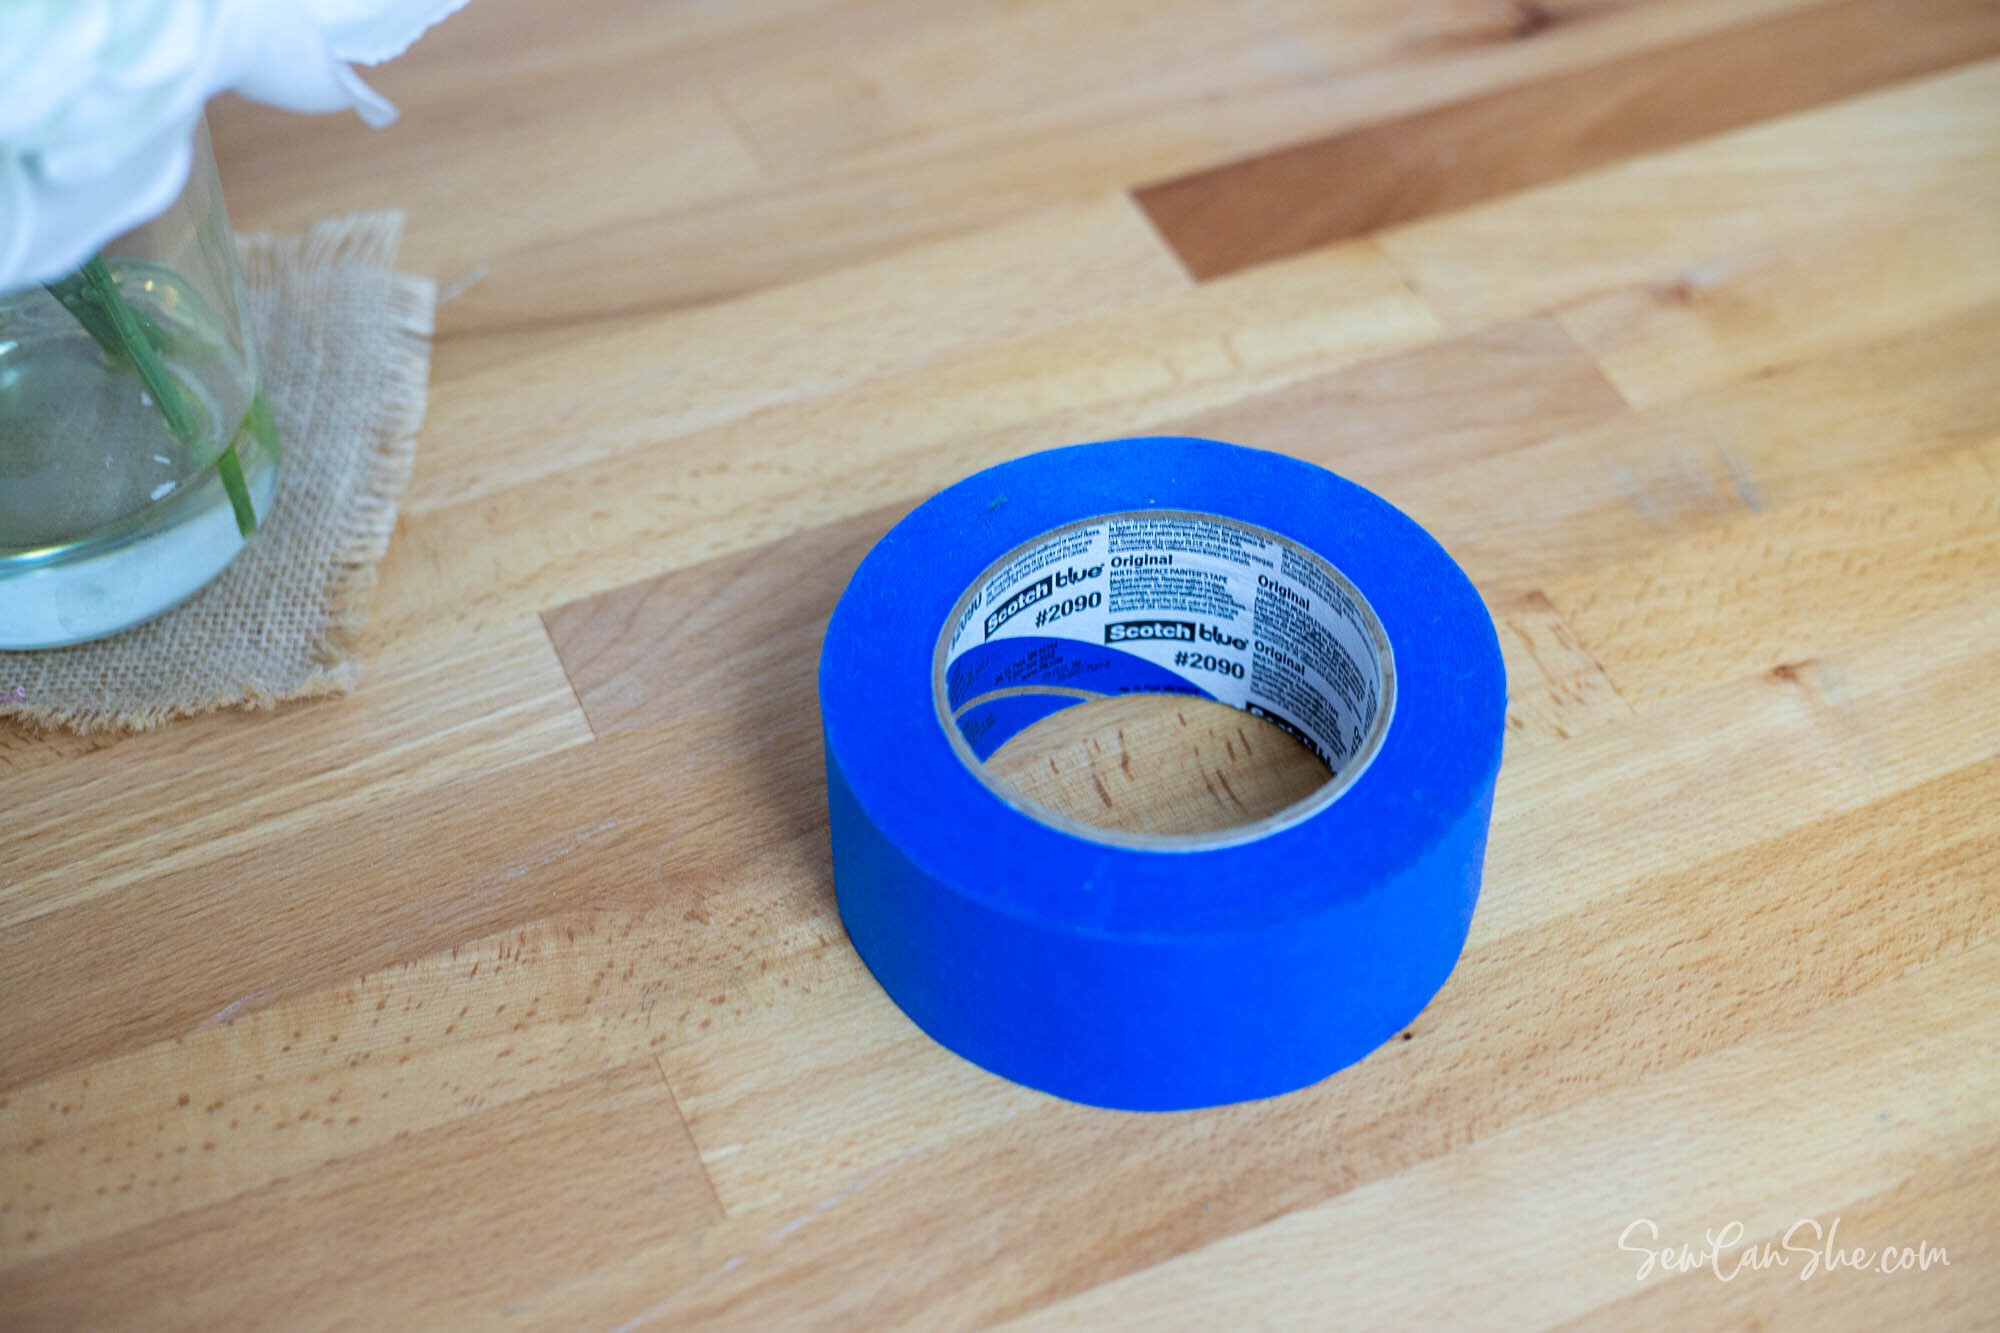
What you need to pin baste a quilt:
I’ve been pin basting quilts for many years, and I have tried many different methods for securing my quilt backing fabric to start: pinning it to carpet, duct taping it to my table, and using lots of different kinds of tape to secure it to a hard floor.
1. From all of this experience, I can now tell you that wide blue painter’s tape on a hard floor is the easiest way to pin baste a quilt. It’s perfect because:
-
It sticks great to the floor
-
It sticks great to the fabric
-
It’s easy to remove
-
No residue left on the floor!
2. The next thing you need, obviously, is basting pins. My favorite are size 2 curved basting pins. After trying different sizes, I found that size 1 was too small to get through all of the layers easily and size 3 left large(ish) holes in my quilts. So for me, size 2 is perfect. Curved pins are easier to use for basting, in my experience.
3. You may also like a tool to help you close the pins. I purchased the Kwik Klip pin closing tool because it had such rave reviews, but I never could get the hang of using it. I also read great things about using a regular teaspoon to help close pins. That works okay, but having to pick up a separate tool while basting seems so slow me down so I don’t use either of those items.
4. And that’s all you need besides:
-
a hard surface to baste your quilt on (a table may be used if you have one large enough – but I usually use my wood floor)
-
a finished quilt top that has been well pressed with laundry starch or Best Press
-
batting that is at least 1-2’’ larger than the quilt top on all sides
-
a quilt backing piece that is at least 2’’ larger than the quilt top on all sides. The backing piece should also be well pressed with laundry starch or Best Press.
Batting Tip: It can be helpful to unroll your batting a day or so before you plan on putting your quilt sandwich together. This helps the folds in the batting relax.
Quilt Backing Tip: I usually start with a large piece of fabric for the backing because I have pieced a few yards together – or I use 108’’ wide quilt backing fabric that doesn’t require sewing. Instead of complicated measuring, lay your finished quilt top on top of your backing piece and cut away the extra backing fabric, making sure to leave at least 2’’ of extra backing fabric all the way around.

Cutting your batting to the right size is similar to cutting the backing fabric, but take your time, don’t rush:
-
Lay the batting out on a large table or the floor.
-
Smooth the prepared quilt top (already pressed and starched) over the batting. You are actually adhering the quilt top to the batting with all of this smoothing so take your time. Make sure the quilt has no large wrinkles and that all of the seams are laying in the correct direction so they won’t cause a lump.
-
Cut the batting around the quilt top, leaving 1-2’’ of quilt batting all the way around.
-
Carefully roll up the quilt starting with one of the shorter edges. This will help you move it to the quilt backing when it is ready.

When your quilt backing piece is cut to the right size, starched, and ready:
-
Sweep the floor (lol, this is probably the only time I sweep the floor in my sewing studio. Good thing I baste a quilt at least once a month!)
-
Smooth the quilt backing out on the clean floor, right side down.
-
Place a 8-12’’ long piece of wide painter’s tape on the middle of the top or bottom of the backing fabric. Then place a piece on the opposite side. Next move to the sides and place a 8-12’’ piece of tape in the middle of the sides.
-
With your quilt backing secured to in the middle of all the edges, you can move around the quilt and use tape to secure the entire backing. Use tape every 10-15’’, as needed.
Tips:
-
Do not stretch the quilt backing. You simply want to make it smooth, not tight.
-
Pick away any pieces of thread, lint, or dirt that may land on the quilt top. They might show through.

Now you can carefully roll out your quilt batting and top onto the prepared backing. It may take several tries (unrolling and rolling back up) until you get the batting and top right in the center, but persist until the batting and top are properly centered.
Use your hands to smooth the batting and top out until there are no wrinkles and everything lays flat.
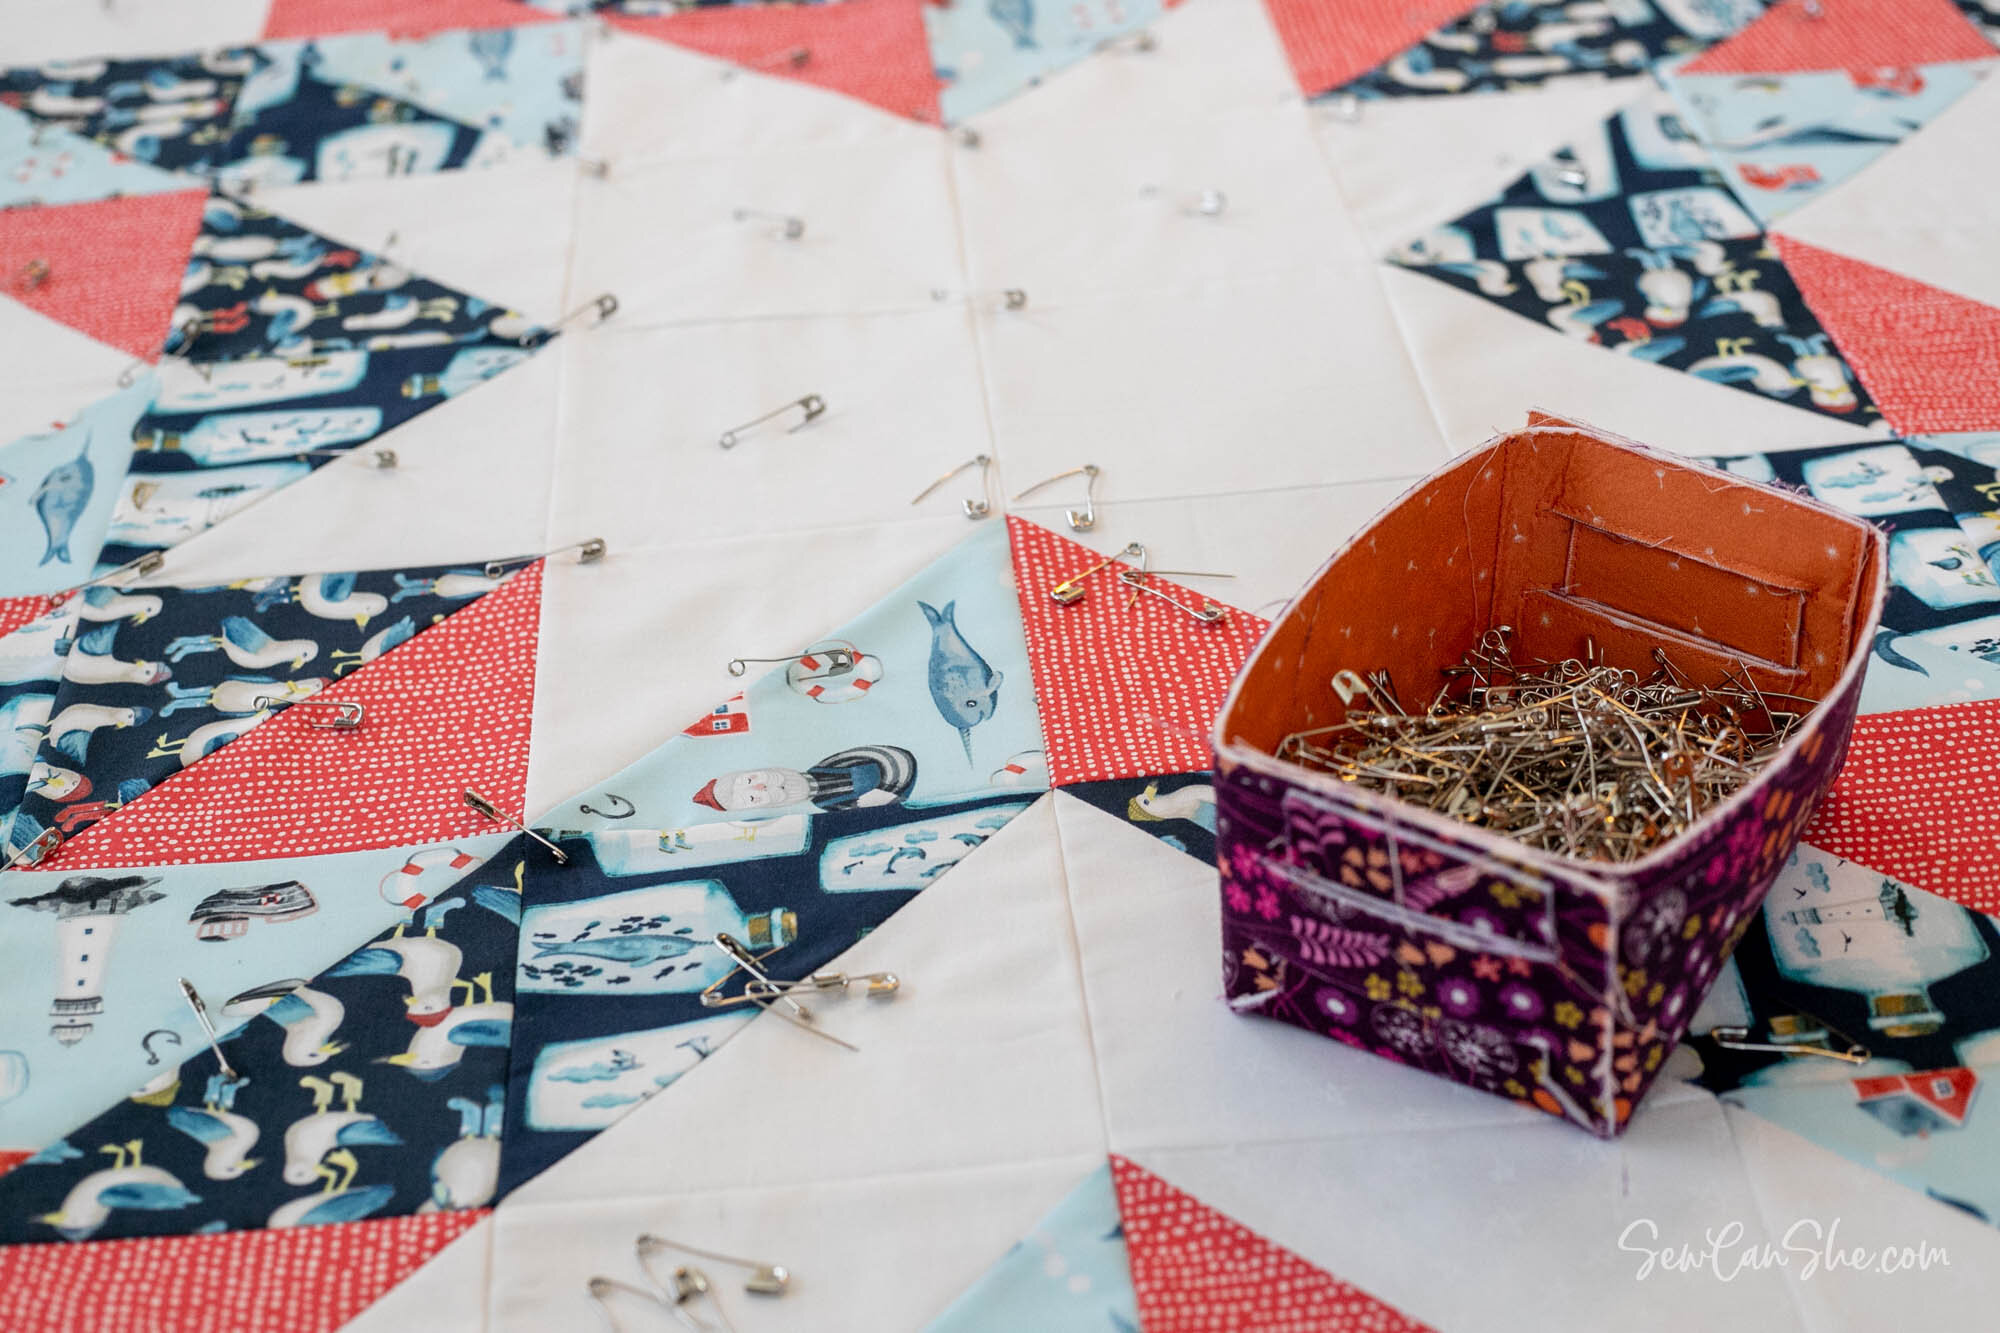
Starting in the center of the quilt, place pins about 3-4’’ apart. Many quilters call this a hands-with apart. That may help you, but I don’t want to be always having to measure with my hand. What I do is find some repetition in my quilt design that is about 4’’ apart and use that as a guide.
For example, the individual squares in the quilt above are 5’’ x 5’’. If I place a pin at each corner, they are 5’’ apart, but if I also put a pin in the center of each square I’ve definitely got pins 3-4’’ apart. So that’s what I did. I didn’t have to think much or measure anything, I could just get lost in my thoughts placing pins in my quilt and before I knew it, I was done! Maybe I could get by with less pins in that quilt, but the process was so easy with no obsessing or wondering if the pins were too far away, that I enjoyed it too much to stress about that.
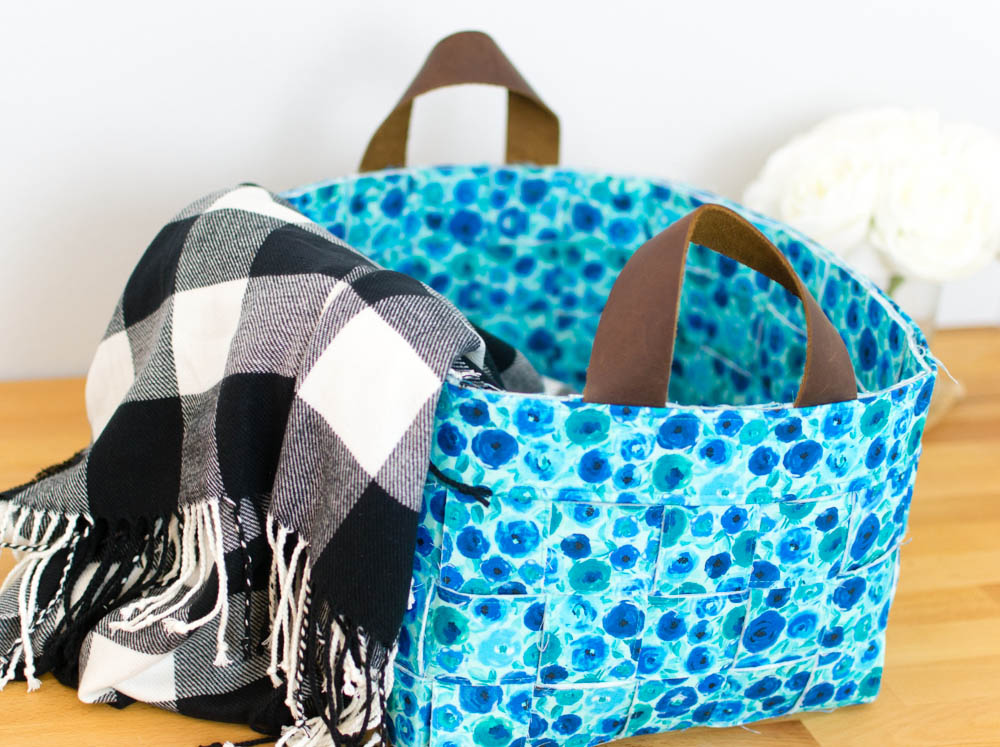
By the way, you can get the free pattern for my Mini Fold Up Basket here.
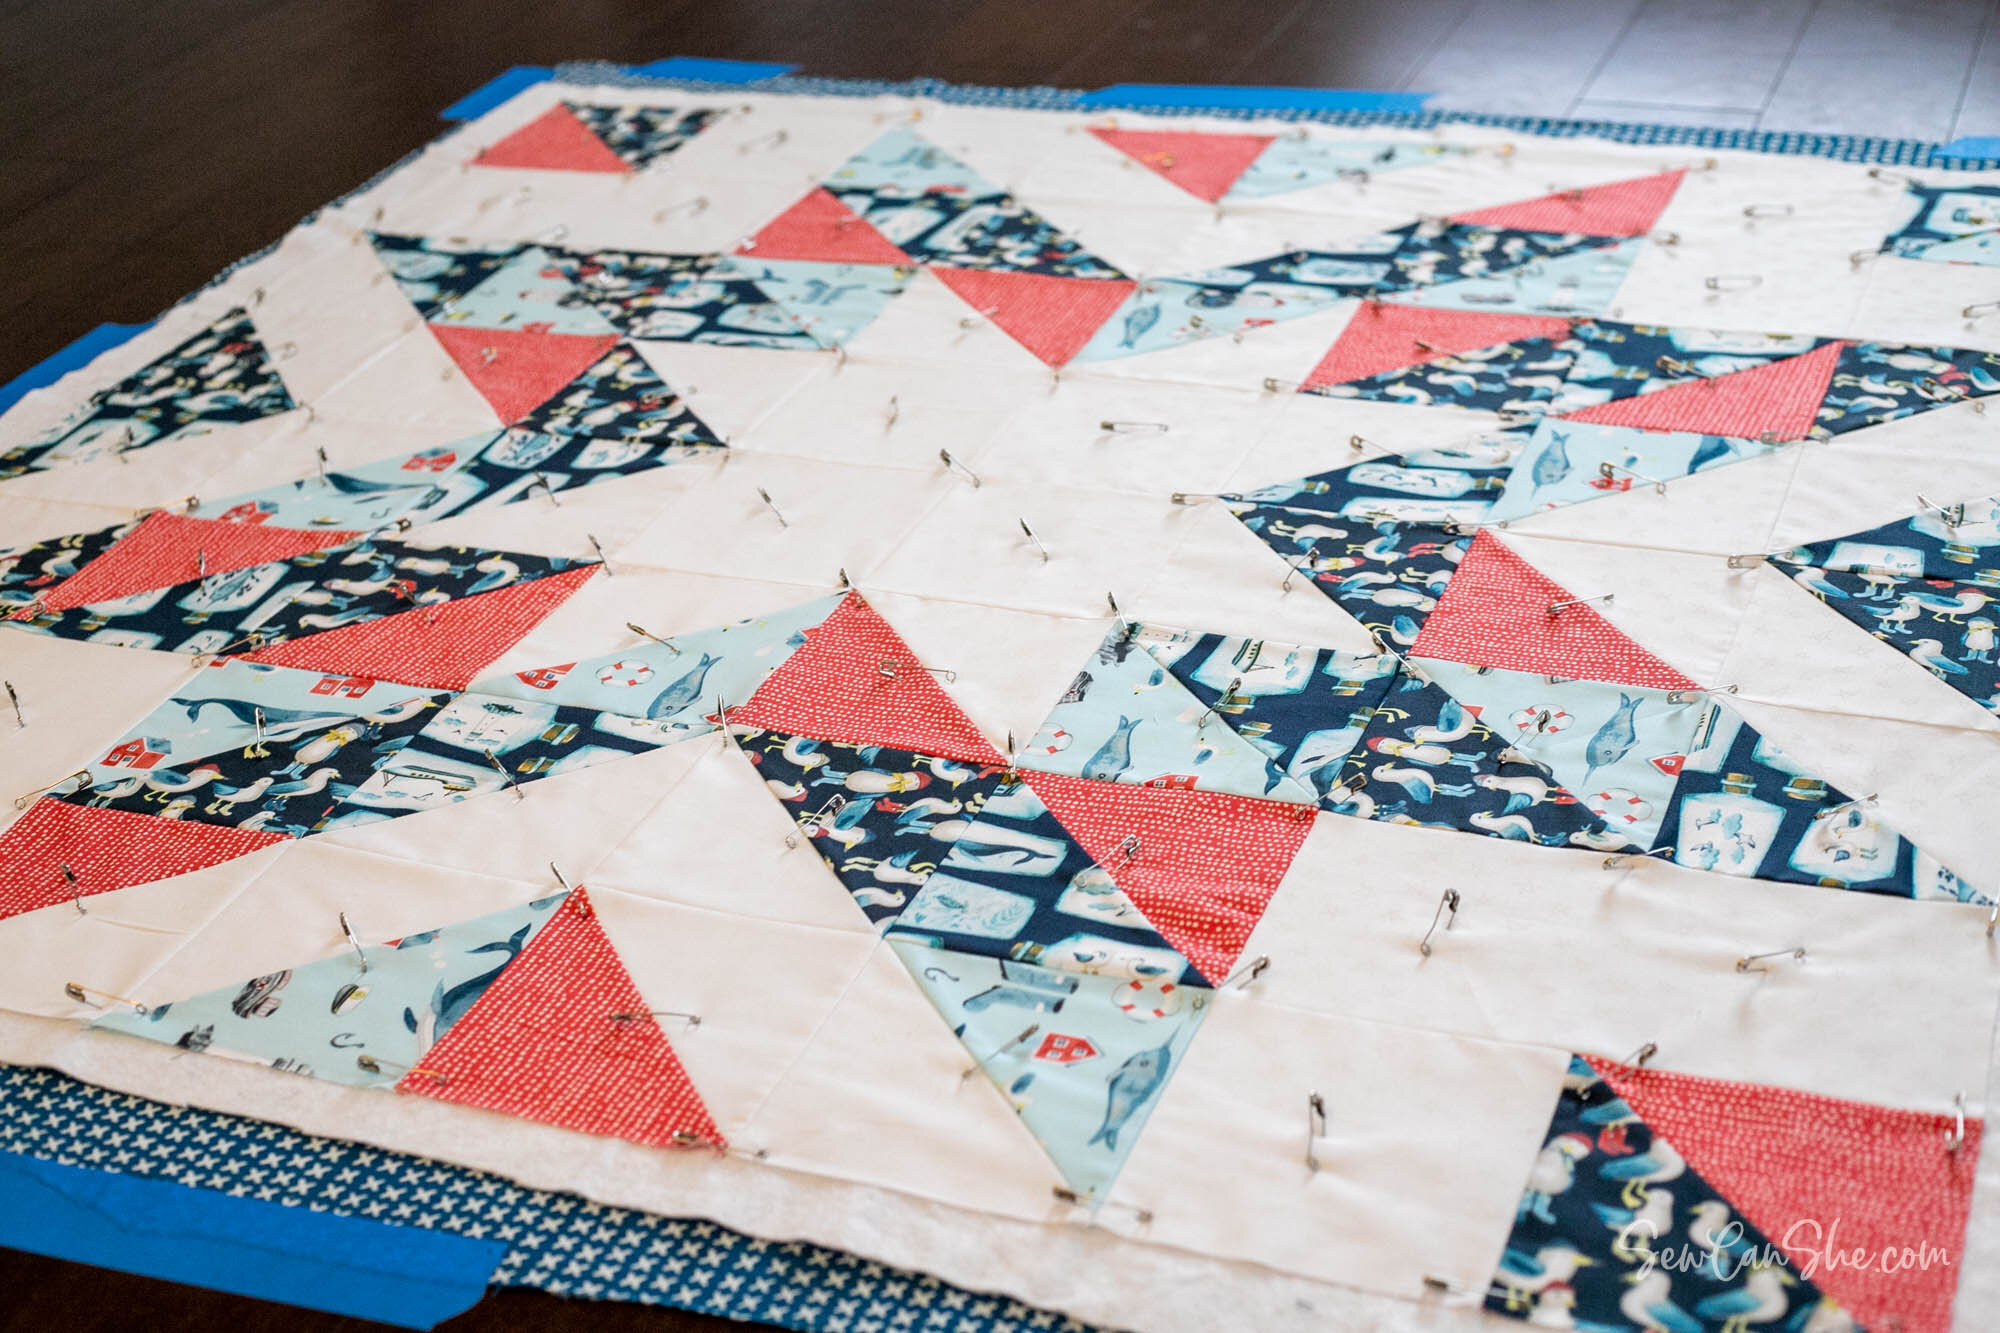
So how to do place the pins in your quilt? Whether you measure with your hand every time so they are 4’’ apart, or whether you find another way that requires less thought, let me know below what works for you!

Once your quilt is completely basted together with pins, you can remove all the tape and quilt it right away or store it for a while until you have a quilting day.
Here are some ideas for when that quilting day comes:
-
4 Different Styles of Straight Line Quilting with a Walking Foot
-
How to sew Beautiful Binding with your Sewing Machine
Happy Sewing,

Disclosure: some of my posts contain affiliate links. If you purchase something through one of those links I may receive a small commission, so thank you for supporting SewCanShe when you shop! All of the opinions are my own and I only suggest products that I actually use. 🙂


