SewCanShe Sewalong Part III: Sewing your blocks together
Woo hoo! It’s sewalong day again! I’m so excited to jump right in and say that I love all you gals whom I’ve gotten to know a bit on our facebook Sewalong page. It’s such a warm and supportive group and includes complete beginners, comfortable quilters, and at least one former quilt shop owner! Be sure to stop by and say hi, show us what you’re doing, and ask your questions.
This week’s ‘assignment’ in the sewalong is sewing your block (or blocks) together. Hopefully you’ve already got your fabrics picked out and the strips cut, but if not, don’t worry. They’re quick and easy steps. Make sure you’re following the {original tutorial here} and check out {blog post 1} and {blog post 2} for tips along the way. In order to make finding all the Sewalong blog posts easier, I put separate links to them in the menu bar above.
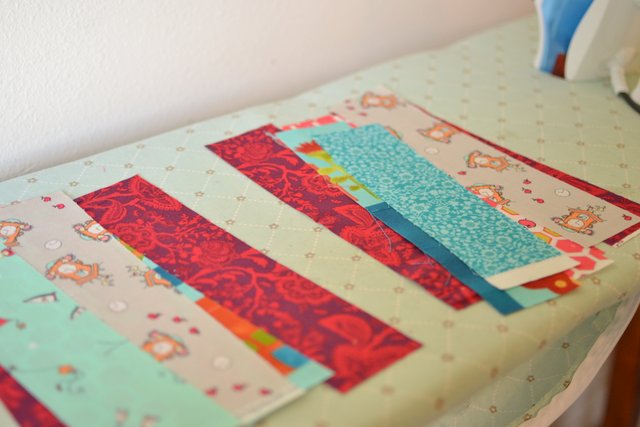
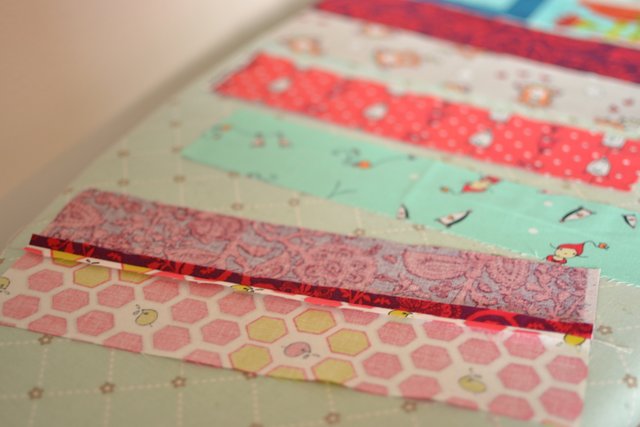
So, assuming that you’ve read and are following the original herringbone block tutorial by bijou lovely, I’m simply going to offer some helpful tips to make piecing easier and your results prettier. First… Iron. Iron. Iron! I love ironing. When I’m sewing that is. After something is finished and worn/used for the first time it might never get ironed again. But develop a love of ironing while you sew. You’ll love to sew and quilt even more because your results will be fabulous. So in the picture above you see that I ironed all my strips crisp and flat before I even started piecing.
And if you imagine cutting while you arrange your strips in the order you want to sew them, then you’ll place the strips with selvages in spots where the selvages will be cut off.
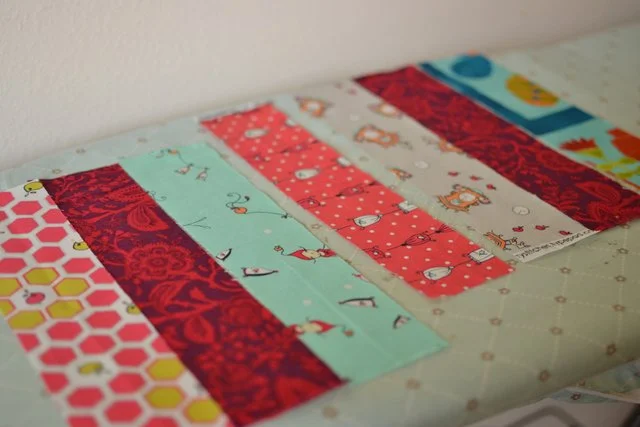
Next you’ll want to press each seam allowance open or to the side as you go along. I think they look nicer pressed open unless one piece of fabric is so lightweight or light in color that the seam allowance shows through the front. Then press it to the other side. Believe me, it is easier to stand up and press each seam as you go than to wait and try to press them all once your 7 strips are sewn together.
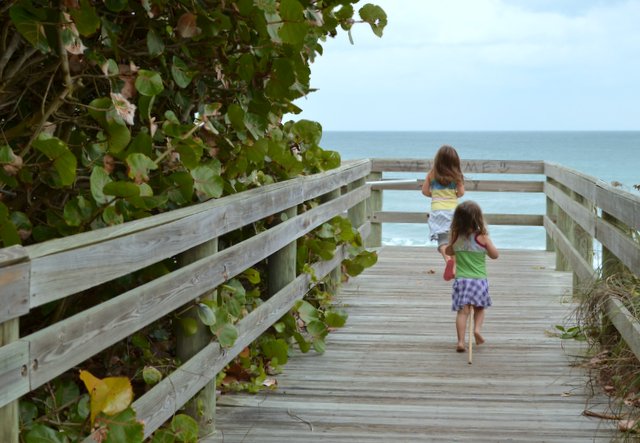
Which brings me to my next advice… slow down and enjoy it! See my girls enjoying their stick pony rides to the beach? Let me tell you that that pony ride to the beach was just as much fun as being at the beach. Maybe more. I know you want to get your quilt or project done and you can see it in your mind just like they could see that sparkling blue water at the end of the boardwalk. But the end of your project will come soon enough and then you might just wish you had more! So turn on some fun or relaxing music, put your ironing board a few steps away from your machine, and enjoy it.
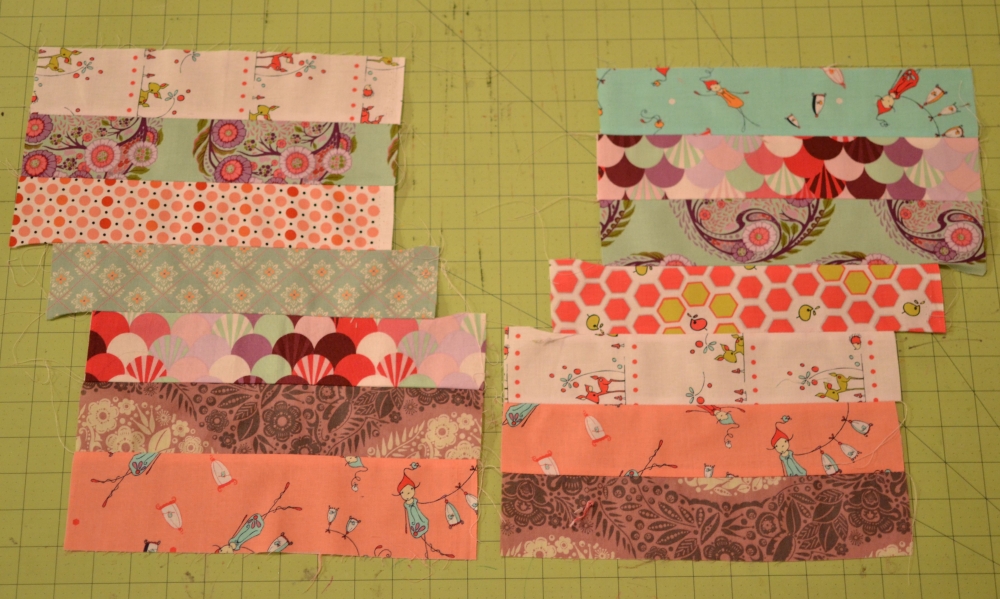
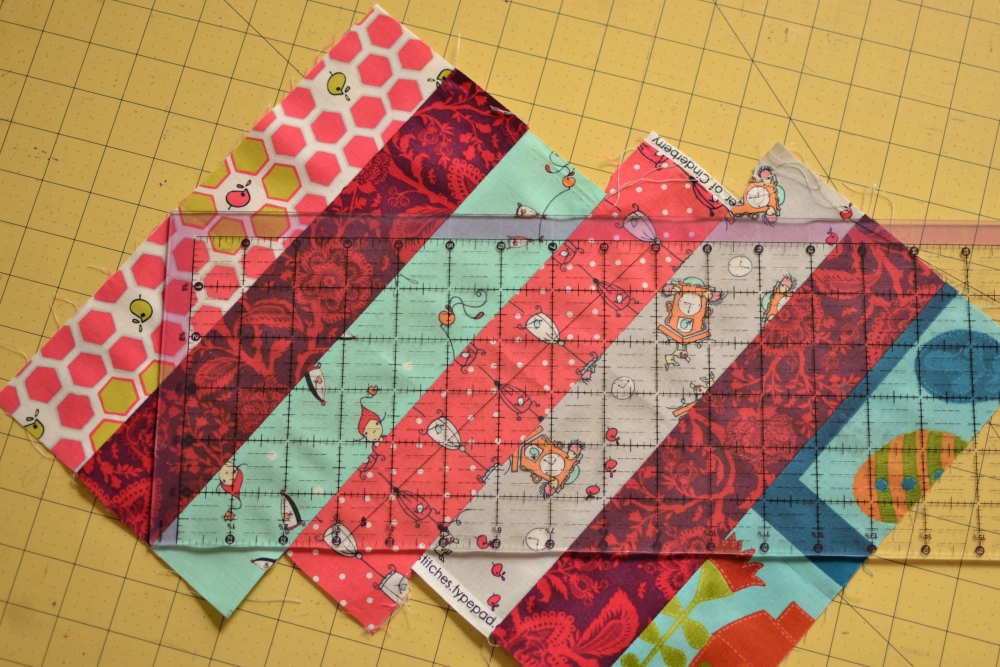
Okay, back to the technical. We talked about this in {last week’s post}. Make sure your two stacks of strips ‘lean’ in opposite directions. You can also see last week’s post if you would like to have your blocks make a better chevron pattern when they are sewn together. The trick is cutting each rectangle down to 6.5″ x 13.5″ instead of 6.5″ x 12.5″.
Next week’s assignment will be about sewing your blocks together. Mariana in the fb group said, ‘I made all my halves first and laid them down and moved them around thousands of times until I was happy with the effect. Then, and only then I sewed them together. And finally I did the same with the blocks.’ I really like that idea, I didn’t think of waiting to sew the rectangles into squares until I had all of mine done. Thanks Mariana!
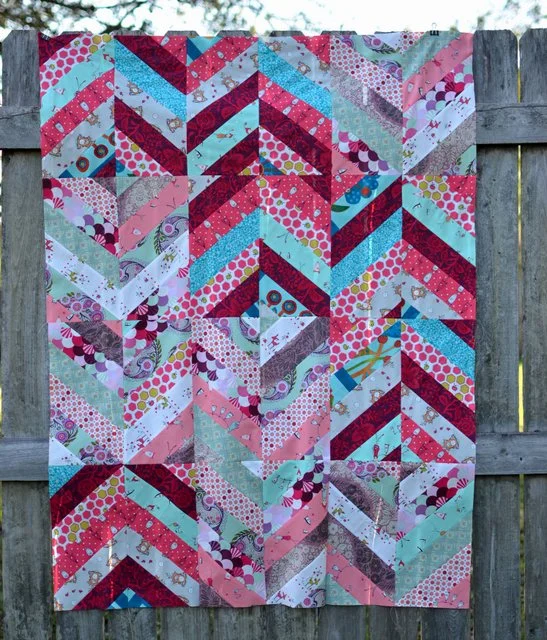
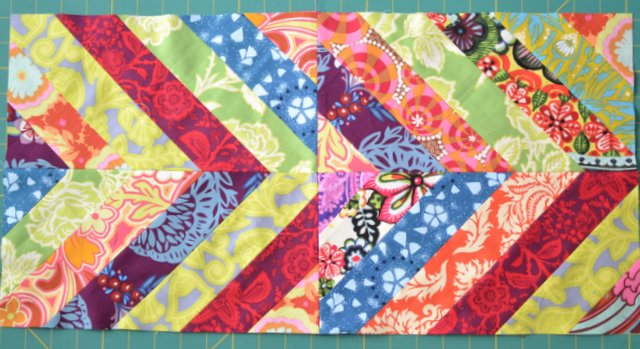
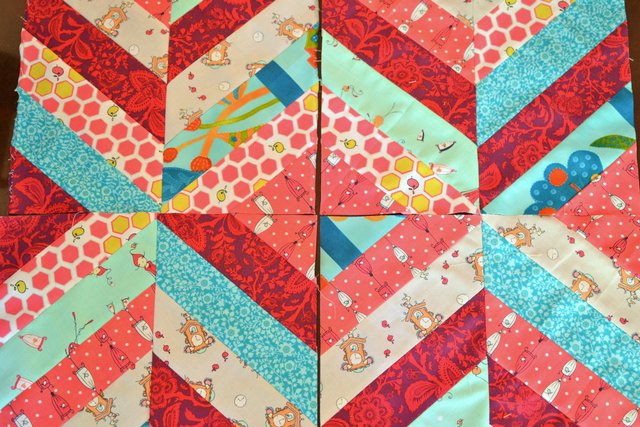
The night before I sewed my 12 blocks together, I laid awake for what seemed like hours thinking of different ways that I could arrange them. As you see I have two different color combinations, one with red and one with purple. In the morning I vacuumed the floor, layed them out one more time, and committed to it! I love how they turned out.
But don’t worry about that this week if you don’t want to. Just concentrate on getting at least one block made!
Bonus project!
How many of us are thinking that those little triangles and odd shapes that are trimmed away when we are making our blocks are beautiful? I know a bunch of us have already made projects with them. Tomorrow I’m going to post pictures here on the blog of my little ‘bonus quilt top’ plus Sarah’s secret bonus project. Do you have one you want me to show too? Send me a picture at caroline@sewcanshe.com and I’ll include as many ‘bonus projects’ as I can.
Thanks so much to everyone who is posting, commenting, and liking eachother’s photos on facebook. You are all making this sewalong so much fun to be in. Like an online quilting bee!
Disclosure: some of my posts contain affiliate links. If you purchase something through one of those links I may receive a small commission, so thank you for supporting SewCanShe when you shop! All of the opinions are my own and I only suggest products that I actually use. 🙂