Sew Can She Sewalong Part II: Cutting {plus some tips for the next part}
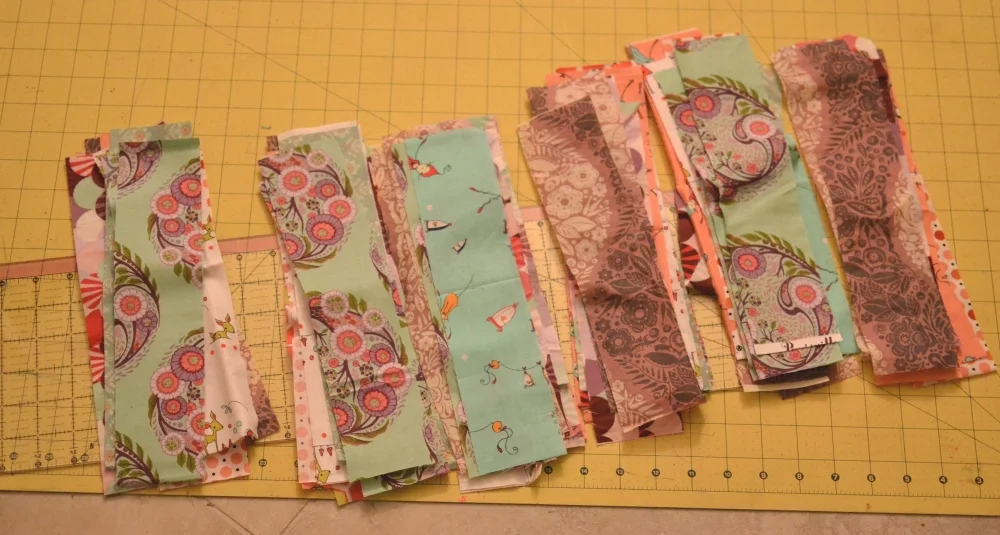
Hello there all our sewing friends! I am so thrilled at the huge number of people who have joined the ‘It’s a New Year Sewalong’ through the facebook event page, and I hope there are many more who will be adding photos to the flickr pool as we go along too.
If you’re just reading about our sewalong for the first time, there is still plenty of time to join in and make a block (or many)! The first Sewalong blog post with all of the rules is here. The winner will get a $50 gift certificate to Fat Quarter Shop.
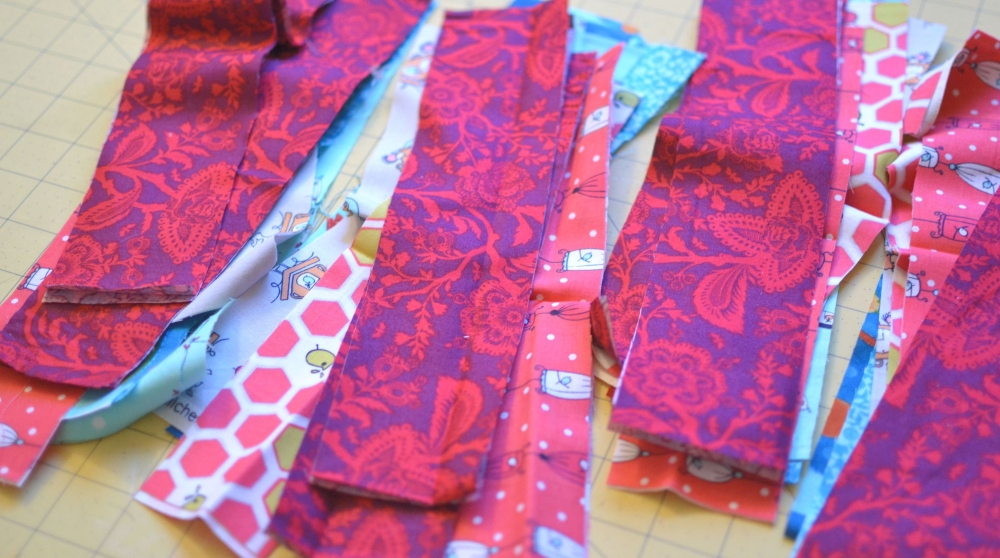
So welcome to week 2! Your only assignment this week is to cut your strips. Refer to {Bijou Lovely Designs’ tutorial here}.
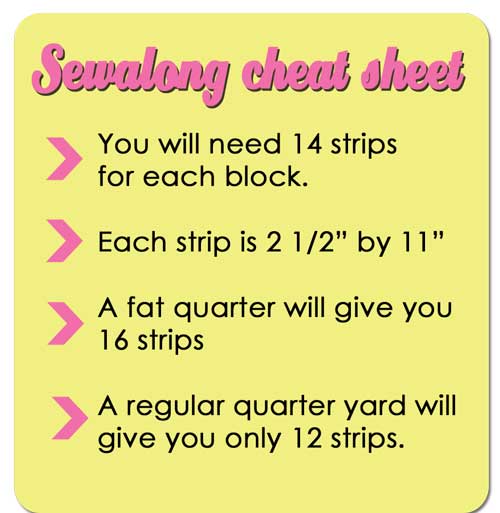
You’ll need fourteen 2.5″ x 11″ strips for each block. Many of us are using 2 strips each of 7 different fabrics. Here’s a little ‘Cheat Sheet’ that I made last week to help you with cutting.
That’s it! No need to do any more. We’re trying to keep this really easy for all of the busy’s and newbies who are joining us.
{some tips if you’re moving ahead}

First just a little tip for when you start sewing your strips into a stack like the ones above. When I made my first block, I sewed two ‘stacks’ of 7 strips each, and my stacks both leaned the same way (so to say). That was wrong! Of course I could still use those half-blocks. I just needed to sew two more that leaned the other way. So make sure each set of two ‘7 strip stacks’ leans in opposite directions.
Next, I had someone message me the other day a bit unhappy. Her blocks were making a chevron pattern when arranged horizontally, but not when lined up vertically.
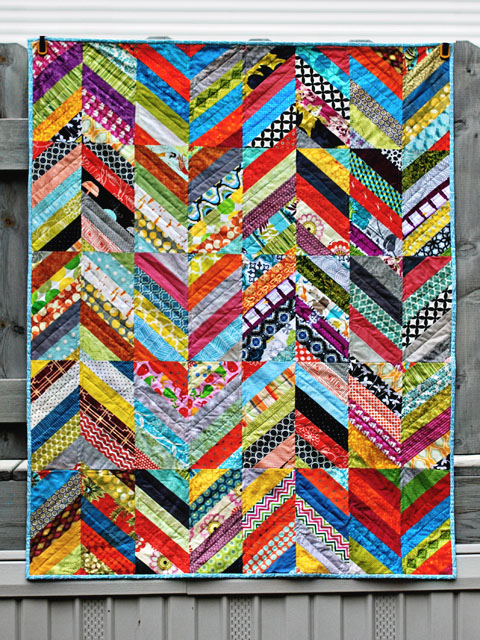
To the left is a picture of the designer’s original quilt. Please notice that she did not intend to make a perfect chevron quilt.
The ‘herringbone’ design is modern, eclectic, and kind of a shattered chevron. I love it. But if you don’t love it, and you’re wishing it was a real chevron pattern (not broken up), I figured out how you can change your blocks.
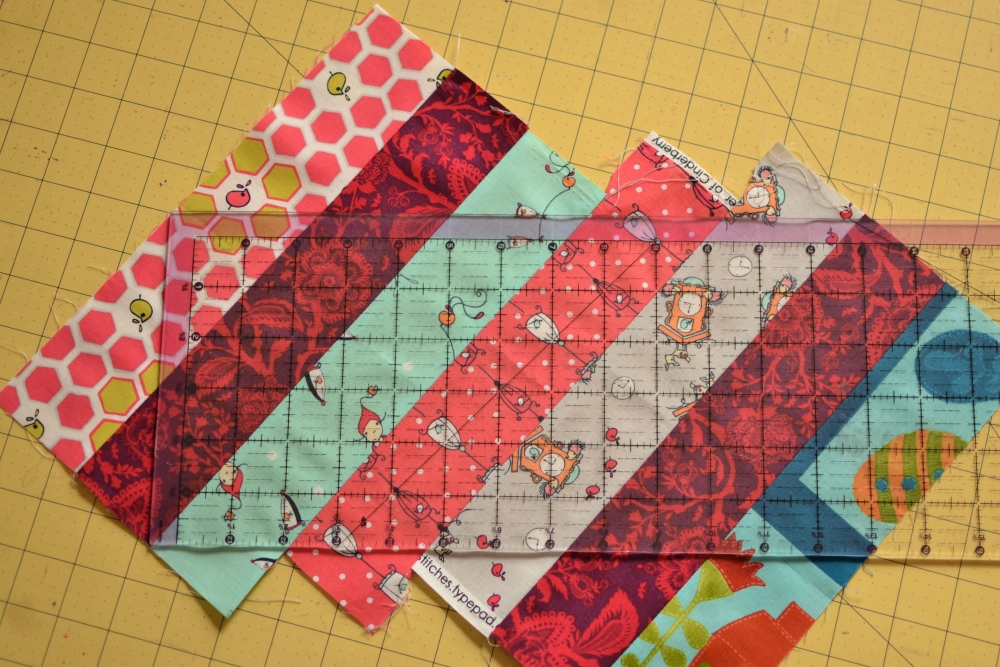
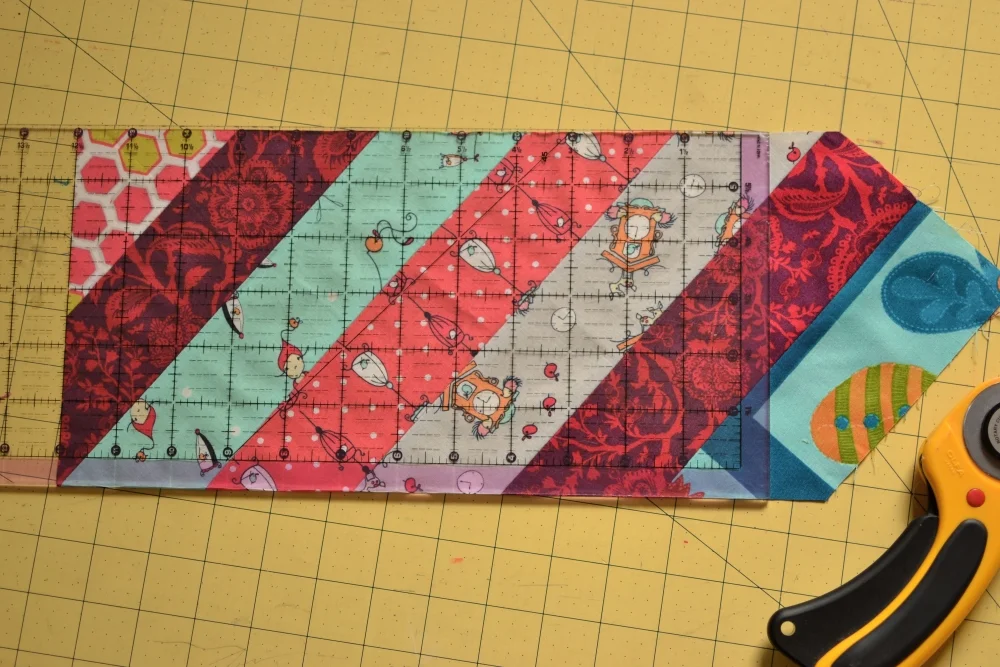
Sew the strips together just like Bijou Lovely’s tutorial instructs. Then after you get your 6.5″ ruler in the right spot, cut off only the first three sides.

Next, instead of trimming your rectangle down to 12.5″, trim it down to 13.5″. This will be cutting off just the end triange (or pretty close). [I switched blocks for this picture]
Keep in mind that your blocks will now measure 12.5″ by 13.5″ when you are done with them. Not a square anymore.
But now when you arrange the blocks vertically…

The chevron pattern continues! And it’s not a ‘shattered chevron’ like in the original quilt. I hope that helps! And I hope we have no more big surprises coming up.
Remember, your only ‘assignment’ this week is to cut those strips. If you are using a jelly roll, most of the work will already be done!
Thanks to everyone who has been posting beautiful fabric selections and encouraging comments on our facebook sewalong page! I check in at least once a day to answer questions and post updates, and I love to see people jumping in to answer questions before I get there. Such a supportive group!
Next Tuesday our Sewalong blog post will be all about sewing those strips together to form the blocks. I have 8 done already and they are gorgeous! Happy Sewing!

Disclosure: some of my posts contain affiliate links. If you purchase something through one of those links I may receive a small commission, so thank you for supporting SewCanShe when you shop! All of the opinions are my own and I only suggest products that I actually use. 🙂

