Making the Easy Zipper Pillow from My Poppet’s tutorial
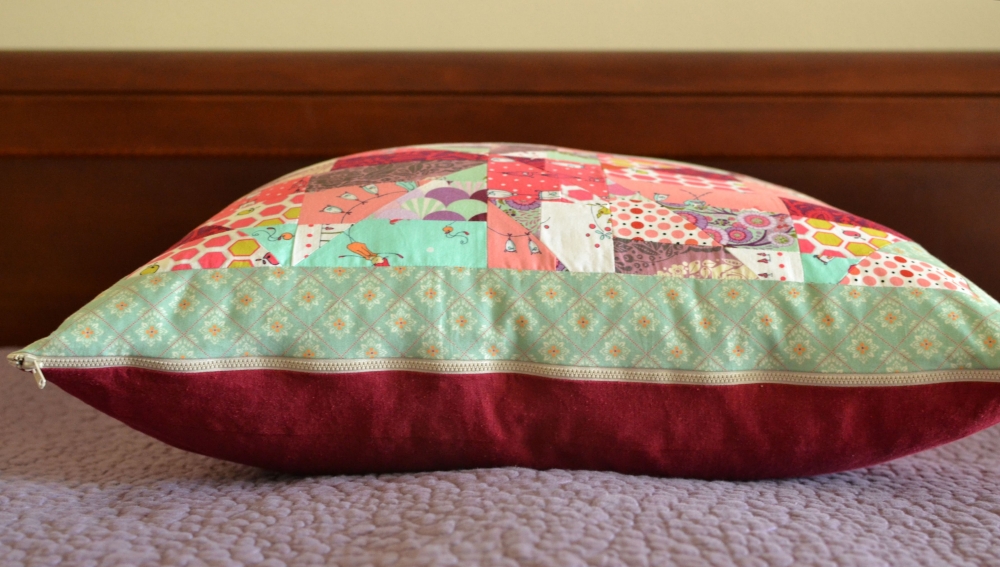
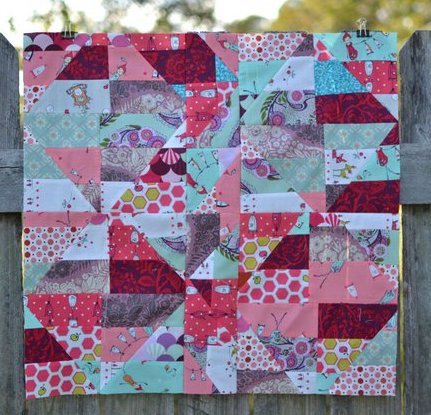
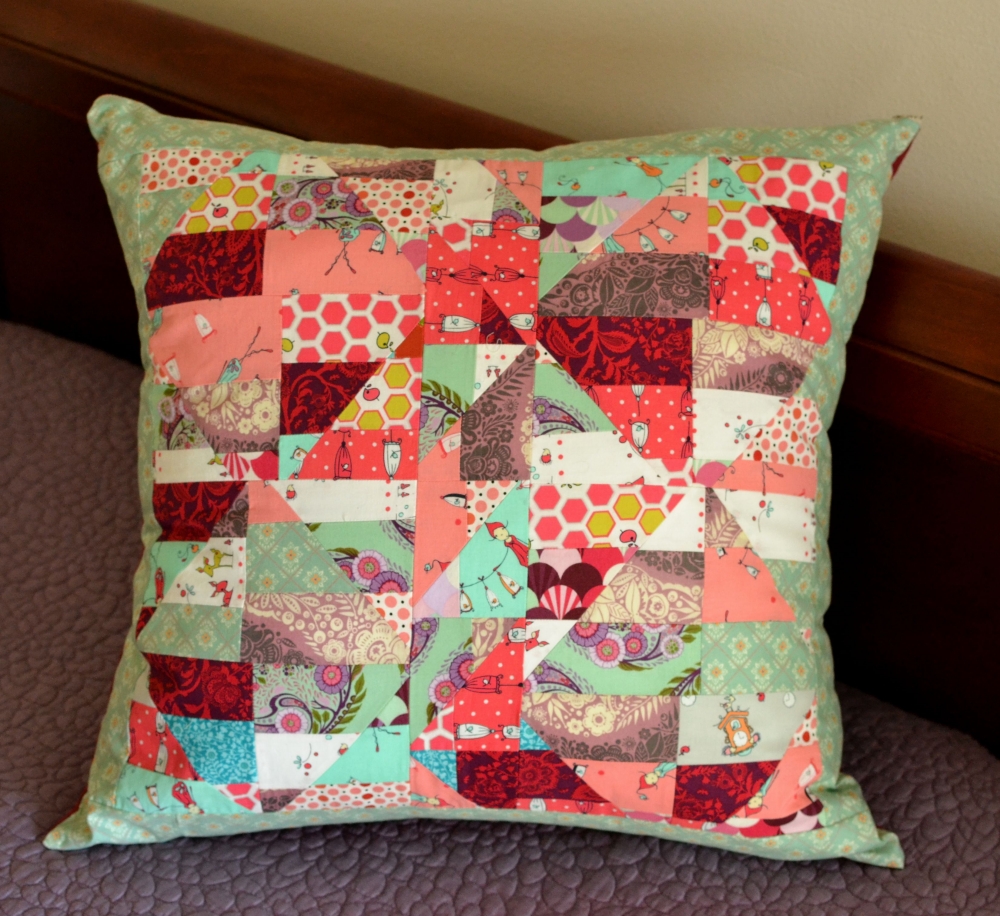
I must admit… seeing all the beautiful herringbone pillows show up in our Sewalong Photo Album, I really wanted a pretty pillow. I didn’t have anything pretty in my bedroom. When I realized how well the colors on my mini quilt top (made with the scraps from my herringbone blocks) would go with my lavender bedspread, I got so excited to make a pillow out of it. This would have made a tiny quilt, but it made a gorgeous (not to toot my own horn or anything) huge pillow. {You still have a few days to send me your project photos for the sewalong… click here to go to our fb page.}
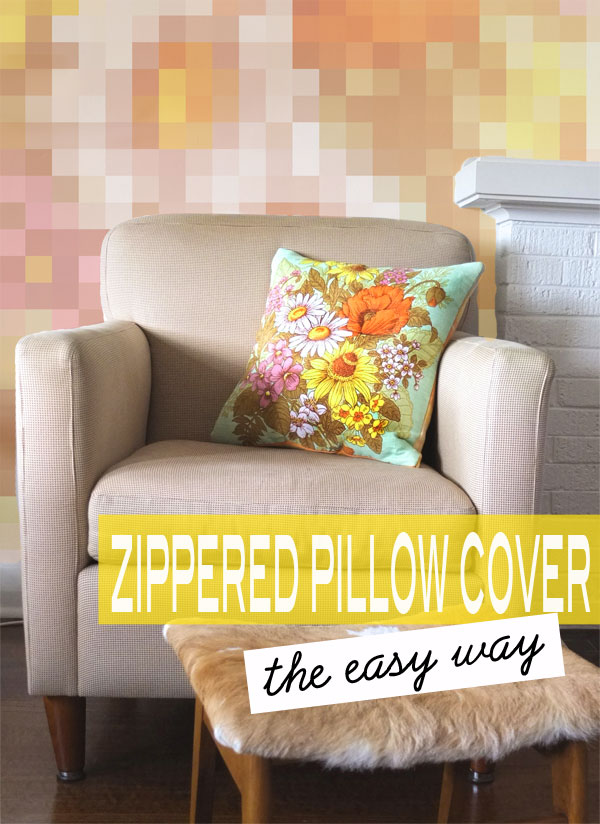
Making this pillow cover, I didn’t want to get into anything too fancy that would distract from my crazy piecework, but I did want a zipper. So I turned to Cintia’s lovely tutorial on her blog, My Poppet. You can visit the original tutorial by clicking on the photo to the left. It is also found in our site Archives on the Home Love page.
This tutorial is so beautifully written and easy to follow, it was just what I wanted.
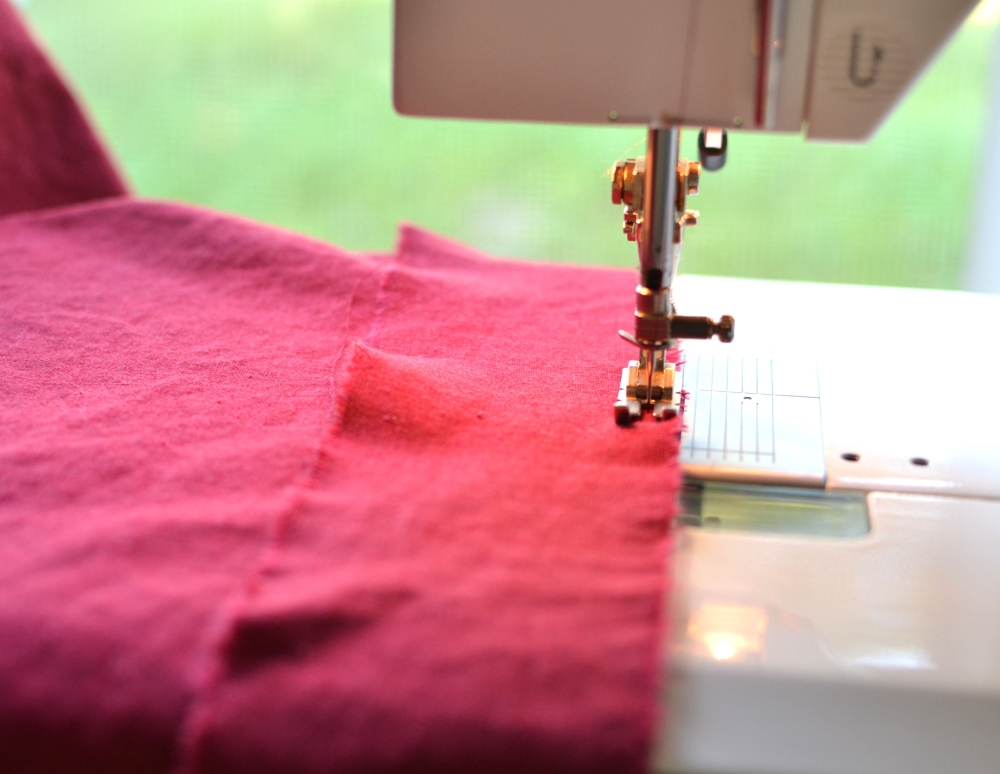
Have you ever had almost enough fabric to make what you wanted, but were just a tad shy? Well, that’s what happened when I picked this red linen for the back of my pillow. Luckily I found a strip that I had discarded because it was too skinny for the border of my Herringbone Quilt {you’ll see that tuesday 🙂 }. It was just enough to make my piece of red linen big enough. I also like the seam there for some reason. It adds character.

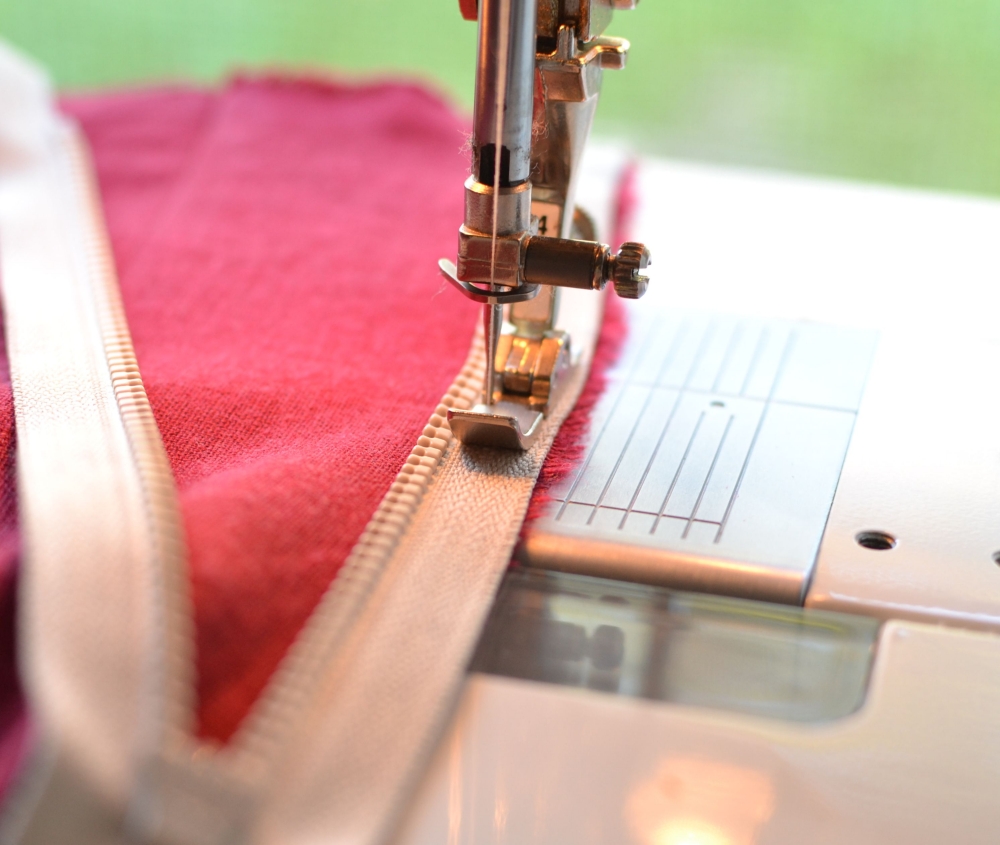
My other minor hiccup was the zipper. The only ones long enough that I had on hand were these huge chunky plastic ones with a separating bottom. I decided to go with it anyway, being careful not to lose the slider before the zipper was secured. I would have to cut the bottom part off anyway so that separating thing would not be an issue.
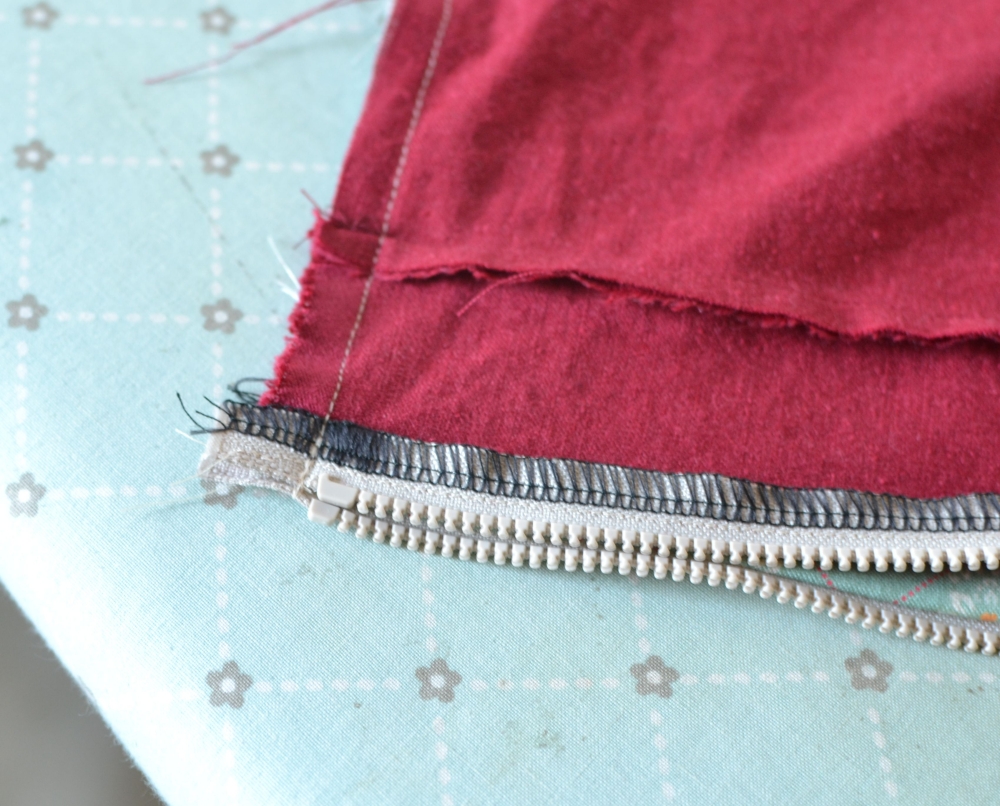
I really appreciated the way that Cintia’s tutorial showed the correct way to make the zipper teeth point when you sew the top. No more messing up like I have on zipper pouches. By the way.. this tutorial is just like a big easy zipper pouch. If you can make zipper pouches, you can do this in 20 minutes. Once you do this, zipper pouches (at least the unlined kind) will be a snap.
And that was it! We were off to the store to see if they had a pillow form the right size. If you plan to do this I highly recommend checking pillowform sizes before making your pillow cover. That way you can adjust the size of your cover to fit the form if needed. I just happened to be very lucky. And I was prepared to squeeze in a slightly larger pillowform if needed, but I didn’t have to.
Have a nice weekend everyone, and don’t forget to {enter our giveaway} for a beautiful fabric bundle from Skye Reve Fabrics and 3 pdf patterns from Peek-a-Boo Pattern Shop. It’s the last day!

Disclosure: some of my posts contain affiliate links. If you purchase something through one of those links I may receive a small commission, so thank you for supporting SewCanShe when you shop! All of the opinions are my own and I only suggest products that I actually use. 🙂