Sewing Boxy Zipper Pouches using Laminated Fabric

I sewed a bunch of boxy zipper pouches using laminated fabric and they look great! Boxy pouches are going to be a huge craft fair item this year. Maybe I’m just saying that because I have lots of craft fair friends, and maybe not. But I’m pretty darn confident that if you don’t make one (or more) of these yourself, you’ll be getting it somewhere else. So why not make your own???
I also made a cute suitcase using this same laminated fabric.

To make these, I used Prudent Baby’s Oilcloth Toiletry Bag tutorial and this gorgeous oilcloth (or laminate fabric) from my site sponsor Laminates (@justlaminates on etsy). Deb has more laminated fabrics than I’ve seen anywhere else and a lot of them are a whopping 58” wide. I also used a couple of metal zippers from my stash. I can’t remember where these came from, but if you are looking for metal zippers there is an amazing selection at Zipit on etsy.
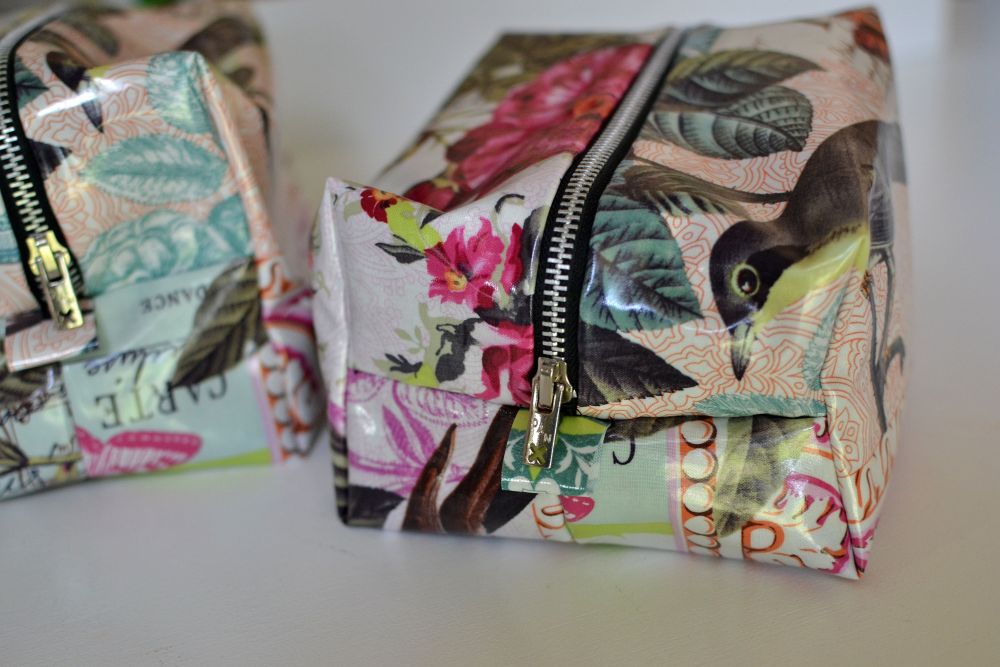
Sewing with laminated fabric can get tricky when you have to place the shiny laminated side next to your sewing machine bed or presser foot.
Don’t let this deter you, though. I think that the sturdy quality of laminated fabric plus the fact that it holds up and looks nice for so, so long (like forever) is such a huge benefit that I am happy to deal with it’s little quirks too.
Using a teflon foot or putting masking tape on the bottom of your regular presser foot is a handy trick.
The tutorial I used for these boxy pouches is ideal for working with laminate fabric, especially if you do like I did and put the laminate fabric on the outside of the pouch. Why? Well believe it or not, my sewing machine never touched the laminated side. Yup, so it was no more difficult than sewing a regular zipper pouch.

Besides putting the laminated fabric on the outside instead of the inside, I also decided to add little tabs to the front and back of my pouches. This is what it looked like before I changed my mind and decided to add the tabs.

Since laminated fabric won’t fray, I made the tabs super simple. I cut four 1”x3” strips (two for each bag) and folded them in half…

Then I unpicked my ends where the zipper matches up with the bottom seam on the pouch and I inserted the little folded strip. The short ends stuck out here.
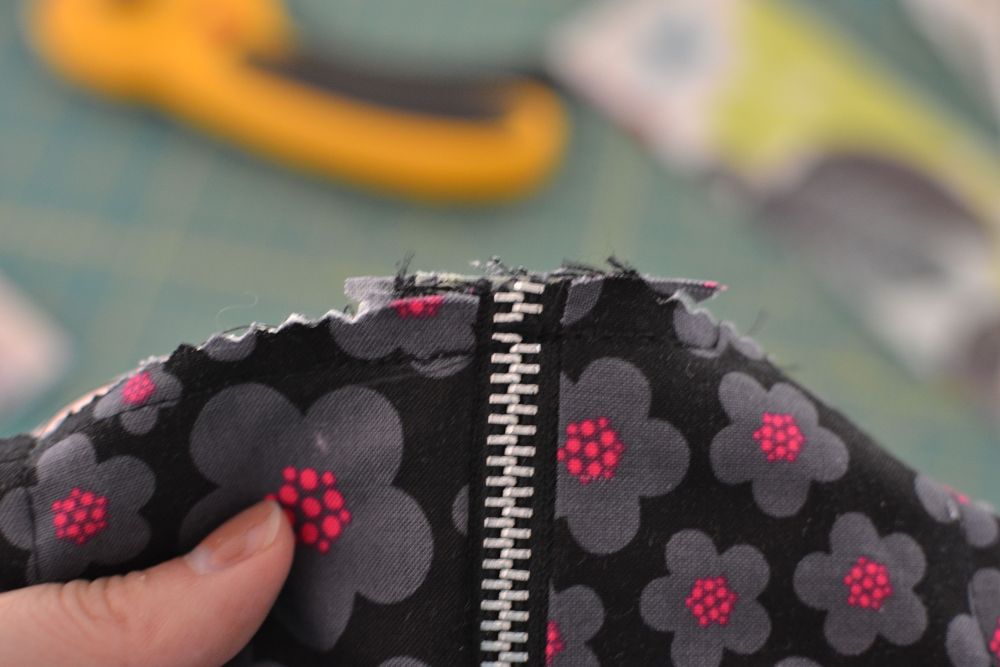
Then I restitched over the zipper to fix where I had un-picked. This is very dangerous territory for your needle, by the way. When sewing over metal zippers you must crank the wheel by hand and ease the needle around all of those mean looking teeth. Unless you like broken needles and the bits flying everywhere, of course.
Oh, another thing I like about this tutorial is that the inside seams of the bag are unfinished which means you can make the pouches in half the time. You are basically making the bag and lining at once instead of separately which is heaven to me. I trimmed all my seams with pinking shears and I think they look fine. No, I think they look amazing.
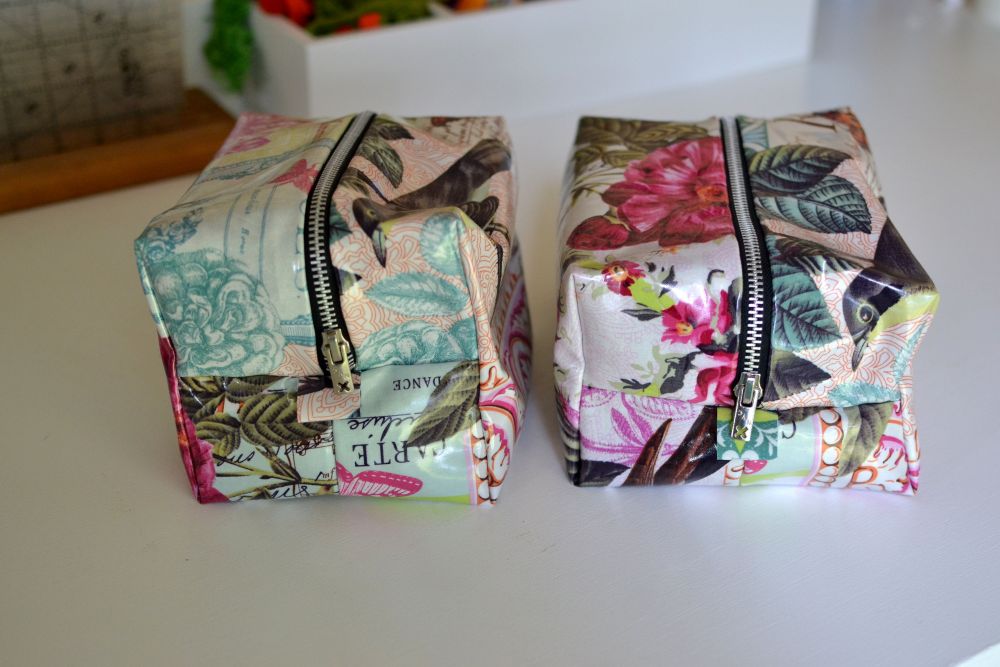
And there you go. Easy peasy. Two more gifts checked off my list. 🙂
If you want another project with laminated fabric, check out these tiny snack sacks!
So, what have you been sewing up this week? Did you make something with one of my free sewing tutorials or patterns? I would love to see! Tag me on Instagram @sewcanshe.
Disclosure: some of my posts contain affiliate links. If you purchase something through one of those links I may receive a small commission, so thank you for supporting SewCanShe when you shop! All of the opinions are my own and I only suggest products that I actually use. 🙂


