easy tutorial: elastisized booster seat cover

Does your little princess (or prince) need a new cover for their carriage throne? Mine did… you can see the pictures below. But I have to tell you that I brought the booster seat in the other day fully intending to follow Melissa’s Car Seat Cover tutorial. Her’s is absolutely beautiful and truly fit for a throne.


Here is Cadie’s booster seat… after I dumped out a whole vacuum canister full of cheerios, peanuts, and banana chips. [Funny that there were no m&m’s or skittles… cause we eat plenty of those too.] I took a look at that and read through Melissa’s tutorial and just scratched my head. How was I going to get that head rest thingy off (the one with the red adjuster thingy above it)? It was attached deep down where the sun don’t shine. 🙂

And look at all the different panels that I would have to re-create. Sorry, but I only had one afternoon and then this throne needed to be back in the carriage.

So I got to work with my tape measure and stitched up an egg-shaped, quilted cover that has elastic around the edges to hold it in place.
TAKE NOTE: This cover is for a booster seat without it’s own attached straps. There are no openings for straps like a car seat cover. The child must be old enough to be buckled in using the car’s seat belt. You can still use the booster’s seat belt placement hooks (see way below).
If you want to make one, you will need:
- 1 1/2 yards outer fabric
- 48” x 36” quilt batting
- 1 1/2 yards backing fabric
- 2 yds 1/2” elastic
- SpraynBond basting adhesive (not required, but it sure helped)
You won’t need a pattern, just grab one of your kids’ washable markers and draw right on your fabric. This will work for a high-backed booster seat like mine in the photos.
Feel free to measure your booster seat and adjust the pattern if needed, adding 6-8” all around your actual measurements.
Fold your fabric along the grain, and measure out 48” in length. Then draw 1/2 of an egg shape that is 19” wide near the bottom, and 16” wide near the top.
I had about 7” below the 19” width arrow shown that tapered to the bottom of the ‘egg.’


After you’ve cut out your ‘egg,’ lay it on your quilt batting and cut around. At this point, I used SpraynBond basting adhesive to glue my batting to my outer fabric. I folded 1/2 the egg to the side, sprayed the batting, and then smoothed the fabric over. Then I repeated for the other half.
Note: I added my backing fabric later, after quilting. If you want your backing quilted too, repeat this process for the backing.
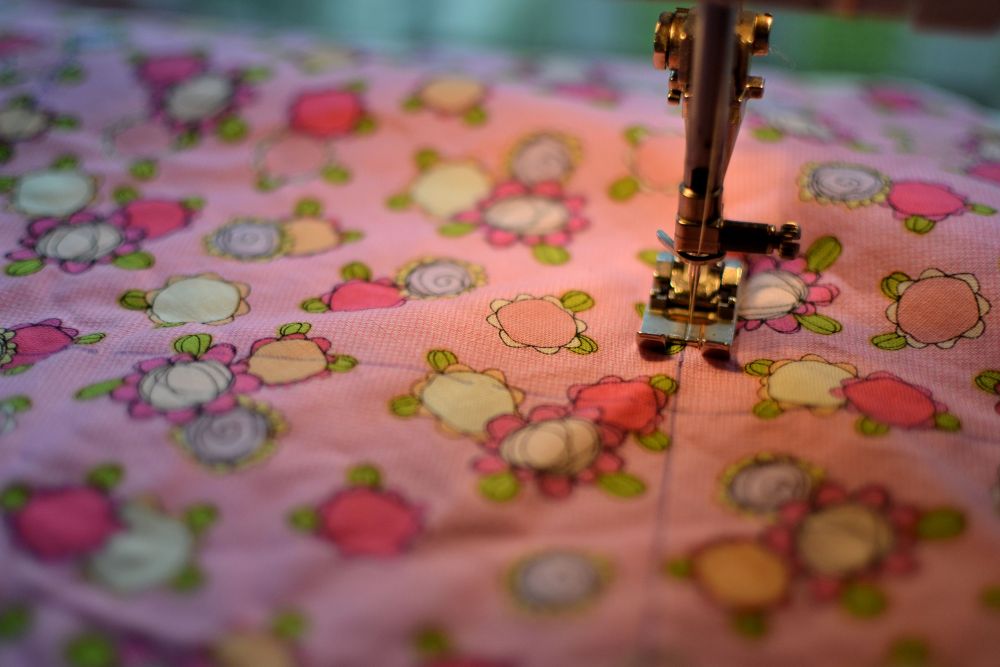
Next I drew diagonal lines on the ‘egg’ (using a frixion heat-erasing pen) and quilted along them. This step is probably not absolutely necessary, but it looks nice.
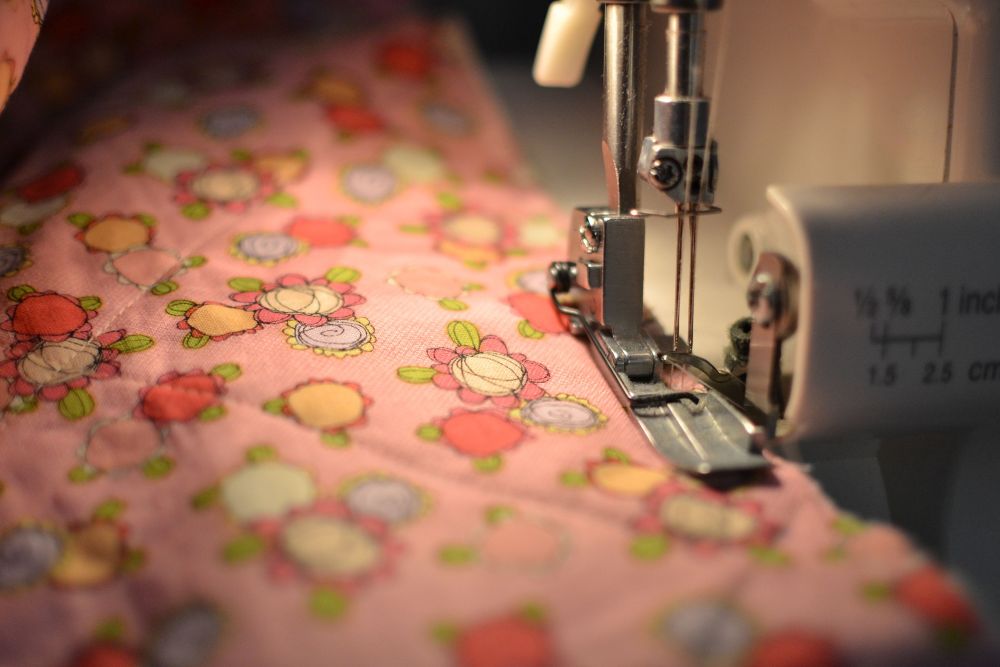
If you haven’t cut out your backing fabric yet, do it now and layer it on the bottom (right side out). Finish the edges and secure the layers together in one step with a serger or by zigzaging around with your sewing machine.
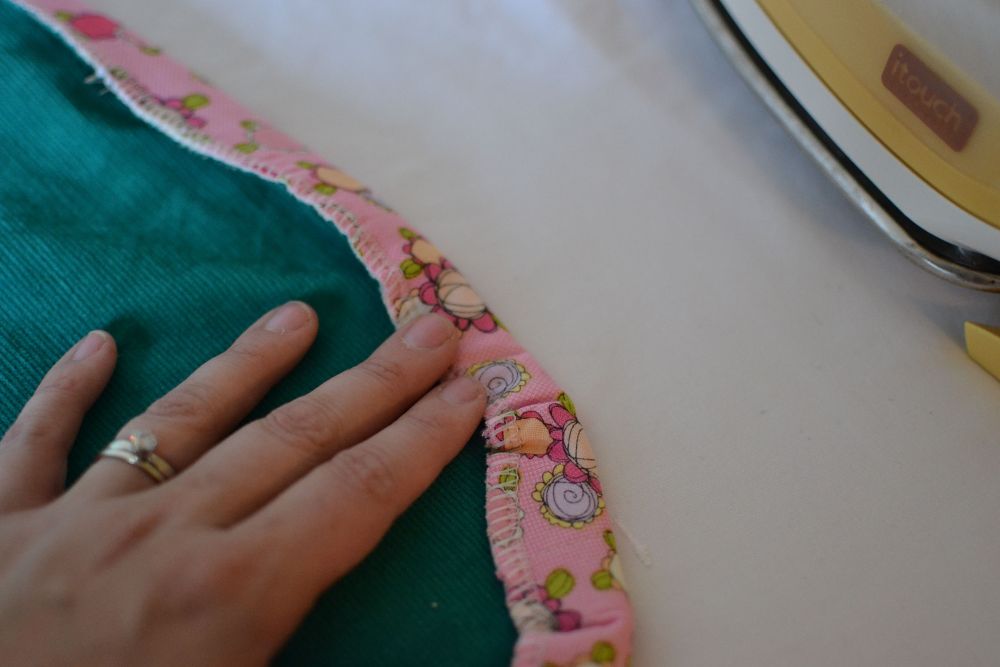
You can see my green backing fabric here. It is the green corduroy that I picked up at a thrift shop and talked about {here}. It made stringing the elastic through the casing a bit tough, but I like the weight of it.
Fold a 1” casing all around your ‘egg.’ The fabric will bunch up around the corners, just press it down with your iron.
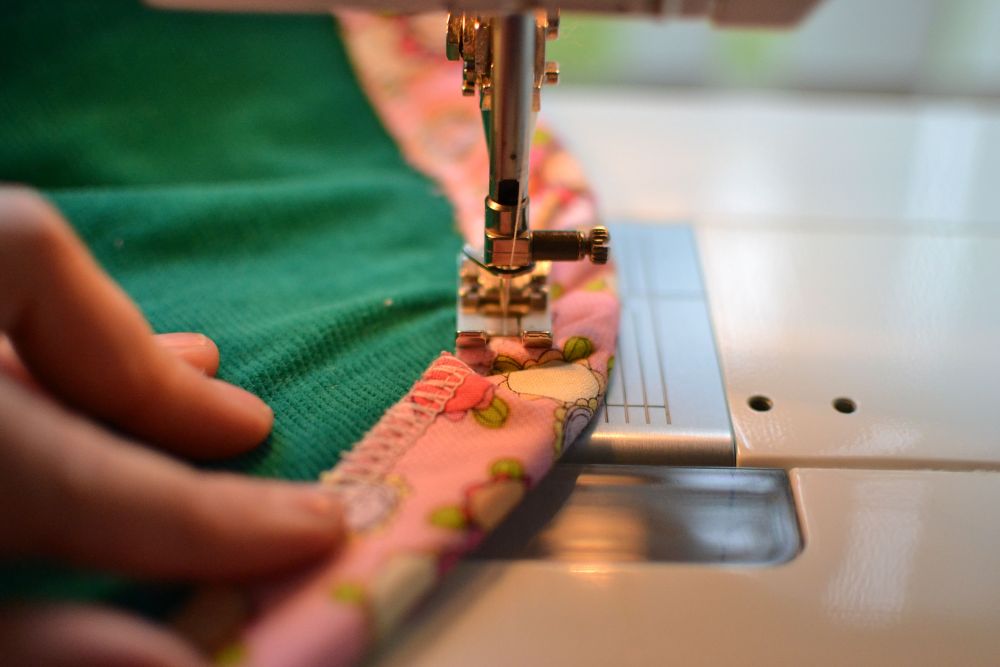
Stitch around your casing, about 3/4” from the edge. You’ll have to help around the corners, it might look a bit messy from this side, but that won’t matter.
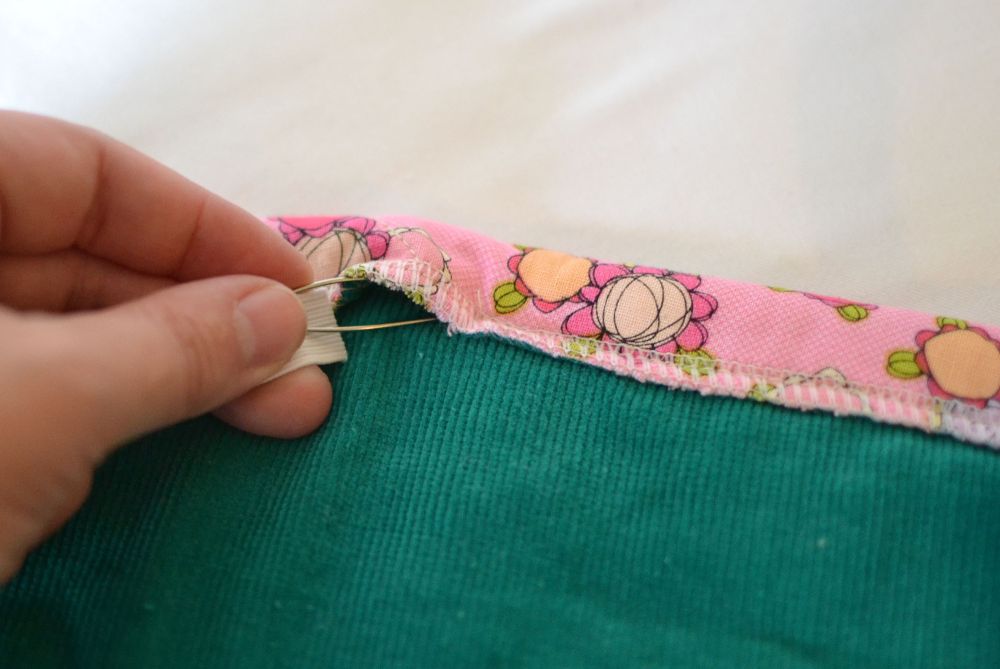
Now cut 2 yards of 1/2” elastic and pass one end through the casing with a safety pin or other tool. This was the hardest part for me. After I got around each corner, I could not get the pin to move at all. I had to pick out an inch or so of the casing stitches where the pin got stuck, pull out a bunch of elastic, and then re-insert the pin and push until I got stuck around the next corner. I think this happened because of the non-slippery corduroy, but I wanted to tell you my solution in case it happens to you too.
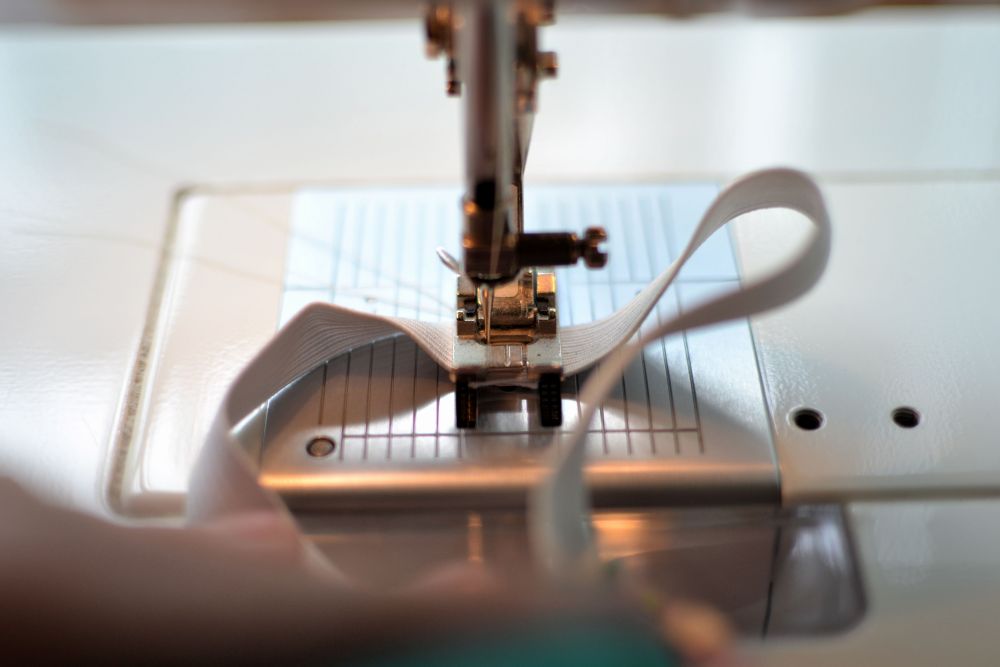
FYI: 2 yards of elastic is too much, but it is a convenient amount to slide through. Once you get it all in, put the cover on the booster seat and pull elastic out until the cover fits snugly, but you can get it on and off with ease. Cut off the extra and sew the ends together. Close the opening (or all the openings – for me) in the casing, and you’re done!

Why is it so much more fun to sit in a booster seat when it’s not in the car???

This cover lets you easily use those little guides for the seat belt if your booster has them.

One more added bonus: when the granola bar pieces, chex mix, and peanut-butter sandwich crusts accumulate in the seat of this cover, you can quickly take it off, shake it out in the grass (feed the birds), and put it back on. Sweet!
Let me know what you think!

Disclosure: some of my posts contain affiliate links. If you purchase something through one of those links I may receive a small commission, so thank you for supporting SewCanShe when you shop! All of the opinions are my own and I only suggest products that I actually use. 🙂
