Sewist’s Troubleshooting Steps {for the frustrated sewing machine}
Every couple of months I receive an email (or facebook post) from a sewist frustrated with her machine. I received one recently from a woman who wrote that her sewing machine would work okay for a bit, and then the thread would get all bunched and tangled underneath. I wanted to help her, but it’s so hard to do that when you’re not standing there to see what’s actually happening.
But I didn’t want to ignore her request, since I don’t know how many times I’ve been helped by strangers answering my message board screams (about all kinds of sewing or computer related issues).
So I gave her some basic things to do and sent off my response crossing my fingers and hoping that I would hear back that she was able to fix the problem. Yay, she was!
Then I started thinking about it, and the things I advised her to do are the same steps that I automatically follow every time one of my machines stops working the way I want it to (except for the last step since I refuse to buy cheap thread anymore).
So here are my
Sewist’s Troubleshooting Steps
just in case someone else feels frustrated with their machine:
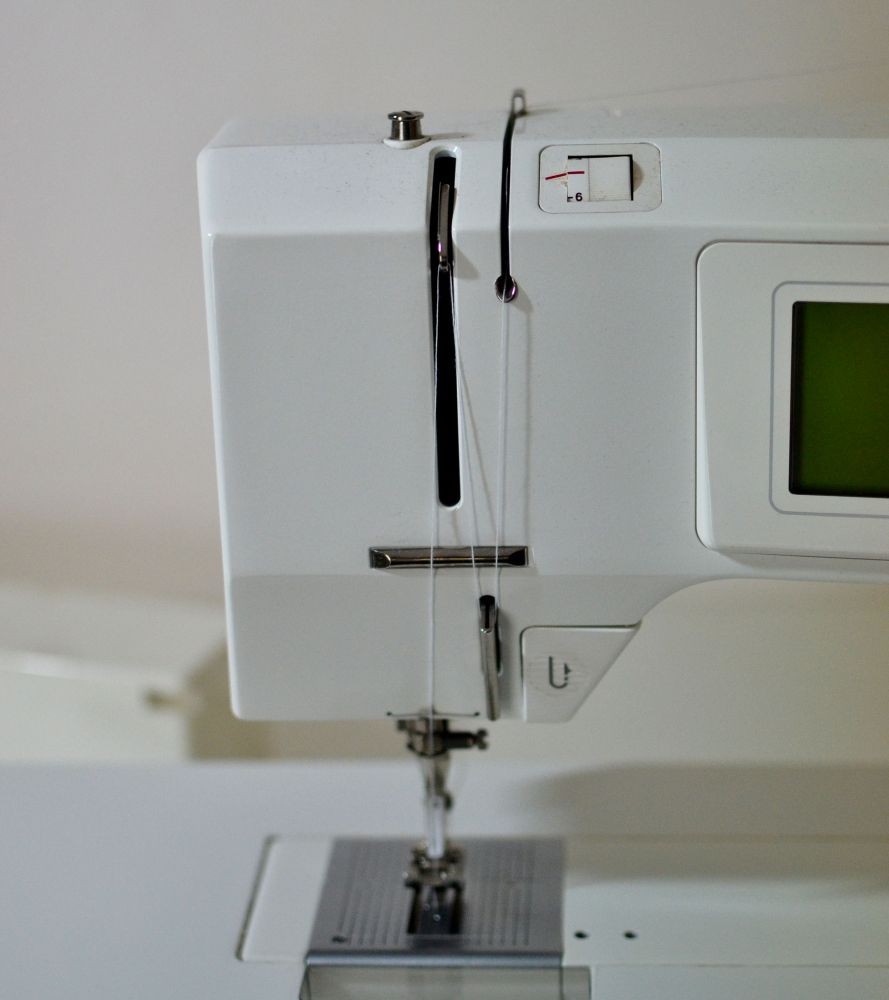
1. Check that your thread is properly run through the right channel(s) and then the needle. It’s a simple thing, but it can come undone sometimes and cause problems. Most times, extra thread bunching underneath means little to no tension above. Holding your ‘thread tails’ every time you start can prevent the little ‘bird’s nest’ on the bottom too.
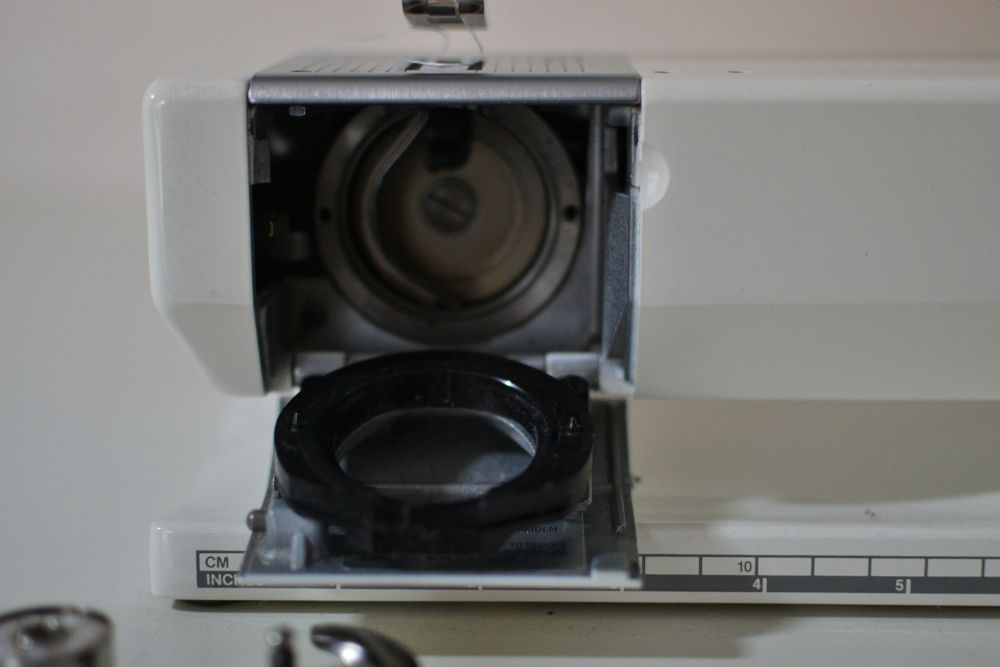
2. Open the bottom part of the machine (down where your bobbin goes) and clean out all of the lint and thread pieces. This needs to be done pretty often to ensure smooth sewing. It is especially true if you don’t have the drop-in style bobbin. If you are unsure how all the parts come out and go back together again, check your manual. It should show you how to do a proper cleaning. {If you sewing machine requires regular oiling, you might as well add a few drops now while you have everything open and clean.}
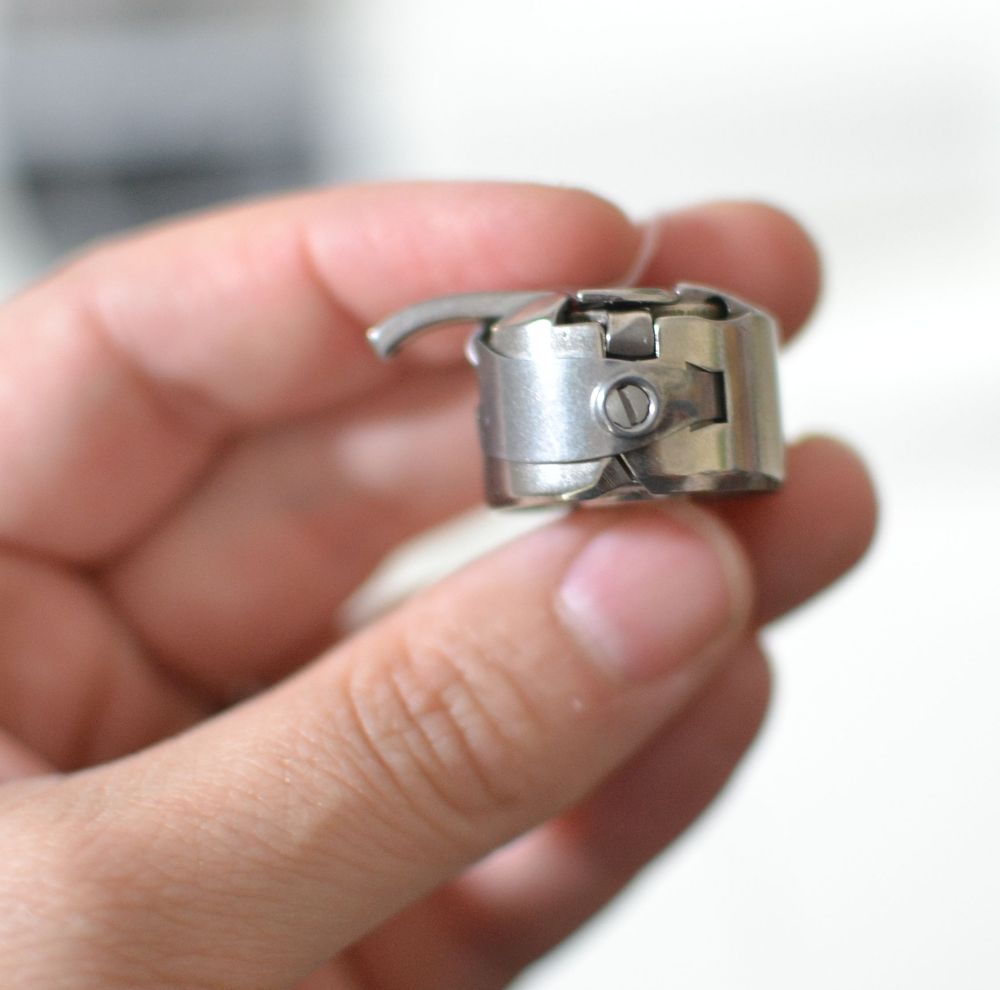
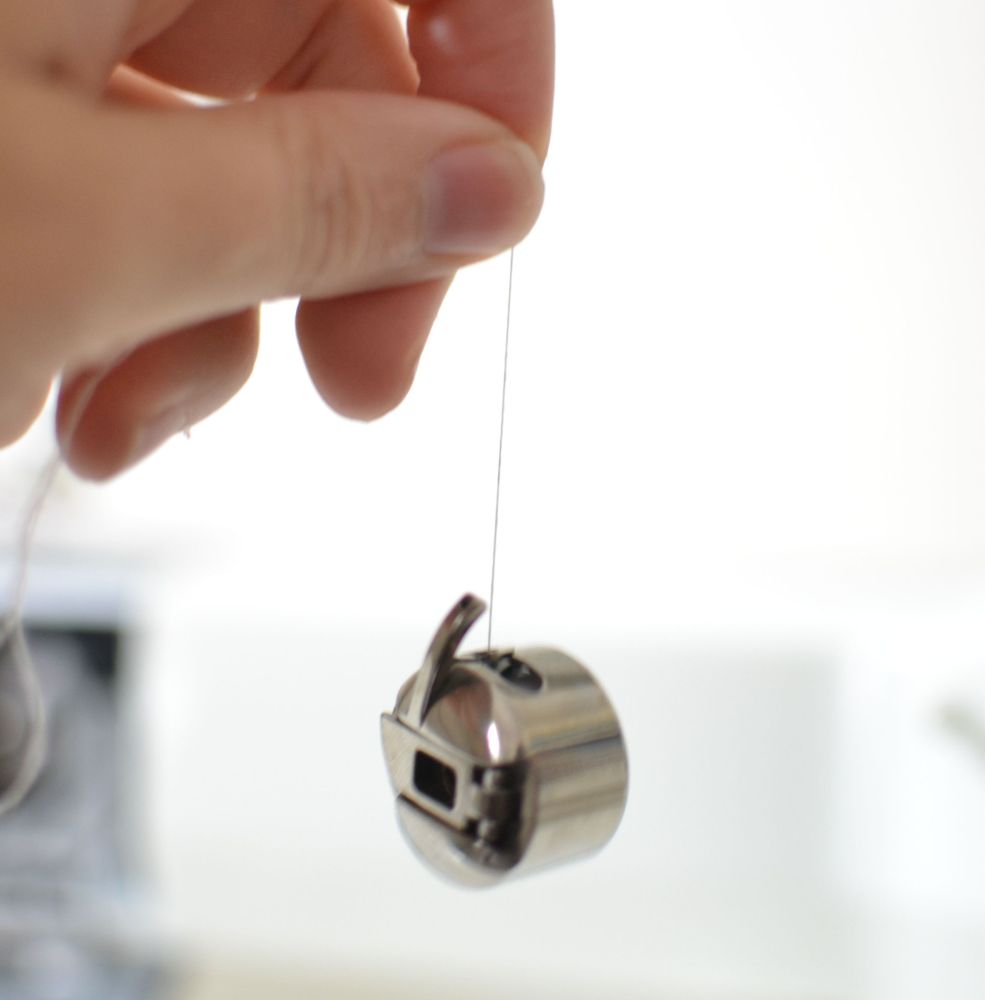
3. Check to see if your bobbin tension might need adjusting. When I had a drop-in style bobbin, I never had to do this. But since I bought a machine with the little bobbin case that you have to take out and put back in yourself, I have had to use a tiny screwdriver (included with the machine) to fix the bobbin tension occasionally. Your manual should tell you about this if it ever needs to be done. Generally, you should be able to hold the bobbin by the thread and with a gentle shake, only a couple inches of thread comes out. Check your manual for your specific bobbin tension.
4. Change your needle.
Sometimes the needle might be slightly bent, have a burr, or be misshaped in
some way that you can’t see. Also make sure that you are using the correct
needle for your fabric – sharp for woven and ballpoint for stretchy knit.
Leather, Jeans, and Topstitching needles can come in handy too. Sometimes
changing your needle can be the miracle fix.
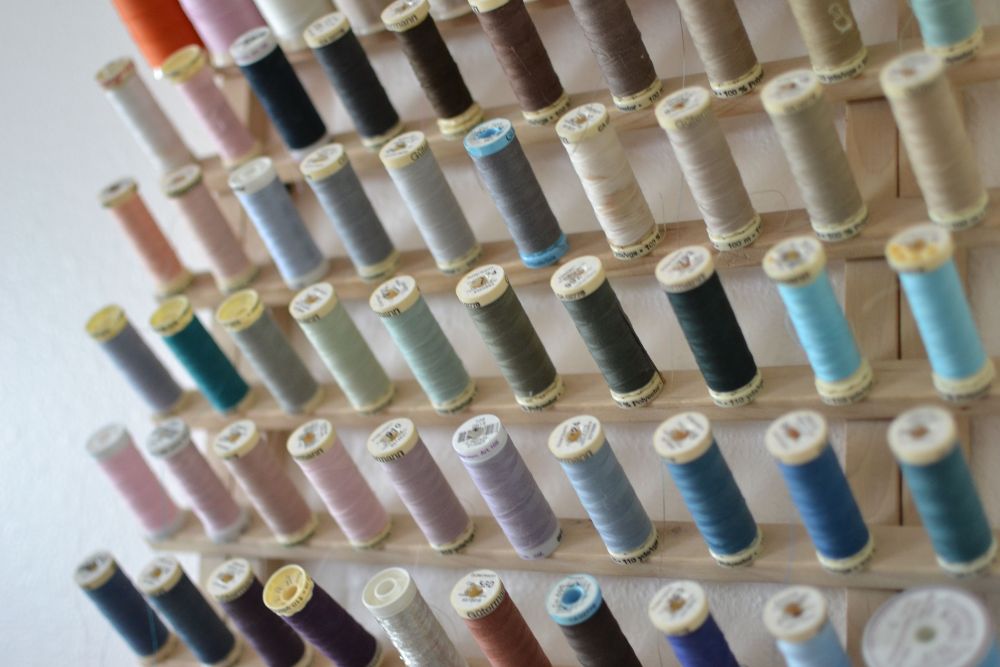
5. Lastly, what kind
of thread are you using? My singer was so finicky that I ended up switching to
Gutterman, Mettler, and other high quality threads exclusively. The finer
quality thread made a huge difference, and it isn’t really all that more
expensive.
These steps will solve
95% of your sewing machine problems (unless your machine is really broken).
Regular maintenance is also key to keeping your little sweetheart purring, so
don’t neglect regular cleaning, oiling (if required), and dealership visits as
recommended in your manual.
Happy Sewing!
Disclosure: some of my posts contain affiliate links. If you purchase something through one of those links I may receive a small commission, so thank you for supporting SewCanShe when you shop! All of the opinions are my own and I only suggest products that I actually use. 🙂
Great advice. I’m knew to sewing and am finding your blog invaluable. If anyone knows what causes the thread to bunch up underneath I’d love to know. I frequently have this problem, one minute the machine is stitching away just fine and suddenly the thread becomes tangled up.
Thank you Nicci! Thread bunching up on the bottom is usually a problem with the upper tension (see #1 above). Also make sure you hold on to the thread ‘tails’ whenever you start stitching. xoxo
Thanks for the advice. The tension seems okay but I’ll double check next time. I know I’m definitely not holding on to the thread tails so I’ll remember to do that in future. It’s been nearly 30 years since I last used a sewing machine and back then I was terrible, but I’m teaching myself with the help of all the amazing advice online and loving it. Who knew you could get so excited about making a tote bag! 🙂
Thanks. I often have issues with the bird nest underneath. It’s most likely my bobbin. I have the pull out case so I’ll check there first.
I totally agree on the thread thing — the 100% polyester threads don’t give me near the number of problems I got with cheaper thread!
I also try changing the needle if things don’t get better. If the needle has gotten dull, or isn’t perfectly straight, my machine won’t stitch properly. She also doesn’t like cheap thread, so I have stocked up on good quality thread. These two small things make a big difference! Thanks for the tips.
Of course! I can’t believe I left the needle out. I’m going to add that now. Thank you! 🙂
A couple other things to check:
If you are able to, run some dental floss through the tension of the machine to remove any lint build up there. The tension discs may no be seating properly. Even drop in bobbins need to be cleaned of lint. My machine will start chattering and the bobbin will tangle if there is too much fuzz.
Another thing to check is the lever that goes up and down between the tension and needle (it’s name escapes me right now). Make sure no thread got wrapped around it. Also check for burrs on the plate the needle goes through. You can use an emery board if you don’t have fine sandpaper to smooth them. If the needle hits the plate it can make rough spots.
Hope this also helps.
Sharon Lefavor
http://www.littlerosecreation-s.blogspot.com
Thank you, Sharon. All good advice. 🙂
Is it possible to have instructions as clear for threading a Coverstich machine.
For all the beginners who are planning to buy a sewing machine, here are some tips to consider before purchasing the right sewing machine for you. First, you have to consider the simplicity of operation. A <a href="https://beginnersewingmachinehub.com">sewing machines</a> that is simple to use in your level of experience will set as a training platform to improve your skills in sewing. A user friendly sewing machine is what I offer you. Just visit our site at https://beginnersewingmachinehub.com
My manual tells me to check the tension as in the illustration in #2, but when I do, my bobbin falls out. I’ve bought new bobbins that are supposed to be for my machine. I’ve been noticing loops occasionally on he underside of my seam. Any suggestions?
This normally happens when the tension on the Bobbin is excessive. Reduce this and rather use the option of "Balancing" the tension through the use of the Upper Thread Tension Mechanism.
2. Check that the clips that holds the bobbing sitting underneath are not loosed.
Jesus Loves You.
Caroline,
Is this your machine in the picture?
Bernina 1630? If it is do you still have it?
Hi Loretta. It is a Bernina 1530 actually. She’s a sweetheart. I still use her often. 🙂
one more thought on bunching and nesting underneath…will happen if—
as you begin or midway you’ve raised presser foot lever to adjust fabric and
FORGET to lower presser foot lever…
lowering it engages the tension discs.
many machines you might not notice it’s still up and easy to absentmindedly start with it up.
it’s happened to me esp when free motion quilting and i’ve been sewing 50 years.😁