Making Faux-Leather Bag Handles
This was so much fun. Making bags is fun (in my opinion), and being able to make everything from scratch, including faux-leather handles is just icing on the cake.
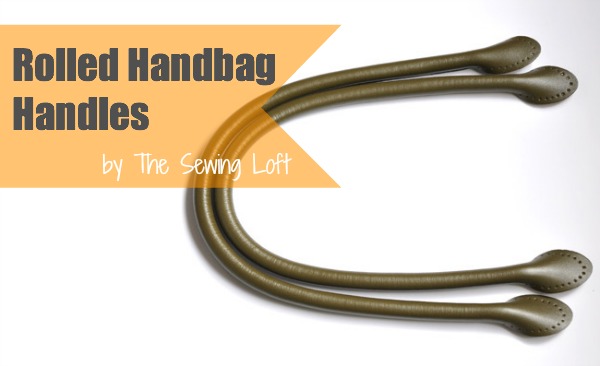
My inspiration for trying this at all was Heather’s blog post over at The Sewing Loft. But when I sat down to actually do it, I found that her blog post leaves much unsaid. Like how thick your cording should be, how wide you should cut your leather (or faux-leather strips), and what type of needle to use. So I am humbly offering a little more detail. I hope she doesn’t get mad. 🙂
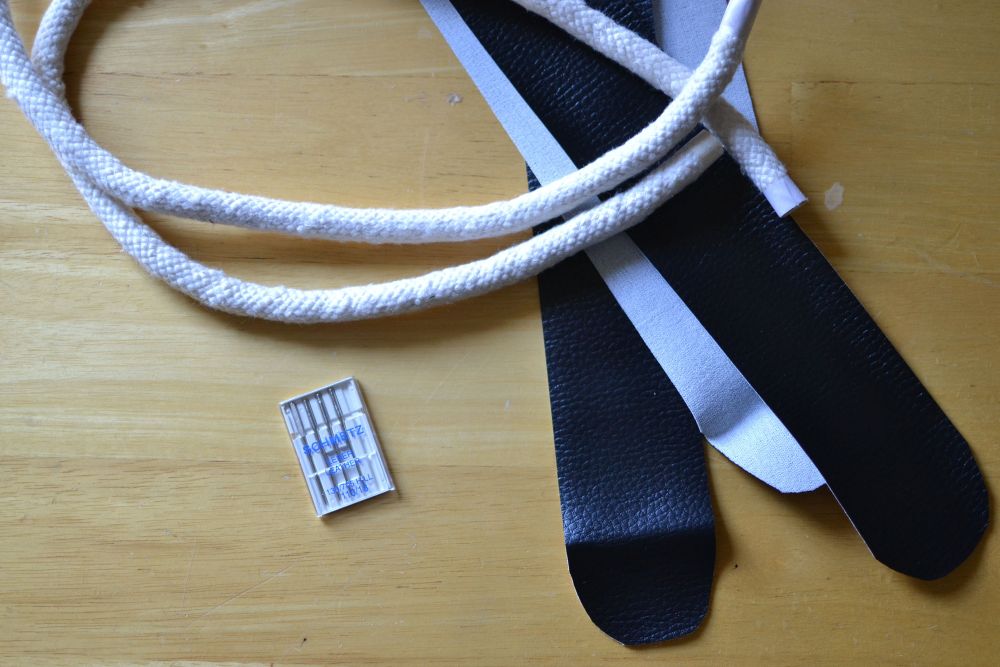
I used 1/2” upholstery cording (from Joann’s) – this produced thicker than standard handles. 3/8” cording would probably create the size handles in the picture. Wrap the ends of your cording with tape before or after you cut them.
My faux-leather came from Joann’s also. They usually have lots in the clearance rack and it’s cheap. My bag pattern called for 28” handles, so I cut 2” x 28” strips and rounded the ends. My cording pieces are 26” long.
Do not try this without leather needles. Even if you are just using faux leather. Make it easy on yourself and your machine.
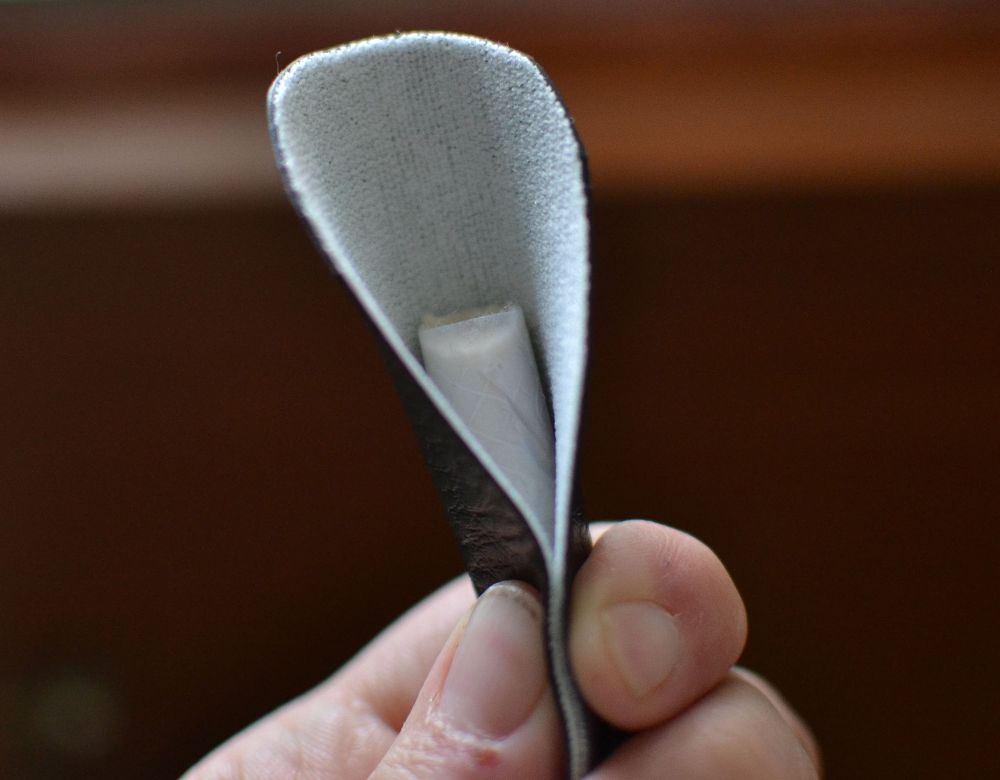
Wrap the strip of faux-leather around the cording. Don’t worry about the raw edges. We’ll take care of them later.
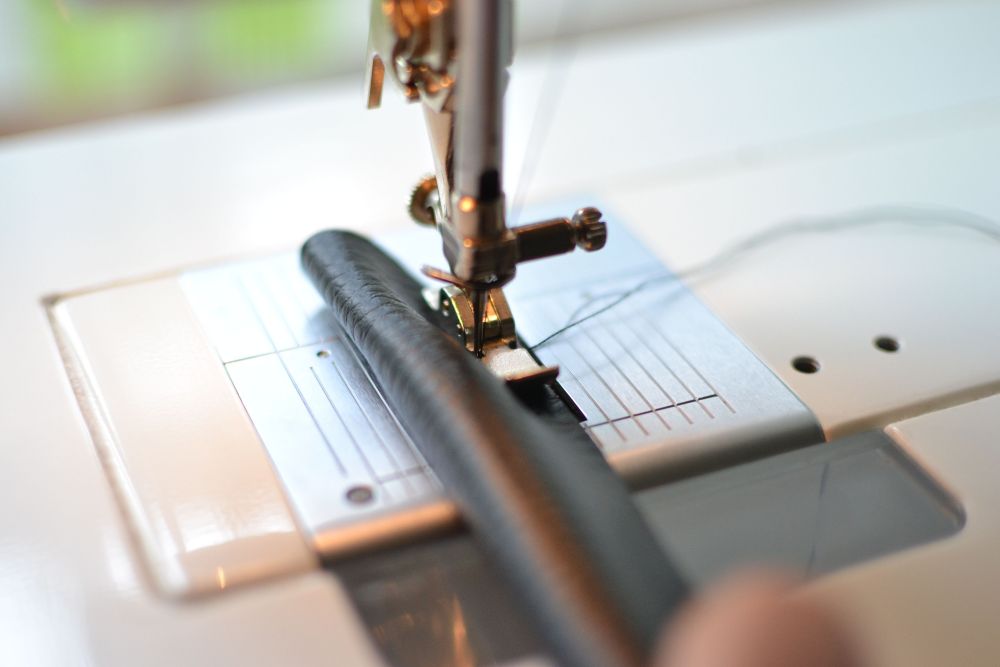
Begin sewing 1” – 1 1/2” from the end. I started exactly 1” from the end and it made tiny little nubs to sew on my bag. It would probably have been easier if I started 1 1/2” from the end. Lengthen your stitch to at least 3mm, and be sure to backstitch. Use a zipper foot if you have one.
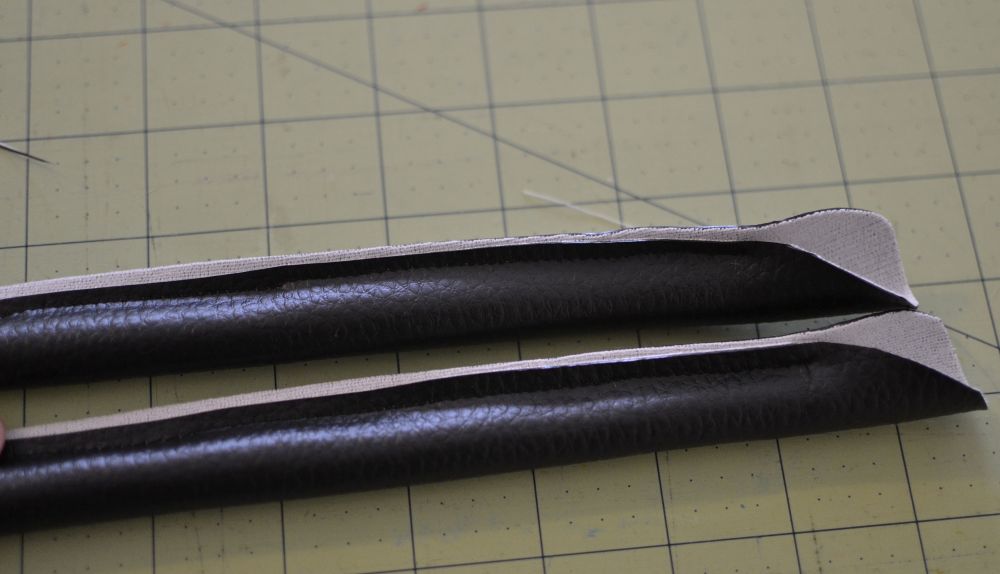
As hard as I tried to keep my two raw edges lined up, the top one slipped back about 1/8”. No biggie. I just trimmed my seams down to 1/8”.
Now about that white line all the way down the edge…
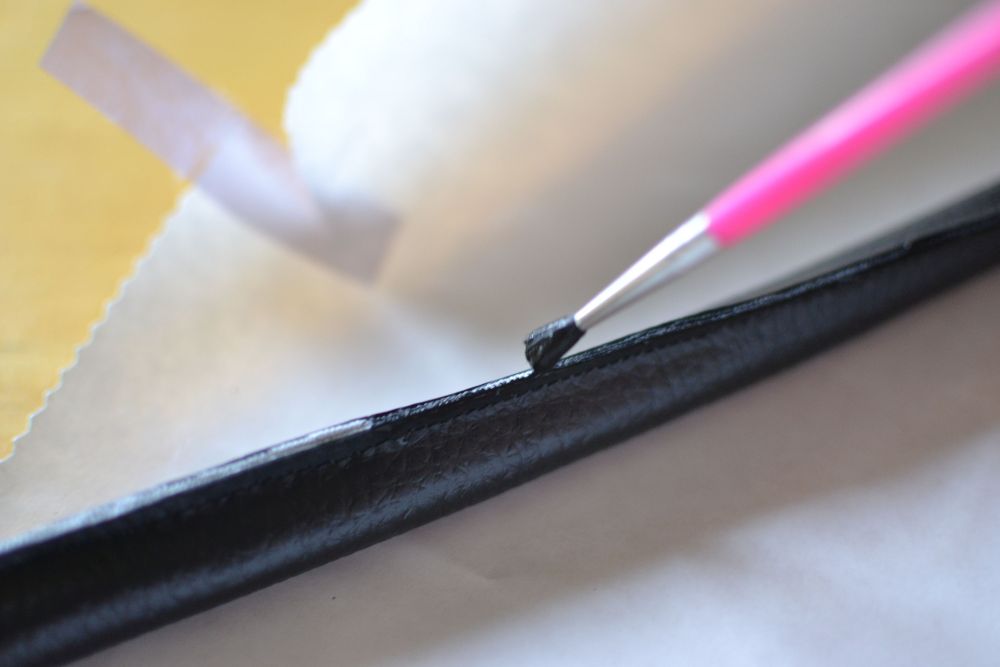
You can use fabric paint to cover it up. The paint took longer to dry than I expected (probably because I was painting on plastic), so plan accordingly.
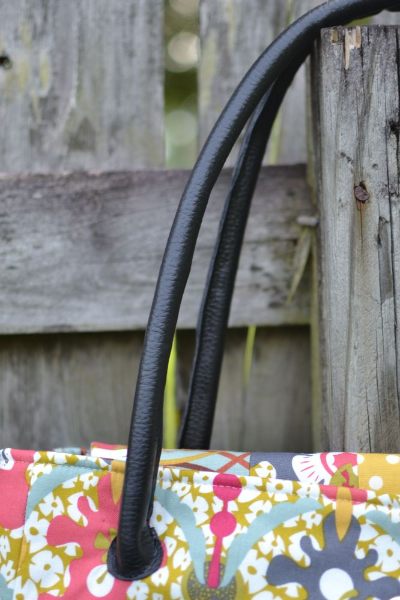
Now just mark the handle placement on your bag and sew it on, still using your leather needle. I double stitched around my handle to make it extra secure. I also pinned my handles to the bag recklessly putting holes in them. That’s bad, but I sometimes do bad things and can’t help it.
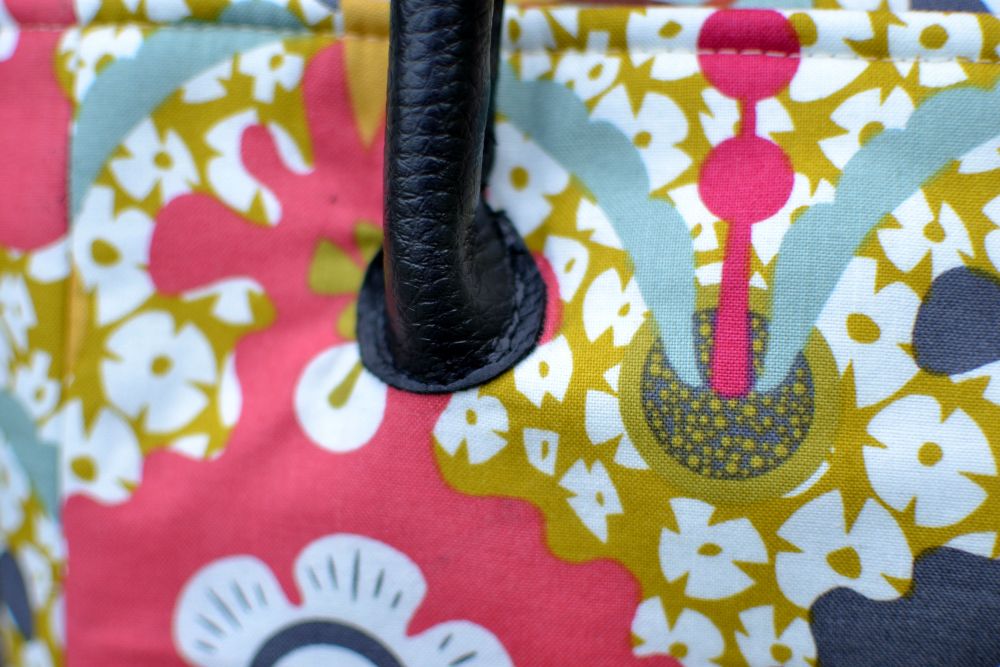
Here you go… handmade handle! I know it doesn’t look store-bought perfect, but I love it. My logic is that if everything I made looked store-bought perfect, no one would think to ask if I made it, and I’d never get the chance to show off. So I love my little handmade imperfections. <3
Happy sewing this week! Can’t wait to see what you bring to our Show Off Saturday Linky Party. Be sure to vote for your favorite project from last Saturday, so it can get spotlighted on Friday!
Disclosure: some of my posts contain affiliate links. If you purchase something through one of those links I may receive a small commission, so thank you for supporting SewCanShe when you shop! All of the opinions are my own and I only suggest products that I actually use. 🙂
I love it Caroline! My tutorial was just a quick tip to let everyone know how they are created. The size of piping completely depends on the width of the strap. My favorite part of your tut is that you painted the edges. Great job!
~Heather
Thank you Heather! I’m so glad you like it. Your blog is so inspiring! xoxo
Good tutorial. You can also use a sharpie to paint the edges. I was able to find a 1/2 inch welting foot that I use for corded handles, and it makes a big difference. Sewer’s Aid on the bottom of the foot helps it glide. My tips to help you next time. I liked the idea of rounding the ends and never thought of that. Great take-away. Thanks for posting.
Do we need to watch for on grain when purchasing the faux-leather? Or will the cording keep it from stretching?
great tutorial love the part about painting the edges !
Thank you Valerie!
Thanks for this great tutorial! When you attach the handle to the bag, do you sew through all layers including the lining, or do you add some support behind it?
Pedita
Hi Pedita,
I put my handles on last and sew through all layers including the lining.
Thanks for reading!
Caroline
I don’t know if I can explain this correctly but will try. If you make your cording almost as long as the ‘leather’, you can fold the leather back out of the way, stitch the cording first back and forth a few times. This will flatten it and add the extra strength that is needed for a large bag. A small piece of re-enforcement fabric can be placed on the wrong side behind where the handle is to be attached.Now sew the leather so it just barely covers the cording. Now you have strong and pretty. Hope this helps.
Hi Cynthia – thank you for the tip! I’m going to try it. 🙂
Caroline
Hi Caroline,
Your post inspired me to make my first bag handles. So I am linking this post on my <a href="https://letsmakeitlovely.blogspot.com/2014/08/diy-round-corded-bag-handles-easiest.html">DIY Round Corded Bag Handles the Easiest Way Ever </a> post. Please let me know if you have any objections with it.
Thank you 🙂
Roopini,
<a href="https://letsmakeitlovely.blogspot.com/">Let's Make It Lovely </a>
I find that practice makes perfect. Next time will be better. The little mistakes are learned & then you know better for the future.
Thank you for the information. I am new to making bags and I’m looking forward to trying this. You have inspired me, I can do this! : )
Hi and thanks for the tutorial. I think you may be able to use a permanent marker on the edges instead of paint. That would dry fast and save you the waiting. Nice work. Thank you for sharing it!
Hi, Just want to thank you for the post – it’ll save me a small fortune lol
This is excellent and I can’t wait to try it. Thanks. Valerie
I tried this with faux leather and it wouldn’t curve nicely- like trying to curve fabric when it’s cut on the straight grain. Would it make sense to bias cut the faux leather? The backing has a grain to it, but not the top…grr!
This is going in my file for handles. Thanks! I am on a mission to replace the ratty fabric handles on a favorite Vera Bradley tote.
Love this tutorial and your disarming openness about mistakes and imperfections. Thank you. 😊