Classic Blocks: Bear Paw Quilt Block

Learn how to sew the Bear Paw Quilt Block!
In case you are catching this blog series for the first time, we’re spending a year making gorgeous quilt blocks using the classic patterns and fresh modern fabrics from Anna Griffin and Blend Fabrics! So far we’ve made the Yankee Puzzle block, Spinning Spools, the Rail Fence Block, the Variable Star, the Sailboat Block, the Dutchman’s Puzzle Block, the Churn Dash Block, the Friendship Star, and the Snowball and Nine Patch blocks together!

Quilt Math:
Up until this point, we have used the BlockFab app for iPhone and iPad to help us do the math for any size block. The Bear Paw block is included in the app so you could use it to calculate cutting measurements if you like. But I was in a hurry and decided to try something new.
Looking at the Bear Paw block, we see that it is made up of two sizes of HSTs (half square triangles) and one small square in the top right hand corner.
Speaking in terms of finished sizes, the small HSTs are 1/3 of the final block and the large HST is 2/3 of the finished block. Since I wanted to make a 3” block, I needed four 1” HSTs and one 2” HST.

Did I tell you that I made this the day before Thanksgiving? Since I was on a definite time schedule, I decided to try some free printable HST papers. These are available at Quilting and Whatnot and print on letter size paper. I had some sample pages of Carol Doak’s Foundation paper that C&T had sent me so that’s what I printed on. The benefit of Carol Doak’s paper is that it’s lightweight and meant to tear away from the stitched fabric easily. Regular printer paper is ok too.
I printed up one page for 1” (finished) HSTs and one page for 2” (finished) HSTs.
NOTE: There are other methods for making HSTs, too. If you don’t want to use paper, I like Amy Smart’s tips here.

To use this method, cut two pieces of fabric the same size as the paper and place them right sides together. Pin the paper on top.

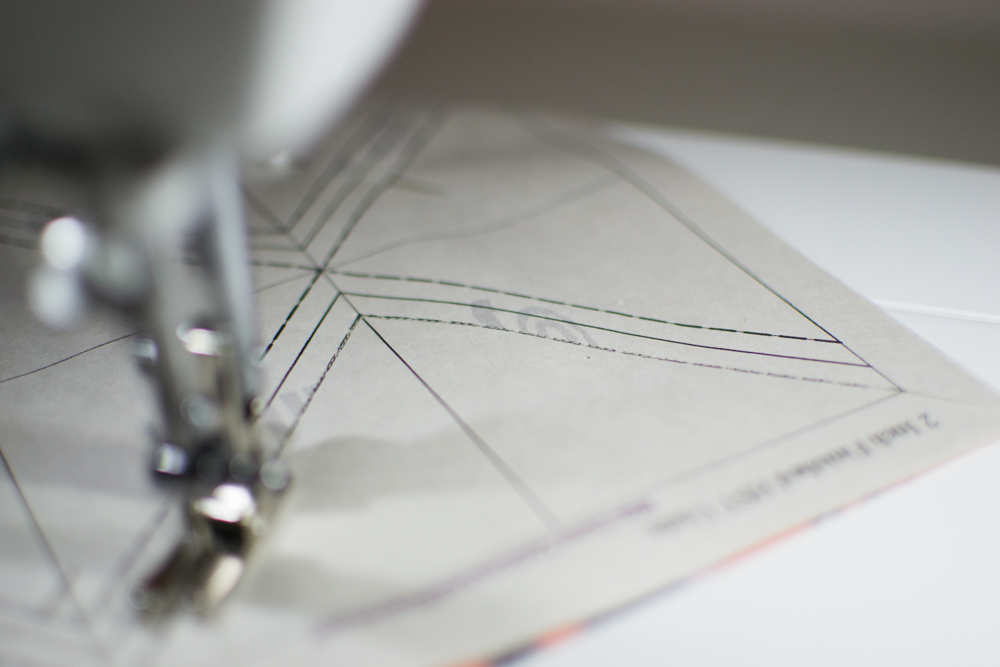
Stitch along the zig zag dashed lines.
Reduce your stitch length to about 1.5 to perforate the paper more and make it easy to tear away.


Cut along the lines, tear away the papers, and press the little HSTs open. Perfect!

First I made a ‘page’ of 2” (finished) HSTs and then I made a ‘page’ of 1” (finished) HSTs.
You will also need to cut 1 plain square for each block that is 1/3 the size of the finished block.
My finished blocks will be 3”. The finished plain square should be 1”. With seam allowances I needed to cut 1 1/2” squares.


Layout each block and stitch the squares into the bear paw pattern.

And here’s my mini! It’s only 9 1/2” square.
Happy Sewing!
Disclosure: some of my posts contain affiliate links. If you purchase something through one of those links I may receive a small commission, so thank you for supporting SewCanShe when you shop! All of the opinions are my own and I only suggest products that I actually use. 🙂
