Quick Quilting Tip: Nesting Seams
Don’t you just love quick little tips? Heaven knows I can’t learn something complicated all at once, but it’s easy to pick up a little thing here and a little there and suddenly I have skills!
That’s the way I feel about quilting. I remember sewing my first quilt block (that is not it, lol!). I bought one of those ‘block of the month’ kits at the fabric store and I got so frustrated when my block was turning out nothing like the picture. I don’t even think I finished it. Years later when I decided to try quilt making again, I didn’t give up. I had babies to sew for so I finished those quilts and kept making more. With each one I learned something new and I’m still excited to learn new tricks and skills that make my quilts look better.
When Amy Smart of Diary of a Quilter invited me to participate in her Quick Quilting Tips series (that starts today!) I was totally excited and humbled be included among an amazing group of quilters who will be sharing tips. As I write this I can’t wait to read their post too!
So my tip is nesting seams. Nesting your seams will help you get your perpendicular joints matched up and with practice the intersections will be perfect looking…. most of the time. 🙂
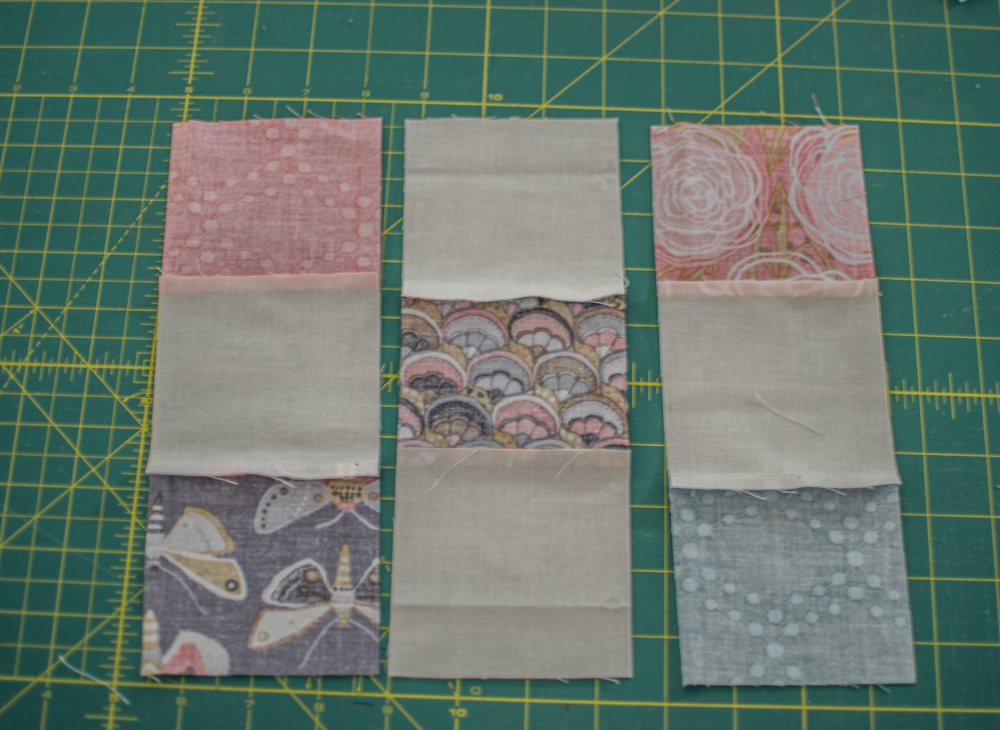
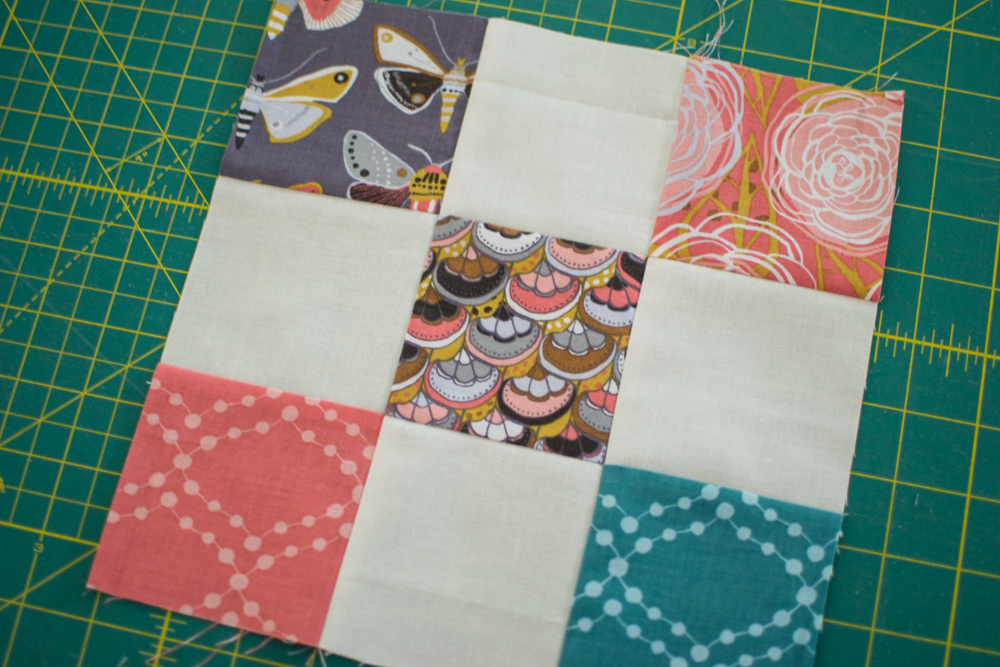
Here is a nine patch block that I’ll demonstrate on. I’ve already sewn three rows with three squares each. Nesting your seams starts with the way you press them. Some quilters prefer to press their seams open to make the quilt top lay flatter, but I usually prefer to press my seams to one side, which allows me to nest my seams and have nice intersections without using pins.
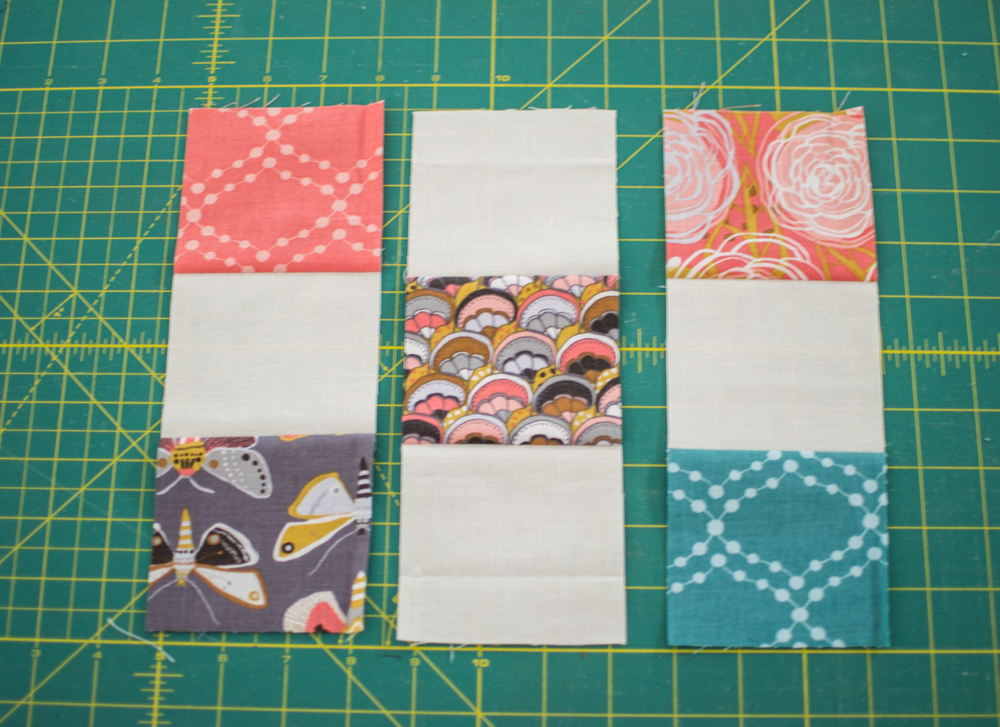
You must plan ahead so that at each intersection the seams are pressed in opposite directions. You can see here that I pressed each seam toward the print blocks. Since it is a checkerboard design, this was an easy way to prep my seams.
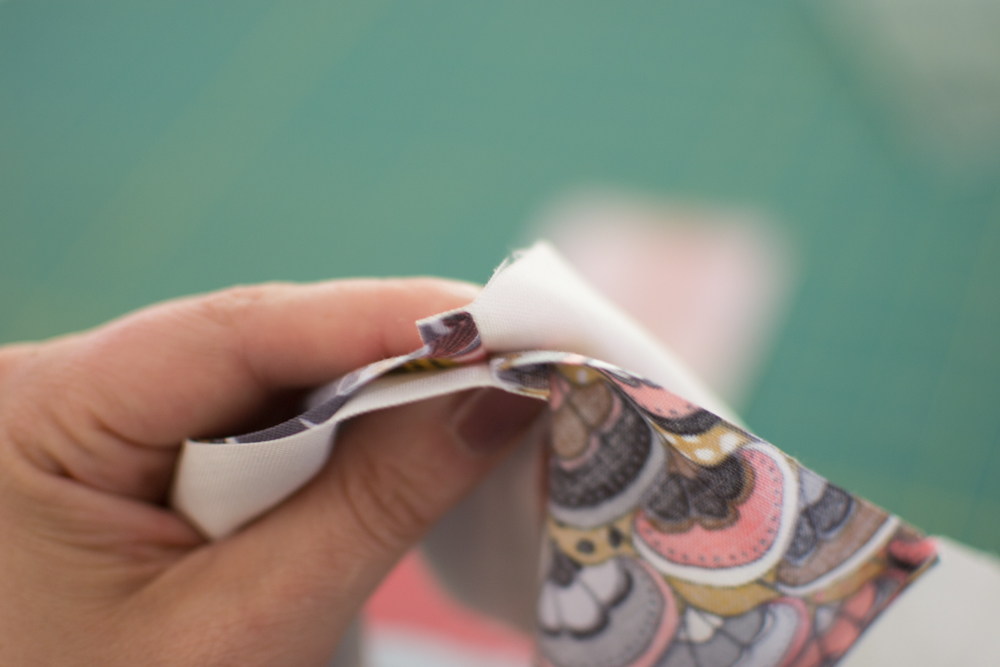
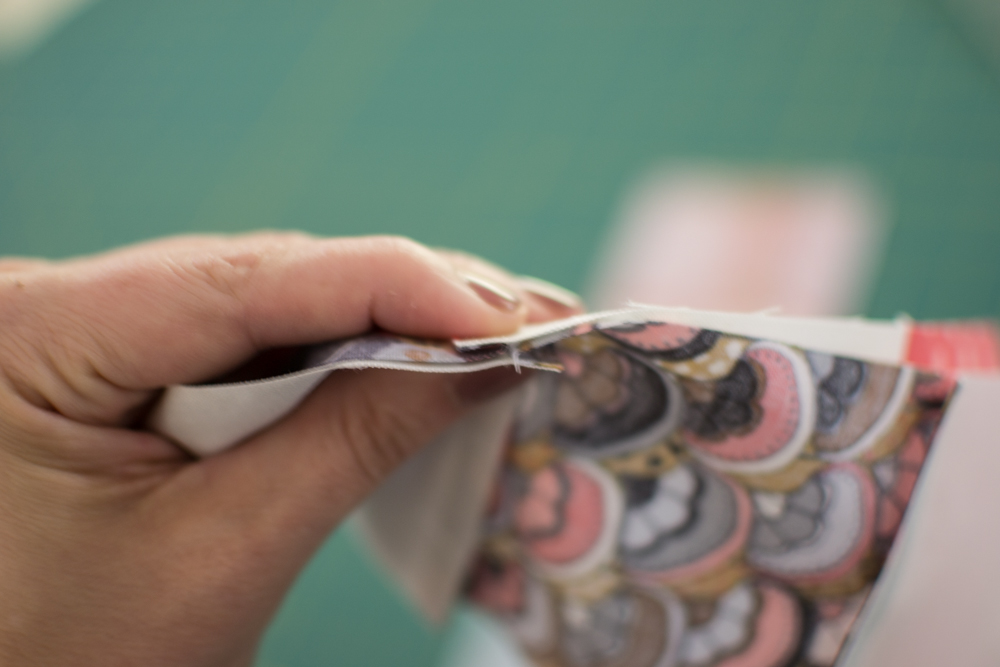
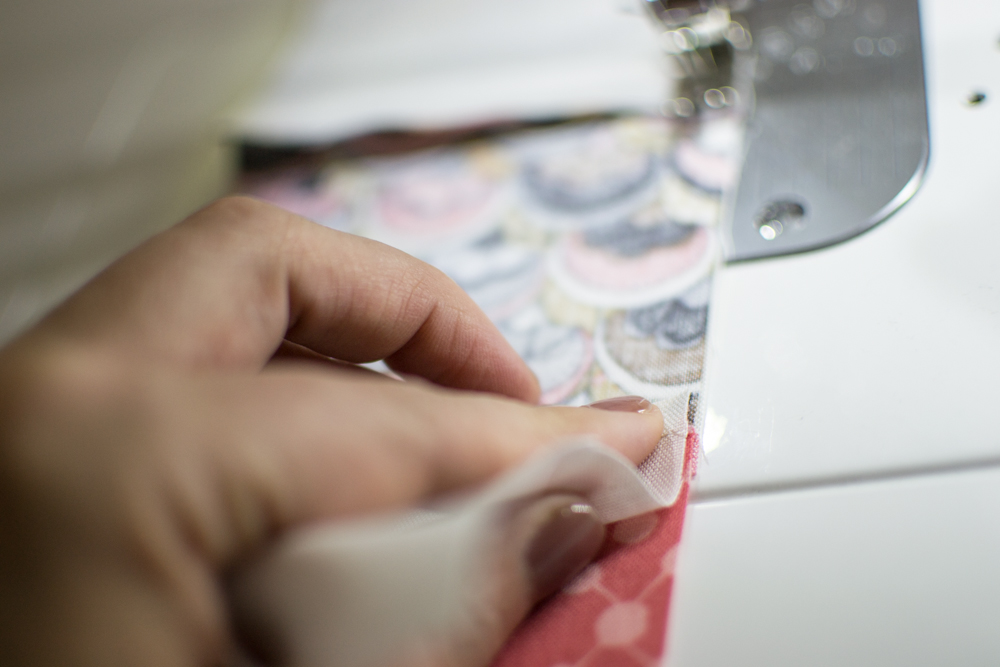
Now it’s time to stitch those rows together. Place two rows right sides together and at the first intersection, wiggle the strips between your fingers until you feel them ‘lock’ together. They they should fit nicely and tightly since you pressed the seams in opposite directions. This close fit is more important than whether or not the raw edges meet perfectly at the starting edge.
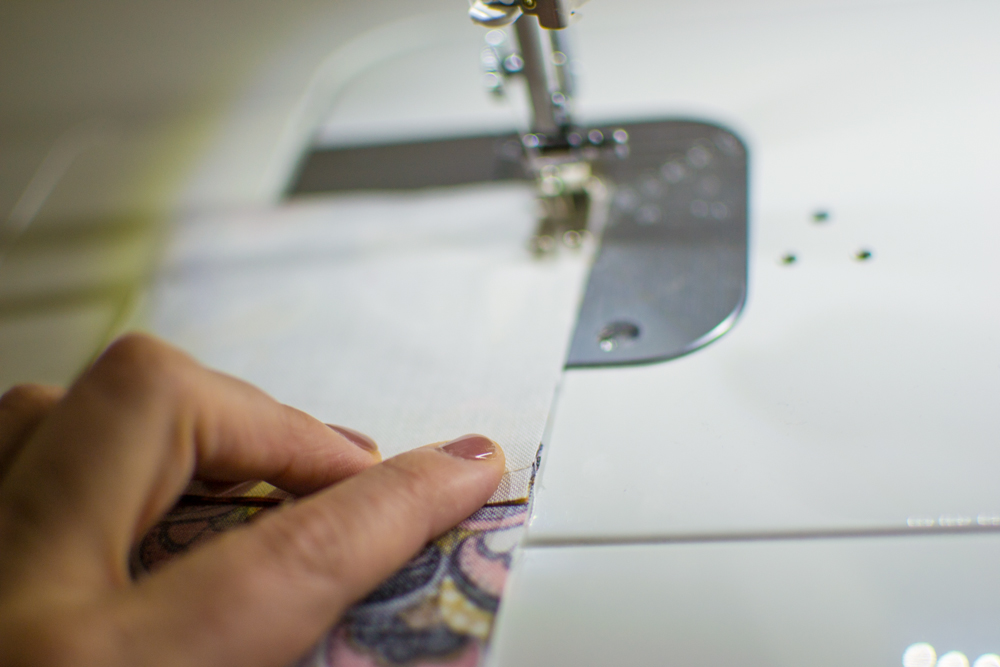
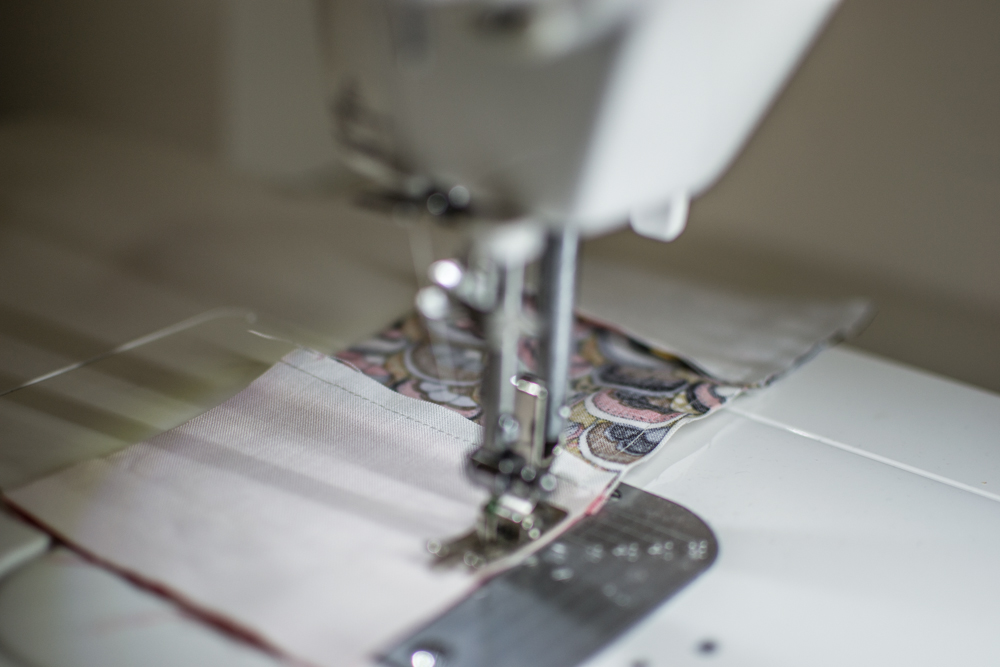
Now place the row under your sewing machine and stitch. Keep your finger on the intersection to keep it ‘locked’ right up until you needle goes into it. I have tried this using a pin at the intersection instead of my finger and I find that my finger works better. 🙂
When your needle goes down into that first intersection, you can now get the next one ready. Wiggle the blocks together until you feel them ‘lock’ and then hold the intersection with your finger as you stitch your way to it.
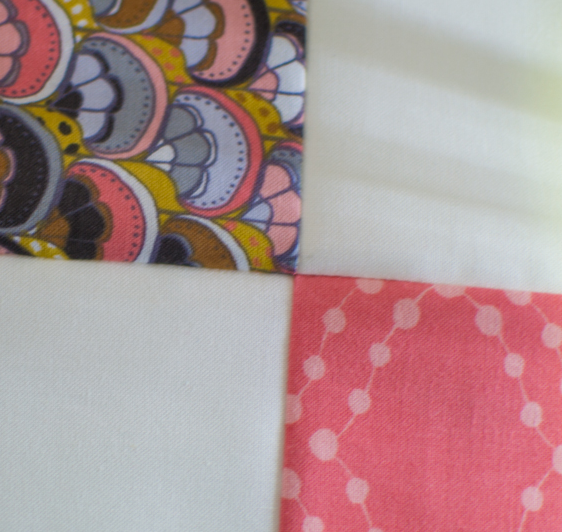
I have gotten in the habit of sewing from one intersection to the next and I am a terrible chain piecer. I simply must open up each row after I’ve sewn it to see how my intersections look. It’s so fun when they are matched up! And it’s so irritating when they are not.
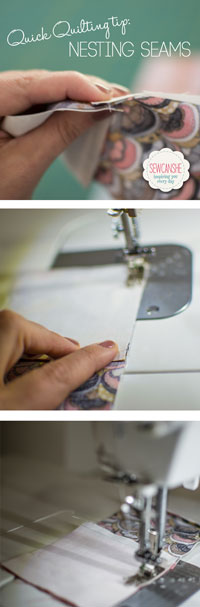
I hope you found this little tip useful! Please pin the image to the left to share it with your friends.
Now I’m off to see what the other quilters in Amy’s blog tour are sharing. Click here to get to her main post.
The fabrics in my block are the new Harmony by Jessica Swift for Blend Fabrics.
I hope you’ll join me on June 2nd for my next installment of Classic Blocks: Fresh Fabrics when I show the quick way to make nine-patches like this one plus another classic block (yes, two blocks for June!). Today is the last day to sew along with us and make a Dutchman’s Puzzle block for your chance to win a beautiful fat quarter bundle of Clementine from Blend. I can’t wait to give that away!
Search for ‘Classic Blocks’ in the search field above to see all of the posts in the series.
Happy sewing!

Disclosure: some of my posts contain affiliate links. If you purchase something through one of those links I may receive a small commission, so thank you for supporting SewCanShe when you shop! All of the opinions are my own and I only suggest products that I actually use. 🙂