The Easiest Way to Sew an Invisible Zipper
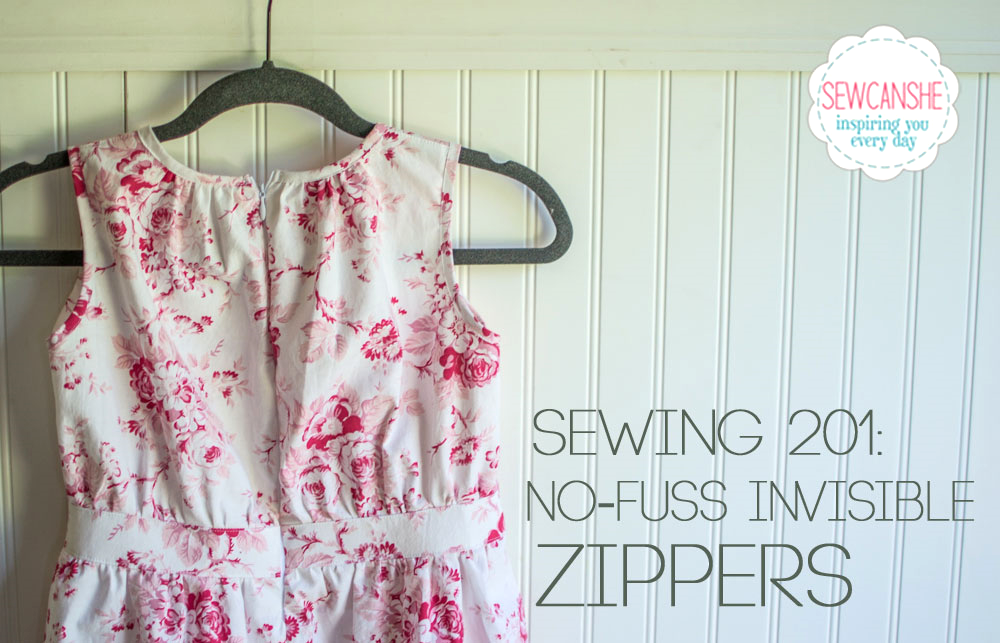
Welcome back to Sewing 201! This is where we talk about tricks and techniques to take your sewing to the next level. In this post I am going to pick up working on Chloe’s little birthday dress. We left off after putting on the woven fabric neckline and armhole binding.Now all I have to do is sew the invisible zipper – and I did it without an invisible zipper foot!
Why an invisible zipper? I just had this conversation with my sister and I’m going to share with you what I said. I have pulled my hair out in the past trying to make the lapped zipper technique look good. Just when I think it’s in straight and I’m doing great, I ruin it when I go to topstitch it. I know that lots of people might enjoy doing it that way. But learning to sew invisible zippers was a revelation to me. There’s no topstitching! If you can find that magic spot to sew not too close to the zipper teeth, but just close enough, then the zipper simply disappears into the fabric and your work is done. I love it. I sew invisible zippers into all of my dresses, tops, and skirts whether that’s what the pattern calls for or not.
I think my method is similar to the one in the package instructions, but I can’t make heads or tails of those instructions so it’s hard to say. I eventually started buying invisible zippers at Wawak.com because they’re around 50 cents each. Those don’t come with instructions so it doesn’t matter anyway.
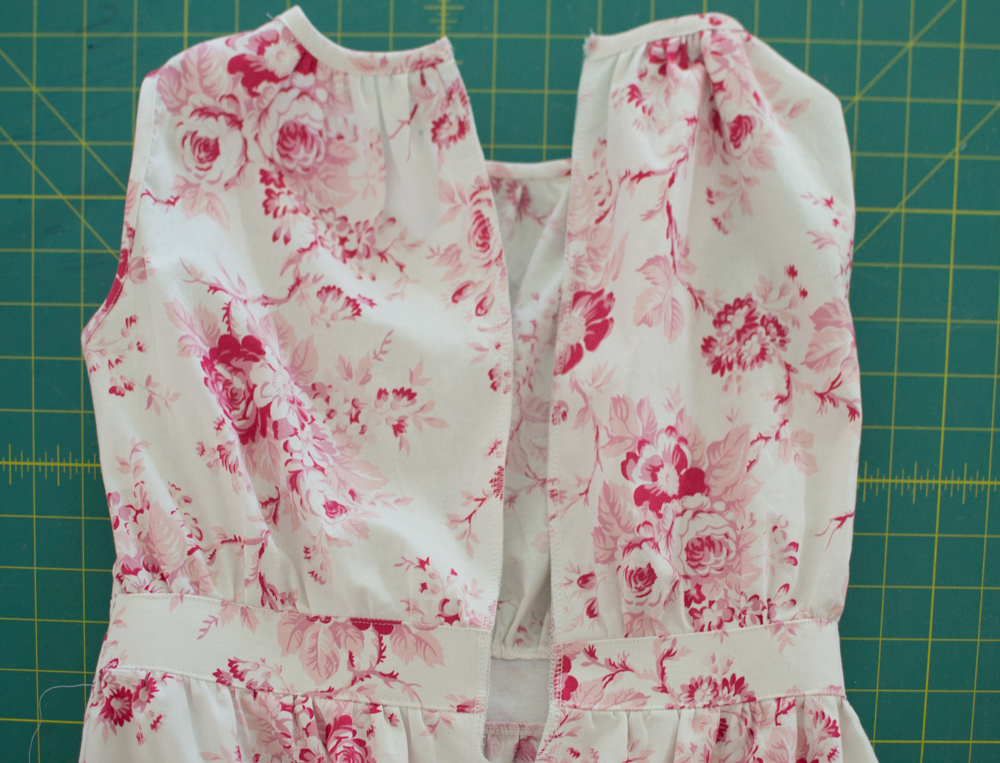
1. Prepare the garment.
For this method, we will sew in the zipper before we sew the seam that it goes in. So the entire back seam of this dress is unsewn.
Finish the edges with a serger or zig zag stitch.
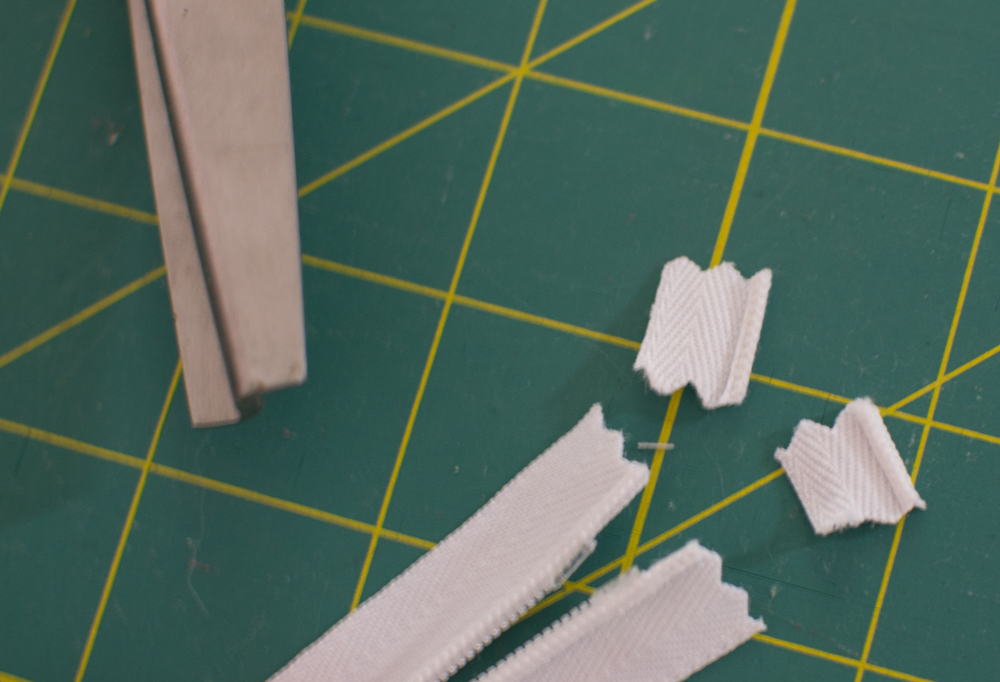
2. Prepare the invisible zipper for sewing.
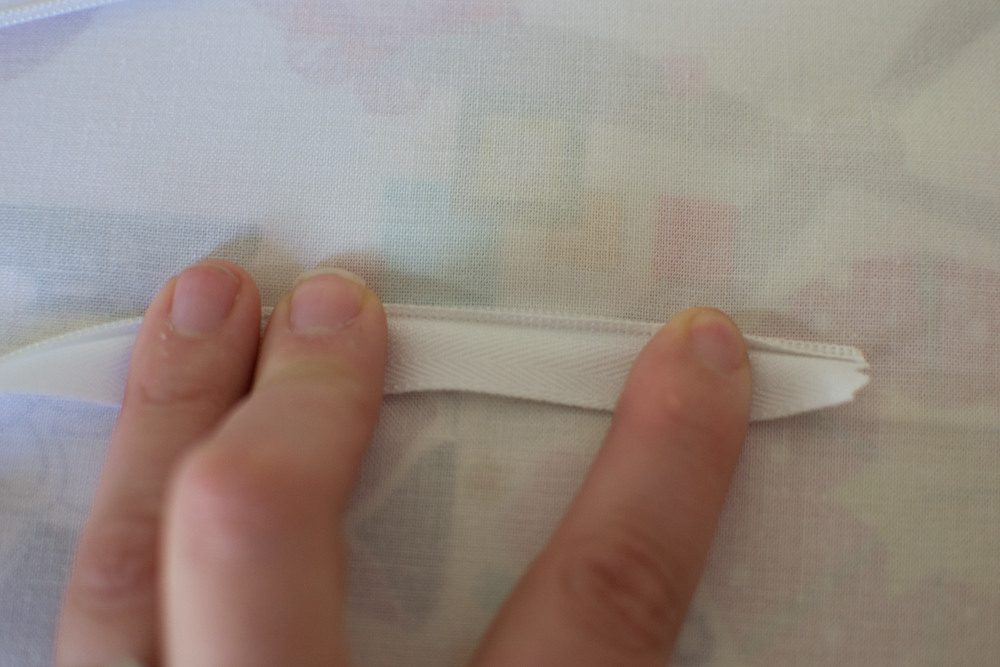
Since the neckline of my dress is already sewn and I won’t be putting in a facing or lining, I trimmed away some extra tape from the top of my zipper. I used pinking shears so no one will be the wiser.
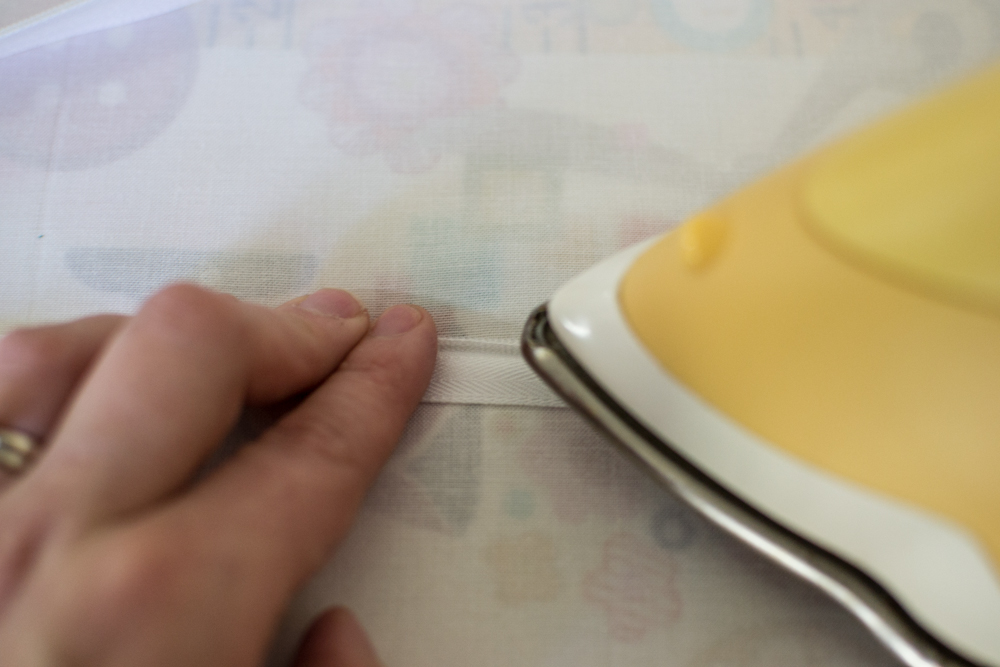
Turn your iron to the wool (medium) setting. You will notice that the zipper teeth on an invisible zipper naturally roll back toward the tape. While you roll them out to make the zipper tape flat, run your iron gently down the tape. Don’t leave your iron in any one spot too long or you’ll melt the zipper teeth. This is just a preparatory step but it does help.
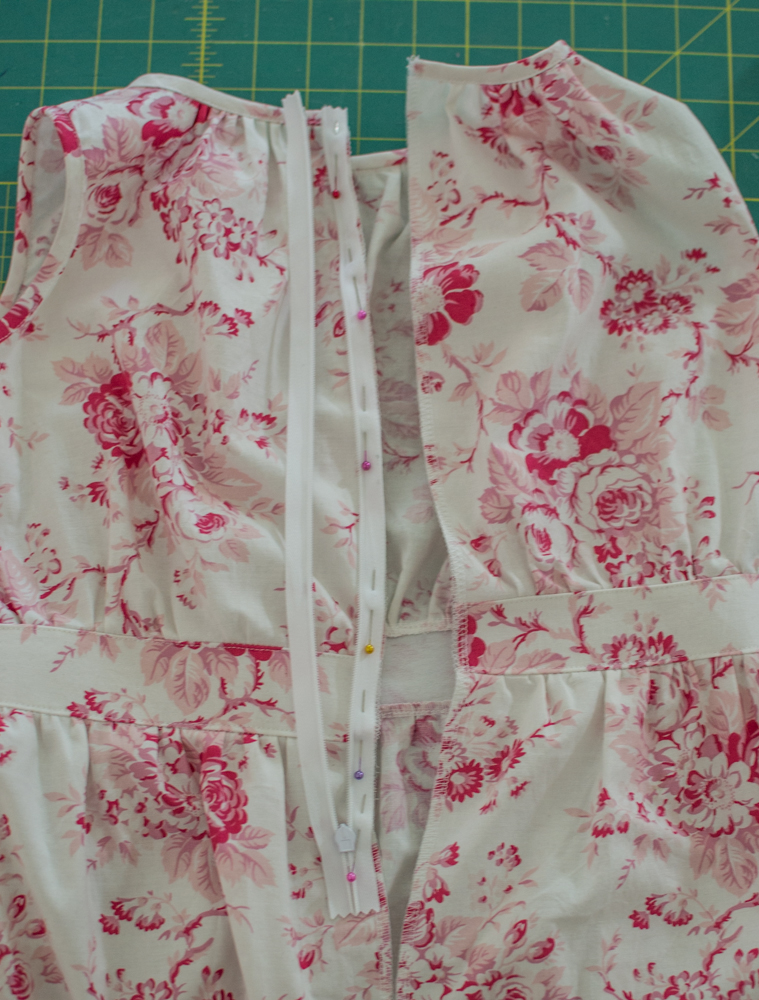
3. Pin the zipper to the garment right sides together.
Pin the zipper to the left side of the dress with the right side of the zipper tape against the right side of the dress, as shown.
The outside edge of the zipper tape and your finished edge should line up.
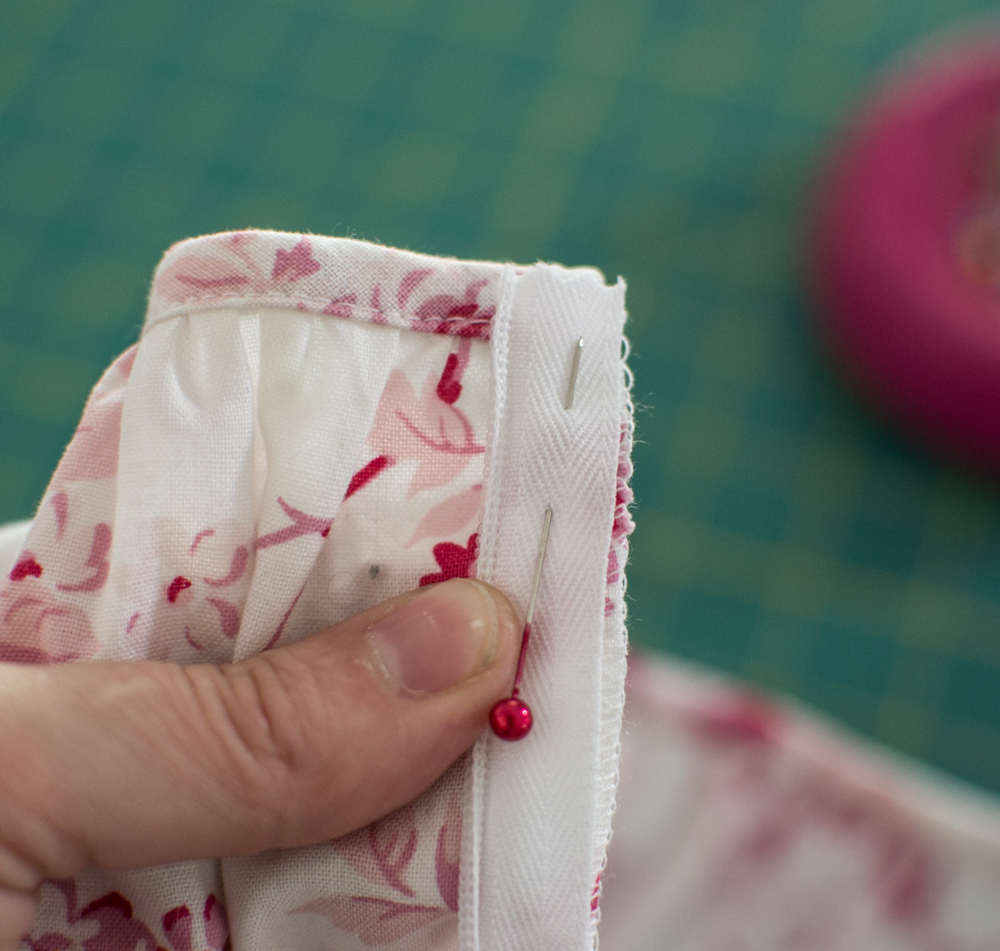
Now look closely at the back of the invisible zipper. There is a little line that shows you where to sew (even though it seems like they try to hide it). It is about 1/8” away from the teeth. On this zipper it is where the cross-weave texture of the zipper teeth ends. If you can’t see the line, plan to sew about 1/8” away from the teeth.

4. Sew along the guidelines on the invisible zipper.
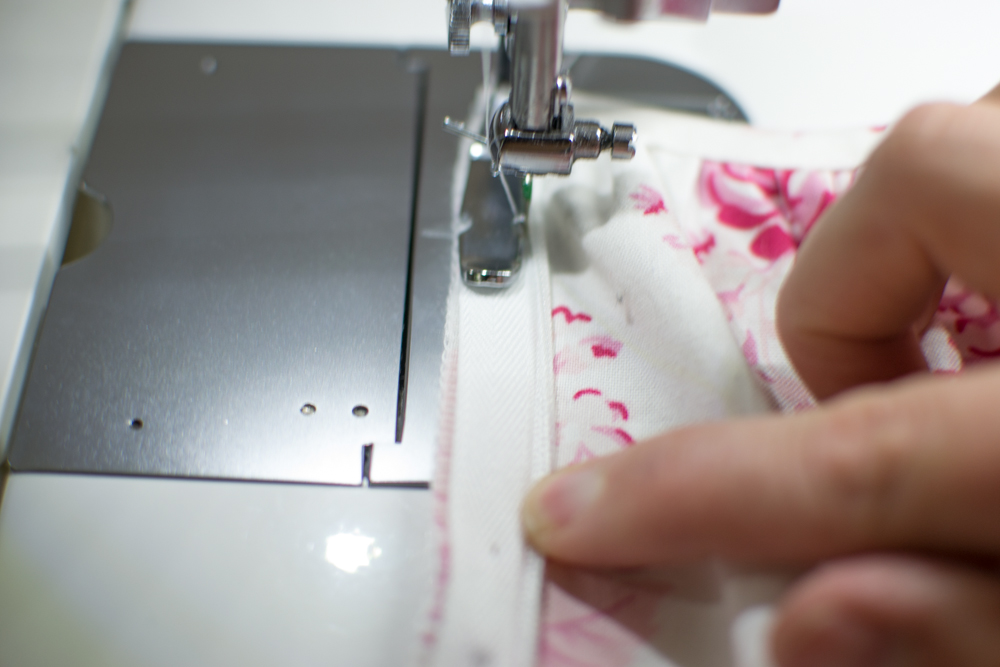
If you have an invisible zipper foot for your sewing machine, it might make things easier for you but it is not absolutely necessary. I bought the plastic invisible zipper foot that is sold near the zipper display at my local fabric store and found it to be a waste of time and effort. So I just use my regular old zipper foot. There are higher quality invisible zipper feet than the one I tried, which you may find helpful. The idea behind them is that they have a little groove that the zipper teeth slide under. Obviously you don’t need one because here I am sewing an invisible zipper in without it.
Update: My new sewing machine (a Janome 14000) came with a wonderful invisible zipper foot. I use it all the time!
So go ahead and sew right down that zipper 1/8” away from the teeth or along the guideline if you can see it.
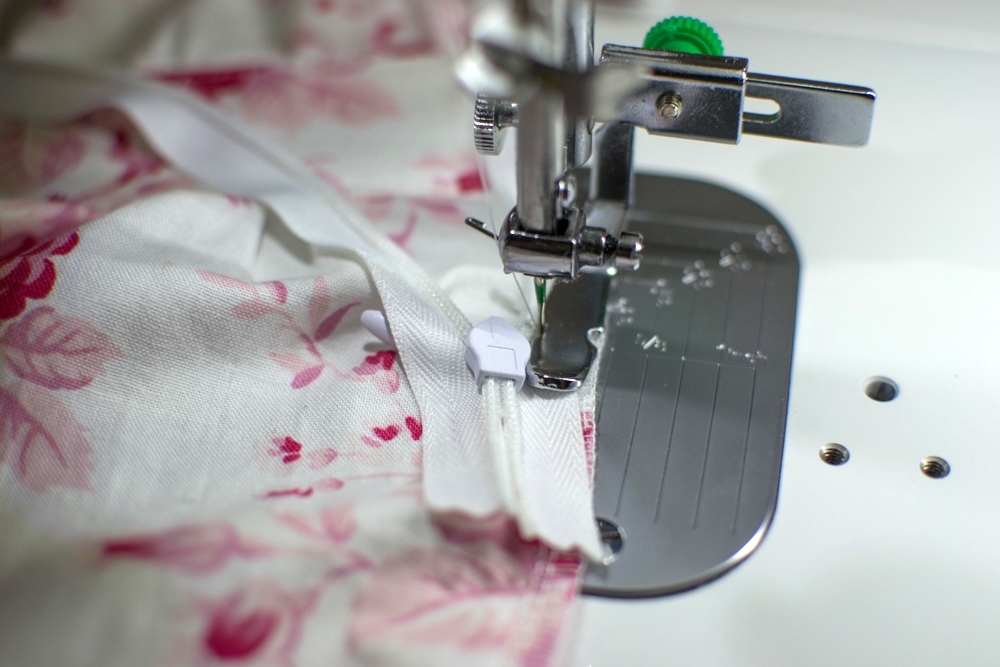
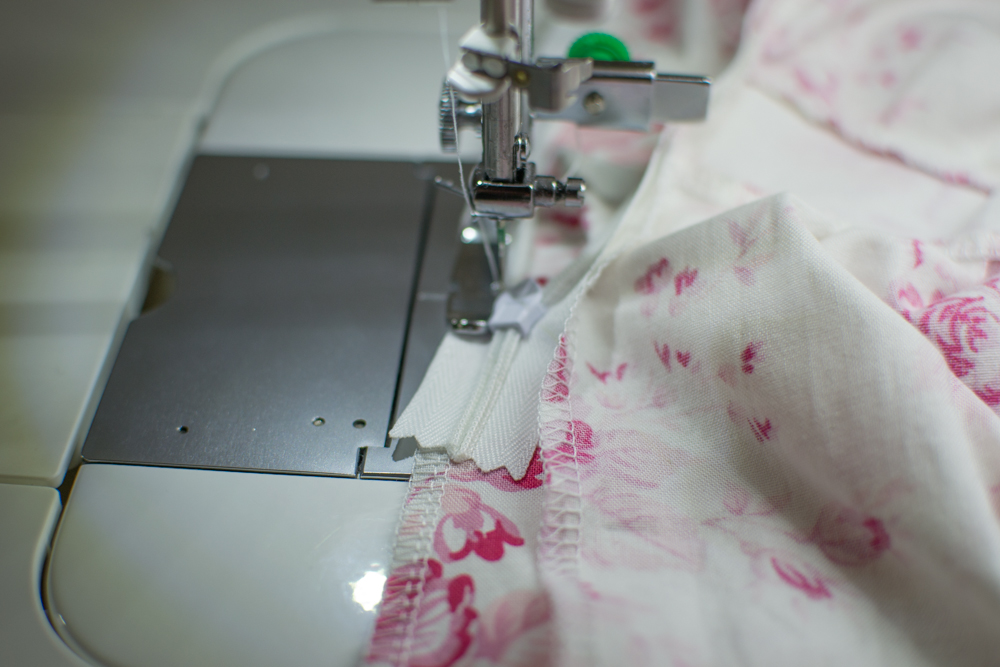
When your foot crashes into the zipper pull just backstitch and you’re done. You don’t have to bother trying to get around it.

Close the zipper and working from the inside of your item, pin the opposite zipper tape to the other side of the dress or skirt. Make sure the top edge lines up evenly.
Switch your needle or your zipper foot to the other side (however your sewing machine works) and sew down the other side of the zipper in exactly the same manner. As before, stop when you get to the zipper pull.
5. Finish sewing the seam.
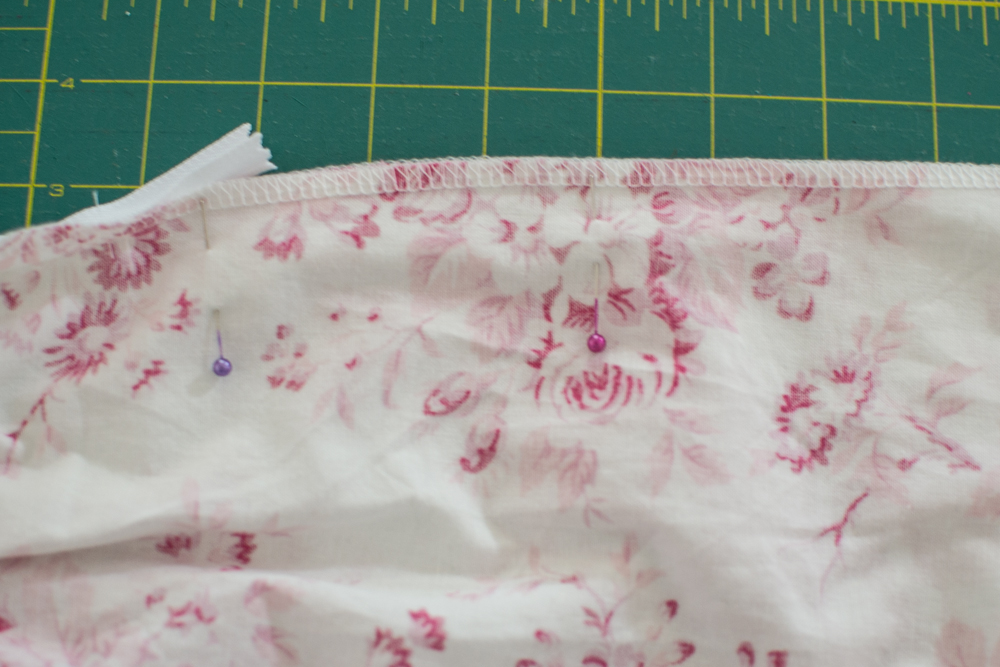
Zipper done! Now for that seam… pin the seam together. Remember how you finished your edge before you began? Doesn’t that look nice now/

I still have my zipper foot on because it makes this part easier. Move the ends of the zipper tape out of your way and start sewing as close to where you stopped as possible. Stitch to the end and that’s it!

I also tacked my zipper tape to the binding with a few stitches at the top for a finishing touch. If you want the top of the dress to close even more closely, you can hand sew an hook and eye above the zipper.


Easy invisible zipper, beautiful dress! In case you are wondering, this little dress is #35 from the latest Ottobre Design, issue 3/2014. MIchelle at l’oisseau fabrics carries lots of issues.

Do you have ideas for future Sewing 201 posts? Let me know below.
Happy sewing!
Disclosure: some of my posts contain affiliate links. If you purchase something through one of those links I may receive a small commission, so thank you for supporting SewCanShe when you shop! All of the opinions are my own and I only suggest products that I actually use. 🙂

