Easy Quilt Block Tutorial: Nine Patch and Snowball Blocks together!
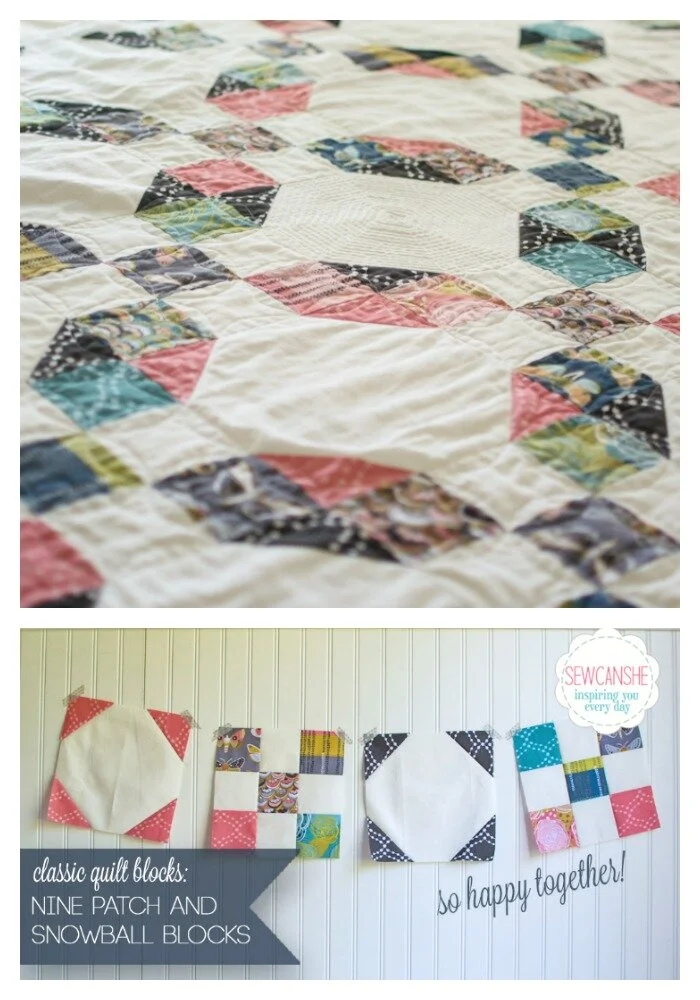
Do you want to make a fast and gorgeous quilt? Make these two easy quilt blocks and put them together: the Nine Patch and the Snowball!

This quilt is not quite done. 🙂
Why these two quilt blocks? They just look so good together! And they are very easy.

The nine patch is a timeless design and has many different looks depending on how many fabrics you use.

The snowball is a block that you might call a ‘companion’ to other blocks. This humble square with triangles in the corners magically extends the design of whatever block it is next to, creating a new pattern.
So let’s get started! This photo tutorial includes cutting instructions for a finished 9’’ and 12’’ quilt block.

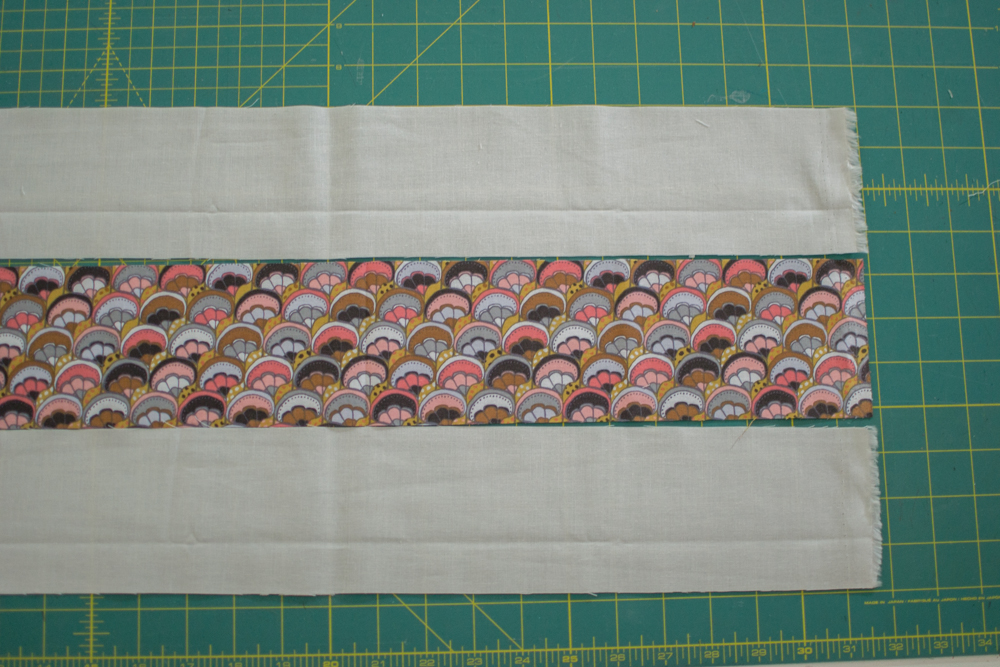
For my quilt I decided to make 18 nine patch blocks and 17 snowball blocks. To make the nine patch blocks go together super fast, I strip-pieced them. To do this, you will cut strips instead of squares. The number of strips you’ll need depends on the number of blocks you want to make. Don’t use this method if you only want to make one block.
For a 9” block (like mine):
-
Cut 3 1/2” strips
For a 12” block:
-
Cut 4 1/2” strips

Sew the strips together in sets of 3.
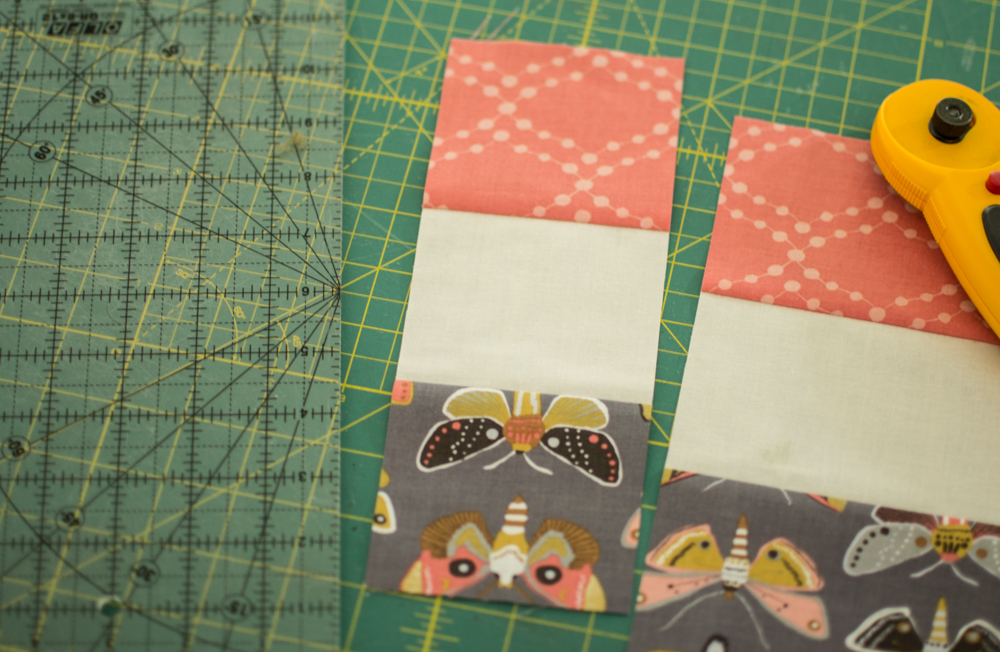
Sub-cut the strips into segments the same width as you cut your strips. For example, I cut my strips 3 1/2” tall, so I cut these segments 3 1/2” wide. If you are making 12” blocks, cut your segments 4 1/2” wide.


Arrange your segments in pretty sets… wasn’t that fast? Press the seams to one side to make nesting the seams easy. Read more about nesting seams in this recent blog post.

To stitch these blocks even faster, I piled up my strips next to my sewing machine in the order that I would sew them and put the pedal to the metal!

Woo hoo! Now let’s make snowball blocks.
For a 9” block (like mine):
-
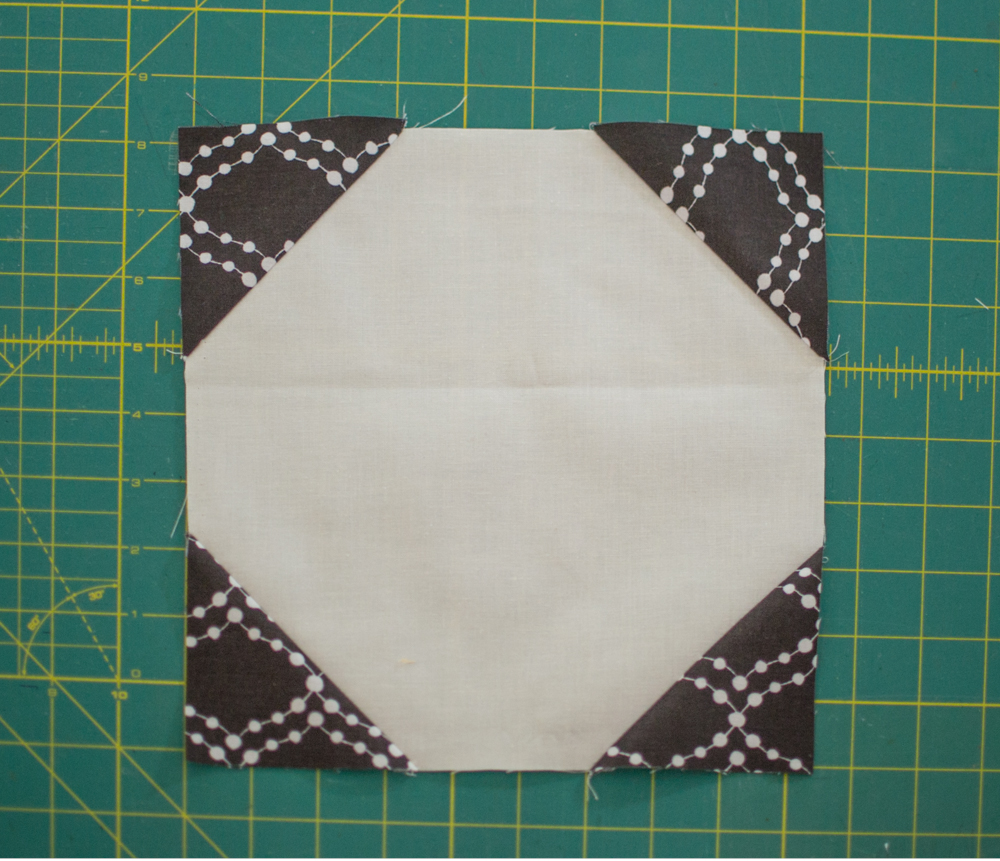
Cut a 9 1/2” square for each block
-
Cut four 3 1/2” squares for each block in one or more coordinating colors
For a 12” block:
-
Cut a 12 1/2” square for each block
-
Cut four 4 1/2” squares for each block in one or more coordinating colors
This is called the ‘quick corners’ method and you get a bunch of triangle pieces left over. I still like this method because it is really easy to calculate. To make the snowball blocks line up with the nine patches, simply use smaller squares that are the same size as the nine-patch squares.

Draw a diagonal line down the center of each small square. In previous tutorials, this was a cutting line. For this tutorial, we are drawing the stitching line.


Place small squares in each corner of the large square, as pictured. Stitch along each diagonal line.

Trim away each corner 1/4” from the line of stitching. Open up the corner and press the seam to one side.
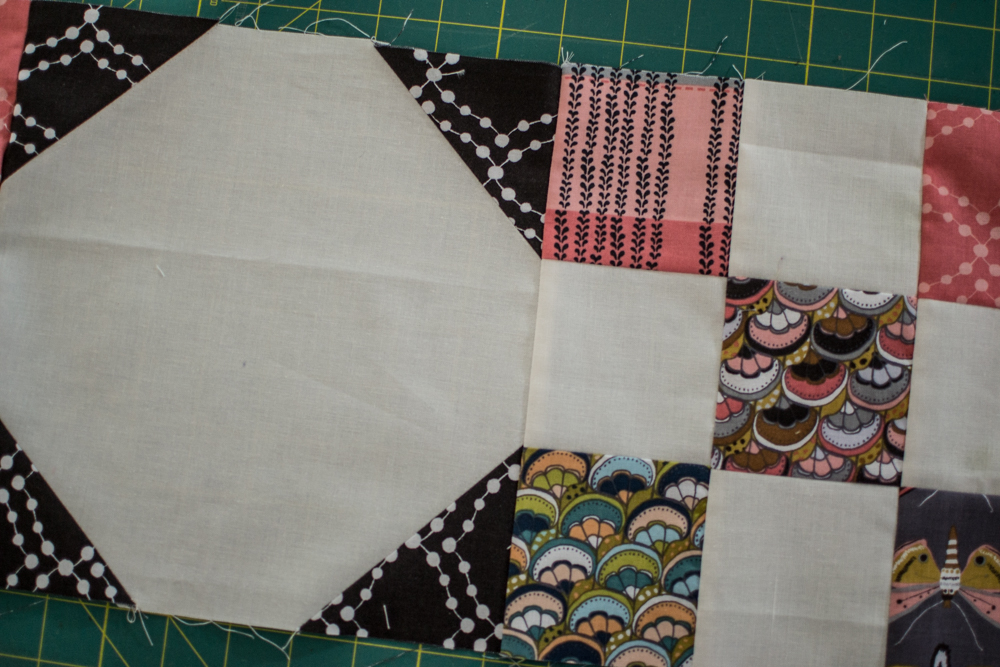
See how nicely they go together?

This is my finished quilt top hanging on the wall.
I love how putting two simple blocks together made a design that only looks complicated!
I can’t wait to show you the finished quilt… it’s almost done!
If you love this easy quilt block tutorial, you can find lots more on this Pinterest board.

Disclosure: some of my posts contain affiliate links. If you purchase something through one of those links I may receive a small commission, so thank you for supporting SewCanShe when you shop! All of the opinions are my own and I only suggest products that I actually use. 🙂


