How to make QAYG fabric – for totally cute projects!

Have you seen those totally adorable quilted projects that people are making? I don’t know about you, but I’m seeing zipper pouches, wallets, pillows, purses, and you-name-it all over the web and in my instagram feed that are made with QAYG (quilt as you go) fabric.
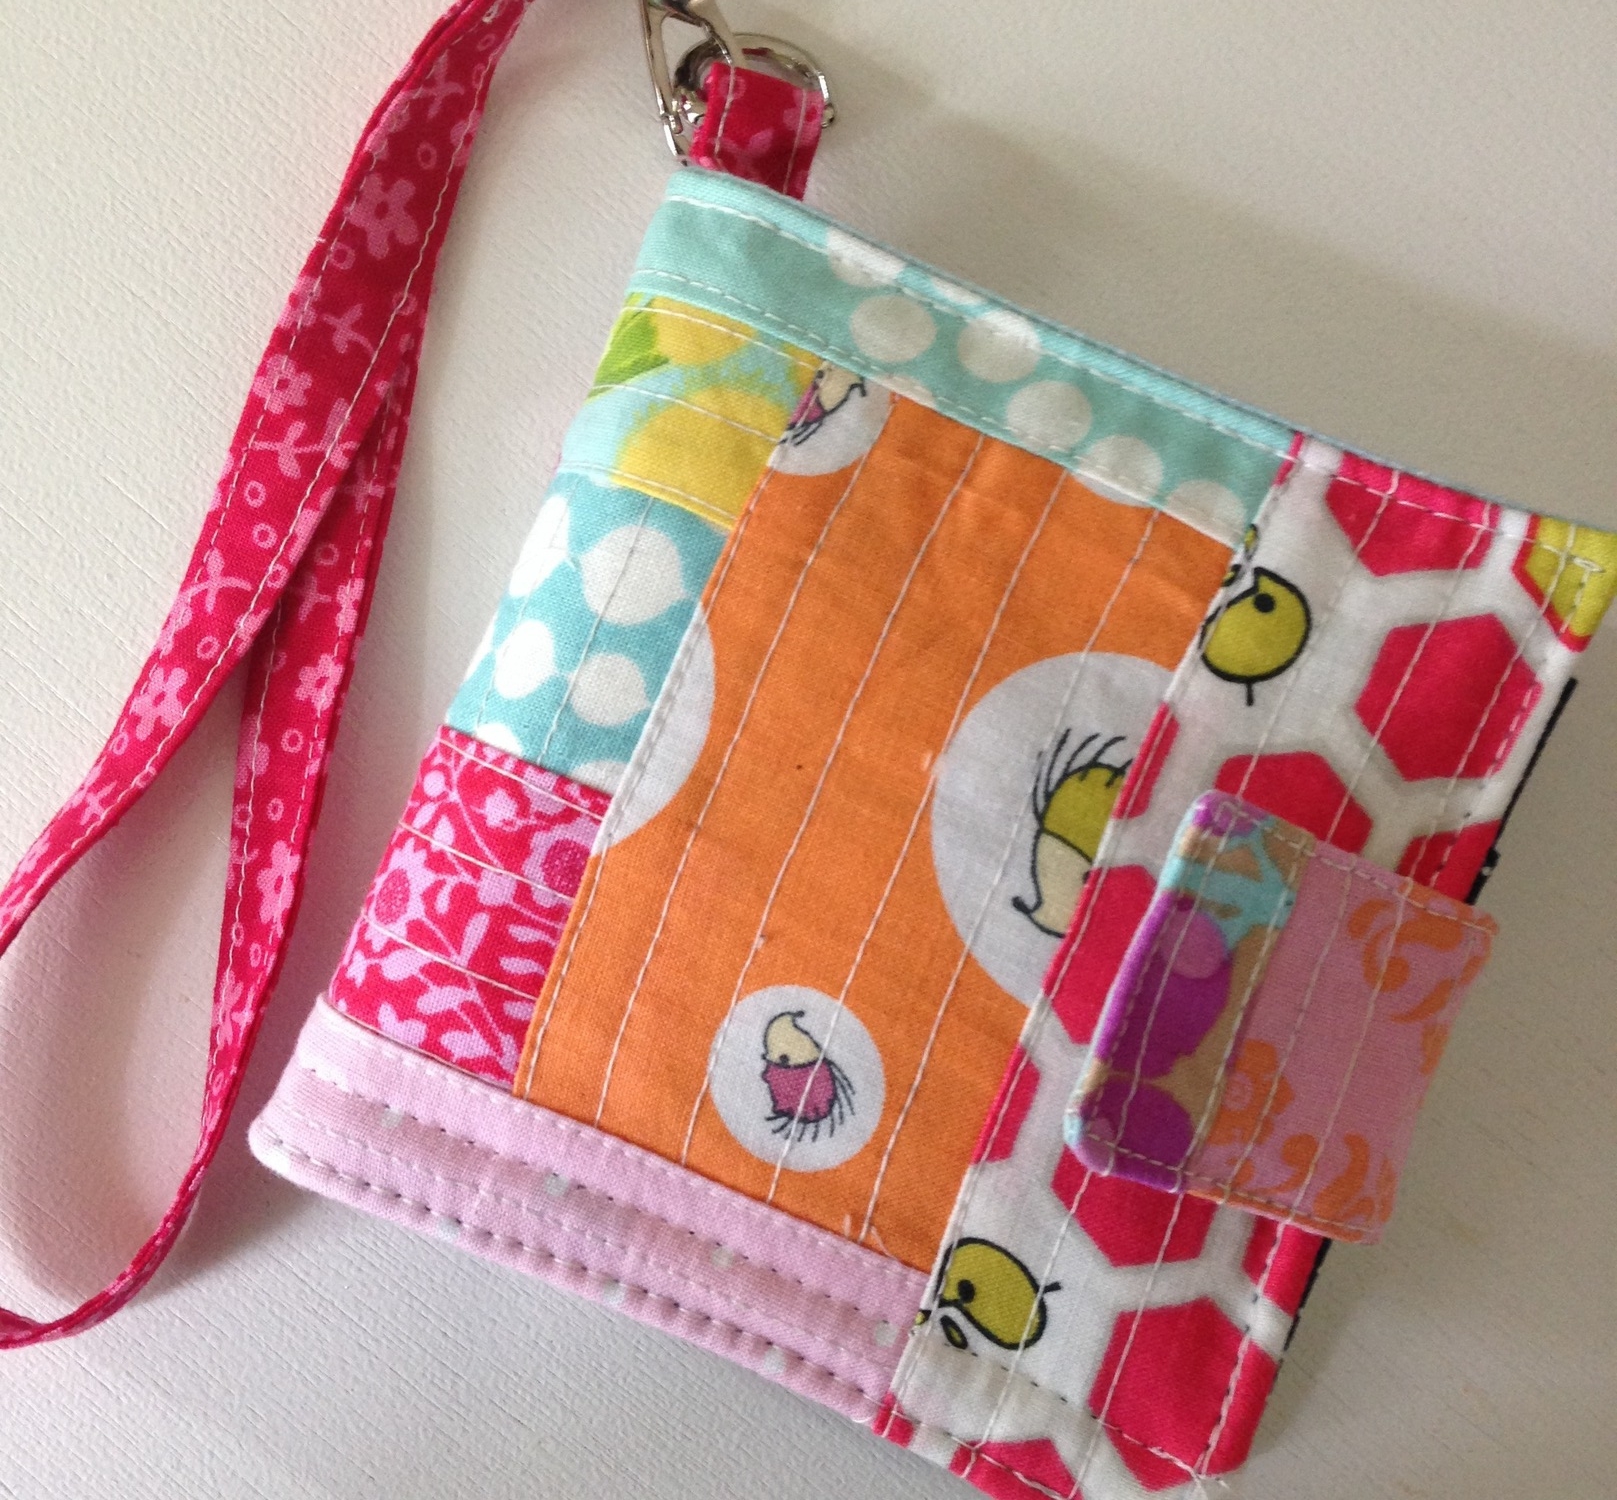
I made this fun new wallet using QAYG fabric and scraps. There’s probably a pattern coming… someday. In the meantime, I’ll show you how to do the QAYG technique and you can apply it to any pattern you want. 🙂
This is my favorite way to use up scraps right now. You can even use really small ones or fussy cut your favorite parts.
You will need scraps of cotton quilt batting and fabric scraps or new fabric. And a neutral thread color that will look good with all your fabrics. Gray, cream, or white will do. That’s all!

To do this technique, you can use scraps or cut up new fabric. Caroline of Sew Caroline sent me a fat quarter bundle of her new fabric ‘Gleeful,’ isn’t it gorgeous? I love the color scheme and the vintage looking flowers. That curly line print (you’ll see more below) reminds me of a curly telephone cord. That’s vintage now too!
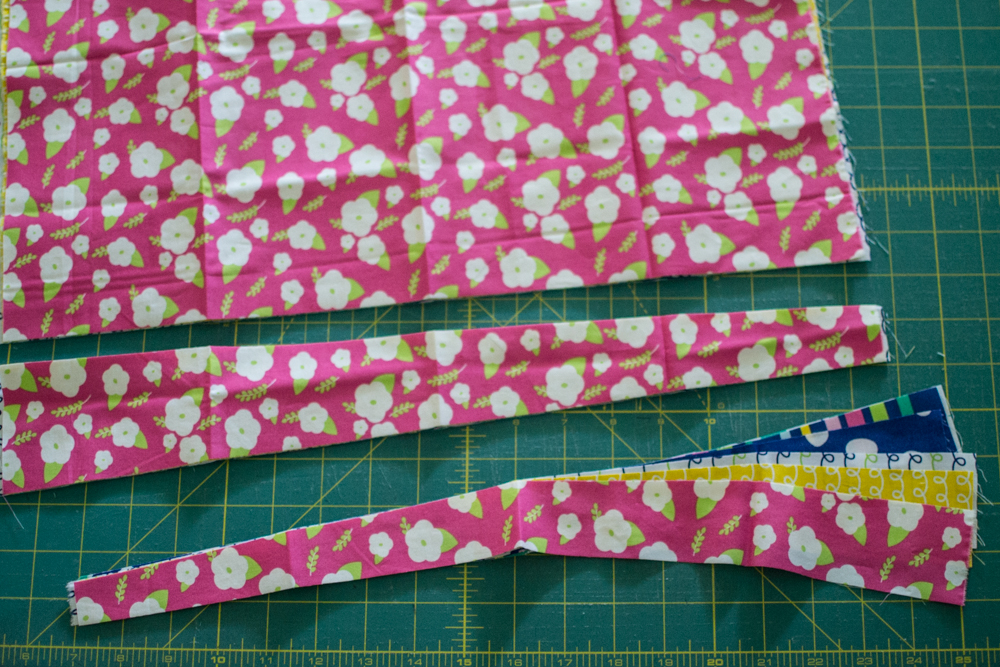
Anyway, since I wanted to use new fabric, I stacked up 6 of the fat quarters and cut off two wonky-ish strips from all the fabrics. Feel free to cut straight strips if that’s what you like. Or just use scraps.
From the larger prints, I fussy-cut some flowers to use as focal point fabrics. Not totally necessary, I just saw some flowers that I liked so I cut them out.

Start by deciding how much QAYG fabric you need and marking those dimensions on a piece of quilt batting. I’m planning to make one of Craft Jedi Girl’s adorable zipper pouches, so I drew 6 1/2” x 9” rectangles on two batting scraps. I also want to make another of my own 2-Sided Zips, so I drew two more 5” x 7” rectangles on other batting scraps. Keep in mind that you’ll only want to use QAYG fabric for the exterior pieces of your project, it will be too thick for the lining.
Another bonus is that you won’t need fusible fleece or interfacing for your exterior pieces, the QAYG is a great stabilizer!
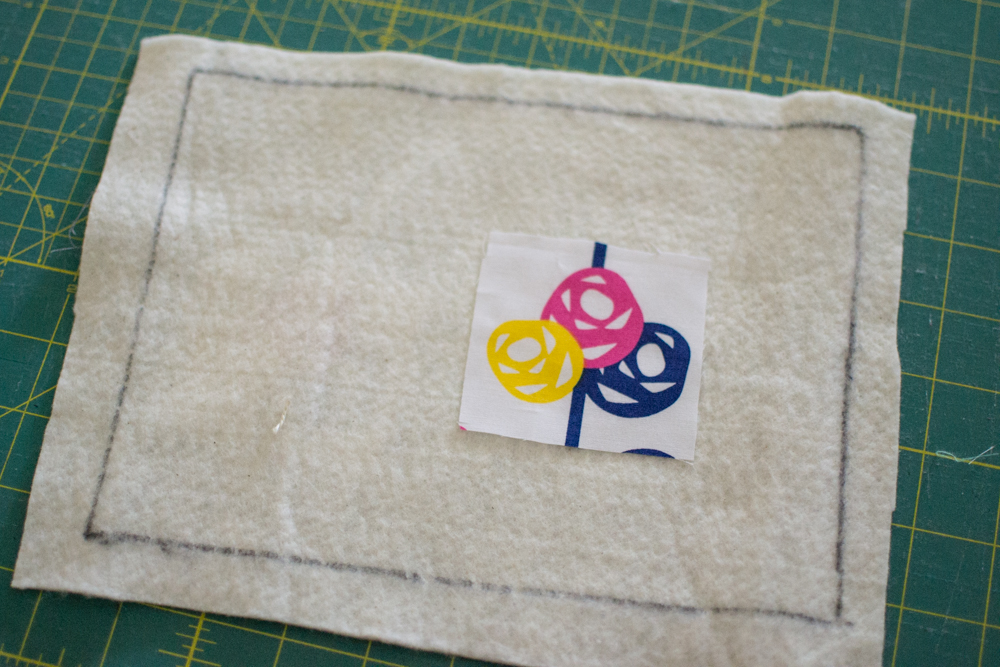
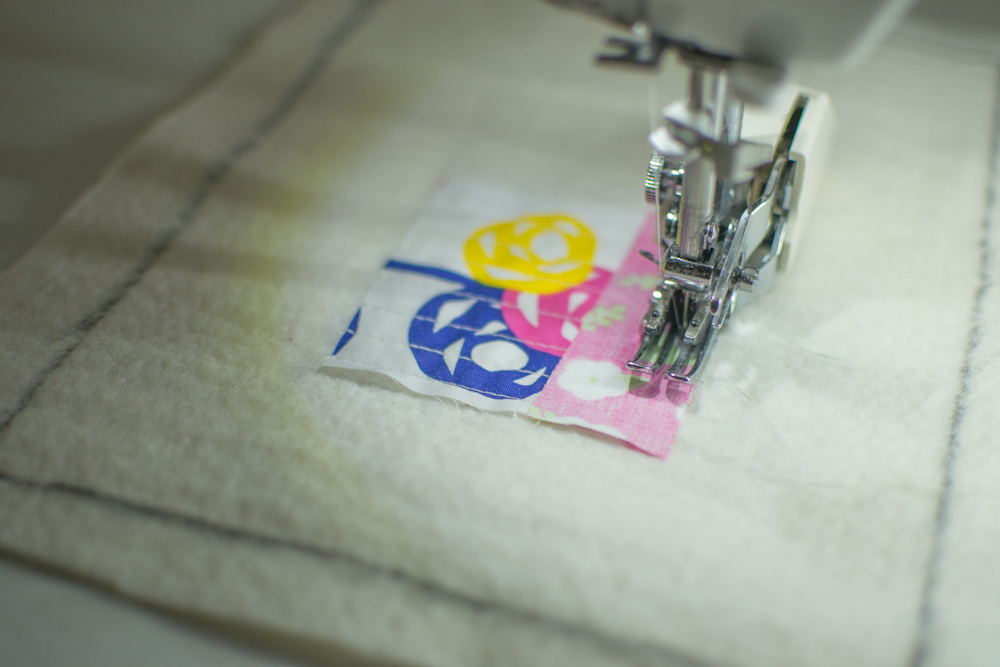
Place your first scrap or fabric piece somewhere inside your QAYG area. I chose to use one of my focal point fabrics first, and I placed it off-center. This QAYG fabric will have a wonky log cabin design.
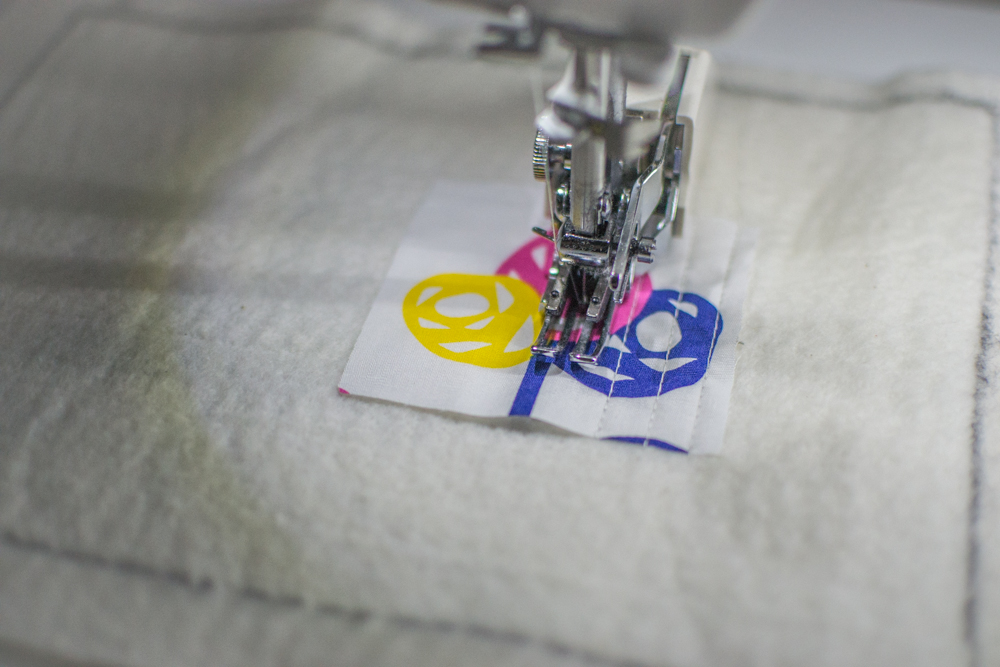
Quilt over that first piece however you would like. Straight lines are easy and look great, so that’s what I did. You could also free-motion-quilt, or echo quilt around a design. Have fun!
Note: I find that my walking foot works great for straight line quilting over these layers. If you don’t have one, a regular foot or 1/4” foot will work too.

Choose your next fabric scrap or strip and lay it against one edge of your starting piece, right sides together. Cut it to size, if necessary.
Sew it to the first piece with a 1/4” seam allowance.

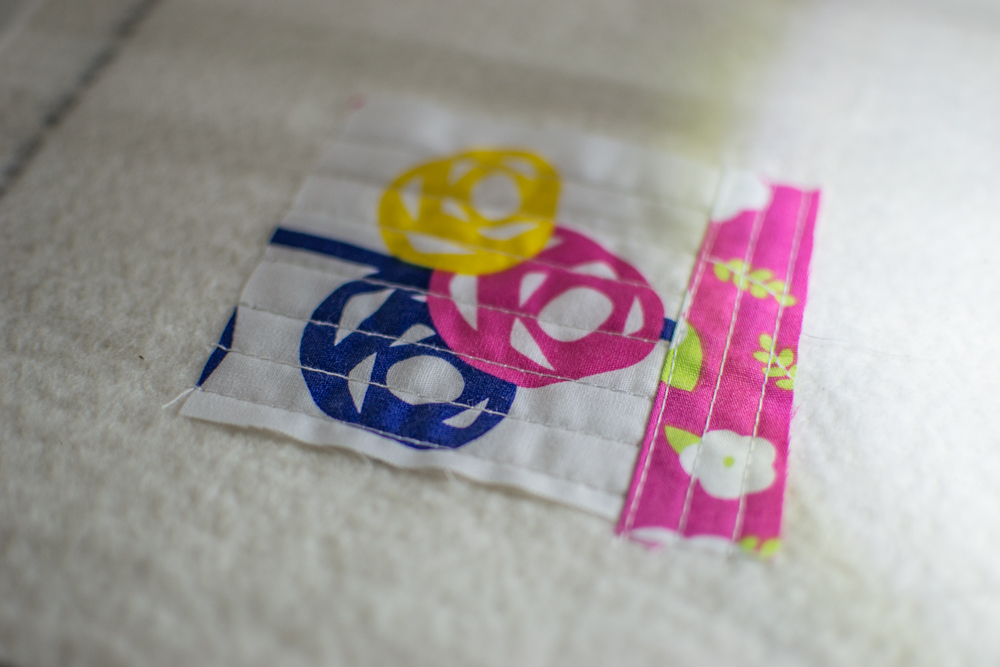
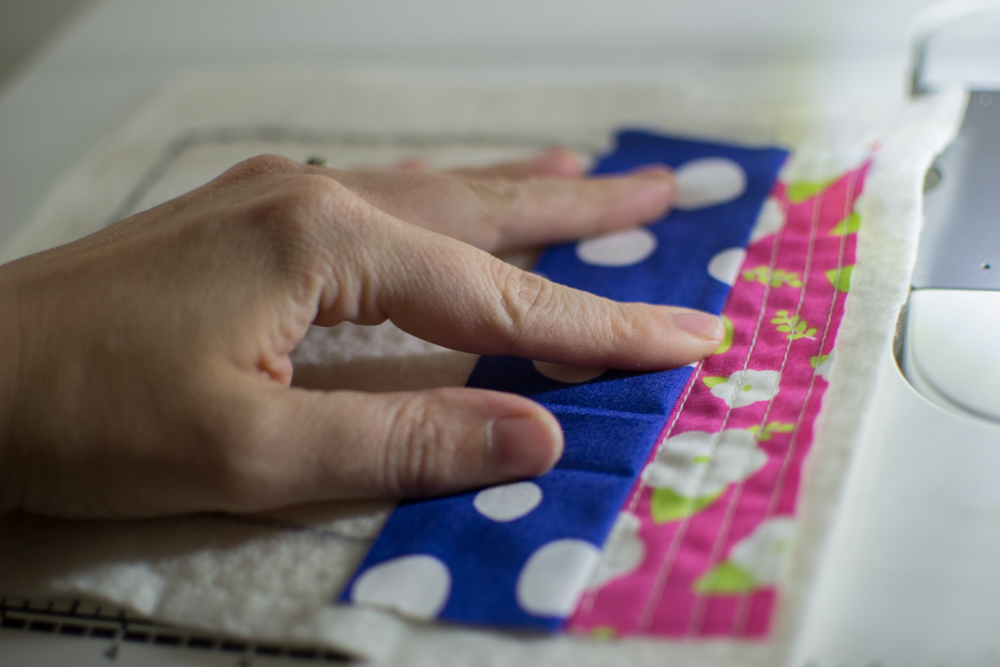
Open the second fabric and finger press the seam flat. Then quilt on the second piece as desired. If you quilt straight lines, they must run parallel to the seam so that all your thread ends will be caught in subsequent seams.


Continue cutting strips or scraps to the right length (or a bit longer) and quilting them to the batting.
In this instance, I’m working around my center piece in log cabin fashion. Since my strips aren’t even, it will be a wonky log cabin.
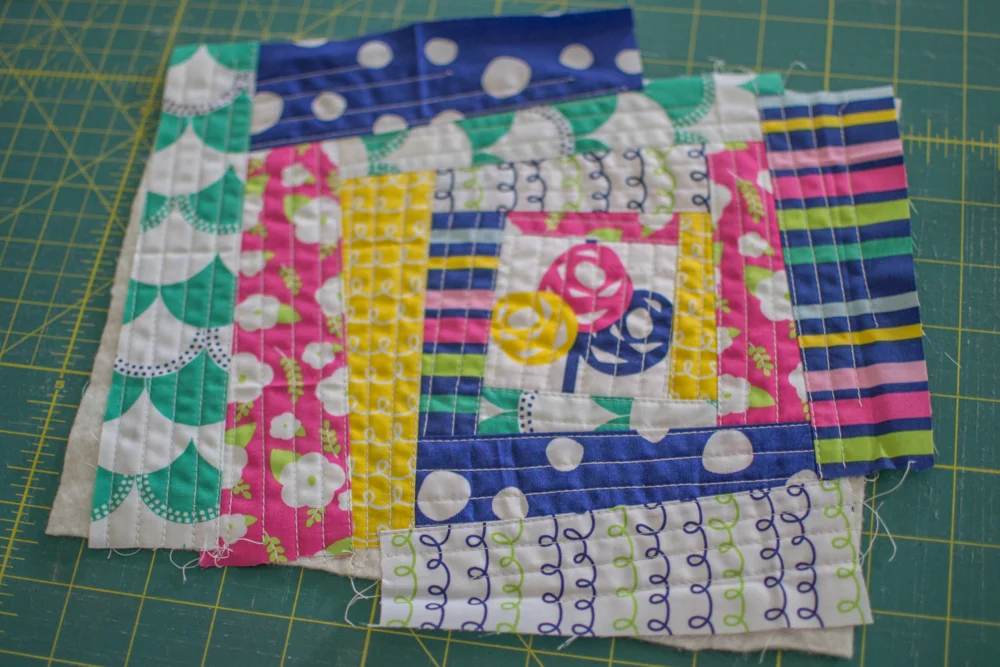
You are done when you’ve covered in the area that you drew.
Or, if you are just making QAYG fabric for fun and don’t have a specific project in mind yet… you’re done when your batting is all covered.
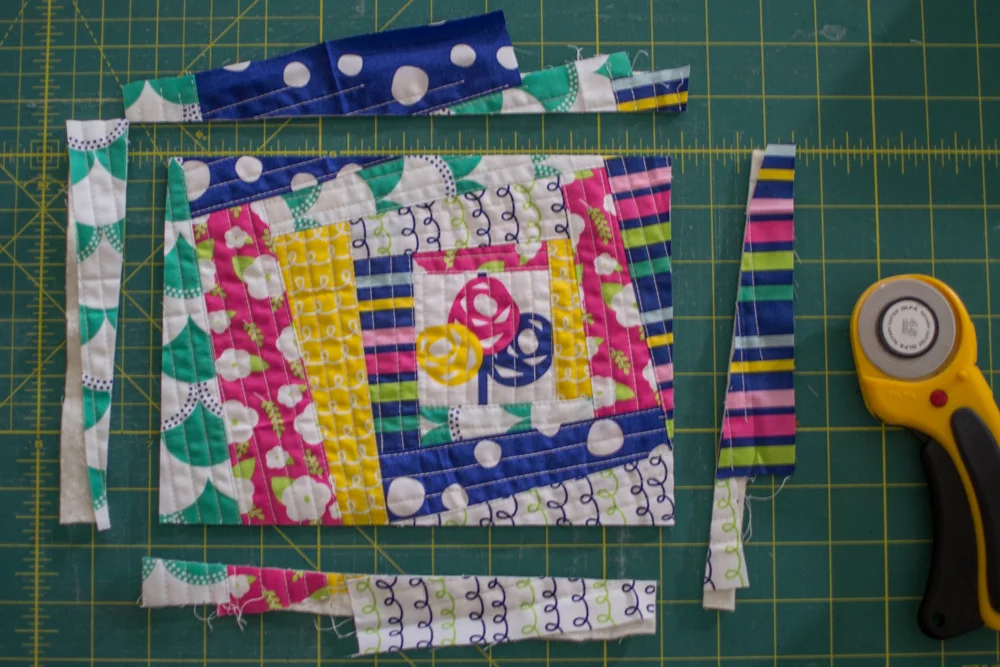
Trim the piece down to the size you need for your pattern and you’re done! Isn’t that awesome?
Here are a couple more ideas for fun and interesting QAYG fabric…
Remember I said you can quilt this however you like?
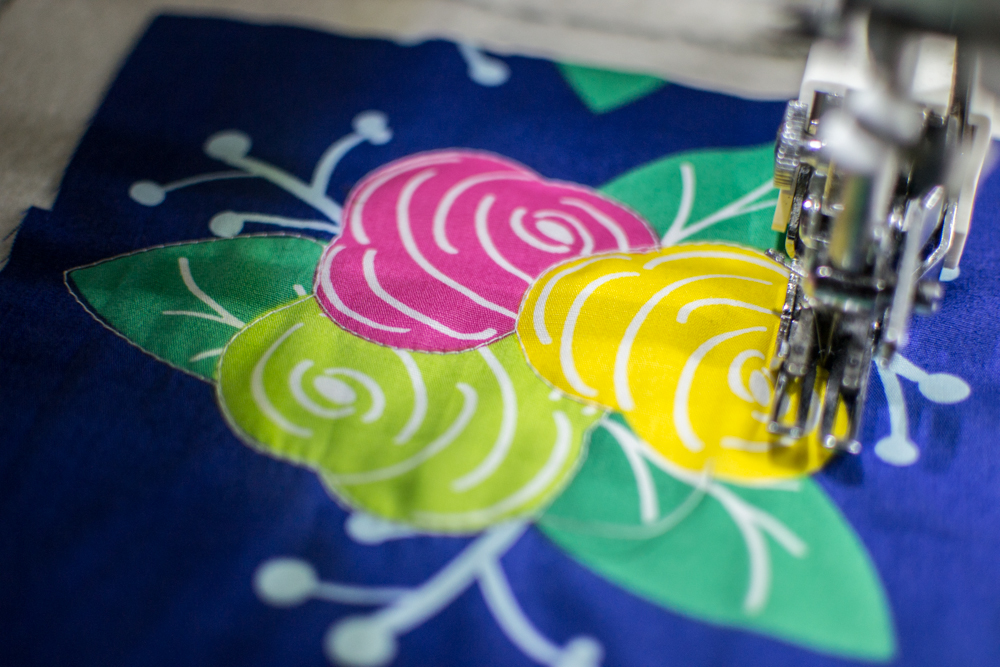
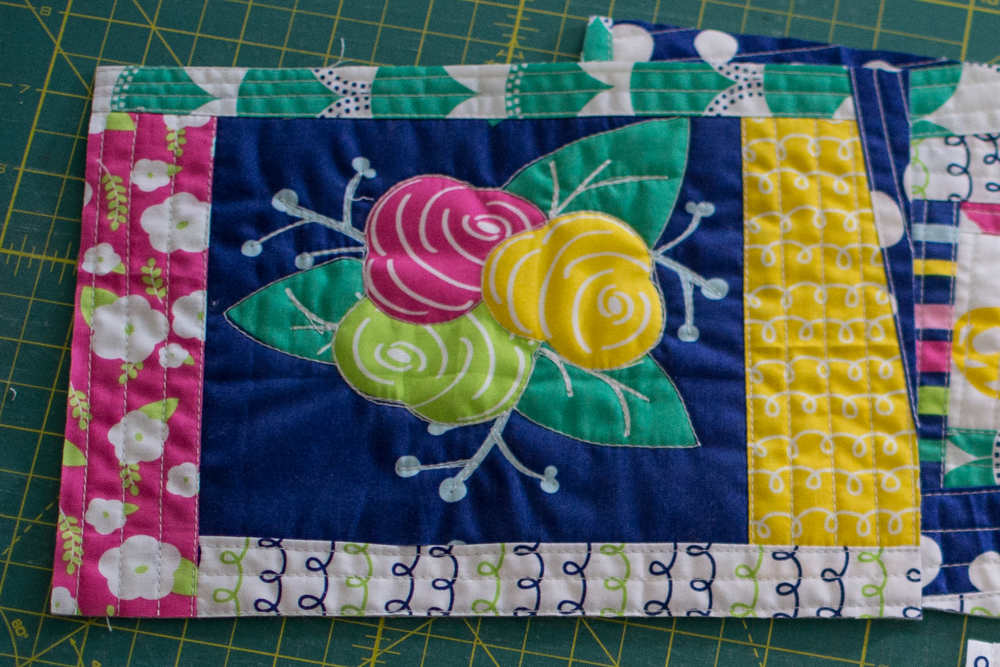
On my other piece for this zipper pouch, I started with this bigger fussy cut flower and quilted around the shape. I also quilted inside the leaves and down those stick-shapes.
Then I finished it with a few wonky strips as before.
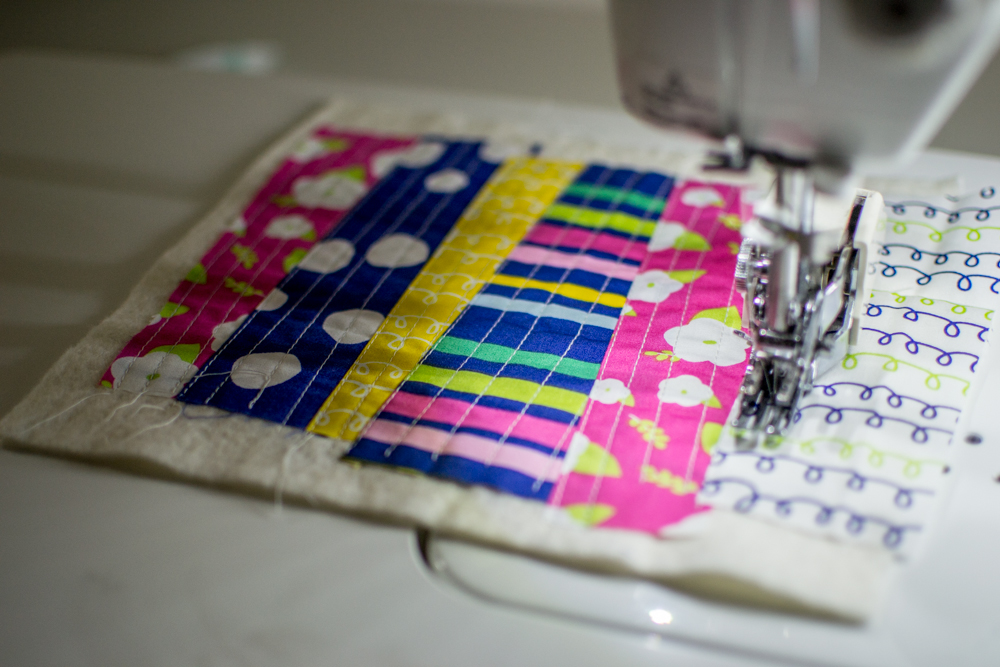
For my smaller 2-Sided Zips, I decided to quilt a strip design. All of my lines are in the same direction, although not exactly straight or parallel. 🙂

If you ever want to use fabric pieces that are not long enough for the next edge, you can sew two or more together before quilting them to the batting. See the second strip from the right? I sewed two scraps together to make it.
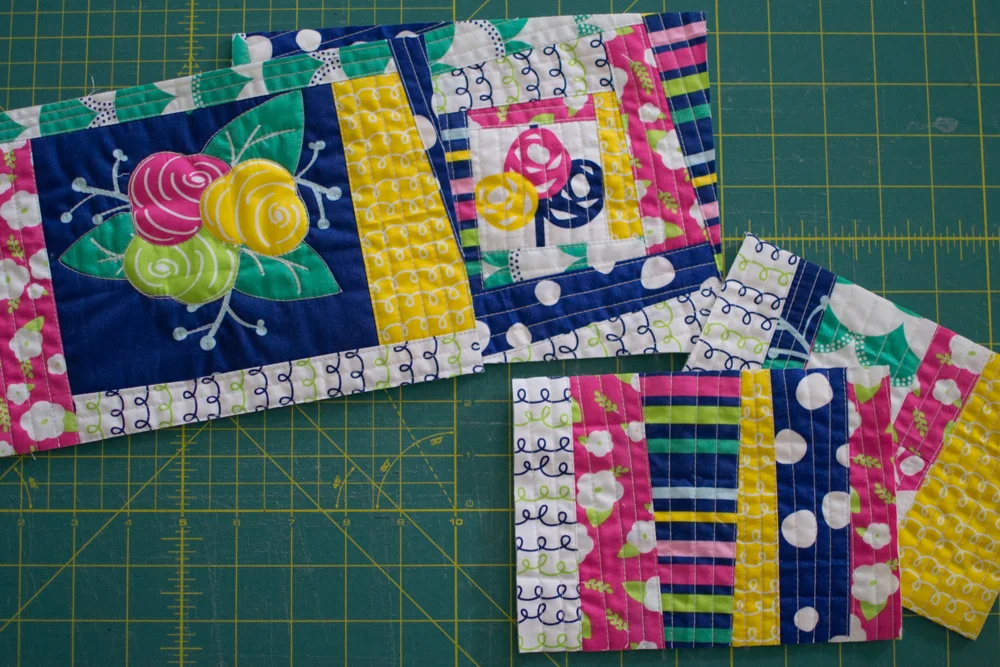
And here are my finished QAYG pieces, all ready to be made into pouches. Watch for the finished items in a blog post coming soon!

Disclosure: some of my posts contain affiliate links. If you purchase something through one of those links I may receive a small commission, so thank you for supporting SewCanShe when you shop! All of the opinions are my own and I only suggest products that I actually use. 🙂