How to Sew a Dart {2 foolproof tricks}
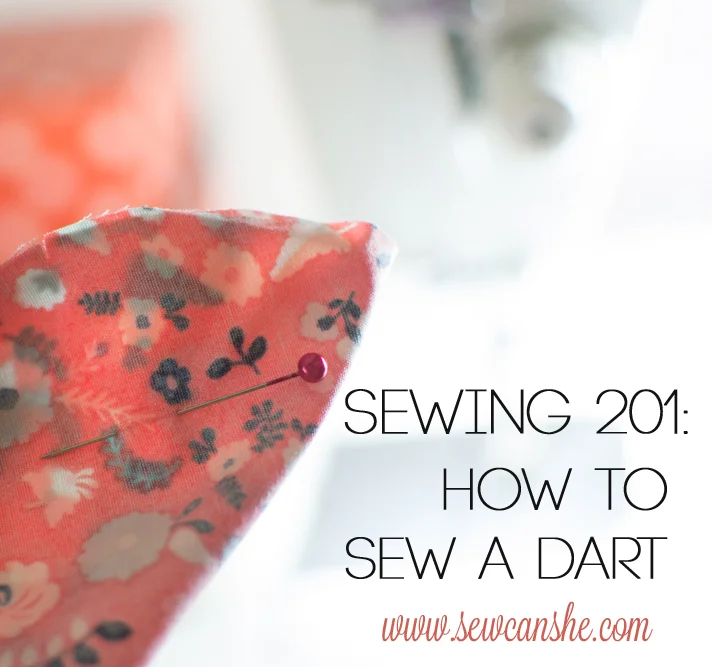
Do you dread darts? Let me show you how to correctly sew a dart. If you follow two tricks, sewing darts is foolproof and easy. You need to mark it accurately and end it professionally. That’s it!
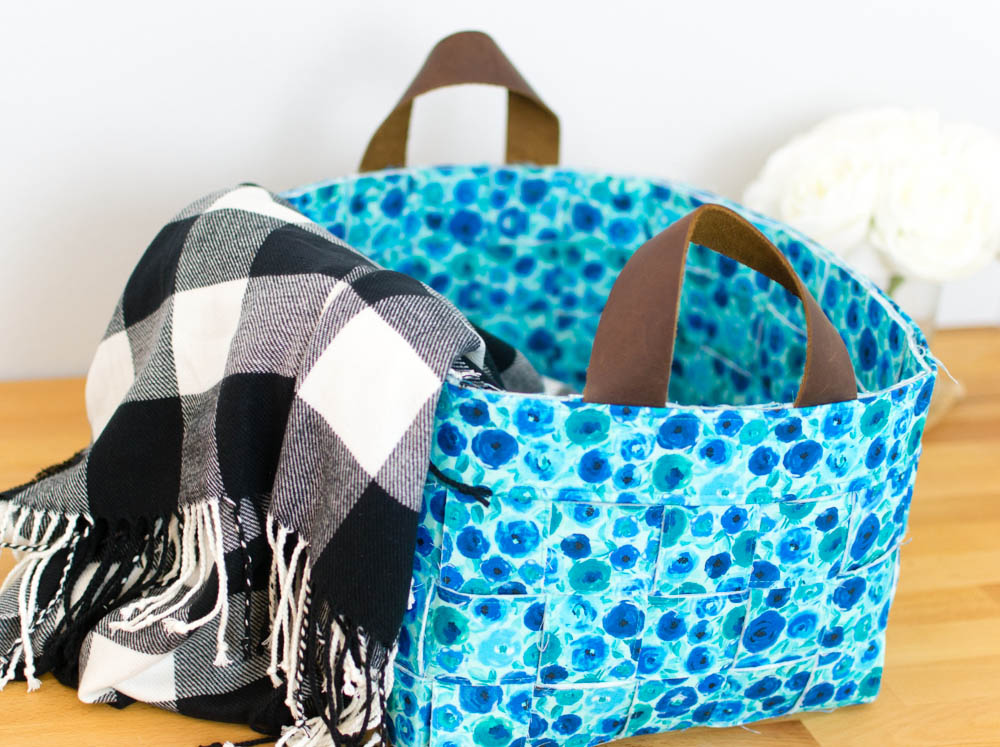
I love sewing darts. I love the way that I can change the shape of fabric… make a blouse feminine, make a tote bag roomy, and make pants flattering, all with darts!
Dart tip number 1: mark the dart accurately
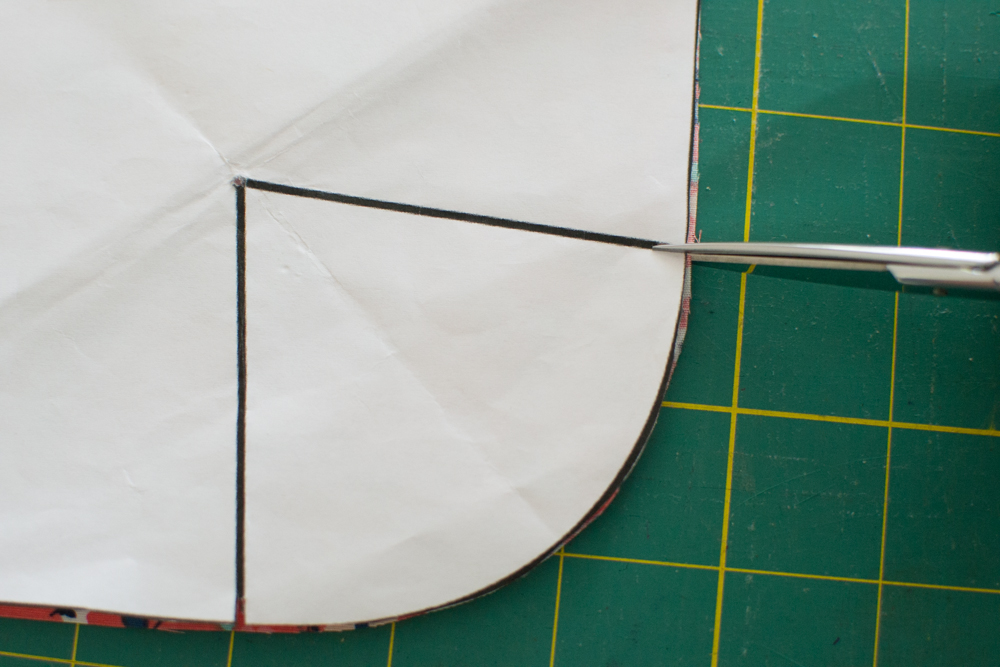
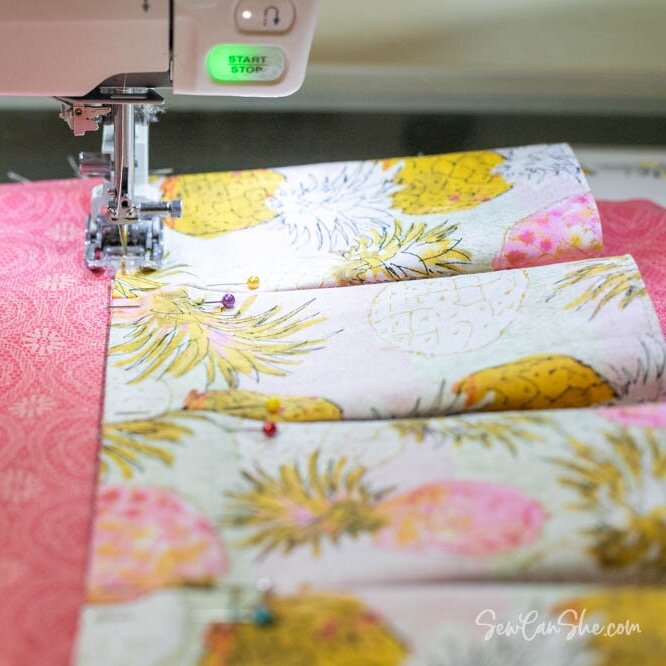
You can trace the whole dart onto the wrong side of your fabric or mark the ends, but I’ve found that the quickest and most accurate way is to make small clips at the ends and then mark the point.
Make sure you know the seam allowance of your fabric and ensure that your clips are smaller than that. A good rule of thumb is to clip only half-way into the seam allowance. So if your seam allowance is 1/2” (like on this bag) you can clip 1/4” safely.
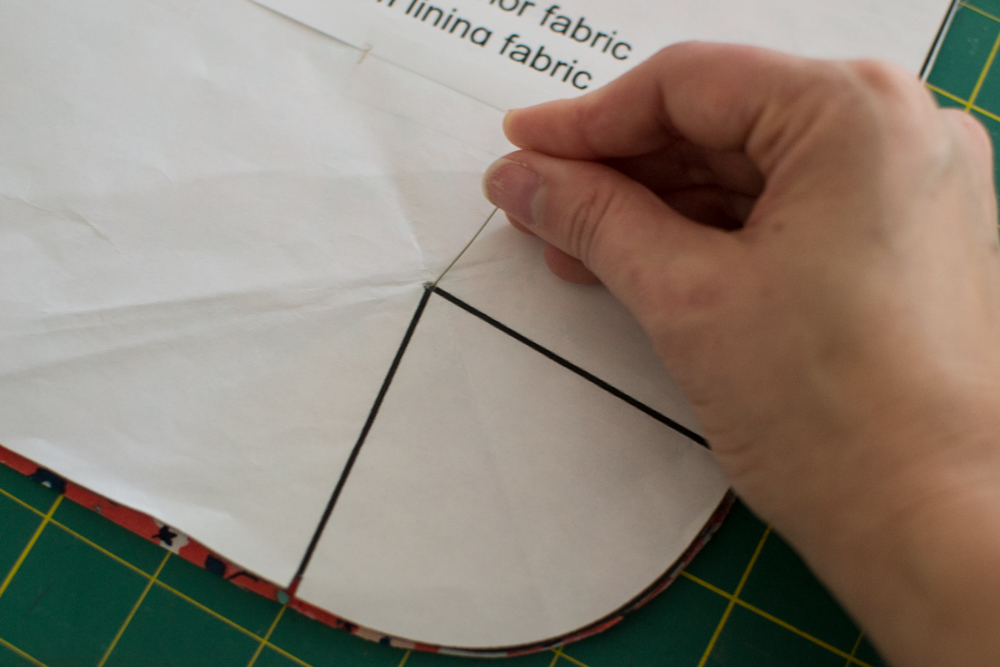

Next mark the point of the dart. One quick way is to stick a pin through all layers and then lift up each layer and mark the wrong side of the fabric in the spot where you see the pin.
You can also use a needle and long strand of thread to sew a tailor’s tack: just run the needle through the fabric at the point, remove it, and clip the thread when you pull the fabrics apart leaving a strand in each piece. This is especially helpful in delicate fabrics that you don’t want to use a pen on.
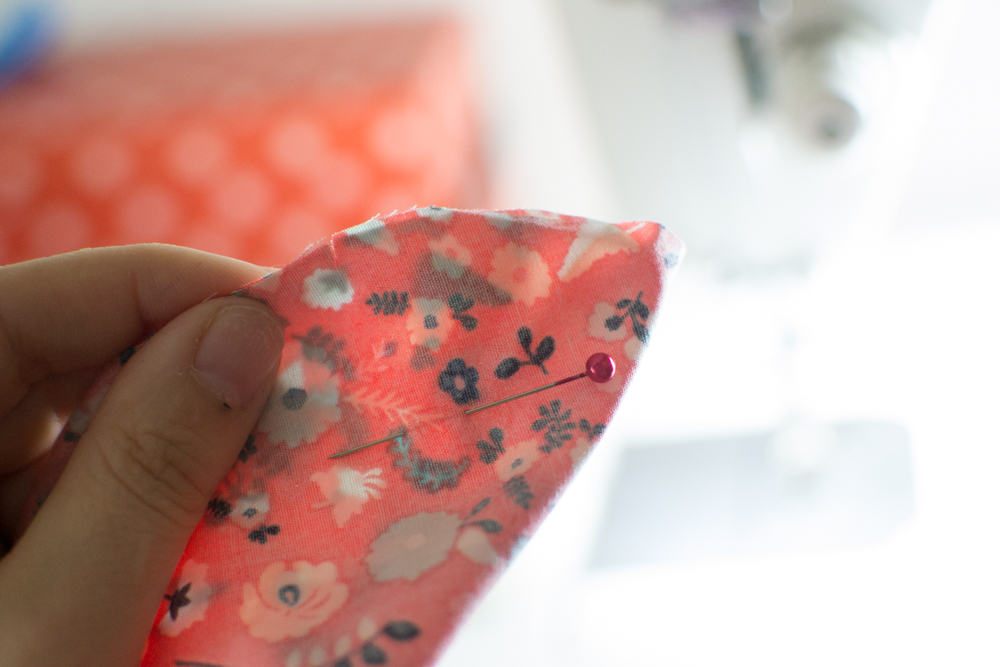
Once you have accurately marked your dart, you can easily fold the fabric right sides together and match up the clips.
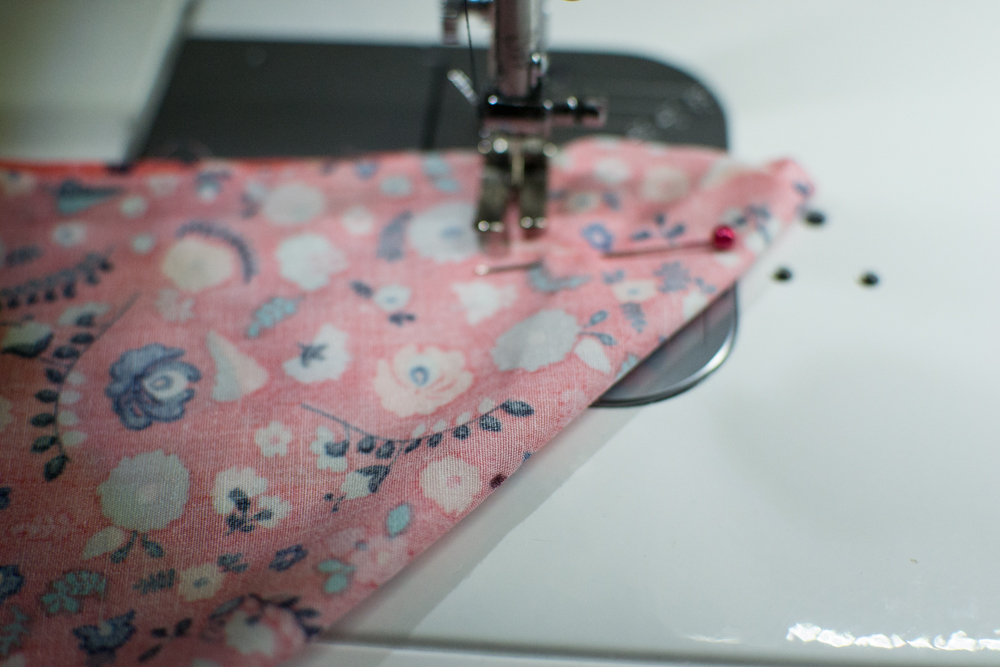
Dart tip number 2: end the dart properly
Always start sewing a dart at the fabric raw edge, not the point. Backstitch at the beginning and sew a straight line to the point that you marked. If you like you can draw a line between them before you start.
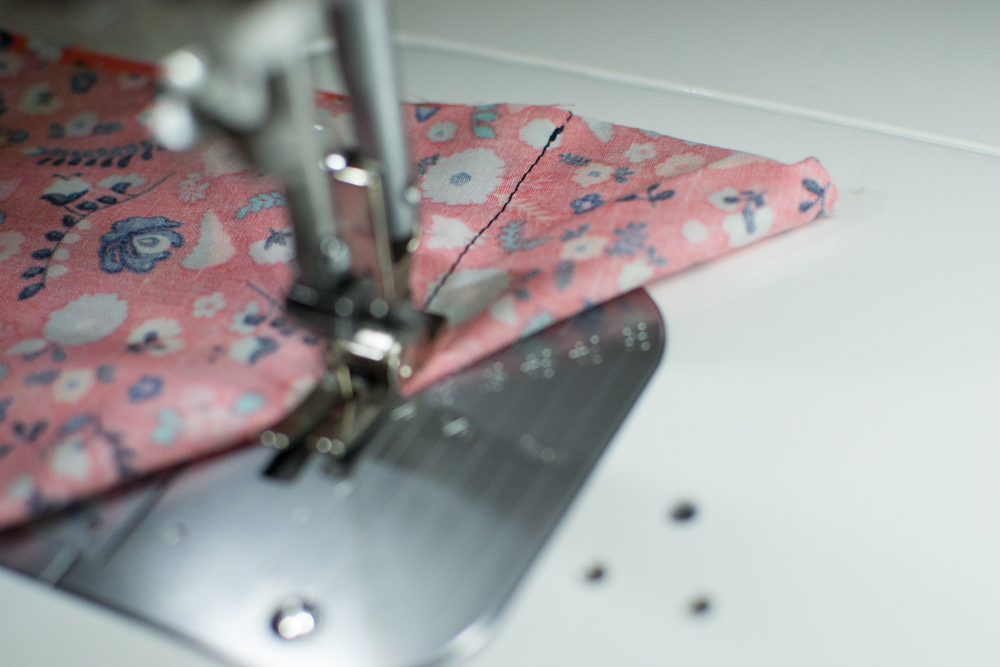
Never backstitch at the point of a dart. That might leave an ugly pinched or gathered spot. It’s not a big deal on a bag lining, but it will ruin a blouse.
Instead, sew straight off the end of the dart and then secure the stitching some other way. You could tie your threads in a knot by hand.
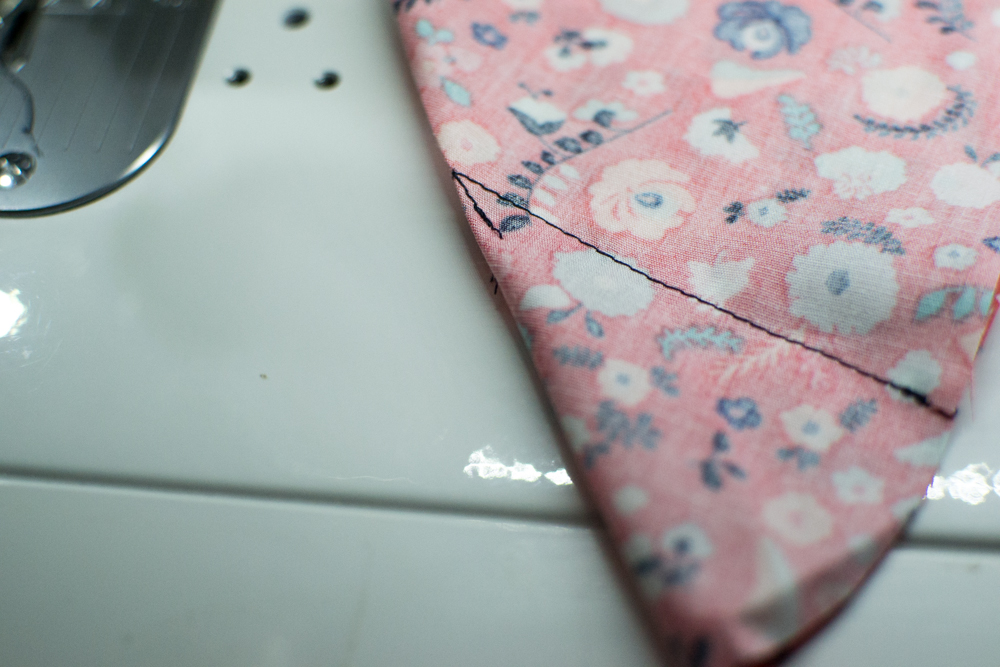
I like to turn my fabric around and sew back onto the dart where the stitching won’t show. Then I backstitch. Easy, huh?

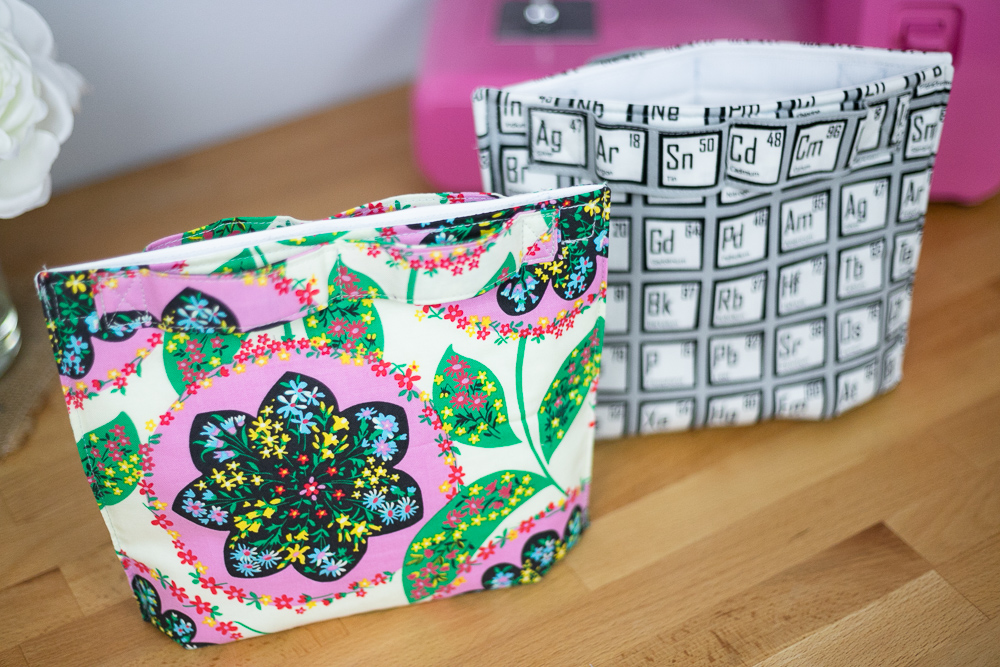
And perfect nearly every time. This beautiful fabric is from Recollection by Katerina Roccella for Art Gallery Fabrics.

You might also like my post with 14+ Tote Bags You Can Sew in an Afternoon.
Happy Sewing!


Disclosure: some of my posts contain affiliate links. If you purchase something through one of those links I may receive a small commission, so thank you for supporting SewCanShe when you shop! All of the opinions are my own and I only suggest products that I actually use. 🙂