Tips for Sewing Metal Zippers – have no fear!
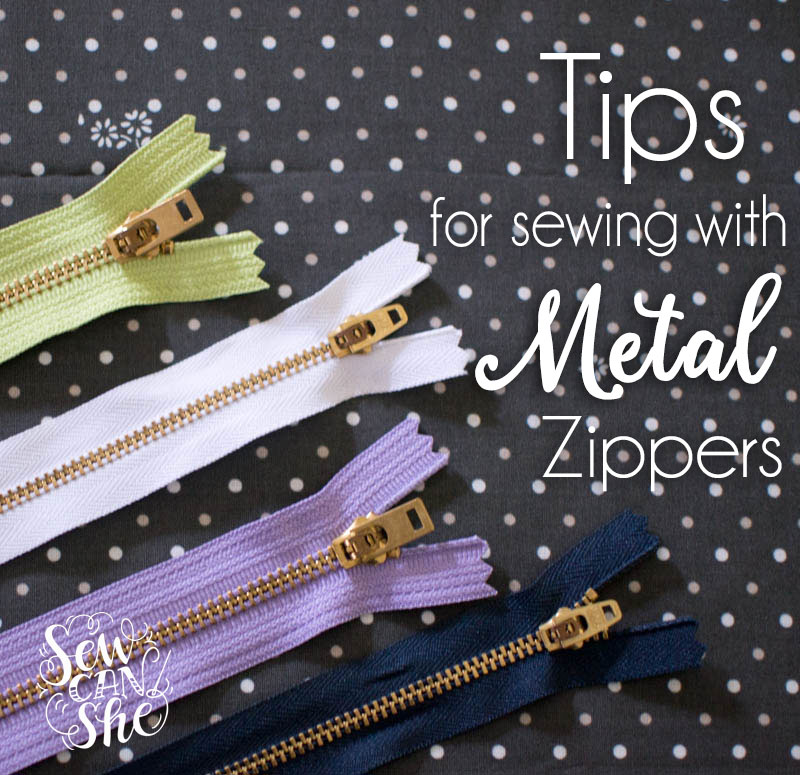
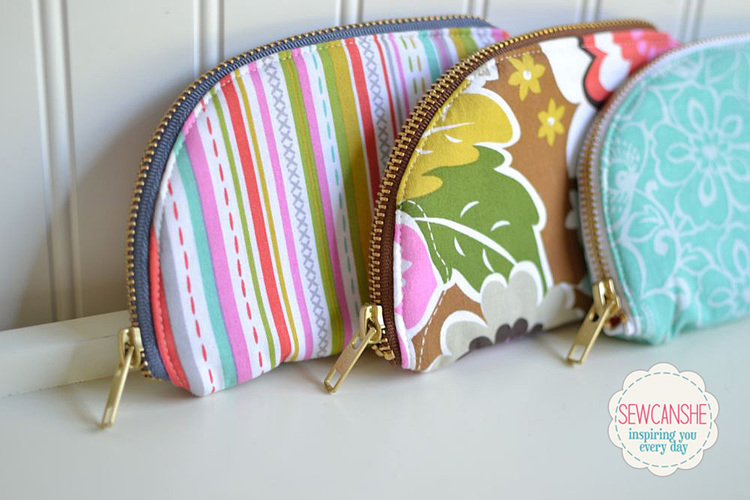
Aren’t these zippers beautiful? Sewing a metal zipper into a simple pouch or your next purse will dress it up like jewelry does around your neck. Check out these examples:

Everyone who compliments my Sheena Tote talks about the zippers, really. I try to explain to non-sewers (do we have a name for them yet… like Muggles?) about the awesomeness of Cotton + Steel fabric but their eyes glaze over.
My 2 Sided Zips are totally dressed up with metal zippers. And the tutorial is written so you don’t have to sew over the teeth!

Here’s another tote bag I sewed (my daughter confiscated this one). The metal zipper turns it into a really beautiful bag. I just love it.

One nice feature of metal zippers is that they usually have slightly wider zipper tapes than regular nylon zippers. That means sometimes when I’m using my straight stitch foot I don’t have to switch to a zipper foot. I can sew with a 1/4” seam allowance with the foot sliding right against the teeth. Obviously, you’ll want to switch to a zipper foot if it makes your job easier.
So are you ready to sew metal zippers into all your projects? You can! Here are some tips:
1. Buying them: I shop 2 places for all my metal zippers. Zipper Island and Wawak.

2: Understanding Metal Zipper Sizes: A ‘jeans’ zipper is usually a size #5 (indicating the size of the zipper teeth). The green zipper above is a #5. I also like size #4.5 (the white zipper above), with slightly smaller teeth. I have also seen a #10 metal zipper, but it has really large teeth and I’ve never had an appropriate project to try it on.

3. Sewing Metal Zippers: The main thing to remember is that in the fight of needle vs. zipper teeth – the zipper will win every time!
You can choose to slowly sew up to the zipper (hand crank the wheel as you get close), then backstitch, cut threads, and start again on the other side. That’s what I did in my 2 Sided Zips Tutorial.
Your other option is to sew ‘through’ the zipper teeth. If you choose to do this, slowly hand crank as you go over/through the teeth. Do NOT use the foot pedal at all. When you feel the needle hit metal, wiggle your project until the needle slips down between two teeth. Then hand crank another stitch to see if you are past the zipper. If not, wiggle the project again until the needle goes down.
The second ‘wiggle your project’ technique is what you’ll probably use most often because chances are your pattern or tutorial wasn’t written with a metal zipper in mind. It’s not hard at all, you just have to take care.
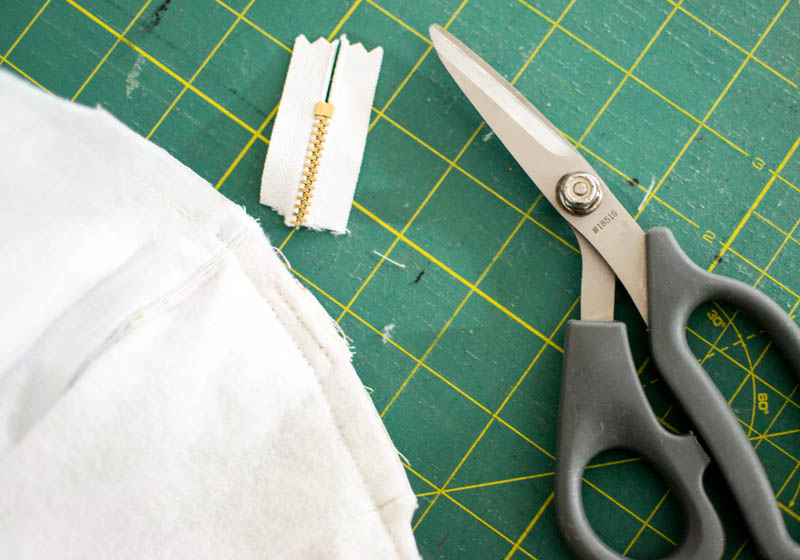
4. Trimming: If you need to trim away parts of the zipper, use heavy duty scissors, not your precious Ginghers! I like these gray handled ones that I found at Lowe’s near the saw blades. They are titanium (supposedly) and really cheap compared to nice sewing scissors. We use them for everything except fabric.
If you want to remove a few zipper teeth for some reason (I’ve had to do it, although I can’t remember why at this moment), pliers come in really handy for that. They just pop right off with pliers.
Do you have a tip for sewing with metal zippers that you’d like to share? Leave it in the comments below. I love to hear tips!
Happy sewing!

Disclosure: some of my posts contain affiliate links. If you purchase something through one of those links I may receive a small commission, so thank you for supporting SewCanShe when you shop! All of the opinions are my own and I only suggest products that I actually use. 🙂