How to sew a welt zipper pocket {great for a tote bag!}

Learn how easy it is to sew welt zipper pockets! They are simple to customize for any project… my favorite place to sew them is on a tote bag. But I’ve also seen them on pants, pouches, wallets, and even shoes! I decided to put this how-to tutorial for sewing welt zipper pockets into it’s own blog post so I could refer to it later whenever a project I write includes one. You might recognize these photos from my Convertible Cross-Body Tote tutorial.
Remember, welt zippers pockets can be sewn on the inside or outside of a tote bag, or wherever you want.
So let’s get started!
Planning:
Since this is a how-to about welt zipper pockets in general, you should plan beforehand how long and deep you’d like your zipper pocket to be. Here are my suggestions:
-
Leave at least 1” free on both sides of your project. That means if your bag is 12” wide, your welt zipper should be no more than 10” long (you can use a longer zipper, but the welt area should be 10” long at most).
-
Place the zipper at least 1” below the top edge of your project – but more is usually better. On the interior of a bag you’d want it at least 3-4” below the top.
-
The pocket depth will be limited by how much room is available under the welt zipper. In general, small pockets are usually 3-4” deep. A large pocket can be much deeper.
Materials:
(see the diagram below)
1. After you have planned the length and depth of your welt zipper pocket, make sure you have a zipper long enough. The teeth must stretch the length of the welt area. Longer is fine, you can trim it down after sewing it in.
2. Cut a rectangle of fabric that is 2” wider than your planned welt zipper and twice as tall as your pocket depth, plus 2”. If you are not sure how tall to cut your pocket piece, it’s okay to cut it too tall now, and trim it down later when you decide how deep to make the pocket.
Draw an outline of the welt area:

-
At the top of the zipper pocket rectangle (on the wrong side), draw a horizontal line 1” below the top edge. Draw another line 1/2” below it
-
Then connect the two long lines with short vertical lines 1” from each edge. You should have a long skinny rectangle 1/2” tall and 8” long.

Attach the pocket piece to the bag (or project):
1. Pin the pocket rectangle to the project right sides together. Place the rectangle that you drew in the exact spot where you want the zipper to be. Pin it in place.
2. Sew all the way around the drawn rectangle. Backstitch at the starting point.
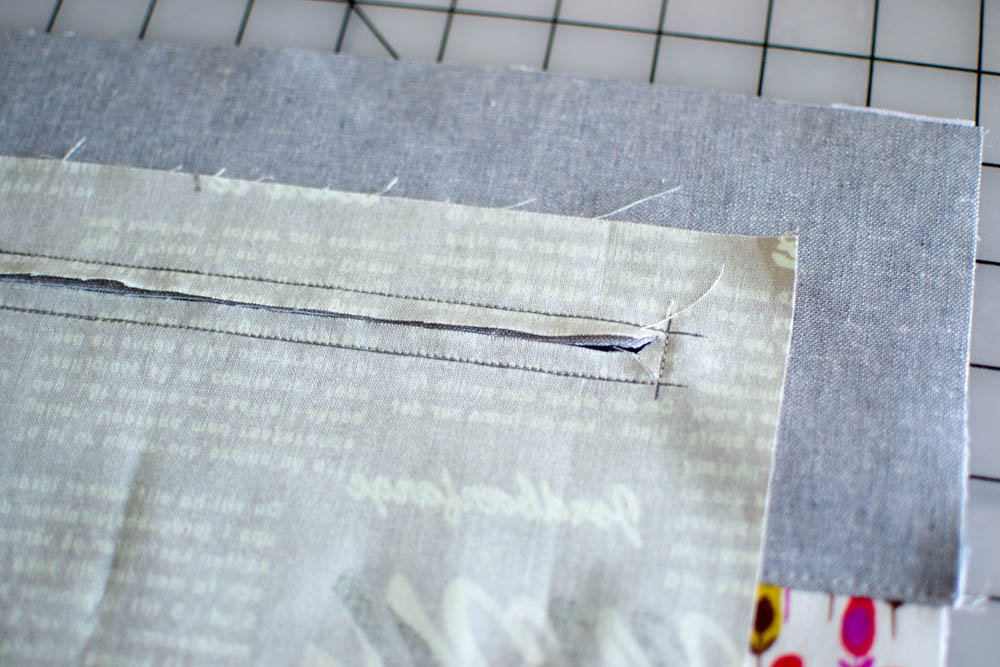
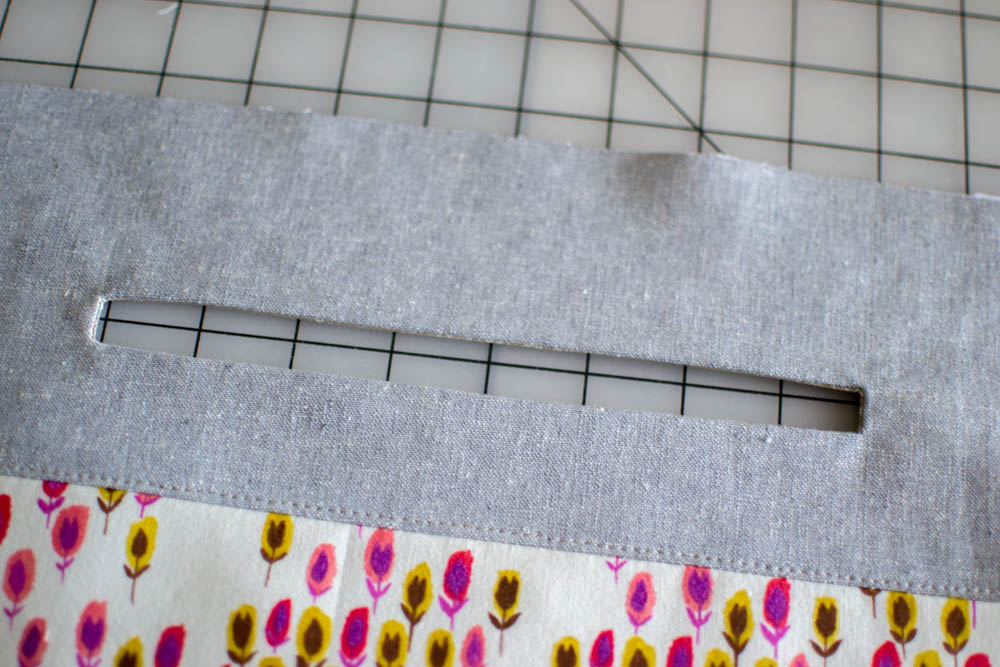
3. Using small sharp scissors, cut a line down the middle of the sewn rectangle, ending about 1/4” from either edge. Clip to the corners. Be careful not to cut the stitching.


5. Turn the pocket piece through to the back of the bag exterior piece. Press gently from both sides.

Sew in the Zipper:
1. You could pin the zipper to the opening, but I like to use a handy notion called Wondertape. It is like double sided tape for sewing. Apply Wondertape to both zipper tapes and remove the paper.

2. Center the zipper under the opening and press with your fingers to secure (or pin). Make sure the slider is visible in the opening. 🙂

3. Topstitch around the zipper opening, 1/8” from the edge. Use a zipper foot if it helps. If you are inserting a metal zipper like I did, see my Tips for Working with Metal Zippers.
Trim away the extra zipper tapes about 1/4” from the sewing.

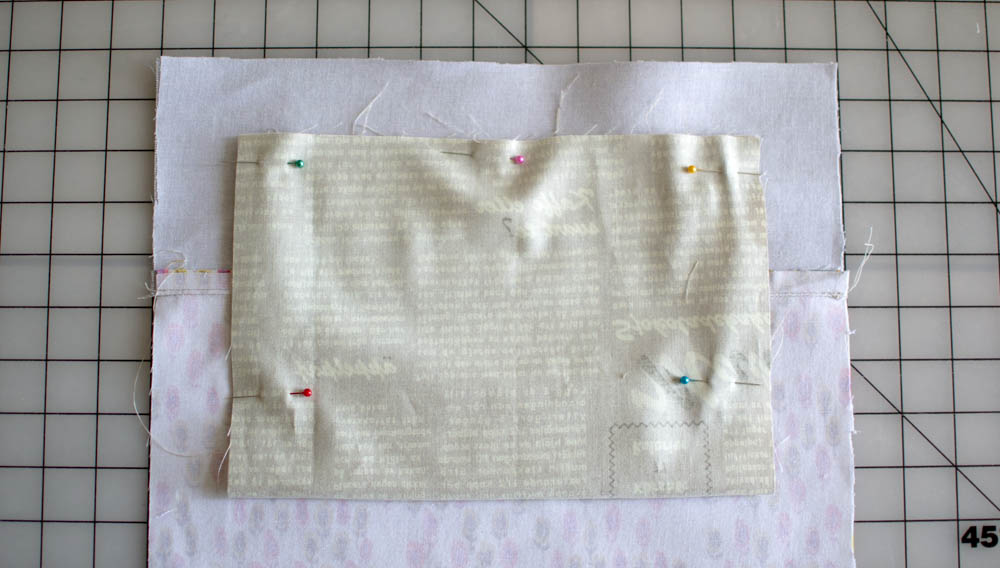
4. Fold up the pocket piece and pin around the top and sides.

5. Stitch the pocket top and sides with a 1/4” or 1/2” seam allowance.
And that’s it. Finish your project… it now has a cute welt zipper pocket!
xoxo,

Disclosure: some of my posts contain affiliate links. If you purchase something through one of those links I may receive a small commission, so thank you for supporting SewCanShe when you shop! All of the opinions are my own and I only suggest products that I actually use. 🙂
