3 Tips for More Accurate Cutting with Scissors and Rotary Cutters

Click to learn how to sew invisible zippers, key fob wristlets, and the bedside pockets organizer
Accurate cutting is so important. Whether you are using scissors, or rotary cutters, more precise cutting will make your sewing easier and your projects look better. Grab these 3 tips for more accurate cutting and you’ll be cutting like a professional in no time!
Handmade is beautiful. Handmade looks expensive. Handmade is what everyone wants. But do you sometimes feel like your sewing projects look more homemade than handmade?
There are ways you can change that. And they are all little things. It’s all in the details, my friends… the details!
This is the first post in a blog series all about how to take your sewing from homemade to beautifully handmade. And I want to start near the beginning of your project… Cutting.

Cutting is not my favorite part. Whether I am sewing a quilt, a tote bag or a piece of clothing, all I usually want is to get to stitching it together – that’s what I love!
But it’s really important to take care at this stage to make sure that each piece is cut as accurately as possible so that your project turns out just as beautiful (or even more beautiful) than the picture on your pattern. And that your clothes fit. 🙂
Here are 3 cutting tips to help you get your project off to a beautifully handmade start:
Accurate cutting is possible with scissors and with a rotary cutter and mat, so these tips will apply equally to whichever you like most.
1. Use a cutting area that is plenty big… larger than your biggest pattern piece. If this means moving two tables together or working on the floor, do it.
I have never thrown away a cutting mat even though I have replaced a couple because they have gotten really worn or warped. I keep these old mats stored flat and pull them out when I have a large project.
That way whether I’m working on my large table or on the floor, I can lay 2 (or more) mats together and have a cutting area big enough for any pattern piece.
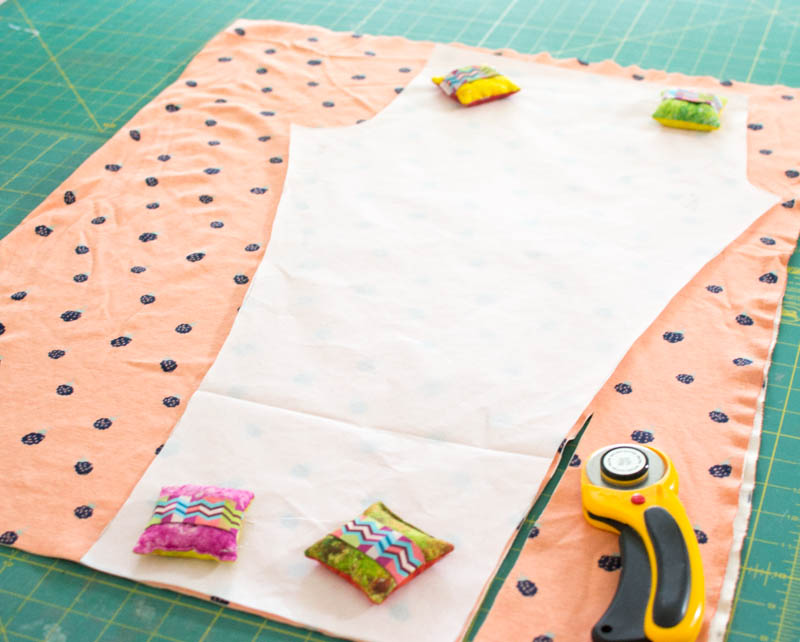
2. Make sure that the your fabric can lay perfectly flat on your cutting surface with no tugging or wrinkling. This is why it helps to work on a large area as suggested above.
It is very important that extra fabric (especially knit fabric – I can’t emphasize that enough) is not hanging off your table or work space. If it is, it is pulling against the fabric that you are cutting, stretching it out of shape, and after you cut it you will find that the cut pieces do not match the shape of the pattern piece. It’s okay to bunch up unused portions next to your cutting mat, but don’t let them hang off the table.
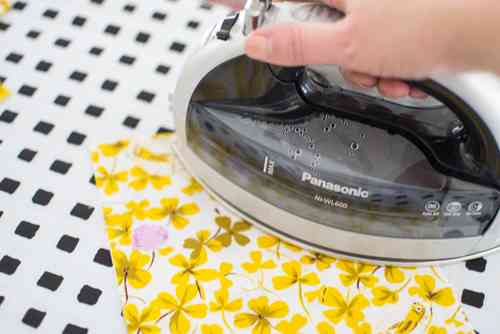
In most cases you will need to press or steam the wrinkles out of your fabric before cutting. I know this takes time, but it is important!
I also feel that using pattern weights instead of pins makes more accurate cutting because pins can cause the fabric and/or pattern piece to scrunch up and not lay perfectly flat.
For sure, you don’t want to use pins on some delicate fabrics or on laminated fabrics or vinyl fabrics. The holes from the pins won’t go away.
I wrote a blog post all about pattern weights a couple years ago.
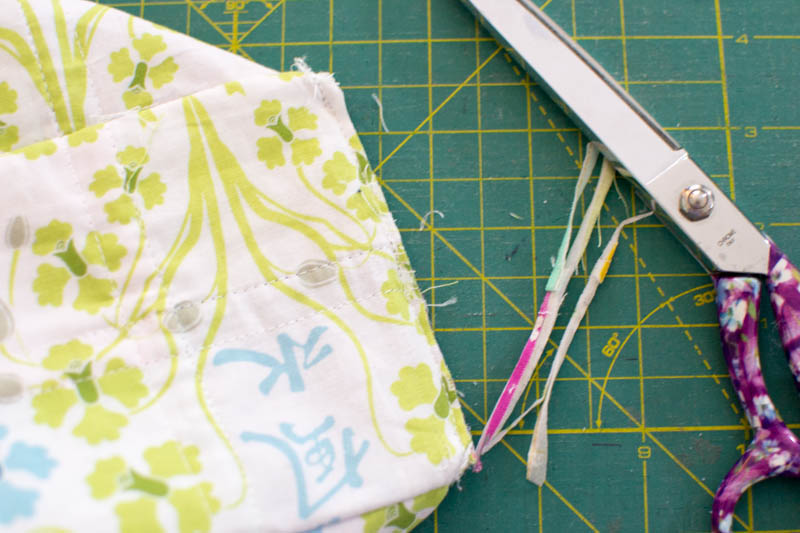
3. Always use sharp scissors or rotary cutter blades. Both cutting tools are great – just make sure yours are in good working order. Dull scissors or blades make cutting very difficult and inaccurate.
In my opinion, it is much better to by high quality scissors and then have them sharpened regularly than fussing with cheap scissors. Cheap scissors may work fine at first, but in the long run they are too much trouble. Here’s my list of the 7 Best Sewing Scissors (3 pairs you can’t sew without and 4 more you will also love).

If you are curious, my favorite scissor brands are Kai, Famore , and Gingher. All of these are able to be sharpened.
I replace my rotary blades often, whenever they start to leave threads or fabric sections uncut. If you buy blade bundles on Amazon, it’s not too costly and saves lots of headaches.
Caution: rolling a rotary blade or accidentally cutting over a pin can quickly dull the blade. Another reason to use pattern weights instead.
I have seen tools that can sharpen rotary blades, but I have no experience with them, so if you do, I’d love to hear about it in the comments.
While I’m on the cutting topic, you should know that I always trace paper pattern pieces so I can use the pattern again (more on that in this post).

If you are a quilter you might really like the AccuQuilt cutting machine for cutting amazingly accurate strips, squares, triangles, and other common quilt piecing shapes in almost no time at all. It is an investment, but I have never regretted it. I love this YouTube video on how to cut hundreds of squares and diamonds using the strip dies. I use the strip dies more than any others. And I don’t think the blades get dull. Whenever I think I have a dull blade, I replace the AccuQuilt mat instead and it works great again. The mats are much cheaper than the blades.
Do you have any tips for more accurate cutting? Share them in the comments!
And watch for another Homemade Vs. Handmade post coming next month. Sign up for my daily newsletter to make sure you don’t miss it.
xoxo,

Disclosure: some of my posts contain affiliate links. If you purchase something through one of those links I may receive a small commission, so thank you for supporting SewCanShe when you shop! All of the opinions are my own and I only suggest products that I actually use. 🙂