Chubby Lunch Tote – Free Sewing Pattern {part 2}


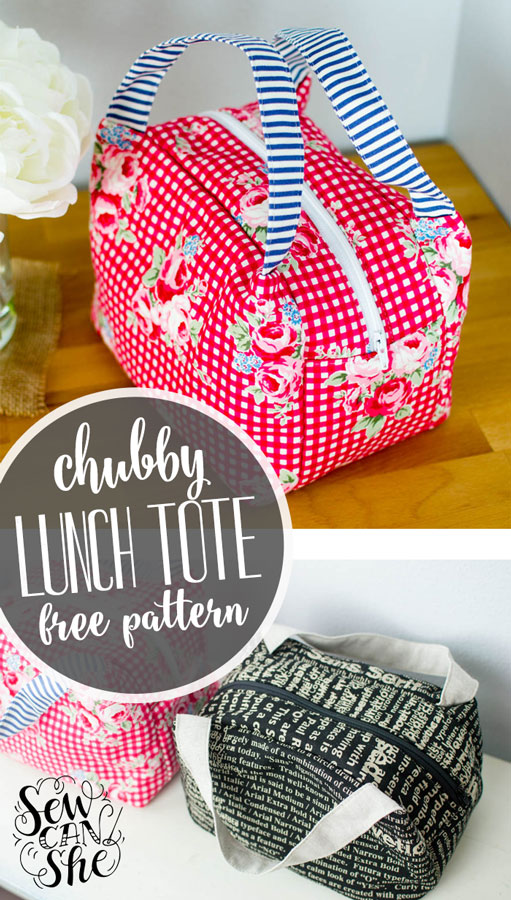
Are you sewing a Chubby Lunch Tote with my free tutorial?

If so, you’ve probably come to Part 2 ready to finish!

Click here to go back to Part 1 of the tutorial. 


Assemble the tote sides:

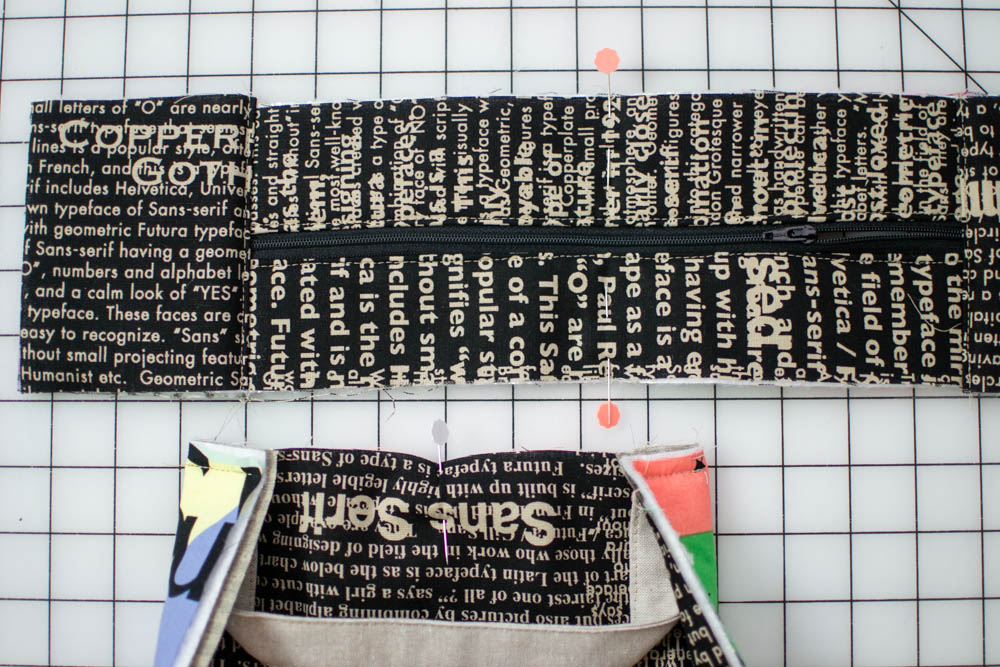
1. Fold the zipper panel in half and find the center at both edges. Mark with pins or a fabric marking pen.

2. Fold the front and back pieces in half and find their centers along the top edge also. Mark.


3. Pin or clip (I think clips are easier) the front piece to one side of the zipper panel. Start at the center, matching the pins or marks that you made. Skip the flaps that stick out where you sewed the handles. Open out the 3/8” wide unsewn edge next to the handle and place it along the zipper flap. This part is a bit fussy, but don’t stress over it. It will look great.

Clip the side edges and the top edge of the front piece to the zipper panel. It should fit perfectly.


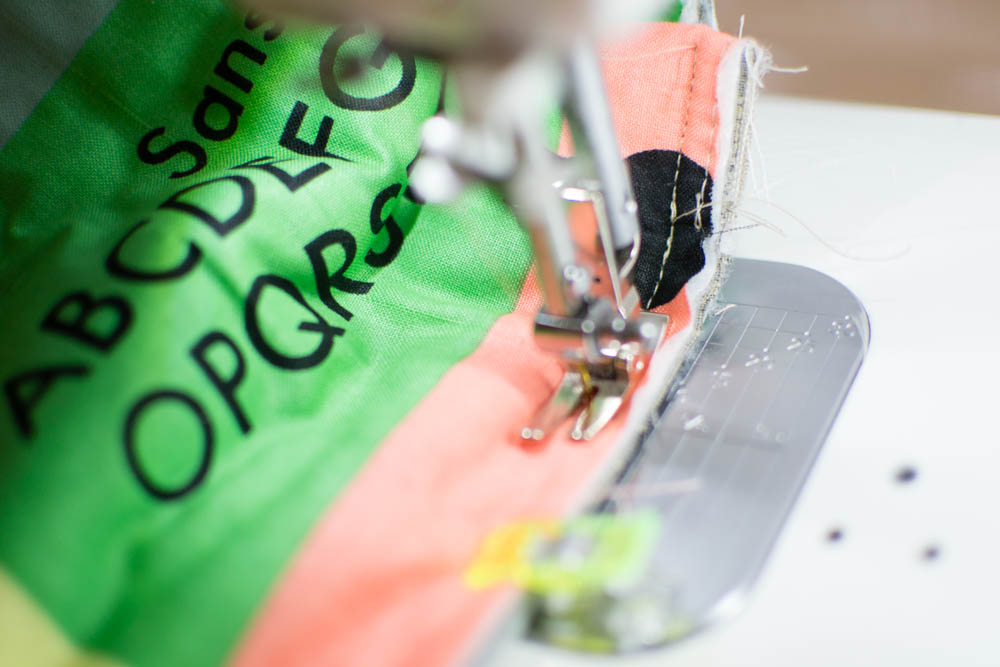
4. Start sewing at one end with the lining up. Sew until you reach the flap with the handle and stop. Backstitch. Try to stop right where the stitching starts that secures the handle inside the flap.

5. Take the tote out from your sewing machine and trim the threads. Start sewing the tote again on the other side of the flap. Try to start sewing right where you see the stitching that secures the handle inside the flap.


Repeat steps 3-5 above with the tote back on the other side of the zipper panel.


Finish the raw edges:

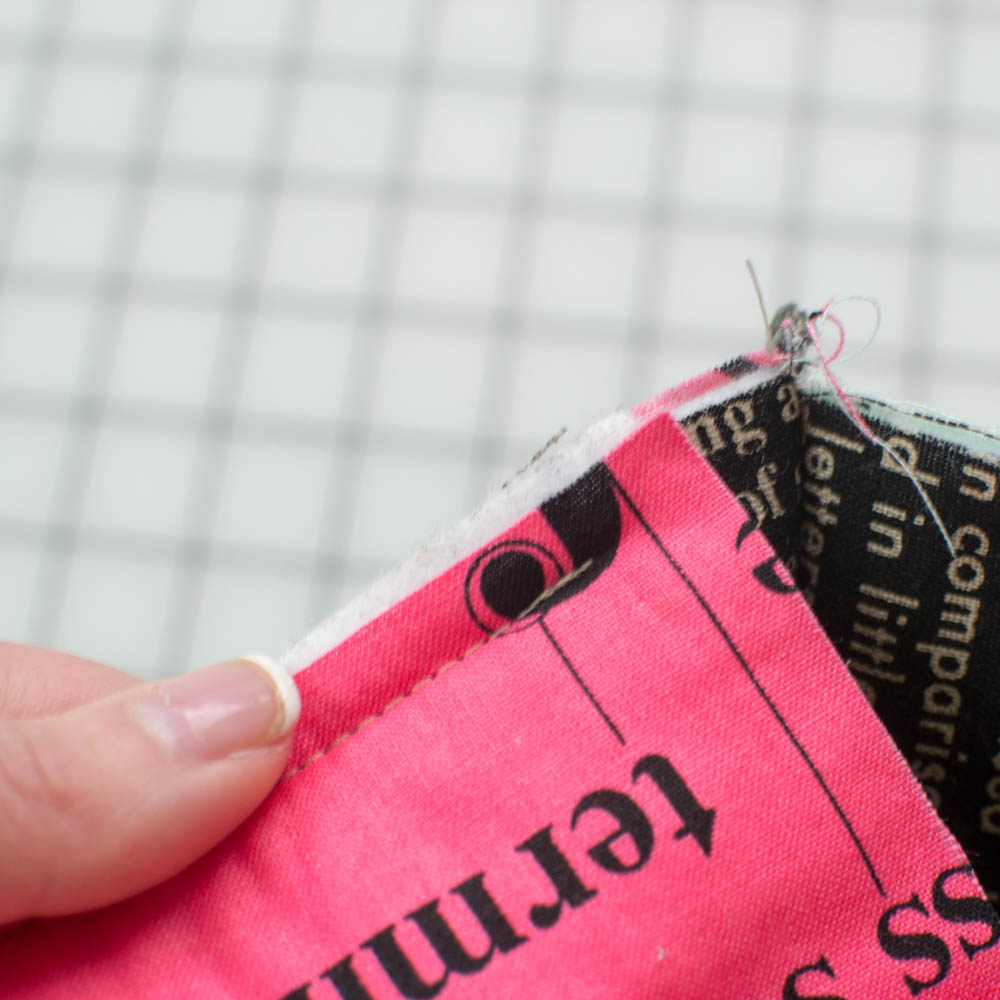
1. Clip to the stitching on the handle flaps in order to make the side seams easier to finish. Clip near to the point where the seams meet without cutting the stitching.

2. Finish the raw edges of the handle flap with zig zag stitching.


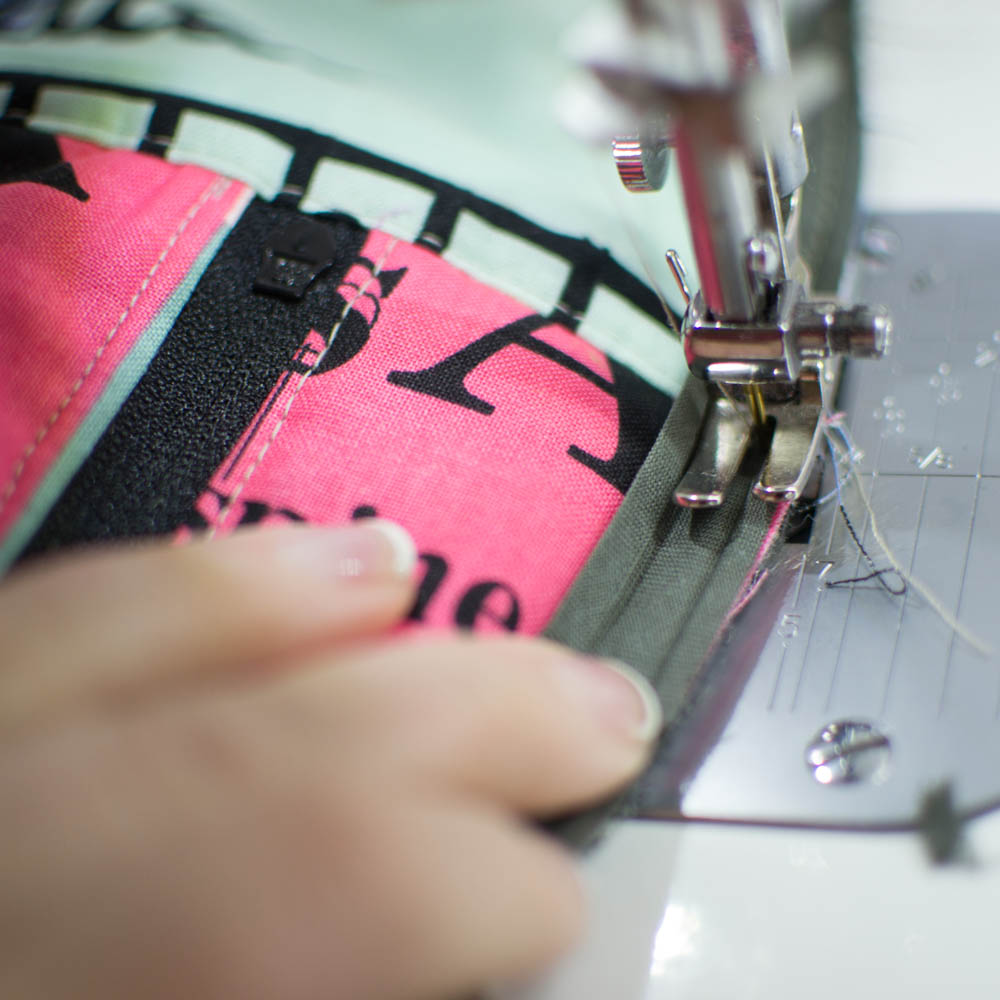
3. To apply bias binding to the side seams, sew the binding to the seam with a 1/4” seam allowance. Wrap it around to the other side of the seam and sew close to the edge.

Note: Sewing this tiny binding in place was a pain! But I persisted because the color matched, lol! I suggest using wider binding or finishing the edges with zig zag stitching or a serger.


Attach the tote bottom:

This part is not difficult, but follow each step carefully.

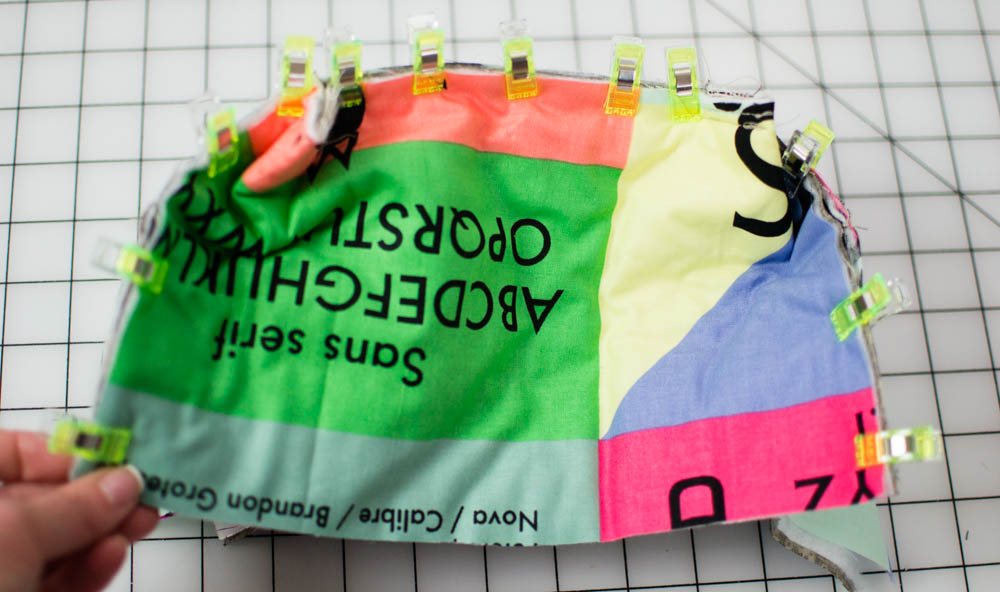
1. Fold to find the centers of the lower tote edges as well as the edges of the bottom piece. Mark with pens or a fabric marking pen.

2. You will sew the front and back to the bottom piece first. The front and back edges are longer than the long edges of the bottom piece, but that’s okay.

Match the centers of the front and back of the tote to the centers of the bottom piece on the long edges. Pin in place with the exteriors of the front and bag against the exterior of the bottom piece. 


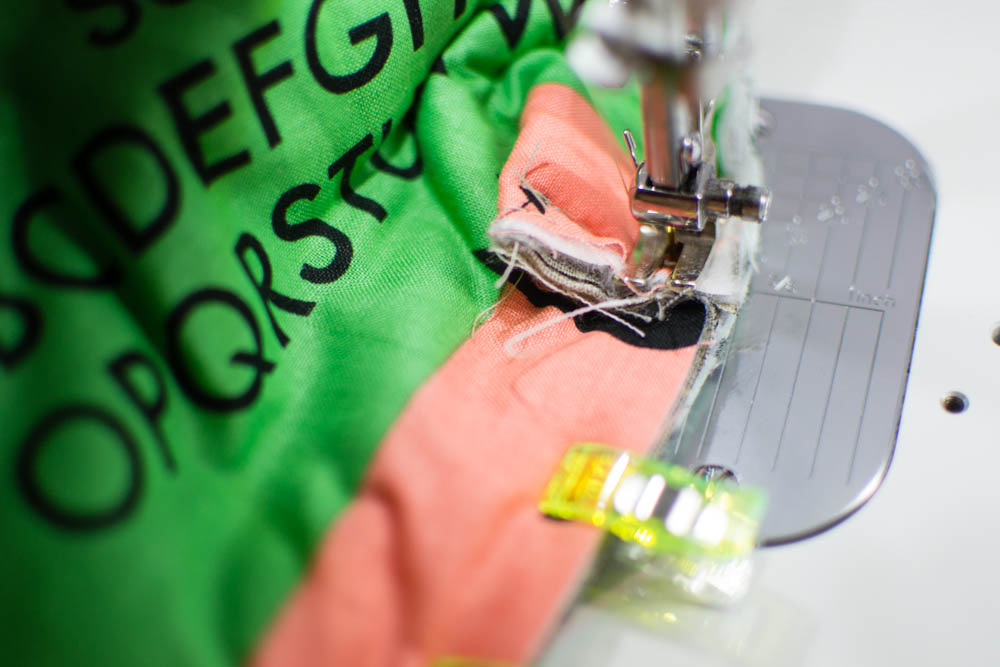
3. You will sew the lower front and back edges of the tote to the bottom piece, starting and stopping 3/8” away from the corners of the bottom piece. Place a pin to mark 3/8” away from the corners on the bottom piece, if desired. (left image above)

4. Sew with the bottom piece up and the tote front (or back) against the sewing machine. As stated above, backstitch and then start sewing 3/8” from the corner and sew across the the edge. Stop sewing 3/8” from the corner and backstitch.

5. Repeat to sew the lower back edge to the opposite side of the bottom piece. Again, start and stop 3/8” from the corners.


_DSC0141.jpg

6. Clip to the stitching at the places where you started and stopped on the front and back of the tote only (not the bottom piece).


7. Flatten the sides of the tote against the sides of the bottom piece. With the tote front and back clipped to the stitching at the corners, the edges should fit perfectly. Pin in place.

Make sure that the zipper is half-way open.


8. With the tote bottom against the sewing machine, sew across the side edge. Repeat on the other side.


9. Clip the corners to make turning easier. Finish the bottom seams. I decided to serge these edges instead of binding them. You could also finish the edges with zig zag stitching.


Turn your chubby tote right side out and enjoy!

Have you sewn one or more of these totes? I’d love to hear what you’re using it for! Tell me in the comments. Or even better – upload a picture to our next Show Off Saturday Picture Party!

Happy sewing,


Disclosure: some of my posts contain affiliate links. If you purchase something through one of those links I may receive a small commission, so thank you for supporting SewCanShe when you shop! All of the opinions are my own and I only suggest products that I actually use. 🙂

Similar Posts

27 Comments

  1. Kraftyvada says:

    I love it! So glad it won for March. I have been looking for a CPAP bedside organizer that goes between matress without the weighted flap. Do you think this could be adapted? I triedto paste a picture in but couldn’t get it. Its a zippered case and the flap is weighted to go on nightstand or between matress.

  2. Guao!!!
    Gracias por este tutorial. Justamente quería hacer uno para mi esposo. Te enviaré fotos. Besos!

  3. You have such wonderful ideas and patterns, but they are not printer friendly. How can I download them or print them easily?
    Thank you for all of the creative ideas.

  4. This is an awesome little bag! I loved how all the pieces fit so well. I made one and it turned out so well my daughter smiled sweetly and nabbed it!

  5. Kaye coonve says:

    Thank you so much for your instructions, they were easy to follow and I enjoyed making the bag.

  6. So far so good, but getting the bottom piece to work is baffling me a bit. Any suggestions?

    1. I know it looks confusing in the pictures, but if you follow each step in order it will come together. The front and back of the tote fold around to the sides. That’s why you sew the front and pack pieces to the bottom first (which is narrower). Then when you flatten the side/bottom together, it all fits. Trust me!

      Caroline

      1. I left it alone overnight and it made complete sense in the morning! Thanks!

  7. Judy Frye says:

    I love this bag and your fabric choice is excellent. Would you share the name of the fabric, please.

  8. This is a cute bag. I made it to hold my 2 year olds pretend hair dryer, curling iron and make up. It works perfectly. Thanks for the pattern

  9. These are awesome for make up/travel bags! May become my THE PRESENT to make for Christmas 2018…. Shave/toiletry travel bag for the guys in manly fabrics, too! Do you have any suggestions for how to increase in size? Thanks!

  10. Carol Brown says:

    I love it! I did need to read the instructions through a couple of times, but it was worth it.
    I made a bit of a change. I made the lining separately, the same as the outside without the straps. Then, I put the lining inside and hand sewed it along the zipper. This makes the inside neater.
    I took photos, but don’t see a way to post them

    1. Marilyn James says:

      Hi Carol Brown I was thinking about something like that before I read your post. Maybe even use oilcloth so an ice pack could be used although I’ve never used it so don’t know how “easy “ it is to use.

  11. Thank you very much for the pattern and detailed directions! I followed them exactly and it came out great! I am also not able to post pictures. I used neoprene material instead of the outside fabric and batting.

  12. Thank you for posting this detailed version and perfect lunch tote made one for my hubby it came out great!!

  13. I’ve just finished making my Chubby Tote. So happy with it! I can’t wait to use it for my lunch when I go to work tomorrow! I did a couple of different things to it. Firstly, I made it an inch bigger on all sides. It seemed a little small otherwise. Secondly, I used an iron on vinyl to my lining so that I can wipe it down. Third, I used a cotton batting on the exterior fabric as well as fusible interfacing (Vlieseline H630) on my lining fabric. It did make it a bit bulky when sewing around the corners, but I perservered and added bias binding to all the internal seams. Yes it was a fiddly pain, but I am so pleased with the result! Thank you so much for this pattern and for your clear instructions.

  14. Hello Caroline this is Caroline Anderson and I’m seeing the convertible cross body tote and I’m stumped on making the zippered pocket. So I got it in and I’m stuck where you say fold up the pocket piece and pin around the top and sides. Then stitch the pocket top and sides with a 1/4 “ or 1/2” seam allowance. Please help and answer me back when you can.

  15. [object Object] says:

    So I finally made this at the request of my 13 yr old for her lunch bag this year. I had some issues but worked through them, I just needed to slow down and breathe (I was trying to rush). I would definitely say read through ALL of the instructions carefully before you start. Also I would recommend serging instead of zig zag if you have the ability. I think it would just look nicer and you could have all of that part completed in one step.

    Over all this turned out awesome and she loves it.

  16. Vera Carrati says:

    Adorei. Muito bem explicado. Não entendo inglês , mas pelas fotos consegui entender.

    1. Hi Patti,
      I didn’t split up the pattern in 2 parts for the PDF file. If you downloaded the PDF file then you already have the whole pattern. 🙂

      Caroline

  17. Cute, but the pictures are not very helpful and I found the instructions to be very frustrating. For example: 3. of the second part of the tutorial. This makes no sense to me. Also, it might have helped if the same fabric was used for the tutorial pictures that were used in the main pictures. I was really looking forward to trying to make this, but I have to admit that walking away, more than once, did not bring any clarity. Maybe a video tutorial?

Leave a Reply