How to Sew a Scrappy Pet Leash – free sewing tutorial
Sew up a new leash for your favorite pet – it’s sew easy! All you need is some fabric scraps, a bit of interfacing, and a lobster claw clasp. You can also cut off and reuse the clip from your pet’s old leash.

I pieced lots of squares together for my leash, but you an also use a single long strip of fabric.
The blog post below is totally free to read, print, and sew! Just hit CTRL +P on your computer to print. There is an optional PDF download offered at the end of the post. Join our Sewing Bee Community for access to over 300 PDF patterns (including this one), live workshops, premium video courses, and more.

I wanted to keep your options open in case your pet is a (large) cat, a llama, or a mini horse! I came up with the idea because our faithful dog Indy is the only member of our household that I hadn’t sewn for yet. Well, not anymore!
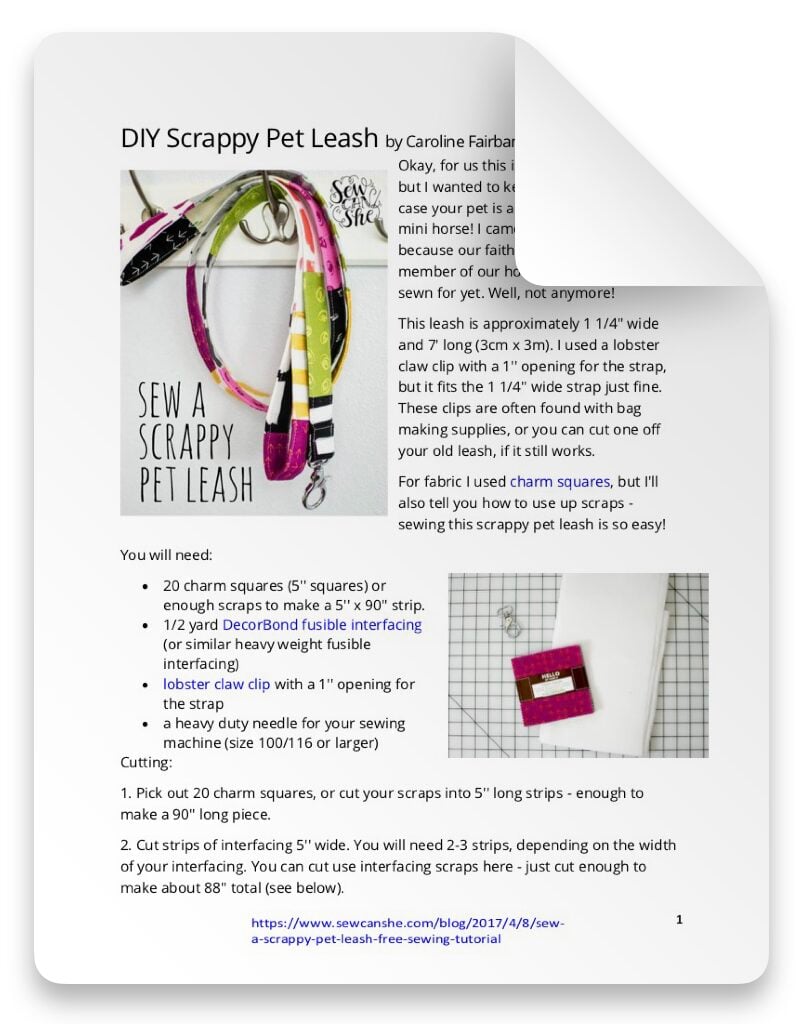
This leash is approximately 1 1/4” wide and 7′ long (3cm x 3m). I used a lobster claw clip with a 1” opening for the strap, but it fits the 1 1/4” wide strap just fine. These clips are often found with bag making supplies, or you can cut one off your old leash, if it still works.

You will need:
- 20 – 5” squares of fabric or enough scraps to make a 5” x 90” strip.
- 1/2 yard DecorBond fusible interfacing (or similar heavy weight fusible interfacing)
- lobster claw clip with a 1” opening for the strap
- a heavy duty needle for your sewing machine (size 100/116 or larger)
Cutting:
1. Pick out 20 charm squares, or cut your scraps into 5” long strips – enough to make a 90” long piece.
2. Cut strips of interfacing 5” wide. You will need 2-3 strips, depending on the width of your interfacing. You can cut use interfacing scraps here – just cut enough to make about 88” total (see below).


Sewing:
1. Using a 1/4” seam allowance, sew the 20 charm squares or 5” wide scrap pieces together to make a strip approximately 90” long. Press the seam allowances open to reduce bulk.


Interfacing:
1. Fuse the interfacing strips to the back of the long fabric piece. Leave 1” without interfacing at either end. You can either butt the interfacing strips up next to each other or overlap them by about 1/8” as you see in the picture top right.

The instructions for non-woven interfacing like this say to use a medium iron setting since the interfacing can melt under a hot iron. I like to fuse from the fabric side (using lots of steam) so I can use the hottest setting without any problems.
Take your time here and make sure the interfacing is completely fused.

Make the Leash:
1. Fold the long strip in half lengthwise and press. Then open it and press the long edges to the center. Fold in half one more time and press.


2. Topstitch (sewing with a slightly longer stitch length) along both long edges, about 1/8” from the edge.
Tips:
- Make sure you are using your heavy duty needle by now.
- Sew both sides starting at the same end to reduce rippling along the strap.
- If you have a walking foot (or even feed foot) it will help too.


3. Slide the clip onto the strap. Fold the end of the strap over (where there is no interfacing – with all the thickness it only folds over about 1/2” -3/4” now) and then fold the strap over again about 1”. Clip it in place or just hold it until you move to the sewing machine. 🙂

4. Sew in a rectangle shape (over the previous topstitching at the sides) to secure the end of the strap. You could sew an ‘X’ shape through the rectangle for extra strength. I decided to sew around the rectangle a second time instead.

5. Fold the raw edge end of the strap over as before and then fold the strap back to make about a 7” handle (or your desired size). Clip or pinch in place and sew a rectangle to secure it just like the other end.
All done! Make sure you Pin this tutorial (pic below) to share with your fellow sewing buddies!

xoxo,

SCRAPPY PET LEASH SEWING TUTORIAL
Purchase this pattern in PDF format! The PDF file contains all of the instructions, plus the step by step photos that have been reduced to fit the page nicely with no ads.
Download the file immediately and keep your confirmation email so you can download it again later. Unlimited downloads are available from the confirmation email. Free patterns must be downloaded within 30 days.
Disclosure: some of my posts contain affiliate links. If you purchase something through one of those links I may receive a small commission, so thank you for supporting SewCanShe when you shop! All of the opinions are my own and I only suggest products that I actually use. 🙂