Watch my Free Video Course for Designer Zipper Bags!
UPDATE: Start watching the Designer Zipper Bags Video Course now here!
I’m so excited to share with you something that I have been working on all year… a video course!
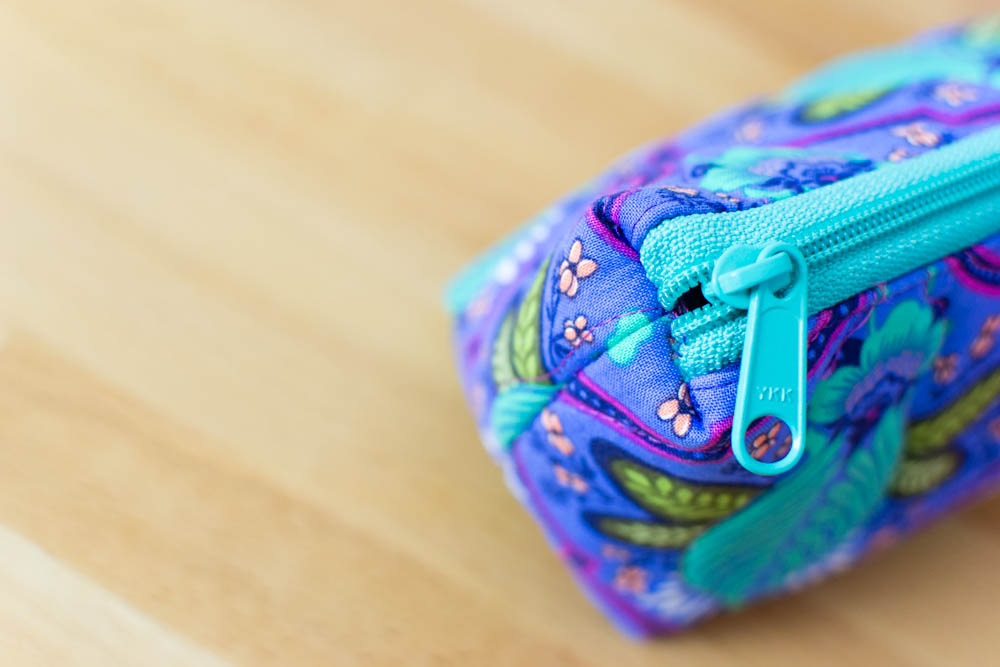
I get ‘sew’ annoyed at most zipper bag tutorials because I end up with pinched corners at the top that never look right.
I have to admit that it bothered me so much I couldn’t sleep one night. I layed in bed trying to picture how to make a zipper pouch that had beautifully sewn top corners.
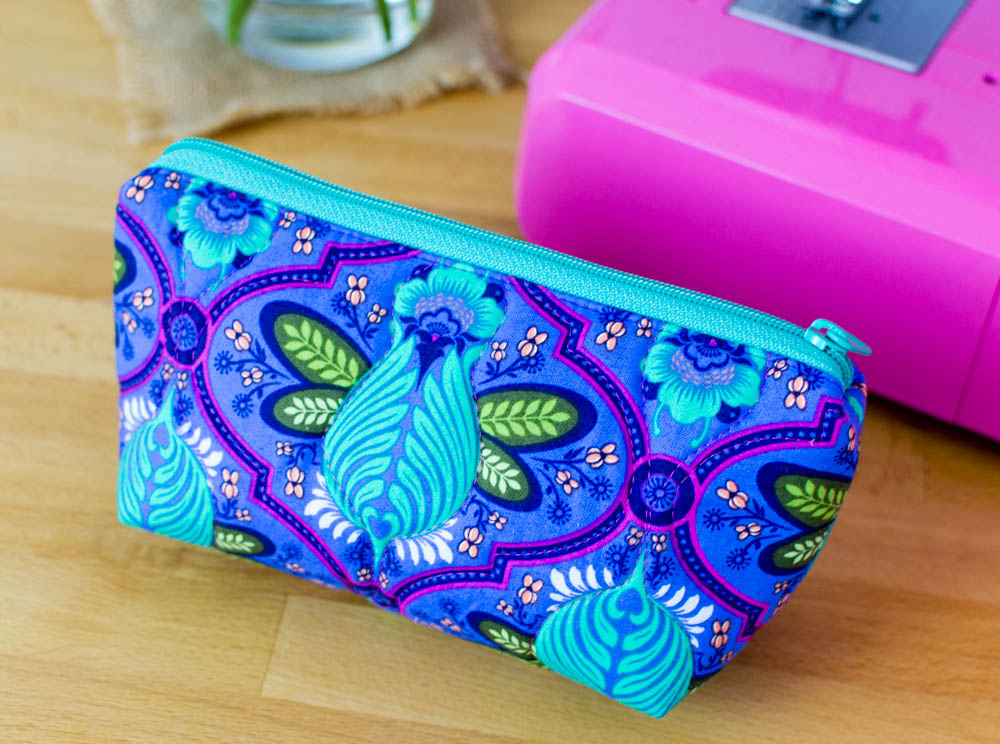
I woke up the next morning and made it work!
At the same time, I have been experimenting with ways to set up my sewing machine and camera in order to make better how-to videos.
This video course that I wrote, filmed, and edited is the marriage of those two processes that I have been experimenting with all year. Okay, all year just means all of 2019, but still.
The Designer Zipper Bag video course includes the following 3 lessons that will be released over 3 days next week:
If you gather together your materials now, you’ll be ready to spend just a few minutes sewing each day and you’ll have a beautiful designer zipper bag finished by Thursday!
Make sure you are subscribed to my newsletter so you don’t miss a single lesson!
To sew along with the video course next week, you will need:
-
2 rectangles of fabric at least 12 1/2’’ x 10 1/2’’ (I’ve been breaking into my Tula Pink All-Stars bundle and coordinates bundle)
-
a piece of foam stabilizer (such as Soft and Stable) at least 12 1/2’’ x 10 1/2’’
-
a handbag zipper at least 10’’ long (I’ll also show you how to use handbag zippers by the yard)
Are you in? Get ready to sew ad start here!
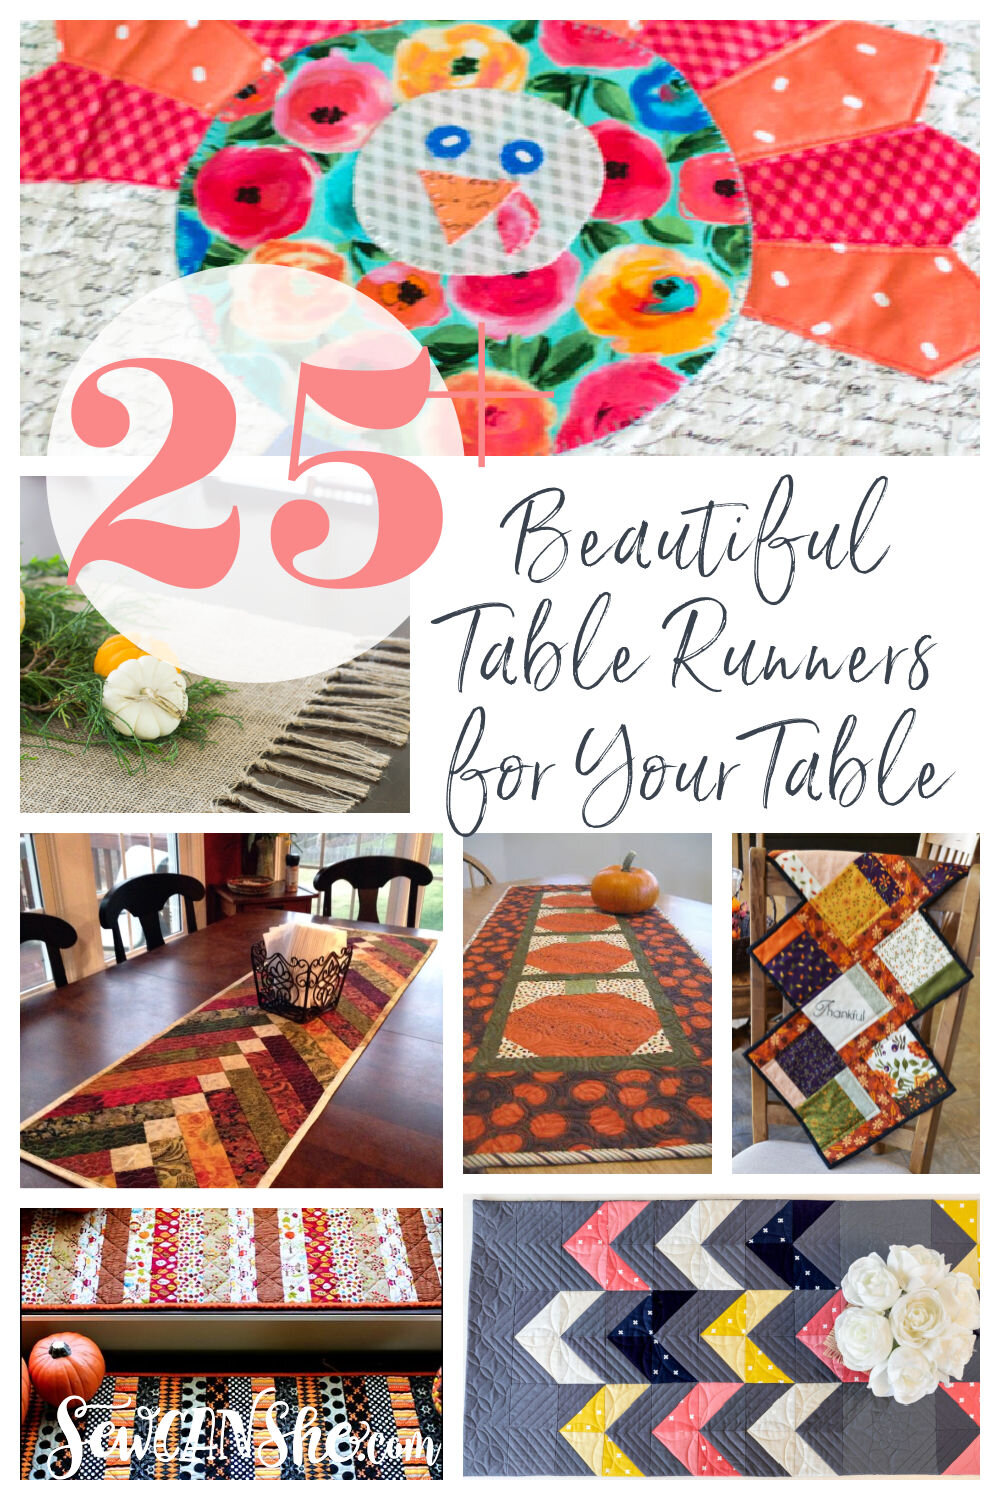
So, what have you been sewing up this week? Did you make something with one of my free sewing tutorials or patterns? I would love to see! Tag me on Instagram @sewcanshe.
Disclosure: some of my posts contain affiliate links. If you purchase something through one of those links I may receive a small commission, so thank you for supporting SewCanShe when you shop! All of the opinions are my own and I only suggest products that I actually use. 🙂
I have the same issue with zippers in pouches. Will definitely be watching. Thanks Caroline.
Cute bags. Looking forward to your lessons. So glad you are feeling better! Have a wonderful weekend.
I have shared your video on FB, I also have looked for corners that are not pinched! I am looking forward to this class!!!
Thank you! ❤️
Looking forward to your zip bag lessons. Can I still get the lessons if my cookies are disabled?
Thank you. I don’t know how cookies will affect your viewing experience, but I don’t think there will be a difference.
How big is the finished bag? I love all of your projects.
It is approximately 5” tall and 9” wide. Thank you!
xoxo
Very excited about this class. Can’t wait. I, too, have been bothered by the odd upper corners on many zippered pouches. Looking forward to learning your technique!
Would you please explain about the "handbag zipper?" My understanding is that these have two pulls and close in the middle. But your pictured bag doesn’t have that type of zipper, so I’m confused!
Handbag zippers can have one or two pulls. The main thing that makes them different is the wider zipper tapes, larger pull(s), and slightly larger nylon zipper teeth.
I love, love, love your Designer Zipper Bag. Much to my sadness, I will be out of town next week and unable to watch your three lessons. You mentioned in the video, after it is complete, I could view it somewhere else. I could not understand what you said. Would you please tell me again?
You will still be able to view it afterwards – just visit and bookmark the blog posts. 🙂
Oh, so glad you’re feeling better. I can’t wait for the free Video Course for the New Designer Bags. I love these types of bags. Thanks!
Hi Caroline … I "borrowed" your picture and advertized your free course on my blog. Looking forward to watching your videos!
quiltinggail
I am looking forward to learning this. I do have a question. Is this zipper bag lined? Unless I missed something, the materials called for just 2 rectangles of fabric, so it seems like that would only be for the outer part. Thanks for sharing!
The lining is attached by quilting the two pieces together – you’ll see! 😊
You are amazingly talented. If only I had the sewing skills to join you, sigh.
Join us! You can do it. 💕
I can hardly wait for your tutorial on the felt purse organizer! I NEED one and I think my sister would love it, too!
Thank you so much for your inspiration, hard work and generosity!
I am in! I have those same Tula Pinnk fabrics I have been hoarding! LOL!!!
Thank you Caroline for your generosity and encouragement ! I had never quilted fabric before! Loving my bags!!🤗