A Cute and Modern Pocket Apron – free sewing tutorial

Make a scrappy patchwork pocket apron, designed by Crafty Staci, for keeping busy in the kitchen!
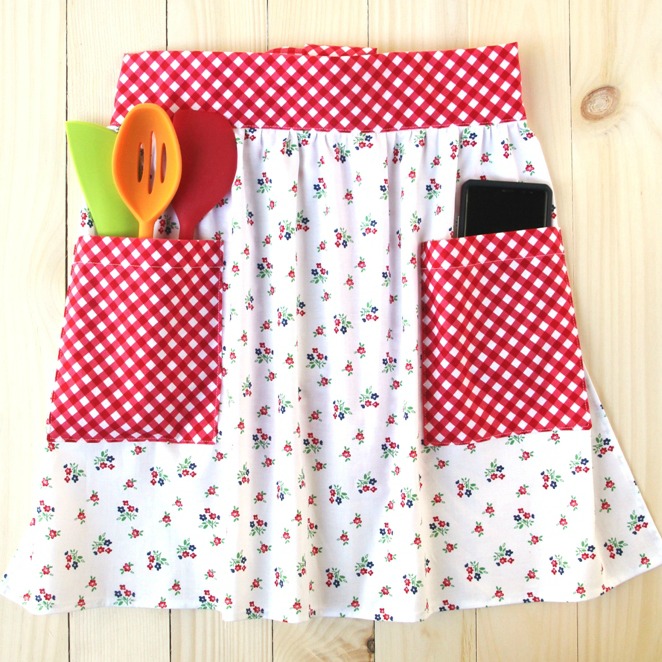
One of the biggest challenges in the kitchen is keeping your clothes clean while you cook. There’s also the issue of splattering your phone. I mean, we all look up recipes online now, don’t we? This apron solves both problems! It has long ties, great front coverage, and large, conveniently placed patch pockets to drop your phone into. This apron has everything covered!
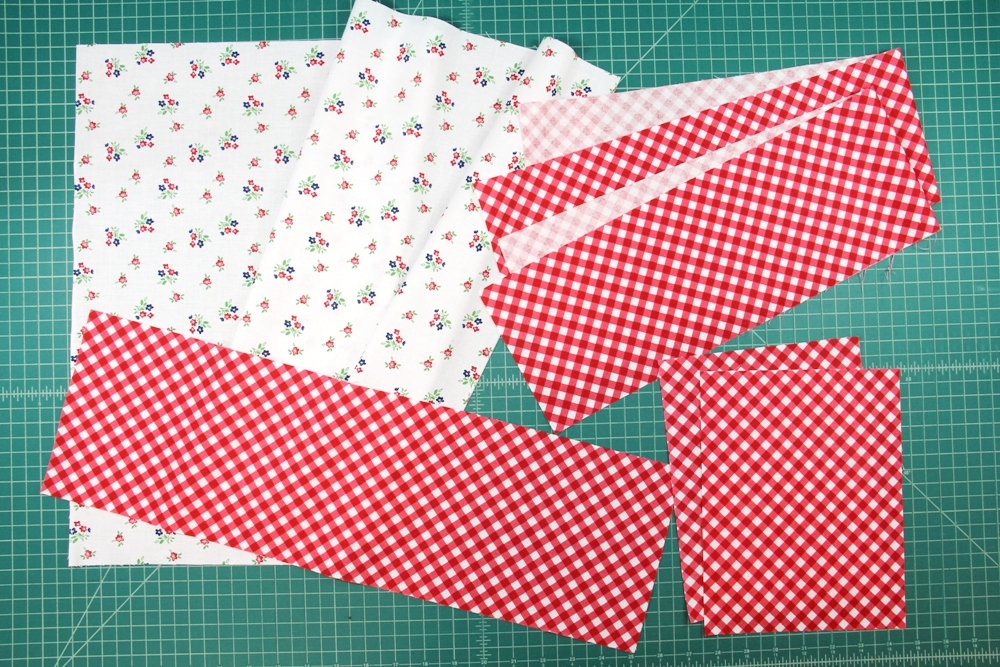
You will need the following pieces, cut from cotton fabric:
-
one 18 x 30” for the skirt
-
two 5 ½ x 30” for the ties
-
one 6 ½ x 21” for the waistband
-
two 8 x 9” for the pockets
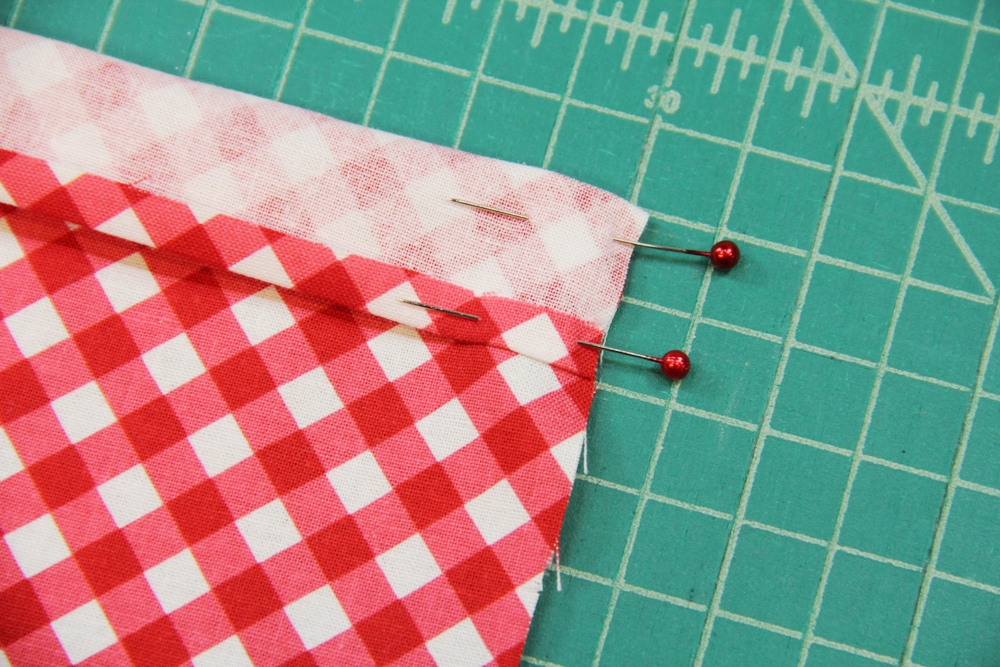
1. Fold the top 8” edge of one pocket under ¼” and press. Fold that same edge over to the right side of the pocket by 1”. Pin.
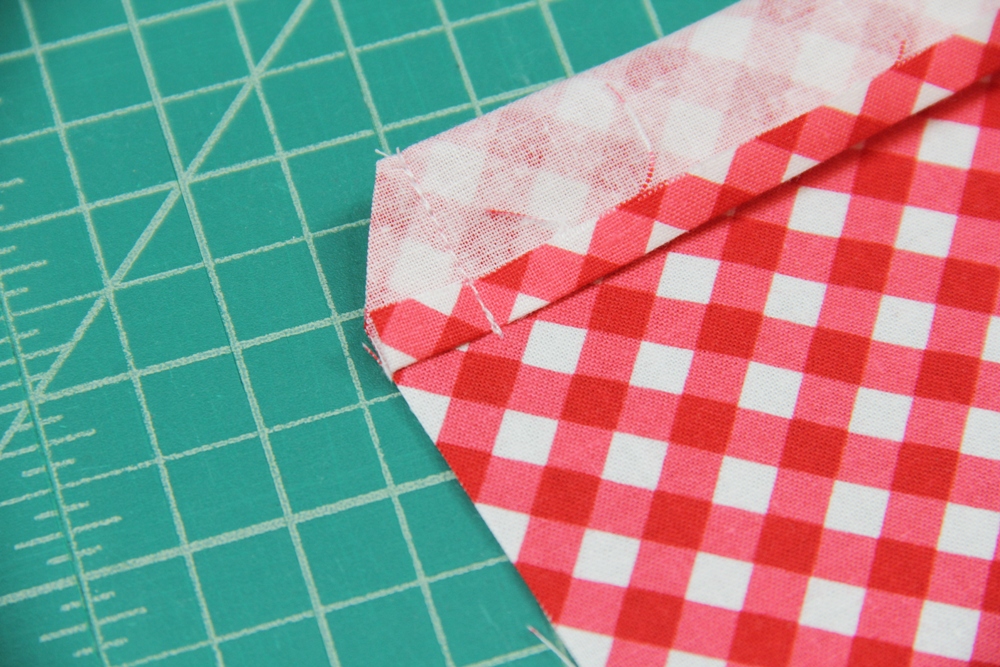
2. Stitch ½” from the edge of the pocket on both sides. Clip the corner.
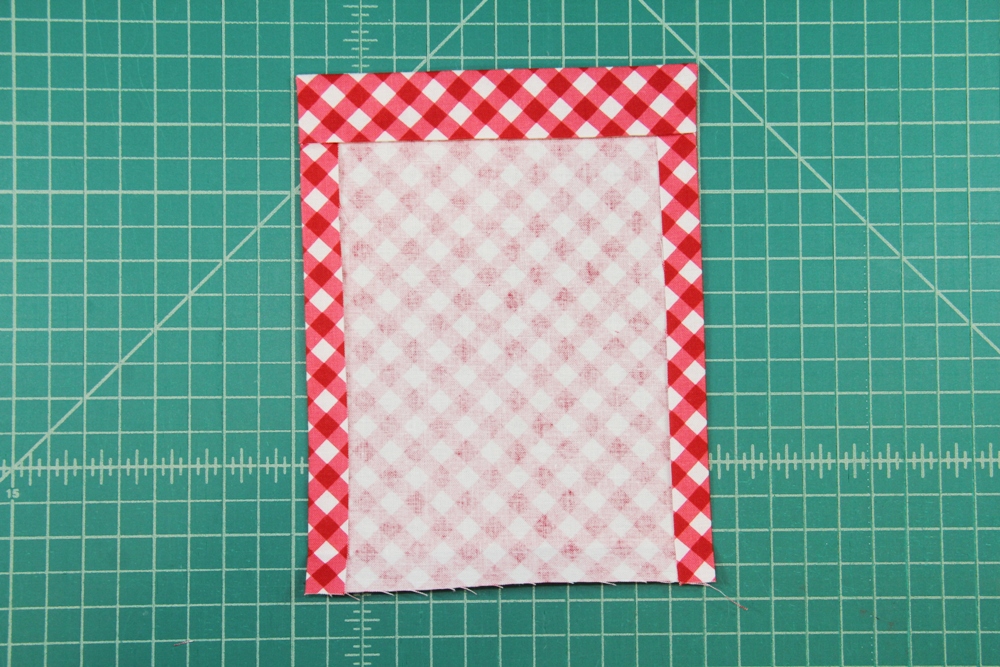
3. Turn the top of the pocket right side out and press. Turn the two sides under ½” and press as well.

4. Turn those raw edges under ¼”, so they’re tucked inside the previous fold.

5. Fold the bottom edge under ½”, press, then fold the raw edge inside ¼”. Press. If you want to get fancy, miter the corners, but it isn’t required.
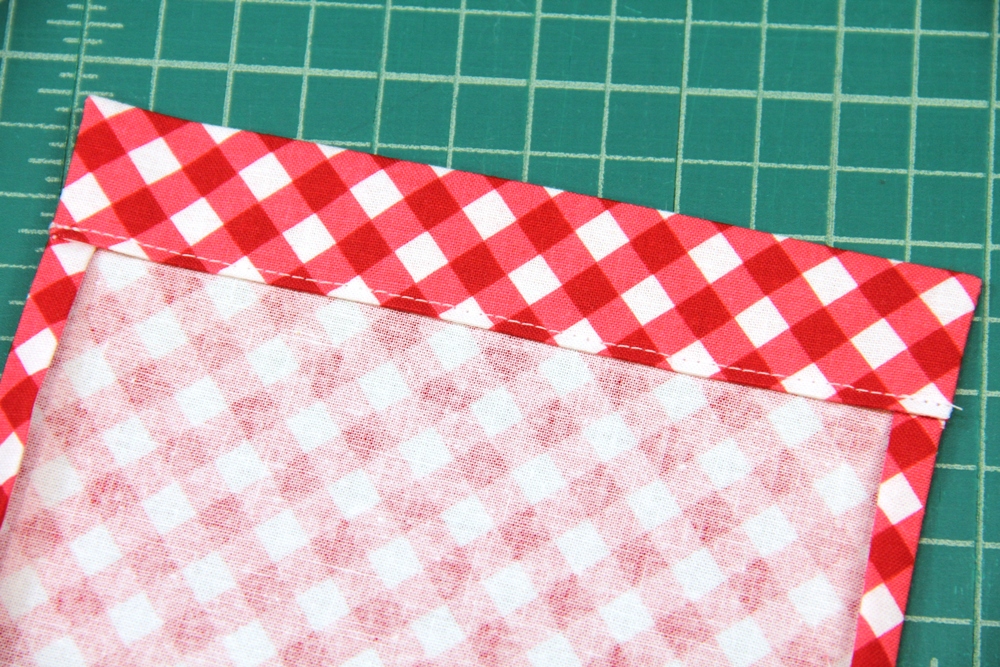
6. Topstitch across the pocket about 7/8” from the top edge, close to the fold on the inside.
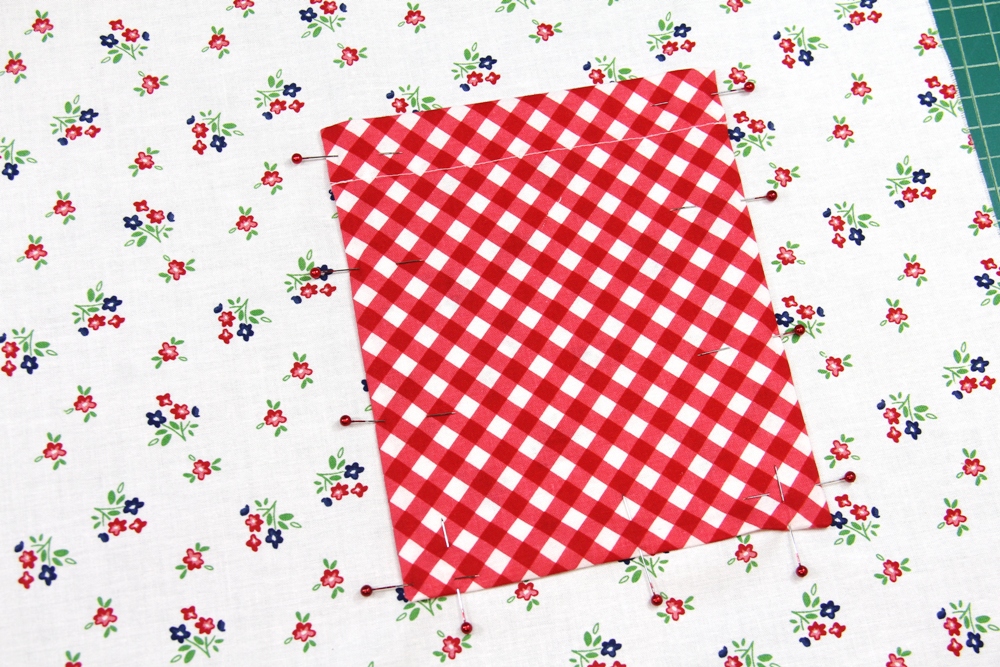
7. Repeat with the second pocket. Pin both pockets to the skirt, 3 ½” from the raw edge at the side and 4 ½” from the top. Make sure all the edges you pressed previously stay tucked under.

8. Stitch close to both sides and across the bottom of each pocket.
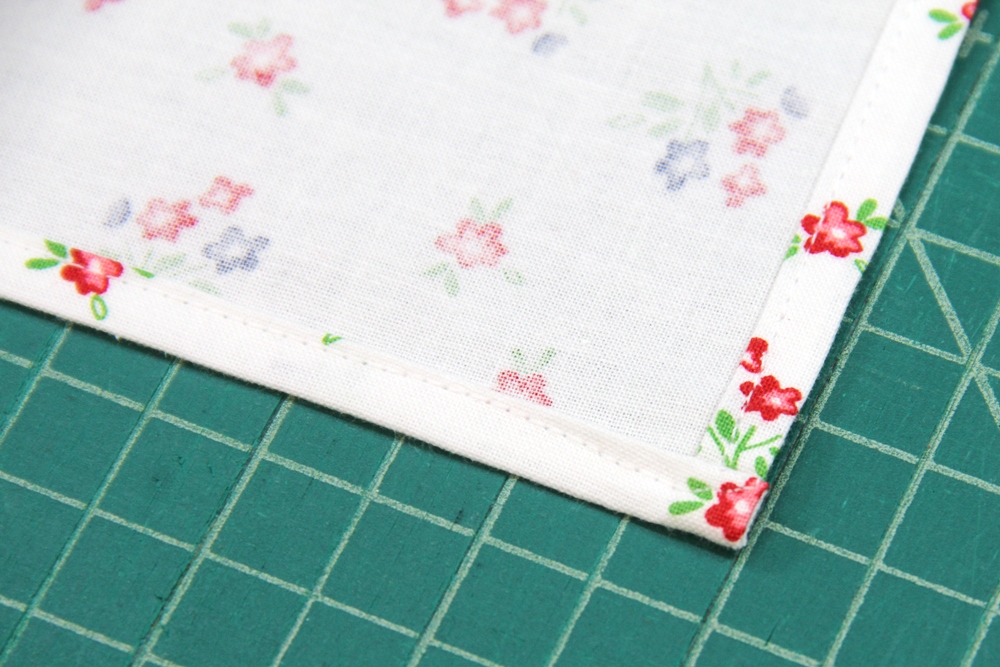
9. Fold the side and bottom edges of the apron under ½”, then tuck the raw edge into the fold, like we did with the pockets. Stitch close to the edge on all three sides.

10. Stitch ¼” from the top edge of the apron using a long basting stitch. Leave long thread tails on both ends. Stitch again 3/8” from the edge, also with a basting stitch. Set the skirt aside.
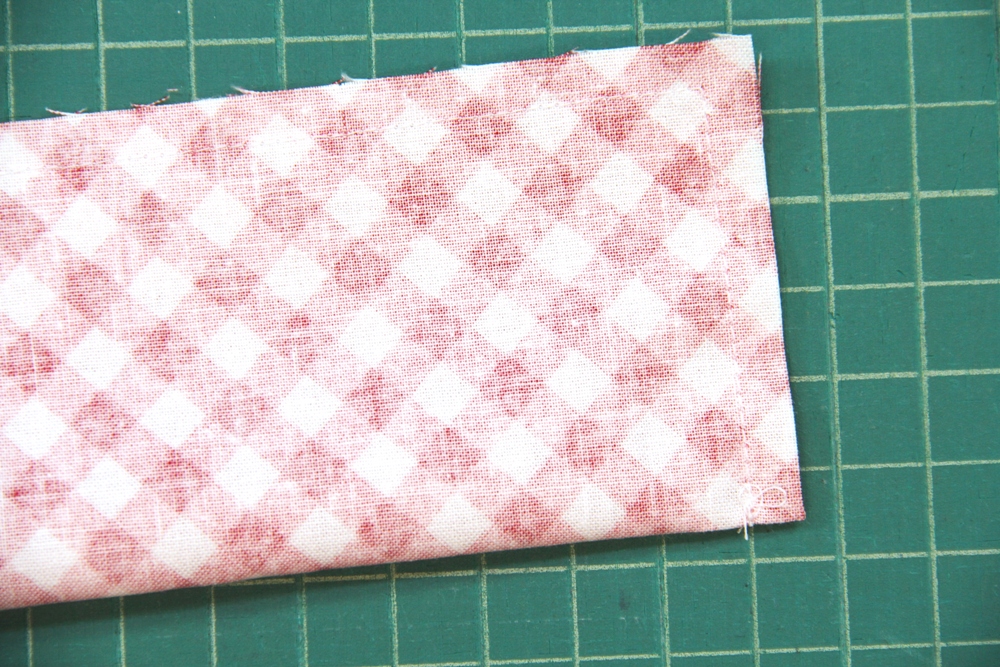
11. Fold one of the ties lengthwise, with right sides together. Make sure your machine is set back to a regular stitch length. Stitch ¼” from the edge down the long side and across one end.
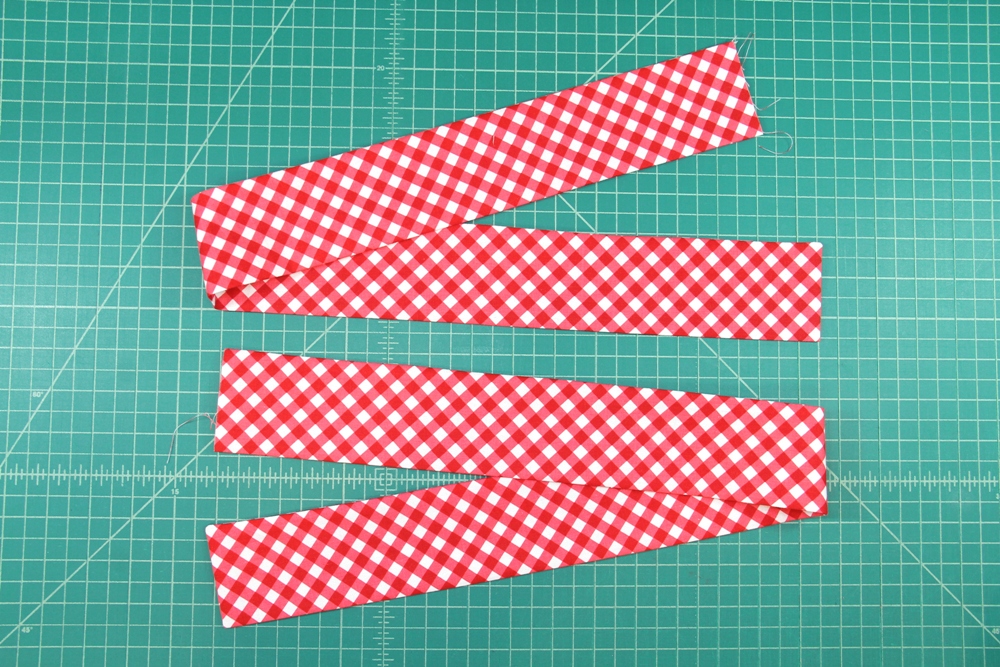
12. Clip the corner. Turn the tie right side out and press. Repeat with the second tie. Set those aside.
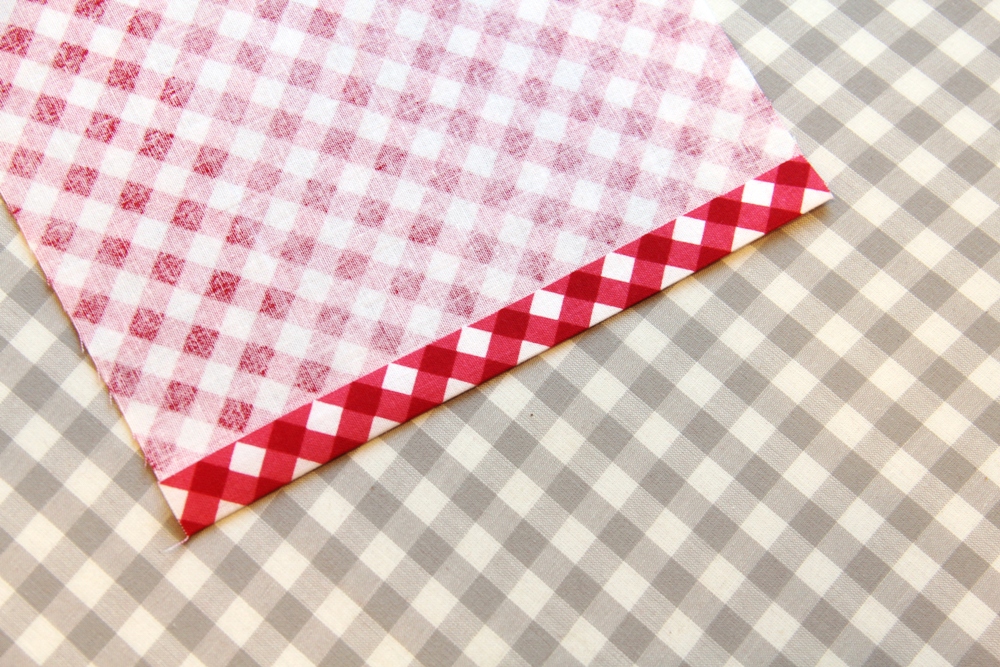
13. Turn the short ends of the waistband under ½” and press.

14. Fold the waistband in half lengthwise with wrong sides together and press. Unfold. Fold one long edge under ½” and press.
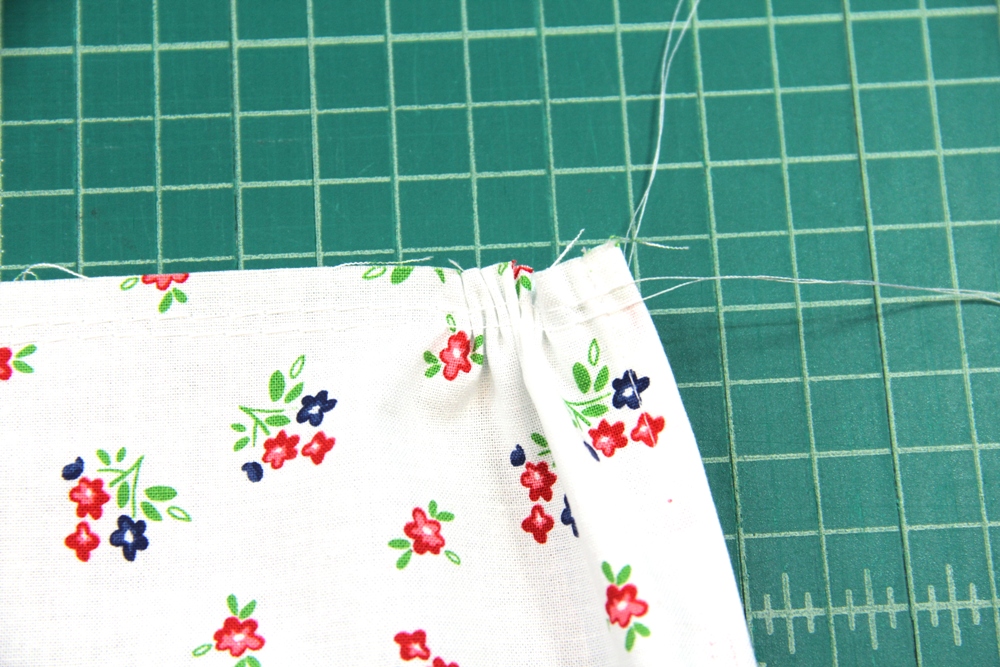
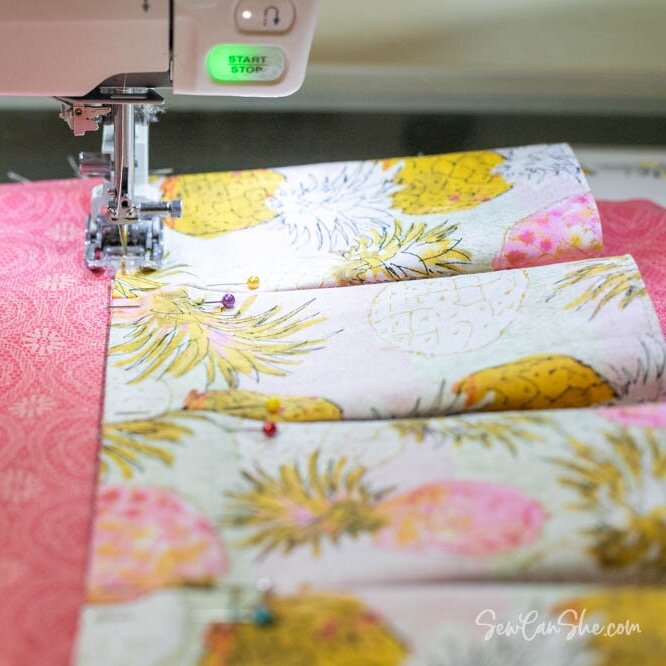
15. Lay the waistband out with the right side up. Unfold the two short ends. Grab the two top threads from the basting on one side of the skirt. Pull to gather.
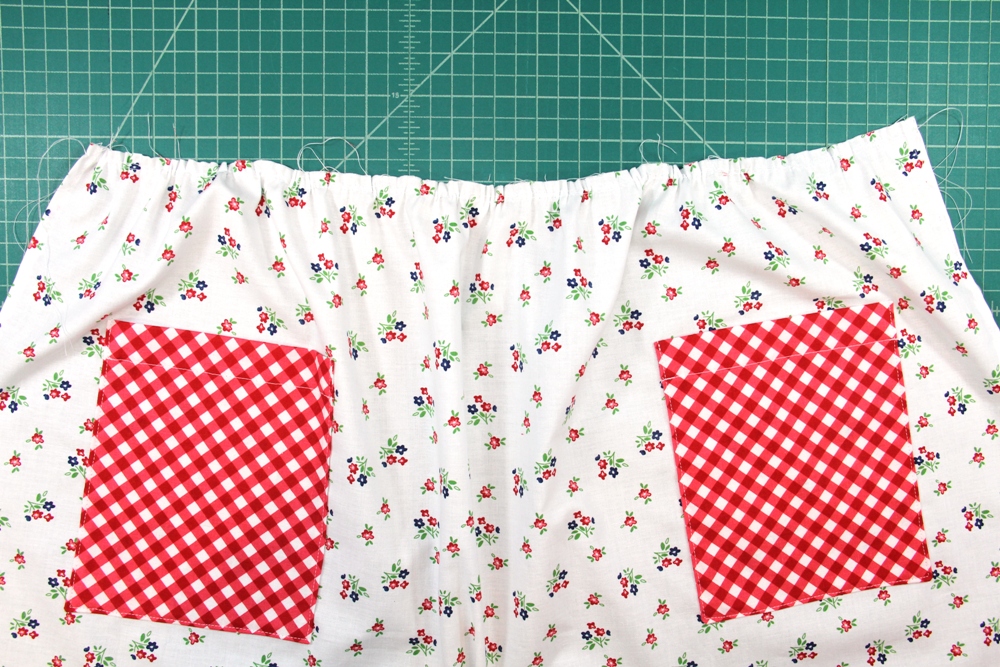
16. Continue pulling and gathering, from both sides, until the width of the skirt top matches the waistband between the two folds (20”).

17. Tie off the basting thread ends and even out the gathers. Lay the skirt right side down over the waistband. The gathered edge of the skirt should be even with the long raw edge of the waistband, and the sides even with the short folds. Pin well.

18. Stitch ½” from the top edge of the skirt. Press the seam and the waistband away from the skirt.

19. Fold the two short ends of the waistband back under ½”, so they’re covering the ends of the top edge seam. Press.
20. Fold the waistband in half on the original crease. Pin the folded long edge over the seam. It should just touch the stitching line. Pin well, leaving the short ends open.

21. Tuck the raw end of the tie into the end of the waistband by ½”. Pin. Repeat with the second tie on the other side.

22. Stitch down the ends and across the bottom of the waistband, close to the edges.

Now it’s ready to take to the kitchen and wear while you whip up something tasty!

I’ve been a maker for as long as I can remember. If there’s a technique I haven’t tried, it’s probably on my to-do list. At my blog, Crafty Staci, I create beginner-friendly craft and sewing tutorials, simple recipes, and curate links to fun things to make. Sometimes people are hesitant to take that first step into making things. My goal is to guide and inspire them to jump in, and not be afraid to make mistakes along the way. I want to do my part to keep handmade alive and well!
Disclosure: some of my posts contain affiliate links. If you purchase something through one of those links I may receive a small commission, so thank you for supporting SewCanShe when you shop! All of the opinions are my own and I only suggest products that I actually use. 🙂


