Fast and Easy Petit Four Baskets – and how to ditch the baggy lining!
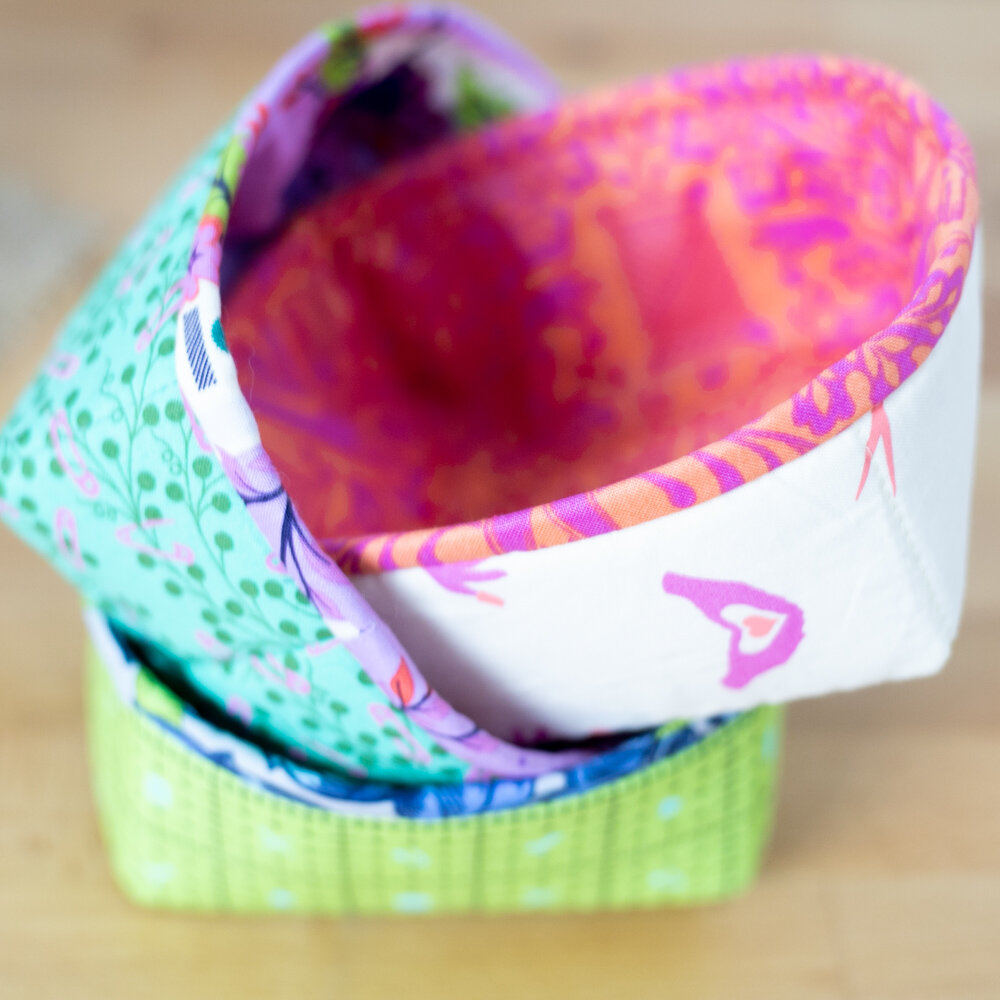
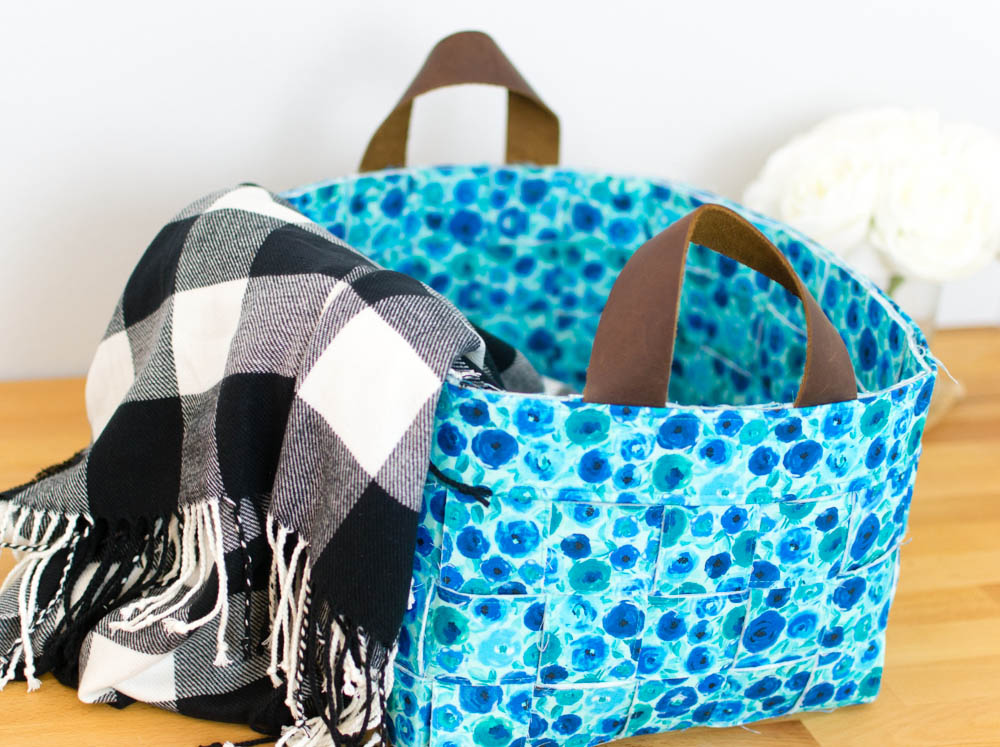
Are you looking for a cute way to organize a messy drawer – or an instant handmade gift basket that’s just the right size for little goodies?
Sew up a cute Petit Four basket! This free sewing pattern from ByAnnie.com is great because it uses just a little bit of fabric and stabilizer (perfect for leftover 10” squares), it’s really fast, and it’s super easy.
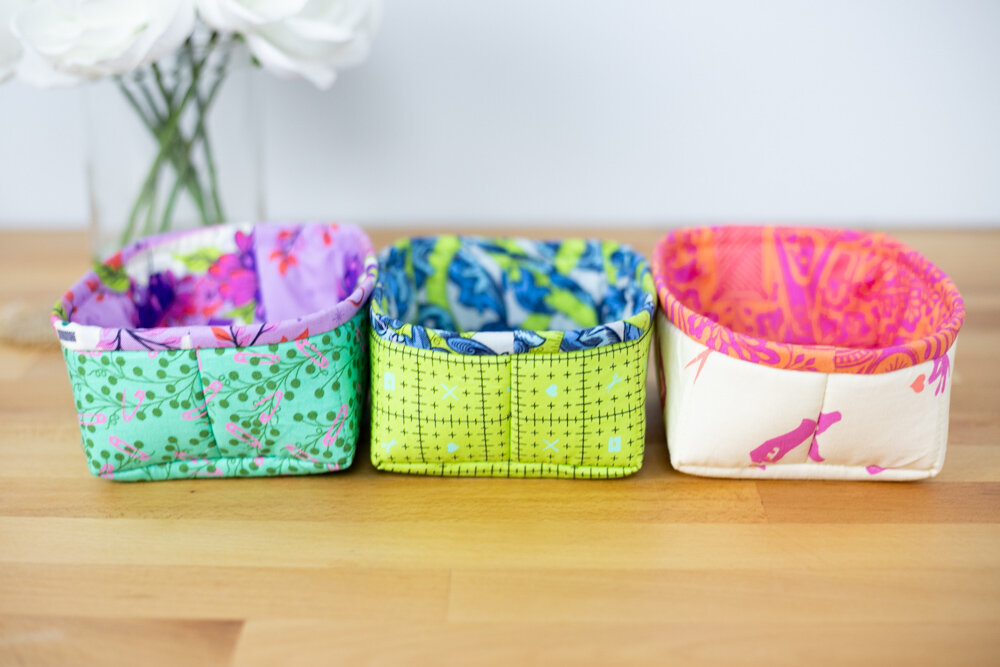
I sewed up 3 of these little baskets in just over an hour, and I think I love them too much to giveaway. I used squares from a Tula Pink Homemade Layer Cake. (See the Tula Pink fabrics and more from my Quilt Market 2019 Haul).
You can download the pattern free from the ByAnnie website here – but I have some tips and tricks to help make your baskets even easier – and eliminate the baggy lining!
Click the play button on the image above so I can show you my Petit Four Baskets and walk you though the things I learned while sewing this pattern. If the video won’t play here on my blog, you can see it on my YouTube channel too.
Level Up Your Quilting!
If you love the patterns on this blog, you'll love the SewCanShe Sewing Bee. This isn't just a group—it's your dedicated space for live workshops, exclusive patterns, premium video content, and the inspiration you need to finally tackle that project. Join the Bee and start making something beautiful!
Plus I’m sharing photos that I took along the way:
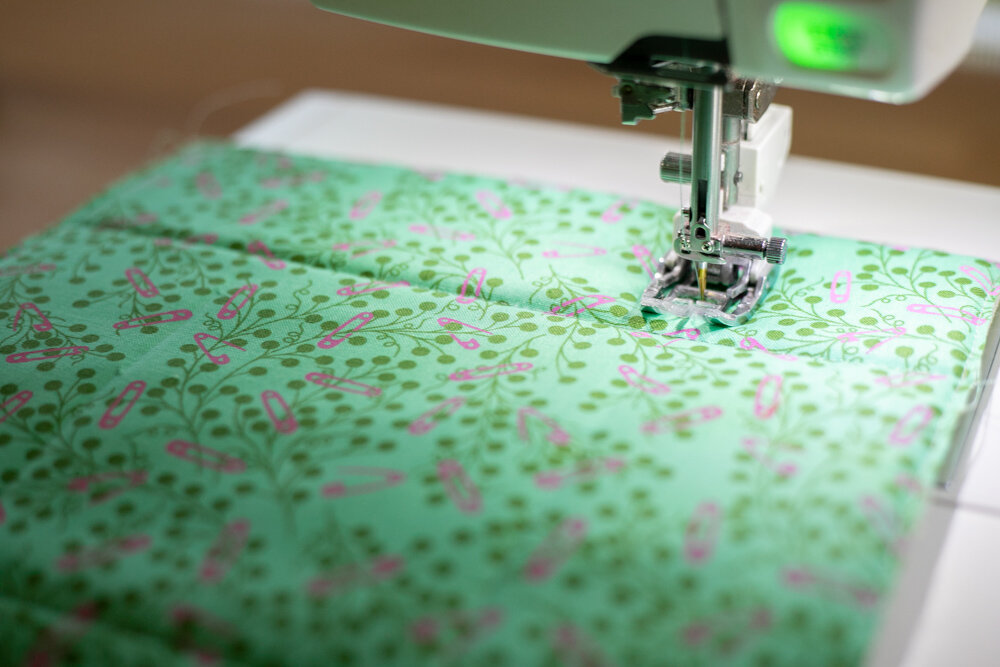
If you’ve already made some of Annie’s patterns, you probably love working with her Soft and Stable foam stabilizer. It’s what makes this little basket so sturdy and cute.
I was surprised that the Petit Four pattern didn’t have me do any decorative quilting on the exterior of the basket. I was only instructed to sew straight lines to help it fold easier. If I make more Petit Fours, I might add some extra free motion swirls too – since now that I’ve made the pattern I see that it won’t hurt. 🙂
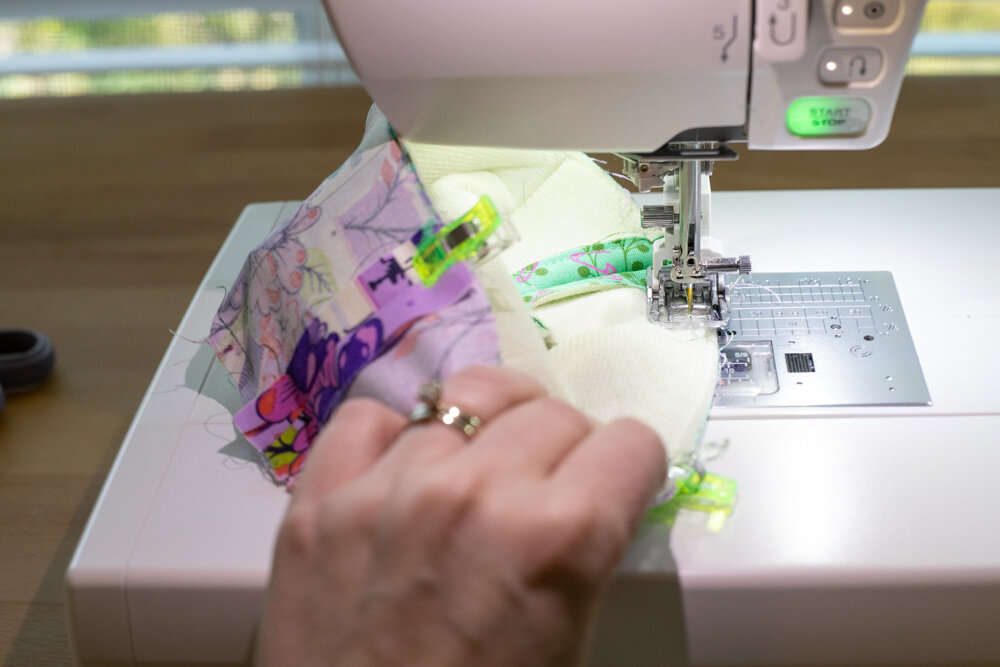
When sewing the basket exterior and lining together, Annie’s tip is to remove the table from your sewing machine (if possible) and use the free arm. But when I tried that, my free arm was still way too long to be able to fit the basket around it and sew.
If you also have this issue, my tip is to sew from the inside of the basket, still keeping the suggested 1/4’’ seam allowance.

I ran into the same issue when stitching in the ditch to secure the lining around the top of the basket (the last step).
So I did the same thing again – I turned my basket inside out and stitched on the inside (slowly), keeping my stitches in the ditch so they didn’t show.
Annie’s technique here makes a cute faux binding effect that I love.

Finally – here’s my tip for securing the lining to the bottom of the basket. I hate baggy linings!
First smooth the lining down in the bottom of the basket, then turn the little basket wrong side out and sew for 1-2 inches along the seam on either side. This is also stitch-in-the ditch as you can see.

My stitching didn’t line up with the seams on the inside of the basket, but since my bobbin thread matches the lining fabric, it barely shows.
This trick is totally optional – Annie doesn’t suggest it, but I really like that extra touch to keep the lining inside.
Have you made the Petit Four free pattern from ByAnnie before? Tell me what you think in the comments!
Happy Sewing,

Disclosure: some of my posts contain affiliate links. If you purchase something through one of those links I may receive a small commission, so thank you for supporting SewCanShe when you shop! All of the opinions are my own and I only suggest products that I actually use. 🙂


