How to Make a Face Mask Filter with Filti Material – free template
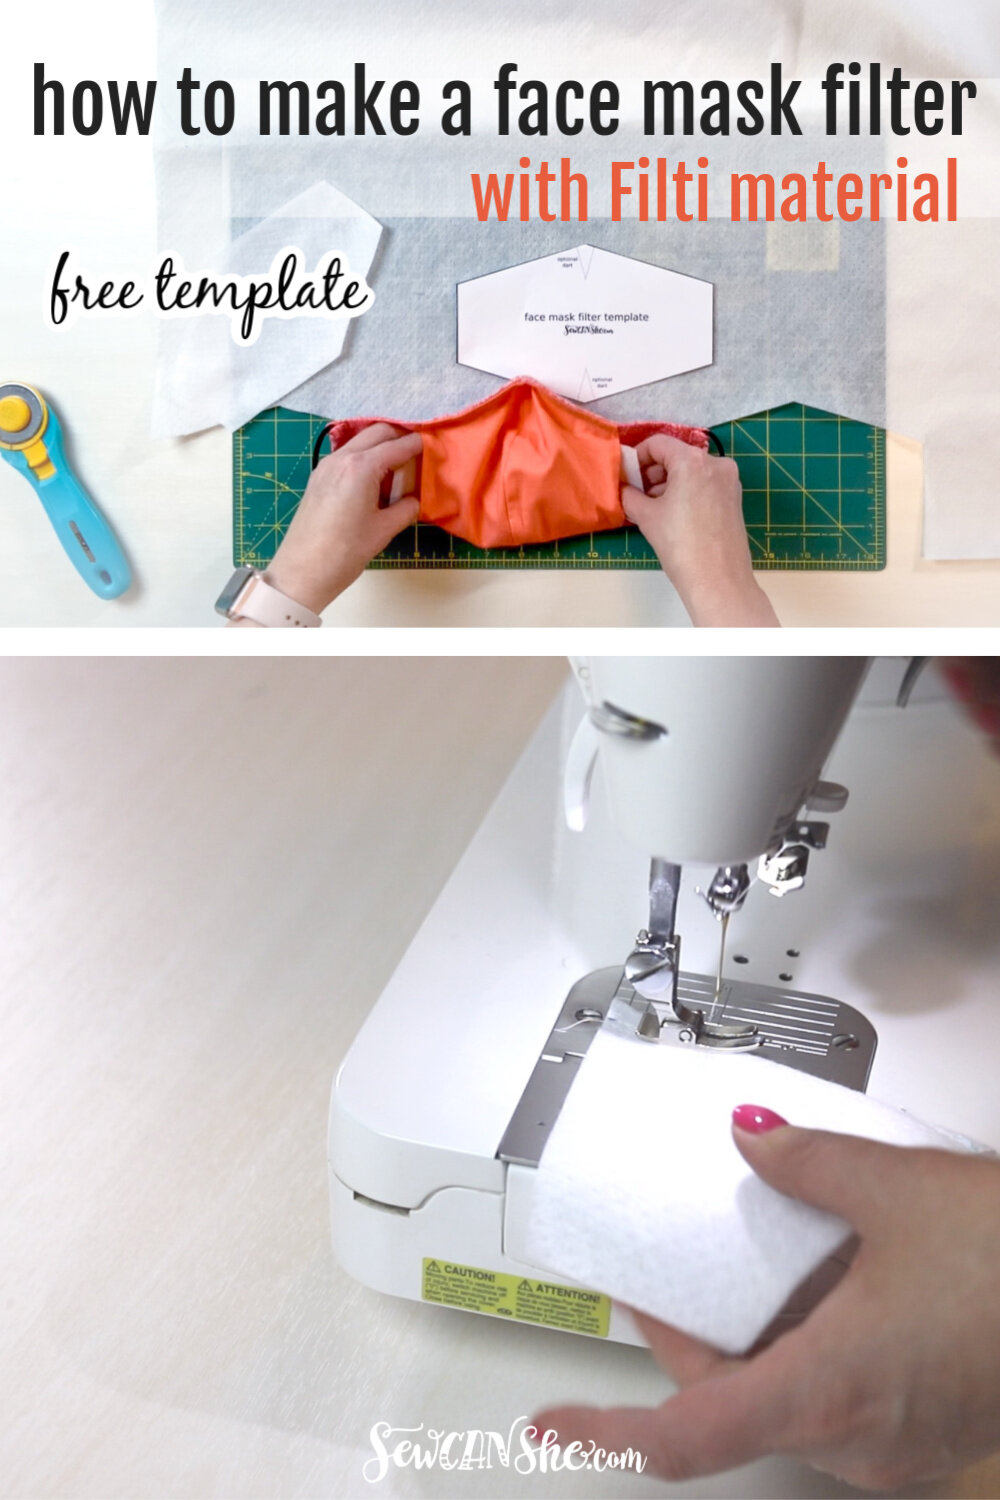
Lots of you have asked how I use Filti Face Mask Material (see my product review video here) to make my face masks work better. I am not using the material to make sewn face masks, but instead I’ve been making filters that fit inside my DIY fabric face masks. You can find the material that I’m using at Filti.com (get 10% off using coupon code CAROLINE10).
New data has come out that suggests using a filter inside your handmade masks makes them much more effective. I think that’s something that we’ve all already known, but now there is testing that backs up our efforts to make face mask filters.
My how to video for these filters made with face mask materials should play automatically in the video player on this page. If it does not, you can find it on my YouTube channel.
Click here to download the Face Mask Filter Template
Below I’ll also post a step by step photo tutorial, in case you’d prefer that over the video.

I really like the Olson Mask Pattern, so that’s the one I’ve been using to sew face masks. This filter can work with any face mask that has a filter pocket, including the pleated type.
The finished size is approximately 7 1/4’’ wide and 4 1/2’’ tall.
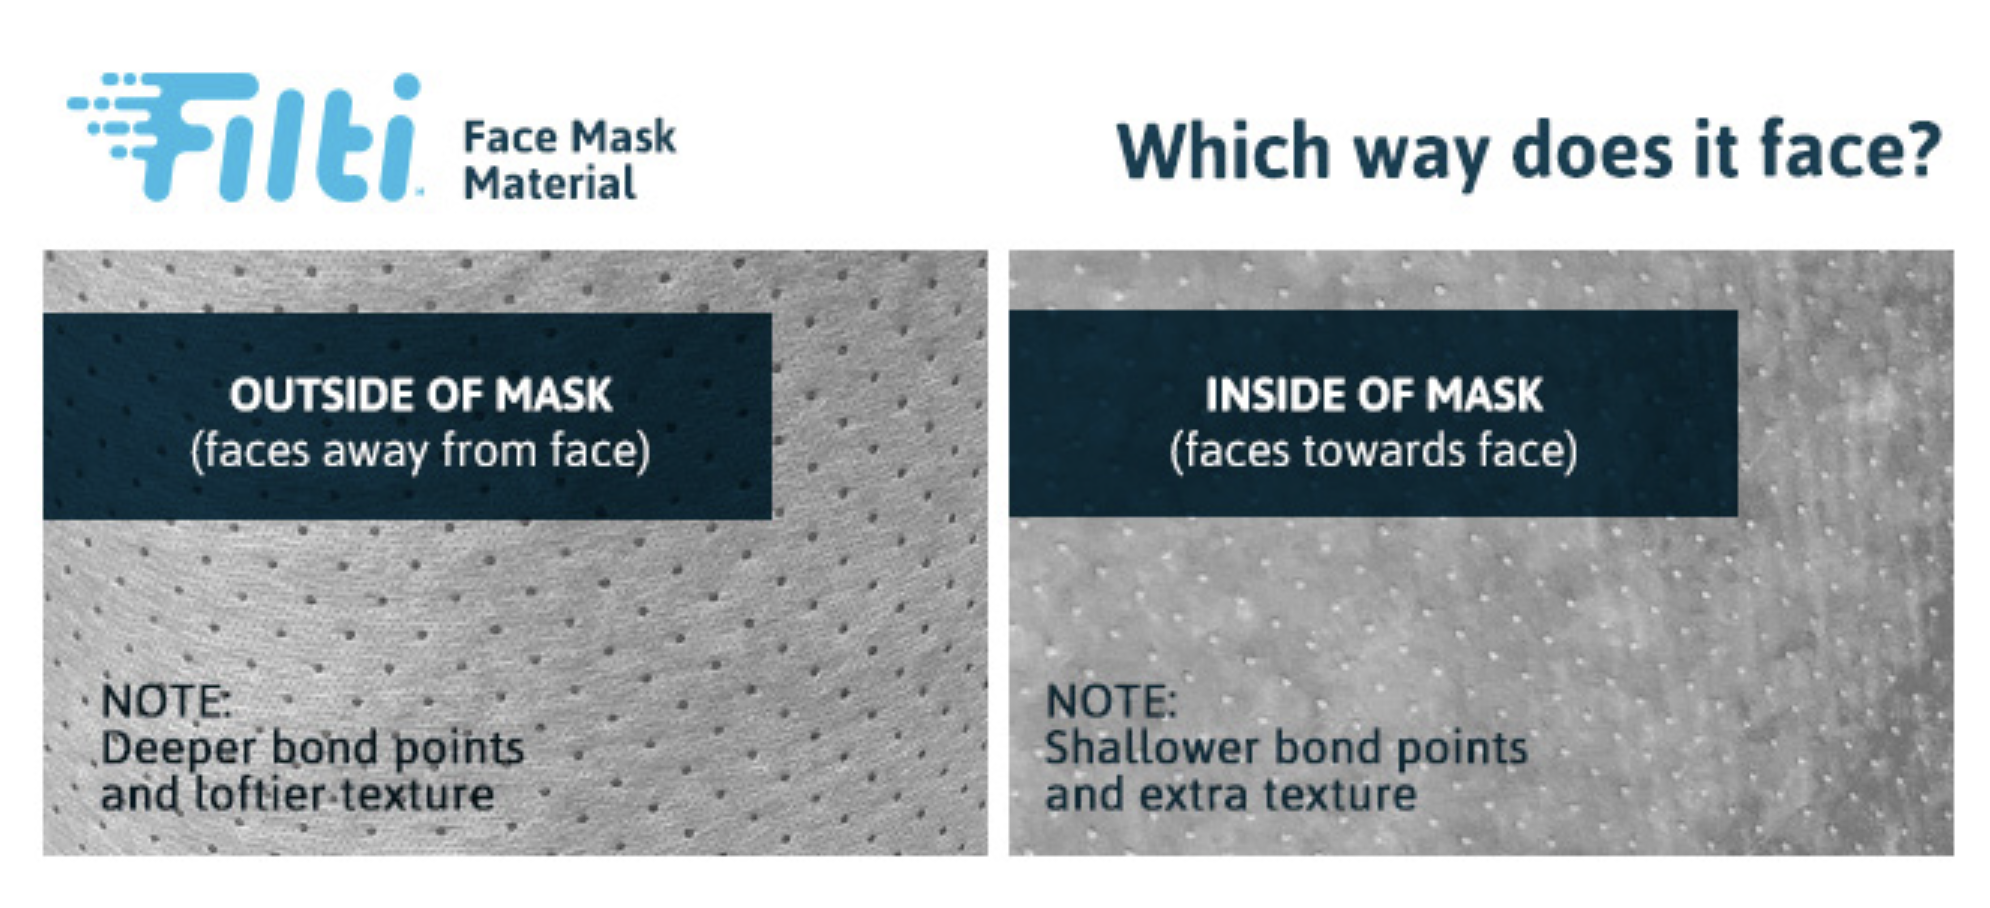
According to Filti, the side of the material with ‘loftier texture’ should face away from you. To me, the side that should be toward your face seems a bit more textured than fuzzy, if that helps.
Personally, I’m not stressing too much about putting my filters in the ‘correct’ way. After all – I want to protect others from my germs (assuming I have any) just as much as I want to protect myself from the germs of others. I suspect that two layers of fabric + a filter material will catch most germs either way.

Place the template on the material and cut out pieces in a honeycomb pattern to conserve material and reduce waste.
If you don’t have a rotary cutter and cutting mat, you can trace the template onto the material using a pencil or pen and then cut out using scissors.

The filter may now be used flat – just as it is – or you can sew optional darts at the top and bottom to make a curved filter with a better fit inside your mask.


To mark the dots, refer to the pattern template, or simply:
-
fold the filter in half
-
make one mark along the fold 1’’ below the tip at the top
-
make another mark along the top edge 1/4’’ away from the tip at the top
-
draw a dashed line to connect the dots (optional)

Sew to connect the two dots. Backstitch at the start and end to secure.
Repeat marking and sewing at the bottom tip of the mask too.

Now the filter curves to fit your face and helps your face mask create a better fit to prevent air flow around the edges of the mask.
According to the data I mentioned above,
The tighter your mask, the tighter your fit, the better you will benefit from the filtration efficiency. A loose style surgical mask will help block large particles but will not stop small particles from entering your mask. Source
Another way to help your face mask fit tightly to your face is to sew a channel for a pipe cleaner or wire along the top edge.
I hope this posts helps you make better filtering, better fitting face masks! Don’t forget you can use coupon code CAROLINE10 to get 10% off your purchase at Filti.com.
Thanks so much for all you are doing to help your community and mine, most of all by staying home and sewing. 🙂
xoxo,

Disclosure: some of my posts contain affiliate links. If you purchase something through one of those links I may receive a small commission, so thank you for supporting SewCanShe when you shop! All of the opinions are my own and I only suggest products that I actually use. 🙂


