How to Sew a French Seam: Easy Steps

Learn how to sew a French seam in just a few easy steps. This professional seam finish is durable and hides all raw edges beautifully. It is perfect for lightweight fabrics (like voile or silk), sheer fabrics (like chiffon), fabrics that tend to fray (such as linen), or on medium weight fabrics (like cotton) where the seams may show and you don’t want any raw edges to be visible.
You can use French seams while sewing
- Garments
- Home decor items
- Bags and more
A French seam is easy for beginners to master and the perfect option if you want finished seams but you do not have a serger. Skip to the end of this post for tips on sewing French seams on curves and heavy fabrics.

This French seam tutorial demonstrates how to sew a French seam while sewing a simple pillowcase. This is my One Yard Magic Pillowcase Pattern. Adding French seams elevates this sewing project to a new level!
Make sure you have a sewing machine, iron and ironing board, and cutting tools handy.
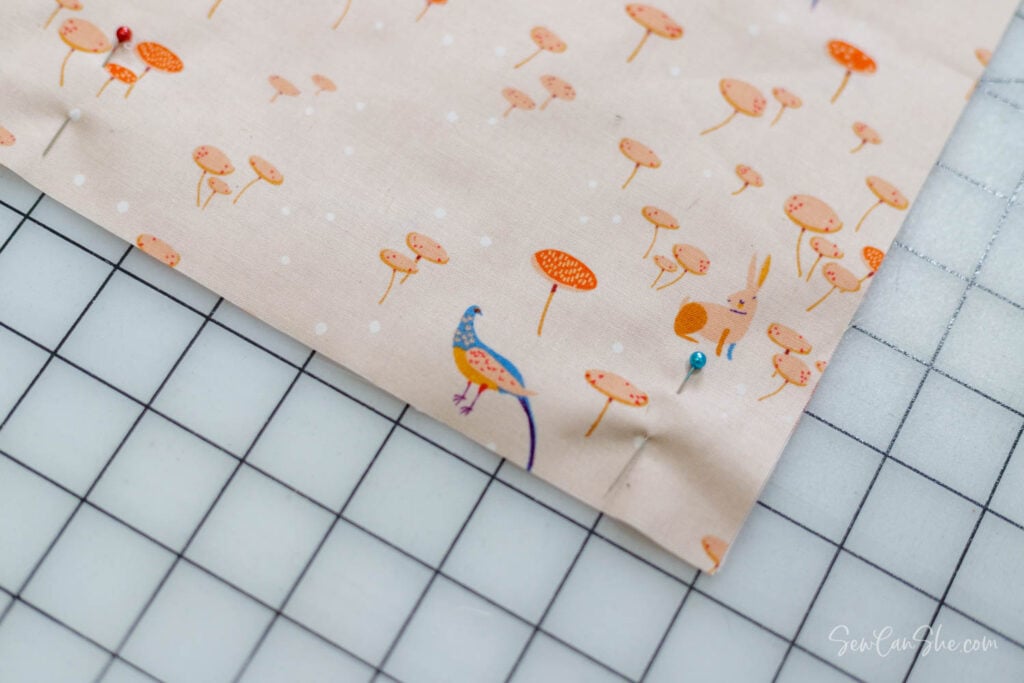
Step 1: Pin the fabrics with the wrong sides together

The wrong sides of the fabric should be placed together, which is different from regular seams where you generally place fabrics right sides together before sewing a seam.

On this pillowcase project, I intend to sew a long straight seam at the top and a shorter seam on the right side. I will sew each seam line separately to ensure a pretty corner.
I’ve pinned the short edge wrong sides together for my first seam.

Sew the first seam wrong sides together with a 1/4” seam allowance, or 1/4” less than what your pattern calls for. The second stitching in the French seam will add another 1/4” to the seam allowance.
You may use a 1/4” presser foot if you wish.
Step 2: Trimming close to the seam

Use scissors or a ruler and rotary cutter to trim the extra fabric away 1/8” from the stitching line. Trim the thread ends too.
Step 3: Open and press the seam flat

Open the fabric and press the seam flat. It doesn’t matter which way you press the narrow seam.
Step 4: Fold the fabrics along the seam right sides together

Now fold the fabrics right sides together and press carefully to ensure that the edge of the fold is along the first line of stitches.
Step 5: Sew once more to enclose the raw edges

Sew a second time with a 1/4” seam allowance, or a seam allowance wide enough to enclose the raw edges inside the French seam.
Open your project and press. That’s how to sew a French seam!
How to Sew the Second Seam for a Square Corner

To sew the second seam in the pillowcase (or a project with a square corner), place the edges of the fabrics wrong sides together again and pin.

Sew the first stitch line with a 1/4” seam allowance as before.

Trim the seam allowance close the stitching. This time I used a ruler and rotary cutter. Press the seam flat with the fabrics open. Then fold with the right side of the fabric layers together again.

To make a nice square corner, press the first seam over toward the second seam. Begin sewing the second stitch line on the folded edge.
A sewing stiletto is a wonderful tool that I use all the time to help a seam get started sewing and prevent fabrics from getting stuck in the sewing machine’s feed dogs.

This is what the corner looks like with the first seam folded over toward the second seam.

See my pillowcase tutorial to learn how to finish the cuff with a cute faux trim and no raw edges there either.
More tips for Sewing French Seams
You can use this type of seam on curves and with heavy fabrics too.
When sewing a French seam along a curve (such as on a sleeve), make sure that you have trimmed the first seam line well. Trim close to the stitching carefully without cutting the stitches using small sharp scissors. Then press the two fabrics away from each other carefully. You may need pin the second seam, working with just a few inches at a time.
French seams are durable and pretty on bags, upholstery, and other projects using heavy fabrics. You may need to increase the seam allowance for the second seam to 3/8” to ensure that the raw edges of the fabric do not show on the outside of your project.
Easy Sewing Projects with French Seams
Now learn how to sew a French seam on more than just pillowcases! Check out these free and easy sewing patterns:

Use lightweight fabric to sew a fast and easy Infinity Scarf with just a yard of fabric. The French seam and narrow hem ensure that there are no raw edges.

Sew a Big Easy Tote bag with quilted fabric and French seams for a professional inside finish.

The raw edges of the mesh fabric on my Easy Wash Bag pattern are also enclosed with a French seam. So tidy!
Thanks so much for reading my easy tutorial for how to sew a French seam. Let me know what you think in the comments!
Disclosure: some of my posts contain affiliate links. If you purchase something through one of those links I may receive a small commission, so thank you for supporting SewCanShe when you shop! All of the opinions are my own and I only suggest products that I actually use. 🙂
