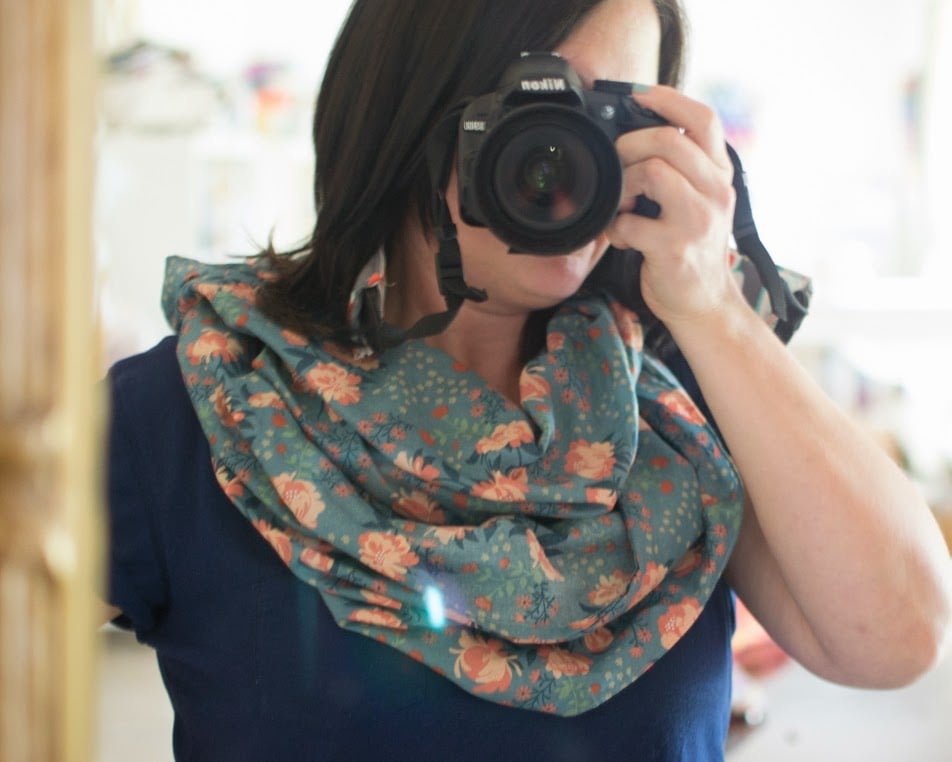
DIY Infinity Scarf with just a yard of fabric: Easy Tutorial
Learn how to sew an infinity scarf with my easy step by step tutorial. This is the perfect project if you are learning how to sew or need a last minute gift.

Let’s face it, sometimes moms forget to accessorize. Well, this DIY infinity scarf made with just a yard of soft cotton voile is an easy accessory that you can wear anywhere. Plus it has fine French seams and a neat 1/4” hem. Lovely!

Learn more about sewing easy French seams.
This blog post has been converted to an optional PDF that’s optimized for printing. Find it here. The Infinity Scarf Tutorial is included in the blog post below and is totally free to read, print, and sew! Just hit CTRL +P on your computer to print.
You will need:
- 1 yard of 44” wide light-weight cotton or other easy to drape fabric (more about my fabric choice below)
- matching thread
- rotary cutter and mat
- optional – narrow-hem sewing machine foot

The fabric I used is soft organic cotton voile from Birch Fabrics (available at Fabricworm). Voile is like quilting cotton, but more lightweight and suitable for blouses, dresses, and scarves. It’s perfect for this project because the print looks almost the same on both sides, so when your scarf twists and turns, it looks gorgeous all the way around. Many of our favorite quilt fabric manufacturers are also making voile, including Birch Fabrics, Westminster, and Art Gallery Fabrics.
You could also use another lightweight fabric such as linen or rayon. This tutorial is based on 44” wide fabric. If your fabric is wider or narrower, you’ll have to make adjustments.
Cutting Instructions:
1. Cut the selvages from your yard of fabric (see photo above).
2. Then cut the fabric in half making two half-yard pieces (both pieces 18” tall and approximately 42” wide).

Sewing French Seams:
3. Pin the half-yard pieces wrong sides together along one short edge.

4. Stitch the seam with a 1/4” seam allowance. I used my 1/4” quilt piecing foot for this, but you could also follow the guides on your sewing machine.

5. Use a ruler and rotary blade or scissors to trim 1/8” away from the seam allowance.

6. Press the seam to one side, and then press right sides together with the seam along the edge.

7. Sew again with the fabric right side together and again a 1/4” seam allowance.

8. Now press your pretty French seam to one side. 🙂

9. Make two twists in your fabric, and place the remaining short ends wrong sides together. Sew another French seam, making a twisted circle of fabric.
Sewing a narrow 1/4” hem:

10. Sew a line of stitching all around one long side of the scarf, 1/4” from the edge. It doesn’t matter if you sew on the right or wrong side.

11. Press the raw edge to the wrong side along the line of stitching. That line of stitching you just made will make it easy to turn a nice straight hem.

12. Turn the folded edge over one more time and press.

13. Stitch close to the folded edge for a beautiful hem. Repeat on the other long edge and you’re done!
Optional hem technique – if you have a narrow rolled hem foot for your sewing machine, you could use it to sew a pretty hem too. See my tutorial on using a narrow rolled hem foot .

Happy Sewing!

p.s. You might like these other DIY infinity scarf tutorials:
Disclosure: some of my posts contain affiliate links. If you purchase something through one of those links I may receive a small commission, so thank you for supporting SewCanShe when you shop! All of the opinions are my own and I only suggest products that I actually use. 🙂
