How to use a Pipe Cleaner (or other wire) to Make Your Fabric Face Mask Fit Better
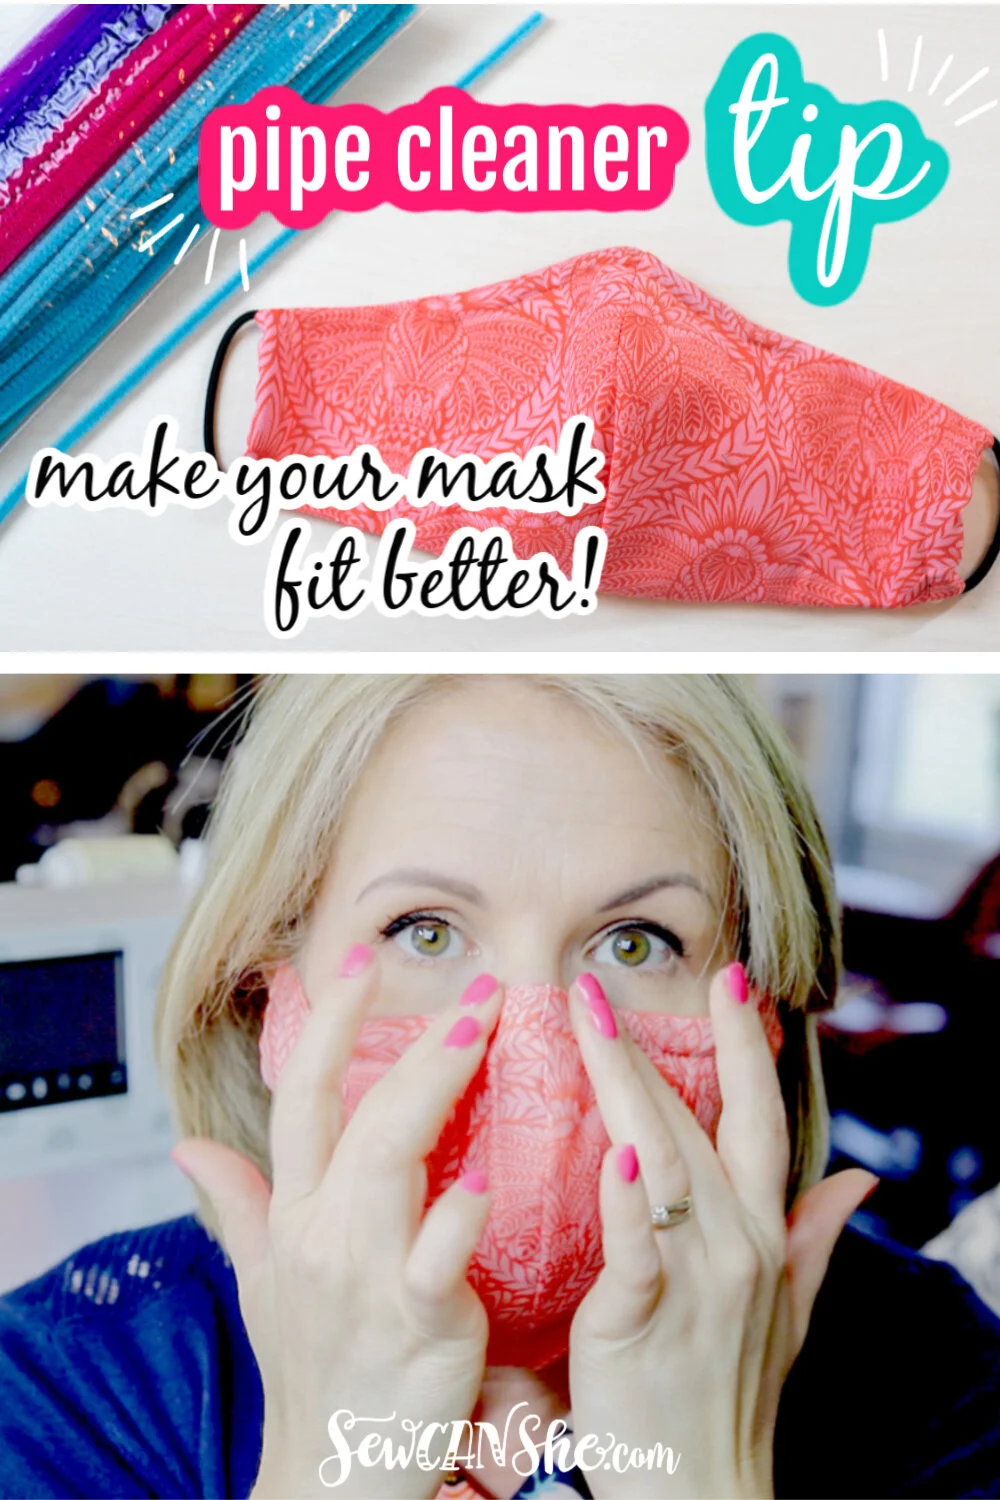
I have another great tip for you to help make your face masks more effective.
After I shared with you my quick method for sewing fabric face masks, many of you asked me how I was using pipe cleaners to make my face masks fit the face better.
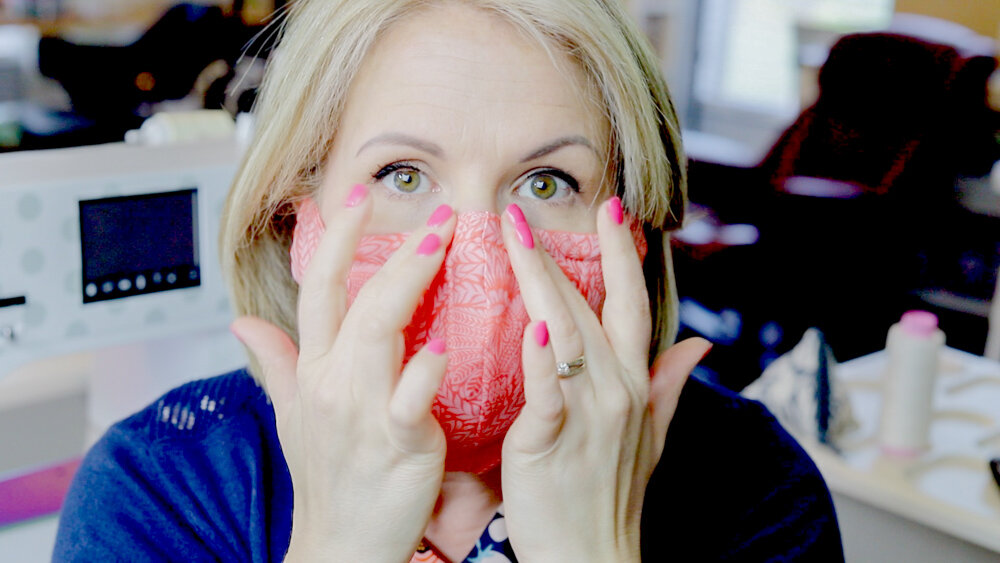
This is so important because if your face mask doesn’t form to the bridge of your nose and prevent air from escaping, it’s not doing its job of filtering out particles.
I made a video showing how I sew a channel for a pipe cleaner (or other material). It will play in the video player on this page. If it doesn’t, you can find it on my YouTube channel.
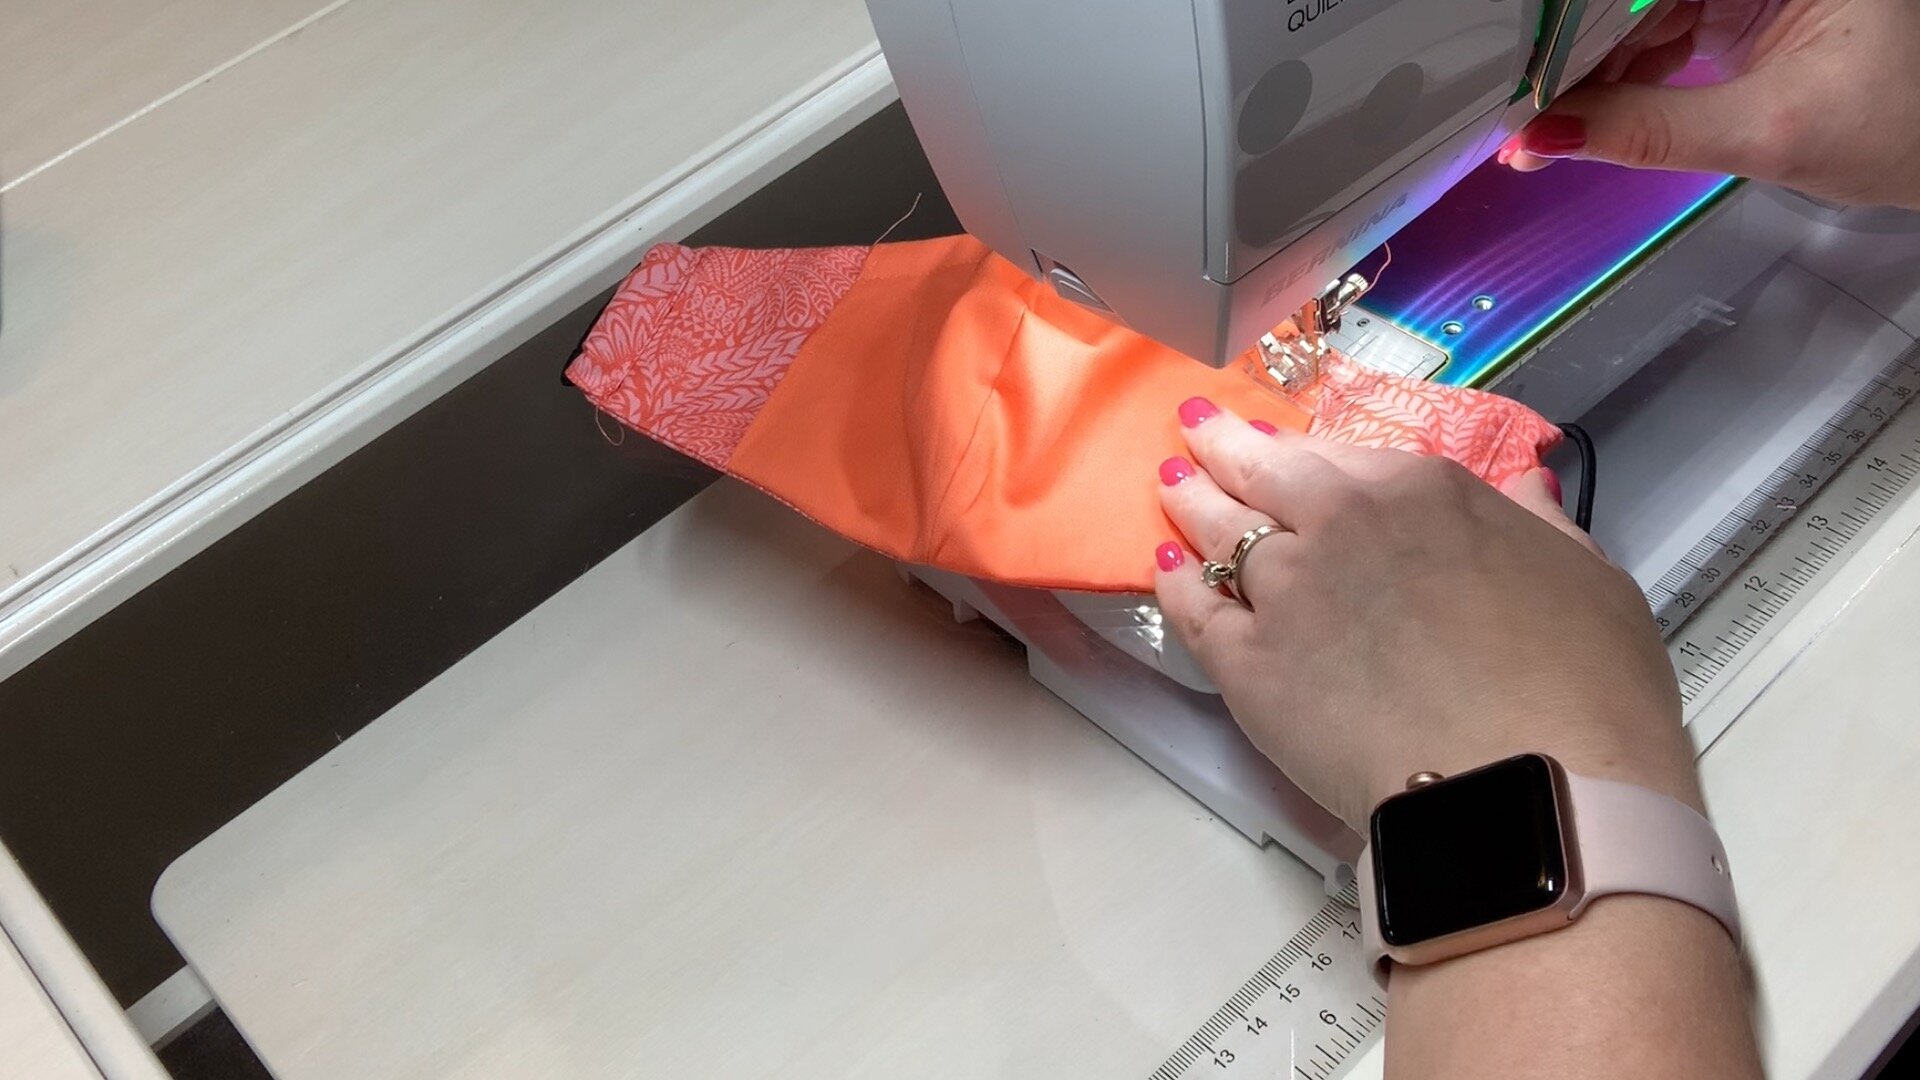
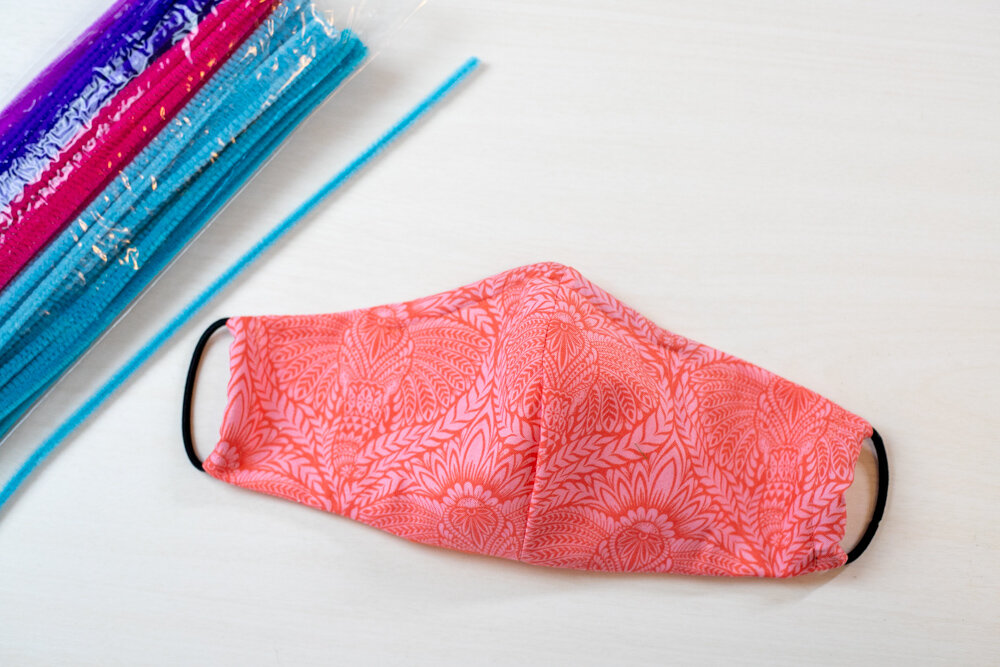
What I show you in the video is how to sew a 1/2’’ or 5/8’’ channel or casing at the top of your face mask, through which you can insert a pipe cleaner.
Pipe cleaners are fairly easy to find right now and they are the best thing that I have tried for this purpose, however I have received messages from readers who say they are using twist ties, floral wire, and even tin foil folded up.
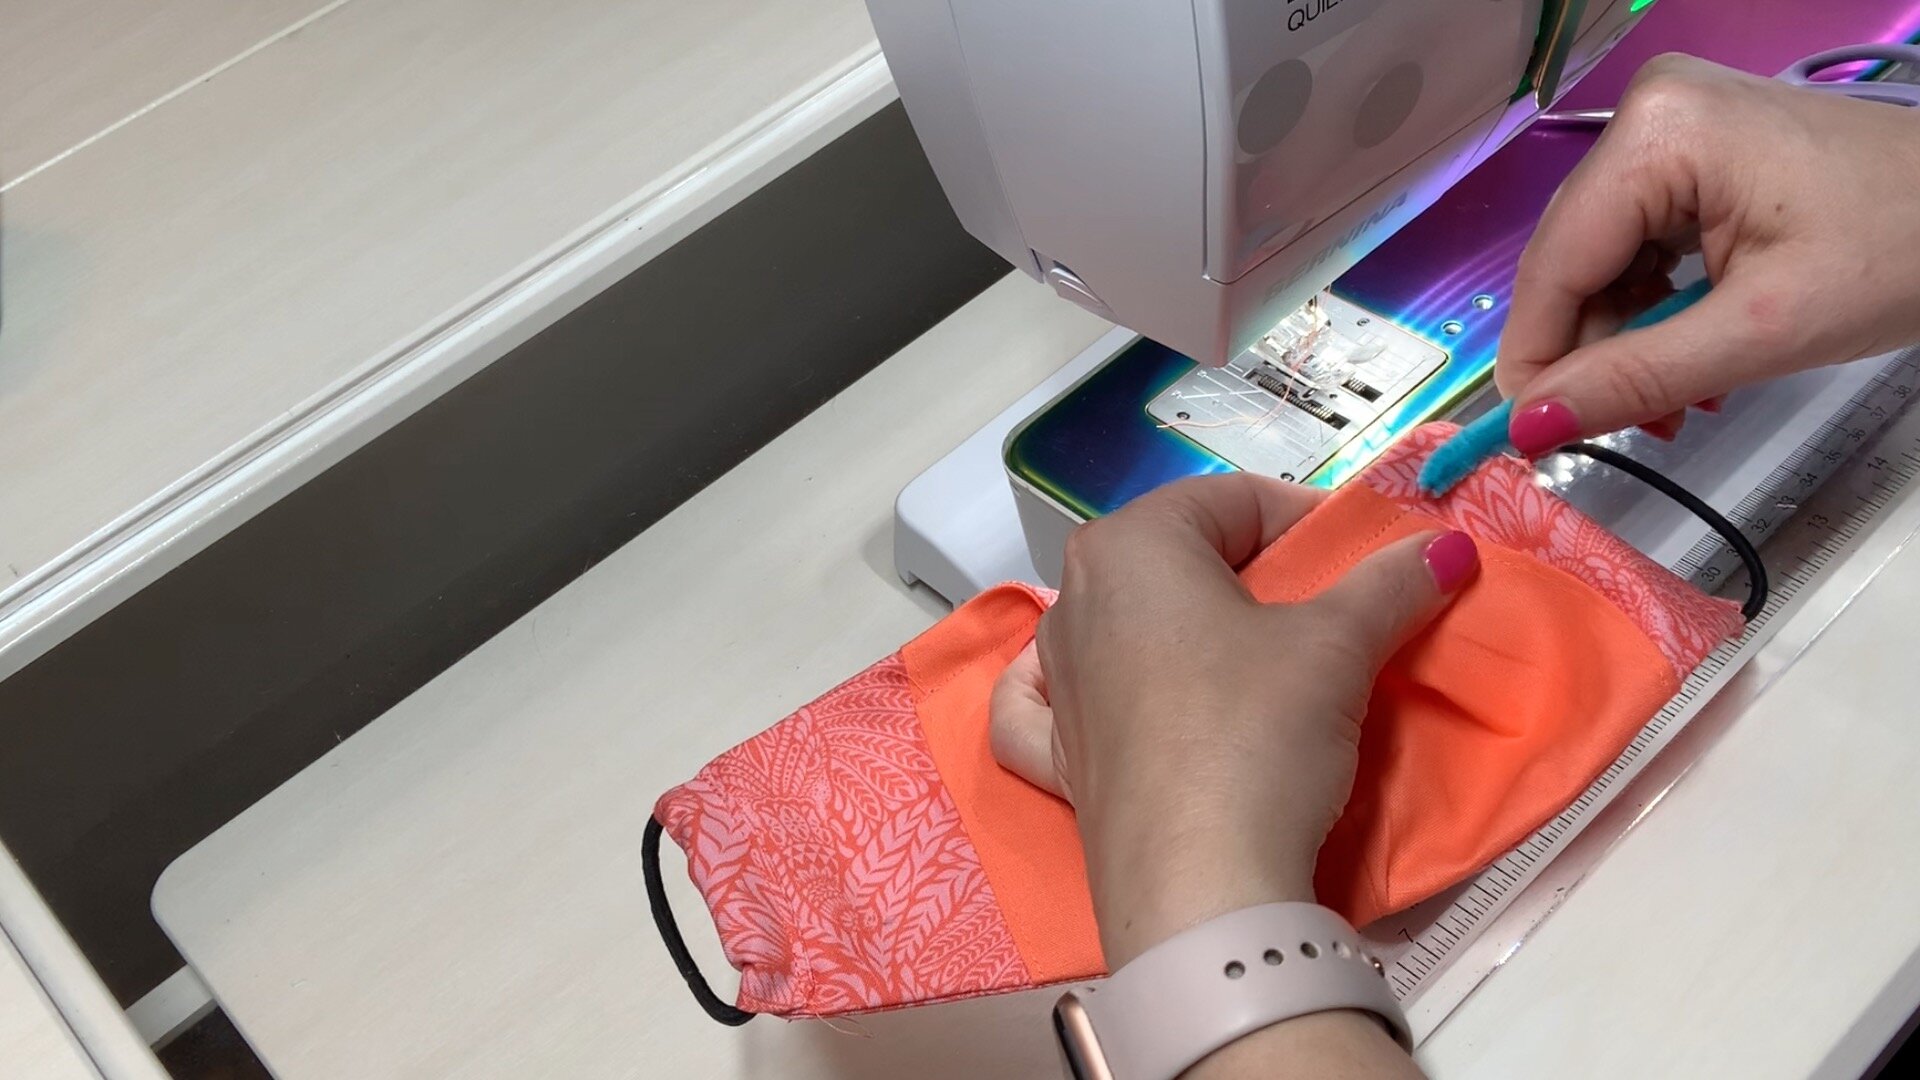
After sewing the channel, all you have to do is insert the pipe cleaner. I am using regular 12’’ long pipe cleaners, folded in half to make them extra sturdy.
Have you tried this tip? What works for you? Please share with us in the comments.
You might like these other posts about making fabric face masks:
-
I found actual face mask material you can buy and reviewed it here.
-
My recommendations for the best fabrics to use are found here.
-
More tie options that I have tried, including different kinds of elastics and fabric ties.
Stay safe and sew on!

Featured


Disclosure: some of my posts contain affiliate links. If you purchase something through one of those links I may receive a small commission, so thank you for supporting SewCanShe when you shop! All of the opinions are my own and I only suggest products that I actually use. 🙂