Sew Lay Flat Shoe Storage Bags – great for travel, organization, and more!
With just a half-yard of fabric, you can make an easy to sew storage bag.

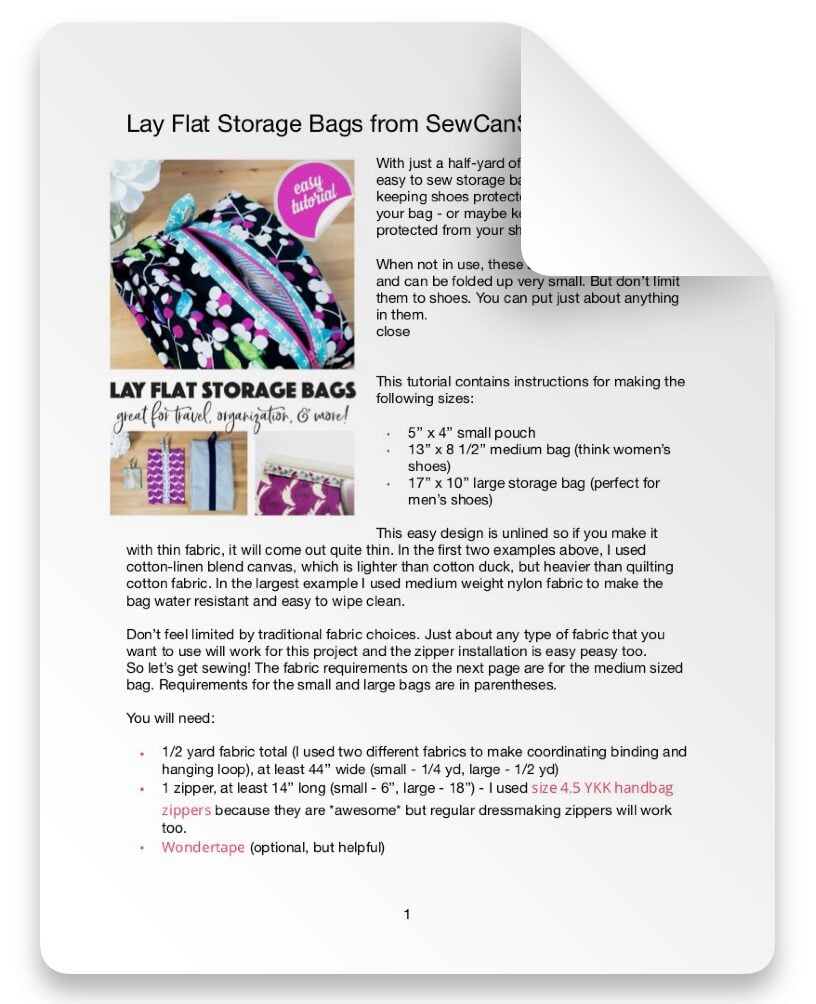
These are perfect for keeping shoes protected from everything else in your bag – or maybe keeping everything else protected from your shoes!
The blog post below is totally free to read, print, and sew! Just hit CTRL +P on your computer to print. There is an optional PDF download offered at the end of the post. Join our Sewing Bee Community for access to over 300 PDF patterns (including this one), live workshops, premium video courses, and more.

When not in use, these storage pouches lay flat and can be folded up very small. But don’t limit them to shoes. You can put just about anything in them.

Another amazing thing about this bag design is how easy it is to adapt to any size you need. I will share with you cutting dimensions to make a
- 5’’ x 4’’ small pouch
- 13’’ x 8 1/2’’ medium bag (think women’s shoes)
- 17’’ x 10’’ large storage bag (perfect for men’s shoes)
In addition, I’ll share with you the ratio I used to come up with these sizes so you can make any other size of storage tote too!
This easy design is unlined so if you make it with thin fabric, it will come out quite thin. In the first two examples above, I used cotton-linen blend canvas, which is lighter than cotton duck, but heavier than quilting cotton fabric. In the largest example I used medium weight nylon fabric to make the bag water resistant and easy to wipe clean.

Don’t feel limited by traditional fabric choices. Just about any type of fabric that you want to use will work for this project and the zipper installation is easy peasy too.
So let’s get sewing! The fabric requirements below are for the medium sized bag. Requirements for my small and large bags are in parentheses.
You will need:
- 1/2 yard fabric total (I used two different fabrics to make coordinating binding and hanging loop), at least 44’’ wide (small – 1/4 yd, large – 1/2 yd)
- 1 zipper, at least 14’’ long (small – 6’’, large – 18’’) – I used size 4.5 YKK handbag zippers because they are *awesome* but regular dressmaking zippers will work too.
- Wondertape (optional, but helpful)

Cutting
Medium (13’’ x 8 1/2’’) bag:
- from your main fabric cut 1 rectangle 14’’ x 30’’ (bag body)
- from coordinating fabric (if desired) cut 2 strips 2 1/2’’ x 14’’ (binding strips)
- from coordinating fabric (if desired) cut 1 strip 3’’ x 8’’ (hanging loop)
Large (17’’ x 10’’) bag:
- from your main fabric cut 1 rectangle 18’’ x 36’’ (bag body)
- from coordinating fabric (if desired) cut 2 strips 2 1/2’’ x 18’’ (binding strips)
- from coordinating fabric (if desired) cut 1 strip 3’’ x 8’’ (hanging loop)
Small (5’’ x 4’’) pouch:
- from your main fabric cut 1 rectangle 6’’ x 12’’ (bag body)
- from coordinating fabric (if desired) cut 2 strips 2 1/2’’ x 6’’ (binding strips)
- from coordinating fabric (if desired) cut 1 strip 2 1/2’’ x 6’’ (hanging loop)
How to alter this design to make other sizes:
As you can guess from the cutting dimensions above, the bag body should be cut with a height to width ratio of approximately 1:2. This can be varied slightly if you are using up leftover fabric and you don’t mind your finished bags varying slightly too.
The binding strips are always 2 1/2’’ wide and the same height as the bag body piece.
The hanging loop strips are a generous size for the medium and large bags and slightly smaller for my small pouch. These dimensions can also be adjusted according to your preference.
I suggest that you make one of my sizes listed above first, and then once you see how it works experiment with making lots of different sizes if you wish.

Bind the Short Edges of the Bag Body Piece
1. Fold the two binding strips in half lengthwise and press.


2. Pin a binding strip to the wrong side of the bag body piece along one of the short edges with raw edges aligned.
Stitch with a 1/4’’ seam allowance.


3. Fold the binding away from the wrong side of the fabric and press.
Then flip the bag body piece over. Wrap the binding around the raw edges to the right side and press it flat.
On the right side, the binding should be about 1/2’’ wide.

4. Topstitch the binding to the right side 1/8’’ from the folded edge.

Repeat to bind the other short edge of the bag body piece.

Attach the Zipper
(My zipper is the same length as the binding strips. If yours is longer, you can trim it to the correct length after sewing it in.)
1. Apply a strip of Wondertape to one side of the zipper, close to the edge (if you are using it). Wondertape is like narrow double sided tape for sewing.


2. Remove the paper strip on the Wondertape and attach one bound edge to the zipper. The zipper teeth should be about 1/8’’ away from the binding.
Tip: If your Wondertape is old and dry so it doesn’t stick very well (an annoying but common problem), simply press the edge carefully with your iron. The heat will make it stick well again.
If you aren’t using Wondertape, pin the bound edge to the zipper tape instead.

3. Stitch the binding to the zipper 1/8’’ from the edge.


4. Use Wondertape or pins to attach the other bound edge of the bag body piece to the opposite zipper tape.
Stitch in place. You will have to open the zipper most of the way to finish sewing the along the binding.
If you have removed the zipper stoppers (mine didn’t have any because I cut my zipper from Zipper By the Yard) be careful not to pull the slider off – although it’s not too hard to put it back on.

5. Trim away the ends of the zipper at the top and bottom (if needed) and sew across the ends of the zippers to make new zipper stoppers.
I used a zig-zag stitch right over the zipper teeth, but a straight stitch is fine too.


Make the Hanging Loop
1. Press the hanging loop strip in half lengthwise. Open and fold the long raw edges to the center, press. Fold in half again and press.
2. Topstitch along both long edges, 1/8’’ from the edge.

3. Fold the hanging loop and pin the ends over the binding at the top of the bag. Stitch across the raw edges to secure, 1/4’’ from the edge.

Finish Sewing the Storage Bag
1. Turn the bag inside out. Fold it flat with the zipper on one side so that you can mark the center of the bag on the opposite side.
Mark the center with a pencil or pen – this mark won’t show.

2. Arrange the bag with the underside of the zipper facing up and the center of the zipper lined up with the marks that you made at the top and bottom of the bag. Pin in a couple places.


3. Fold one side of the bag over until the side edge meets (or is close to) the zipper tape. Pin in place.


4. Fold the other side toward the zipper teeth and pin in place the same way.
*See my side note about how to alter the pleats and bag depth below.

4. Sew across the top and bottom edge with a 3/8’’ seam allowance.
Finish the seams with a zig-zag stitch, overcast stitch, serger, or binding.

* Side note:
Folding the side edges over all the way to the zipper tapes will cause the biggest pleats in the bag, and the most depth, which is great for shoes.
For my small pouch (on the left above) I only folded the side edges over about 2/3 of the way. This makes the bag wider overall, but less deep.


How deep you make your pleats is totally up to you!

Turn your bag right side out and you are done!
Now, I know that you are going to sew cute (and maybe manly) Lay Flat Shoe Storage Bags in all different sizes with lots of different fabrics. Please show me! Upload a photo to Instagram and tag me @sewcanshe or #sewcanshe so I can take a look.
If you love this project, make sure you check out everything else in my Clever Little Things to Sew category.
Happy Sewing,

LAY FLAT SHOE STORAGE BAGS SEWING PATTERN
Purchase this pattern in PDF format! The PDF file contains all of the instructions, plus the step by step photos that have been reduced to fit the page nicely with no ads.
Download the file immediately and keep your confirmation email so you can download it again later. Free patterns must be downloaded within 30 days.
Disclosure: some of my posts contain affiliate links. If you purchase something through one of those links I may receive a small commission, so thank you for supporting SewCanShe when you shop! All of the opinions are my own and I only suggest products that I actually use. 🙂